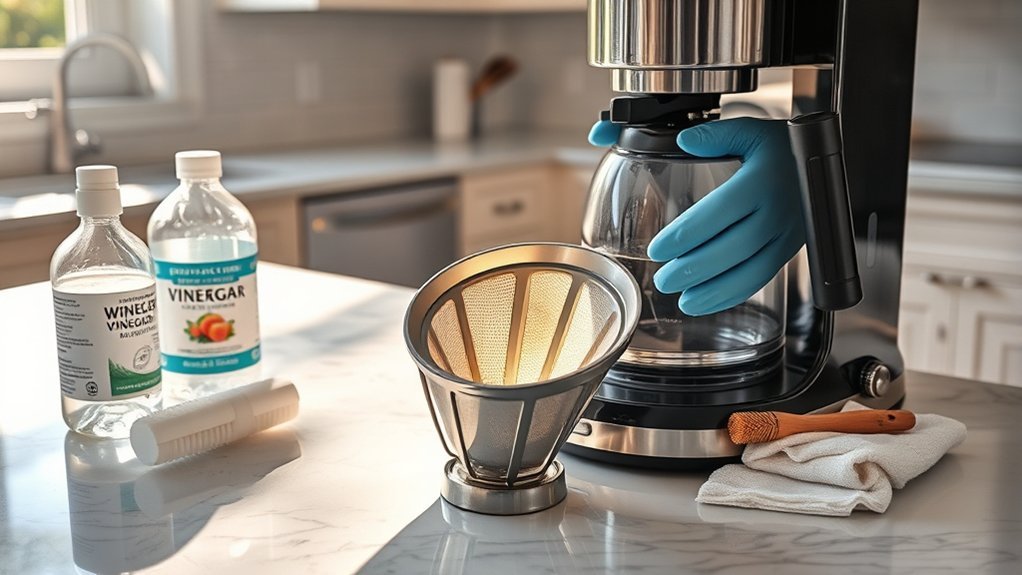
If you find visible mold, slime, floating debris, or a persistent musty odor in your coffee maker, stop brewing and unplug the machine. Wash every removable, washable part with dish soap and warm water, dry it completely, and clean the internal water path only with the method approved for your exact model. A vinegar brew is not a universal sanitizing procedure.
Quick Answer
Unplug the coffee maker, discard all water and coffee, and wash removable parts with warm water and dish soap. Check the owner’s manual before cleaning the internal system. Use vinegar only when the manufacturer permits it, rinse thoroughly, and seek service or replace the machine if contamination remains in inaccessible parts or keeps returning.
Key Takeaways
- Stop using a coffee maker as soon as you notice visible growth, slime, floating debris, or a persistent musty smell.
- Wash removable parts with dish soap and warm water; use a dishwasher only when the manual says the part and selected cycle are safe.
- Cleaning, sanitizing, and descaling are different processes. Vinegar can help remove mineral scale on approved models, but it is not a universal sanitizer.
- Never circulate soap, baking soda, essential oils, lemon juice, hydrogen peroxide, or bleach through the machine unless the manufacturer explicitly directs you to do so.
- Color alone cannot tell you what mold species is present or how hazardous it may be.
- Replace contaminated filters and damaged parts, and consider authorized service or appliance replacement when contamination cannot be safely reached or repeatedly returns.
At a Glance
| Time Required | Typically about 45–90 minutes for washing and machine cycles, plus complete air-drying time |
| Difficulty | Easy to moderate |
| Tools Needed | Dish soap, soft sponge, small soft brush, clean cloths, fresh water, protective gear as appropriate, and the manufacturer-approved cleaner or descaler |
| Cost | Varies by model and whether you need a cleaner, replacement filter, replacement part, service, or a new machine |
Why You Should Clean Your Coffee Maker After Finding Mold
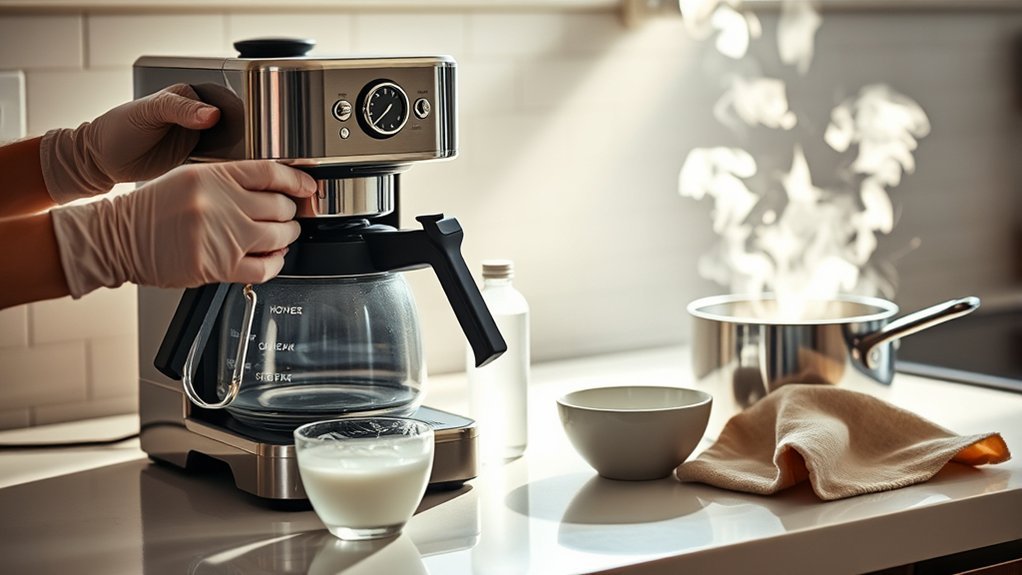
Coffee makers contain several damp, dark areas where water, coffee oils, grounds, and residue can collect. These include the water reservoir, brew basket, carafe lid, drip tray, capsule bin, reusable filter, and seals around removable parts.
The U.S. Environmental Protection Agency explains that mold needs moisture to grow. Emptying standing water, removing used grounds, washing food-contact parts, and allowing the machine to dry are therefore more important for mold prevention than simply changing the type of water you use.
Cleaning also protects flavor and performance. Old coffee oils can turn stale or bitter, while mineral deposits may slow water flow. However, mineral scale, coffee residue, bacterial biofilm, yeast, and mold are not the same problem and may require different cleaning steps.
In NSF’s small 2011 household study, yeast or mold was detected in 50% of the coffee reservoirs tested. The study involved only 22 homes, so the result should not be treated as proof that half of all coffee makers are unsafe.

Power your essentials anywhere with a 999Wh pure sine wave power station delivering up to 1000W continuous with 2000W surge. It supports fast charging via USB-C PD 60W and USB-A QC 18W, plus simultaneous output for multiple devices through AC, USB, wireless, and car/DC ports. Recharge using AC, car, or solar with a built-in MPPT controller and dual cooling fans, while the upgraded battery management system protects against surges, short circuits, and overheating.

Bulk Coffeemaker Decalcifier Tablet: 24 Tablets Work out to a Year Supply or more. Compare to other products like powder, pods, sachet, packets. Choose ACTIVE Cleaning Tablets for better Values

Descales your coffee maker, fighting hard water deposits and mineral buildup for a better tasting brew
Can Mold in a Coffee Maker Make You Sick?
Mold exposure can cause no symptoms at all in some people, while others may develop irritation, allergy symptoms, coughing, wheezing, or worsening asthma. The Centers for Disease Control and Prevention notes that people with asthma or mold allergies may react more strongly, while people with weakened immune systems or chronic lung disease can face additional risks from mold exposure.
That does not prove that a particular symptom came from coffee brewed in a contaminated machine. Research specifically connecting a household coffee maker to a particular illness is limited. If you feel ill after possible exposure, stop using the machine and discuss concerning or persistent symptoms with a qualified healthcare professional.
Note: You do not need to identify a mold species before cleaning a contaminated appliance. Mold can occur in many colors, and color alone does not tell you how hazardous a growth may be.
Cleaning, Sanitizing, and Descaling Are Different
The words clean, sanitize, and descale should not be used interchangeably:
- Cleaning physically removes coffee residue, oils, dirt, and visible contamination with water, detergent, wiping, and scrubbing.
- Sanitizing uses a validated process to reduce bacteria on a surface to an established level. Chemical products that make sanitizing claims are regulated and must be used according to their labels.
- Descaling dissolves calcium and other mineral deposits inside the water path.
The EPA explains the difference between cleaning, sanitizing, and disinfecting. Household vinegar can be useful for descaling coffee makers whose manufacturers permit it, but running vinegar through a machine does not prove that every internal surface has been sanitized or that inaccessible contamination has been removed.
Note: A machine can need both physical washing and descaling. A descale light normally refers to mineral buildup, not visible mold, coffee oils, or food residue.
Identify Mold and Contamination Before Cleaning
Inspect the machine before taking it apart. Do not brew another cup merely to flush visible contamination through the water system.
Signs That the Coffee Maker Needs Immediate Cleaning
- A musty, earthy, sour, or stale odor that remains after normal rinsing
- Black, green, white, pink, brown, or other spots or films that return after wiping
- A slimy film inside the reservoir, brew basket, drip tray, or capsule bin
- Floating particles in stored water or a plain-water brew
- Unexpected flavors that remain after replacing the coffee and filter
- Visible growth around seals, valves, lids, or water-level floats
Not every dark mark is mold. Coffee stains and mineral deposits can look similar, and slime can also be associated with other microbial contamination such as biofilm. You cannot determine a mold species or its health significance from color alone. When a deposit is slimy, fuzzy, musty, or recurring, treat the machine as contaminated and stop using it until the problem is resolved.
Decide Whether to Clean, Replace a Part, or Replace the Machine
| What You Find | Best Action |
|---|---|
| Surface residue on a removable, nonporous reservoir, basket, carafe, or tray | Wash, scrub, rinse, and dry the part according to the manual. |
| Mold or odor in a disposable paper, charcoal, cloth, or other porous filter | Discard and replace the filter. Do not try to sanitize a disposable filter. |
| Growth under a cracked seal, inside damaged plastic, or in a part that cannot be opened | Replace the affected part if an approved replacement is available. |
| Musty odor or particles returning after a complete cleaning and rinse | Stop using the machine and contact the manufacturer. Authorized service or replacement may be more appropriate than repeated home treatments. |
| Visible contamination inside inaccessible tubing, insulation, or the electrical base | Do not dismantle sealed electrical components. Ask the manufacturer about authorized service; replace the appliance if the contamination cannot be safely reached and resolved. |
Warning: Unplug the coffee maker and let it cool before cleaning. Never immerse the electrical base. Never mix cleaning products, and never combine bleach with vinegar, ammonia, acids, or other cleaners. Dangerous fumes or damaging chemical reactions can result.
Must-Have Supplies for Cleaning Your Coffee Maker
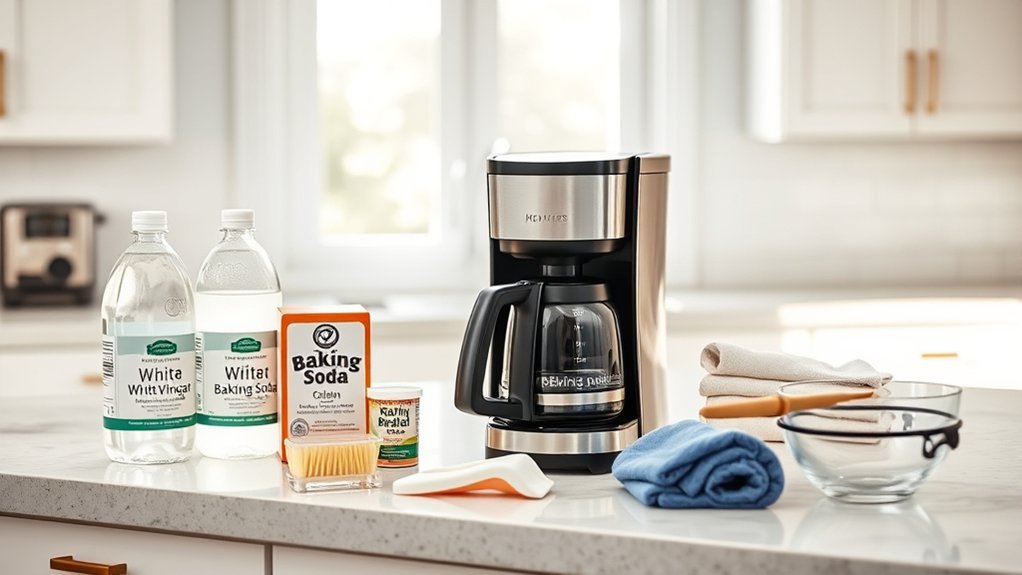
Gather the supplies before disassembling the machine:
- Mild, unscented dish soap
- Warm water
- A soft sponge or nonabrasive cloth
- A small soft brush or clean toothbrush for removable parts
- Clean microfiber towels or paper towels
- The cleaner or descaler approved in the owner’s manual
- Plain white vinegar only when the manufacturer permits it
- Replacement paper, charcoal, cloth, or water filters when applicable
- Protective household gloves
- Eye protection and respiratory protection when appropriate for visible mold cleanup
Before You Start: PPE and Health Precautions
The CDC’s general mold-cleanup guidance recommends protecting your skin, eyes, and respiratory system when cleaning mold. For visible mold, wear gloves and avoid creating splashes or aerosols. Eye protection and a well-fitting NIOSH-approved N95 respirator provide additional protection when you may disturb visible growth.
People with significant mold allergies, asthma, COPD, underlying lung disease, or immune suppression may be more vulnerable to mold exposure. If you are in one of these groups, consider having someone else clean or dispose of the contaminated appliance and follow advice from your healthcare professional when appropriate.
Which Cleaning Agents Are Safe?
Dish soap is appropriate for many removable, washable parts. It should not be poured into the water reservoir and circulated through internal tubing unless the manufacturer specifically instructs you to do so. Soap can foam inside the system and may be difficult to rinse out.
Baking soda can serve as a gentle paste for stubborn stains on a removable, nonporous part if the manual permits it. Rinse the part completely afterward. Do not place loose baking soda in the reservoir because it can leave particles or clog narrow passages.
Lemon juice, essential oils, tea tree oil, and hydrogen peroxide should not be treated as generic coffee-maker sanitizers. They may leave residue or odor and may not be compatible with seals, tubing, heaters, or food-contact materials. Use them only when the appliance manufacturer provides explicit instructions for your model.
Do not circulate household bleach through a coffee maker unless the manufacturer’s written instructions specifically call for it. General household mold-cleanup guidance does not establish that bleach is safe for a coffee maker’s internal tubing, heater, seals, or food-contact materials.
How to Clean a Coffee Maker Without Vinegar
You do not need vinegar if your manufacturer prohibits it or recommends another product. Wash the removable parts with warm water and dish soap, then use the branded or manufacturer-approved cleaning or descaling solution for the internal water system. Follow the exact amount, cycle, soak time, and rinse sequence stated for your model.
If you cannot find the printed manual, locate the model number on the appliance and look for the official manual or support instructions from the manufacturer. If official instructions are unavailable, contact the manufacturer rather than experimenting with household chemicals inside the machine.
Note: “Natural” does not automatically mean safe for an appliance. Acids, oils, powders, oxidizers, and detergents can damage seals, leave residue, foam, or clog narrow passages.
Step-by-Step Guide to Cleaning a Coffee Maker After Mold
- Stop using the machine. Unplug it, let it cool, and move it near a sink without pulling or bending the power cord.
- Discard contaminated materials. Throw away used grounds, paper filters, capsules, standing water, and any disposable filter that smells musty or shows contamination.
- Read the manual. Confirm which parts are removable, whether they are dishwasher-safe, and which cleaner is approved for the internal system.
- Remove washable parts. Depending on the model, this may include the carafe, lid, brew basket, permanent filter, water reservoir, drip tray, capsule bin, milk tube, or removable needle holder.
- Wash the removable parts. Scrub them with warm water and mild dish soap. Pay attention to seams, handles, lid channels, water-level floats, and the underside of the brew basket.
- Use the dishwasher only when approved. Follow the manufacturer’s rack-position and cycle instructions. Some coffee-maker manuals permit top-rack washing but specifically prohibit SANI or SANITIZE cycles because the higher temperatures can damage parts.
- Rinse every part. Continue rinsing until no foam, cleaner, residue, or odor remains.
- Dry the parts completely. Place them on a clean towel with openings positioned so water can drain, or leave them disassembled until every surface is dry.
- Wipe the fixed housing. Use a damp cloth on the exterior and accessible interior surfaces. Do not pour water into vents or immerse the electrical base.
- Clean the internal water path. Use the cleaner, quantity, cycle, and pause time stated in the manual. If vinegar is permitted, use the manufacturer’s specified amount or ratio rather than assuming an equal-parts mixture.
- Run fresh-water rinse cycles. Use at least the number required by the manual. Continue until the discharged water has no cleaner smell, flavor, foam, discoloration, or particles.
- Inspect and test. Reassemble the dry machine and run one final plain-water brew without coffee. Discard the water and recheck the reservoir, carafe, drip tray, and other accessible areas.
Pro Tip: Photograph the assembled machine before removing unfamiliar parts. This makes correct reassembly easier without forcing clips, seals, or valves into the wrong position.
Special Steps for Different Coffee-Maker Types
Standard Drip Coffee Makers
Wash the carafe, lid, brew basket, permanent filter, and removable reservoir when present. Coffee oils frequently collect under the carafe lid and around the basket’s drip-stop valve. Do not push a brush into a spring-loaded valve unless the manual shows that the valve is removable.
Single-Serve and Pod Machines
Empty the drip tray and used-capsule bin after use. Clean a removable pod holder or needle assembly only as the manufacturer directs. Needles can be sharp, and some models require a specific cleaning procedure or removable holder rather than an improvised sharp tool.
Replace removable water filters on schedule and whenever they become contaminated. A descaling cycle will not clean mold or residue from a used capsule bin, drip tray, pod holder, or removable reservoir that has not been physically washed.
Espresso and Automatic Bean-to-Cup Machines
These machines may require branded cleaning tablets, milk-system cleaner, brew-group washing, or service-mode programs. Do not substitute vinegar when the manufacturer prohibits it. Remove and clean milk tubes and containers promptly because milk residue requires a different cleaning routine from mineral scale.
Machines With a Fixed Reservoir
Do not insert tools into inaccessible tubing or disassemble sealed electrical housings. If mold is visible beyond the surfaces you can safely reach, contact the manufacturer or an authorized repair provider. For a low-cost appliance with recurring inaccessible contamination and no approved service path, replacement may be the most practical option.
Using Vinegar Safely When the Manufacturer Allows It
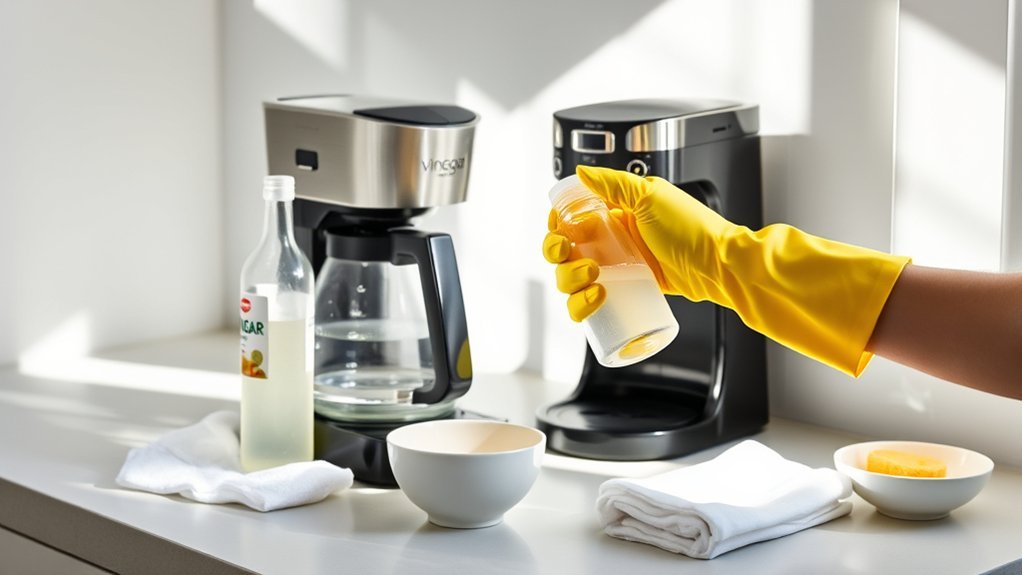
White vinegar can help dissolve mineral deposits in coffee makers that permit it, but there is no universal coffee-maker vinegar recipe. Cuisinart’s current cleaning guidance includes vinegar-and-water procedures for applicable machines and directs owners to check their coffee maker instructions.
Manufacturer procedures can differ substantially. For example, the Hamilton Beach FlexBrew TRIO 49904 manual specifies measured amounts of plain white vinegar, includes a 30-minute pause during cleaning, and calls for additional cold-water rinse cycles. Those instructions apply to that model and should not be copied blindly to another machine.
Other manufacturers prefer a proprietary product. Keurig’s current general guidance recommends descaling every three to six months with its descaling solution, although individual brewer instructions may specify a different schedule. These differences are why the exact model manual should override a generic online recipe.
When vinegar is approved:
- Measure the exact quantity or ratio stated in the manual.
- Remove any water filter if the instructions require it.
- Run the cleaning or brew cycle specified for that model.
- Use the instructed pause or contact time instead of inventing one.
- Discard the solution safely.
- Run the required number of full fresh-water cycles.
- Wash and dry the reservoir and carafe separately.
Note: Vinegar may remove mineral scale and some residue, but it cannot compensate for a brew basket, reservoir, capsule bin, seal, drip tray, or other removable part that has not been physically washed.
Rinsing and Finalizing the Cleaning Process
Incomplete rinsing can leave a sour smell, unpleasant taste, foam, or cleaner residue. Fill the reservoir with fresh water and run complete cycles using the volume and sequence required by the manual.
Continue rinsing when you notice:
- A vinegar or chemical smell
- A sour, soapy, oily, or perfumed taste
- Foam or bubbles that do not look like normal aeration
- Loose particles or floating residue
- Discolored water
After the final rinse, unplug the machine again. Empty the reservoir, carafe, drip tray, and capsule bin. Leave removable parts separated and open the reservoir lid when the design allows safe air-drying. Reassemble the machine only when every washable part is dry.
Do not drink the first plain-water test brew. Discard it and inspect the water under good lighting. If particles, slime, discoloration, or a musty odor remain, stop using the machine.
Troubleshooting Problems After Cleaning
| Problem | What to Do |
|---|---|
| Vinegar smell remains | Run additional full fresh-water cycles and wash the reservoir and carafe again. |
| Particles appear in the rinse water | Stop the cycle, inspect removable parts and filters, and contact the manufacturer if particles appear to come from inaccessible internal tubing. |
| Water flow is slower after cleaning | Check for incorrectly installed parts or a clogged filter. Use only the manual’s descaling or needle-cleaning procedure. |
| Musty odor returns within days | Stop using the appliance. Replace contaminated filters or removable parts and ask the manufacturer whether internal service is possible. |
| The reservoir or seal is cracked | Replace the damaged part. Cracks and damaged seals can retain residue and moisture and may be difficult to clean reliably. |
| The machine leaks or trips an outlet | Unplug it immediately. Do not continue cleaning or testing an appliance with a suspected electrical fault. |
Tips for Preventing Future Mold Growth
The most effective prevention steps are removing residue, eliminating standing water, and allowing washable parts to dry. Filtered water may improve taste or reduce some mineral buildup, but it does not replace cleaning and drying.
| Frequency | Maintenance |
|---|---|
| After each use | Discard grounds or capsules, rinse the brew basket or pod holder when practical, empty the drip tray, and avoid leaving brewed coffee in the carafe. |
| Daily or before extended idle time | Empty standing water when the machine will not be used again soon. Leave the reservoir lid open when the design and manufacturer instructions allow safe air-drying. |
| Weekly or as directed | Wash frequently handled removable parts such as the reservoir, carafe lid, brew basket, drip tray, and capsule bin. Follow a more specific manufacturer schedule when provided. |
| As directed | Replace water filters and run the manufacturer’s cleaning or descaling program at the interval listed in the manual or when its maintenance indicator appears. |
| After storage | Inspect the reservoir, basket, tubing connections, drip tray, and seals before brewing. Run a plain-water rinse cycle if the manual recommends one. |
Store the coffee maker in a dry, ventilated area. Avoid placing it where steam from a dishwasher, kettle, or stove repeatedly keeps the appliance damp. Do not close the machine for long-term storage while the reservoir, drip tray, capsule bin, or other washable component is wet.
Pro Tip: If you use the machine only occasionally, add fresh water shortly before brewing instead of routinely leaving water standing in the reservoir between uses.
Frequently Asked Questions
How often should I clean my coffee maker to prevent mold?
Discard grounds and standing water after use, regularly wash the removable parts that collect coffee and moisture, and follow the manufacturer’s schedule for filters, cleaning, and descaling. A machine that stays wet or develops residue may need more frequent washing.
Can I use bleach instead of vinegar?
Do not run bleach through a coffee maker unless its manufacturer provides written instructions for your exact model. Bleach can be incompatible with appliance materials, can leave residue when used incorrectly, and can create dangerous fumes when mixed with acids, ammonia, or other cleaners.
Does vinegar kill mold inside a coffee maker?
Vinegar may help remove residue and mineral scale in models that permit it, but a vinegar brew does not prove that inaccessible tubing has been sanitized. Visible contamination must be physically removed from washable parts, and recurring internal contamination may require authorized service or replacement.
Can I clean a coffee maker without vinegar?
Yes. Wash removable parts with warm water and dish soap, then use the manufacturer-approved cleaning or descaling solution for the internal system. Many machines do not require vinegar, and some manufacturers prefer a proprietary descaler.
Is it safe to brew coffee after cleaning with vinegar?
It can be safe when vinegar is approved for the model and you complete every required fresh-water rinse. Do not brew coffee until the discharged water is clear and has no vinegar smell, sour taste, unusual foam, or particles.
Can removable coffee-maker parts go in the dishwasher?
Only place a part in the dishwasher when the owner’s manual identifies it as dishwasher-safe. Follow all rack-position and cycle restrictions. Some manufacturers permit normal top-rack washing but warn against high-temperature SANI or SANITIZE cycles.
Does filtered or distilled water prevent mold?
No type of water eliminates the need for cleaning. Filtered water may improve flavor or reduce certain minerals, but mold prevention depends mainly on removing coffee residue, emptying standing water, washing parts, and allowing the machine to dry.
When should I replace a moldy coffee maker?
Consider replacement or authorized service when contamination is visible in inaccessible tubing or sealed areas, odors or particles repeatedly return after complete cleaning, important parts are cracked, or the manufacturer cannot provide an approved way to clean or replace the affected component.
What should I do if I feel ill after possible mold exposure?
Stop using the contaminated appliance. Contact a qualified healthcare professional if symptoms develop, persist, or concern you, especially if you have asthma, mold allergies, chronic lung disease, a weakened immune system, or another condition that may increase sensitivity.
Conclusion
A moldy or visibly contaminated coffee maker needs more than a quick vinegar rinse. Stop using the appliance, wash every reachable removable part, replace contaminated disposable filters, and follow the exact internal-cleaning procedure in the owner’s manual. Rinse and dry the machine completely before testing it with plain water.
Prevent future growth by removing wet grounds and capsules, emptying standing water, washing drip trays and reservoirs, and allowing washable parts to dry. When contamination or a musty odor remains inside inaccessible components and the manufacturer cannot provide an approved service or cleaning path, replacing the appliance is more sensible than repeatedly circulating unapproved homemade cleaners.
Sources
- Centers for Disease Control and Prevention: Mold Cleanup Guidelines — supports mold-cleanup precautions, personal protection, and chemical-mixing warnings.
- U.S. Environmental Protection Agency: Cleaning, Sanitizing, and Disinfecting — explains why cleaning, sanitizing, and disinfecting are not interchangeable.
- NSF 2011 Household Germ Study — provides the limited 22-home coffee-reservoir yeast/mold finding discussed in the article.
- Scientific Reports: The Coffee-Machine Bacteriome — documents microbial communities in sampled coffee-machine waste reservoirs.
- Cuisinart Coffee-Maker Cleaning Guidance — demonstrates manufacturer-specific vinegar cleaning and descaling instructions.
- Keurig Descaling Guidance — supports model-aware maintenance and the current general three-to-six-month descaling recommendation.