Cleaning a coffee maker involves more than washing the carafe. Coffee oils, damp grounds, milk residue, and mineral scale collect in different parts of the machine, and each type of buildup needs the right method. The biggest mistake is applying one cleaner or schedule to every model. Your coffee maker’s manual should determine what is washable, which descaler is permitted, and when maintenance is due.
Quick Answer
The most common coffee maker cleaning mistakes are washing only the carafe, using vinegar or another descaler without checking the manual, skipping rinse cycles, putting unsuitable parts in a dishwasher, neglecting grinders and milk systems, and following a fixed schedule instead of the machine’s maintenance alert, water hardness, and level of use.
Key Takeaways
- Unplug the machine, let hot parts cool, and never immerse the powered base in water.
- Cleaning removes coffee oils, grounds, milk, and surface residue; descaling removes mineral deposits from the water system.
- Use vinegar only when your specific manufacturer and model instructions permit it.
- Wash removable parts regularly, but verify whether each part is hand-wash or dishwasher-safe.
- Clean grinders, steam wands, milk tubes, pod needles, gaskets, and filters using the correct model-specific method.
- Complete every required fresh-water rinse before brewing coffee again.
At a Glance
| Time Required | 10–20 minutes for routine cleaning; approximately 20–45 minutes for a full cleaning or descaling cycle |
| Difficulty | Easy, provided you follow the model manual |
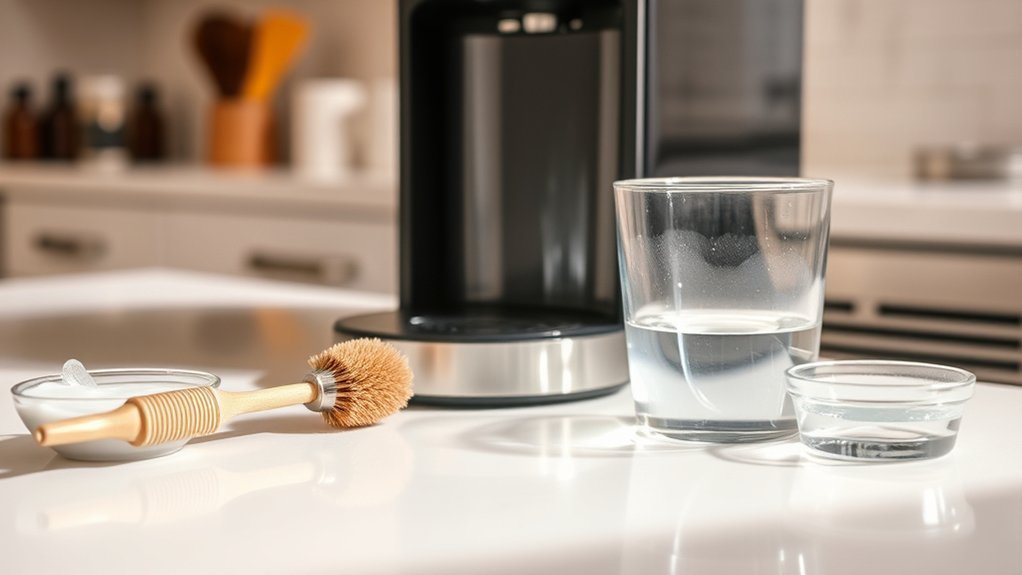
| Tools Needed | Mild dish soap, soft cloth, non-abrasive brush, bottle brush, fresh water, and a manufacturer-approved cleaner or descaler |
| Cost | About $0–$15, depending on the required cleaning or descaling product |
Warning: Unplug the coffee maker before disassembly or hand cleaning, and allow the warming plate, group head, steam wand, and other hot parts to cool. Never immerse the powered base. Do not mix bleach with vinegar, ammonia, descaler, or any other cleaner. The CDC warns that household bleach can release chlorine gas when mixed with certain cleaning products.
Cleaning Versus Descaling: Know the Difference
Cleaning removes coffee grounds, coffee oils, milk residue, dust, and visible dirt from surfaces and removable components. It usually involves mild dish soap, fresh water, a soft cloth, and a non-abrasive brush.
Descaling removes calcium and other mineral deposits left by water inside tubing, heaters, valves, and boilers. A cleaning tablet that removes coffee oils is not automatically a descaler, and a descaler is not a substitute for washing the brew basket or carafe.
Damp reservoirs and neglected removable parts deserve regular attention. NSF household testing identified coffee reservoirs among the germiest locations found in tested homes, supporting the need to wash and dry accessible water-contact parts instead of cleaning only the carafe.
A coffee maker can look clean on the outside while oils, grounds, milk residue, or mineral deposits remain inside the parts that affect flow and flavor.

Power your essentials anywhere with a 999Wh pure sine wave power station delivering up to 1000W continuous with 2000W surge. It supports fast charging via USB-C PD 60W and USB-A QC 18W, plus simultaneous output for multiple devices through AC, USB, wireless, and car/DC ports. Recharge using AC, car, or solar with a built-in MPPT controller and dual cooling fans, while the upgraded battery management system protects against surges, short circuits, and overheating.

Each box provides 4 complete cleaning cycles, with 4×30g pre-measured sachets designed for simple, one-sachet use. Just tear, pour, and run your machine’s descaling program.

UNIVERSALLY COMPATIBLE DESCALER - This product can be used to descale Keurig machines, as well as Nespresso, Breville, Jura, Delonghi and other drip coffee makers, espresso machines, superautomatics, and kettles
How to Clean Your Coffee Maker Effectively
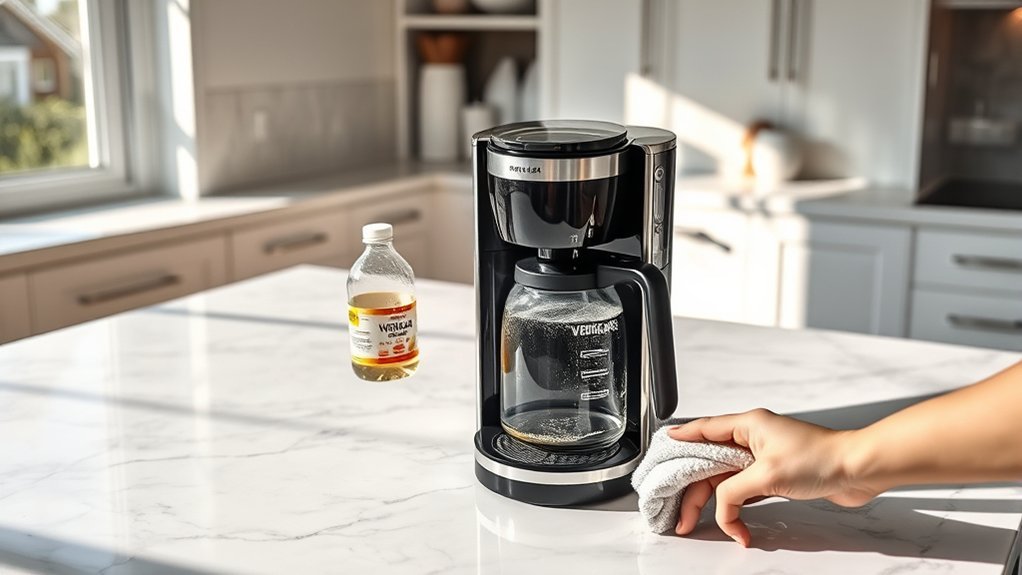
- Read the care instructions. Confirm whether the machine has separate cleaning and descaling cycles, whether its water filter must be removed, and which parts are washable.
- Turn off and unplug the machine. Let hot surfaces and pressurized parts cool before touching them.
- Empty used coffee and water. Remove the paper filter, grounds, capsule, drip-tray liquid, and old water that the manual permits you to discard.
- Wash removable parts. Clean the carafe, brew basket, reusable filter, drip tray, reservoir, reservoir lid, pod holder, or milk container as directed. Use warm water, mild dish soap, and a non-abrasive sponge or brush.
- Wipe the exterior. Use a damp, lint-free cloth on the housing and a suitable cloth on a cool warming plate. Do not allow water to enter vents, controls, or electrical openings.
- Clean the brew path as directed. Run a water-only rinse, cleaning cycle, backflush, or tablet cycle only when the machine supports that procedure.
- Descale when due. Use the approved product, quantity, and cycle described in the manual or shown by the maintenance alert.
- Rinse completely. Finish every required fresh-water cycle. Do not brew coffee while cleaner, foam, odor, or descaling solution remains.
- Dry and reassemble. Let washed parts dry before reinstalling them. Replace the water filter when its service interval is reached.
Pro Tip: Keep the model number and a digital copy of the manual with your cleaning supplies. That prevents accidental use of the wrong solution, dishwasher setting, backflush method, or descale sequence.
Essential Cleaning Techniques for Different Coffee Machines
Drip Coffee Makers
After brewing, discard the grounds and rinse the brew basket and carafe. Wash them with mild dish soap as often as needed to prevent oily film and stale odors. Wipe the cooled warming plate and surrounding surfaces after spills so residue does not bake onto the finish.
For deep cleaning, remove the water filter if the manual requires it, then run the machine’s cleaning or descaling procedure. Do not assume that a vinegar mixture is suitable simply because it works in another drip brewer.
Single-Serve and Pod Machines
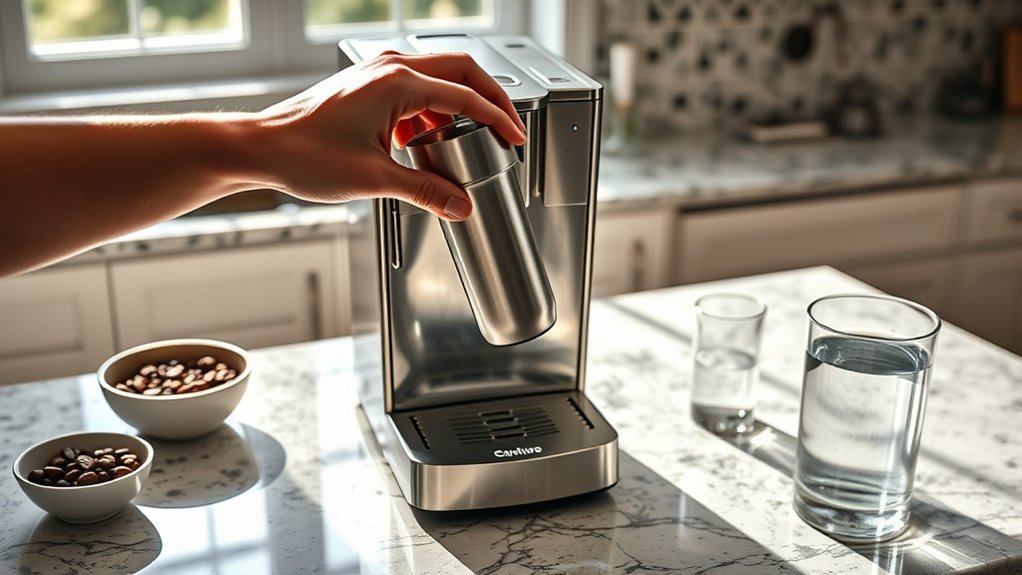
Remove the used pod after brewing, rinse the drip tray, and periodically wash the reservoir and pod holder according to the manual. If grounds block the entrance or exit needle, unplug the brewer and follow its exact needle-cleaning procedure.
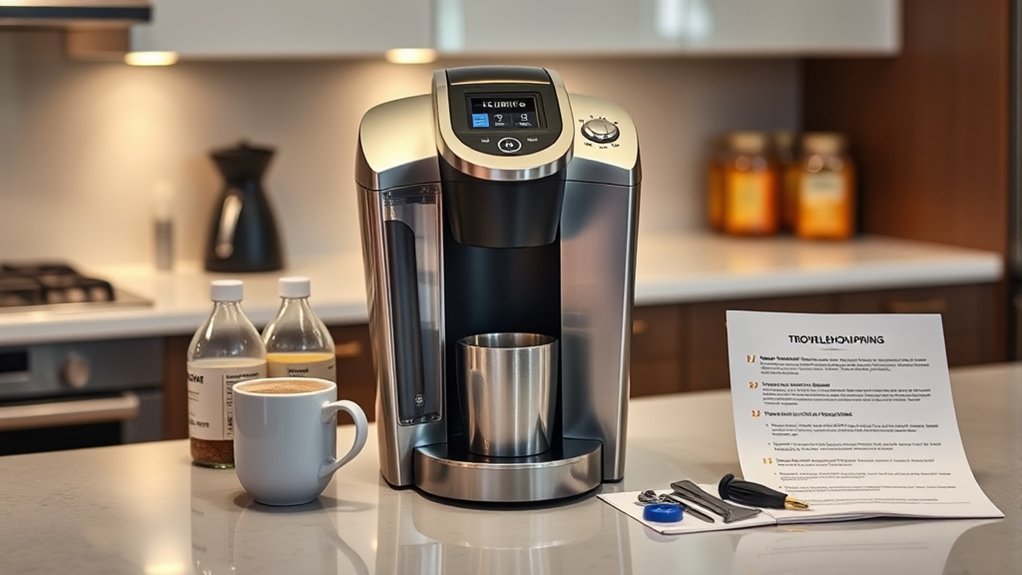
For example, the Keurig K-Express care guide warns that the pod needles are sharp and describes using a straightened paper clip for that model. It also states that the listed removable parts are hand-wash rather than dishwasher-safe. Other models may differ.
Note: Never place your fingers inside a pod holder to feel for a clog. Use only the tool and access points identified in the manufacturer’s instructions.
Espresso and Automatic Coffee Machines
Espresso machines may require several separate tasks: rinsing the group head, washing the portafilter and basket, emptying the drip tray, wiping and purging the steam wand, running a cleaning-tablet cycle, and descaling the water circuit.
Do not treat those tasks as interchangeable. A machine may prompt for a coffee-oil cleaning cycle at one interval and a mineral descaling cycle at another. Fully automatic machines may also have removable brew groups, grounds containers, internal rinse programs, or specialized milk-circuit cleaners.
Common Coffee Maker Cleaning Mistakes to Avoid
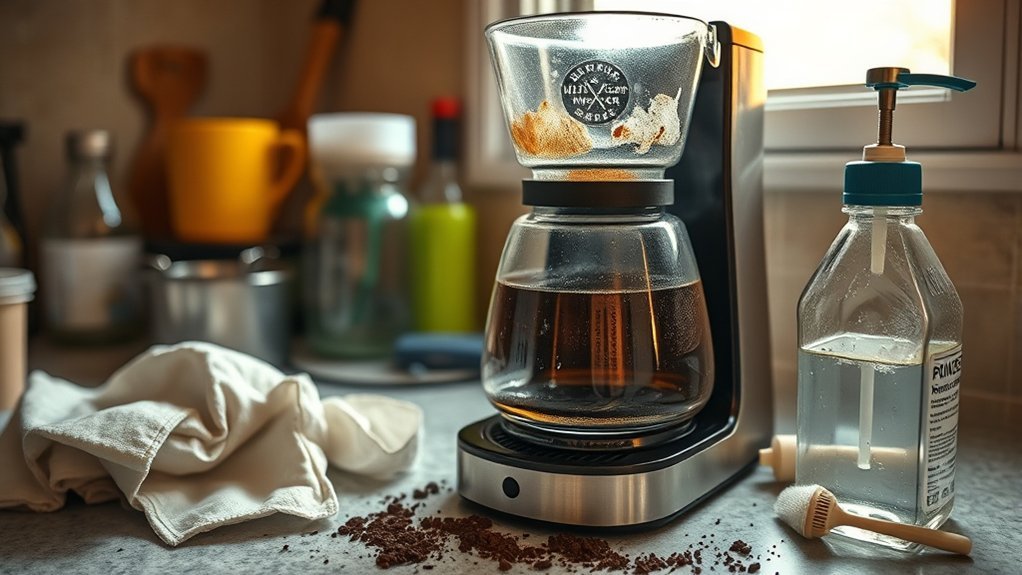
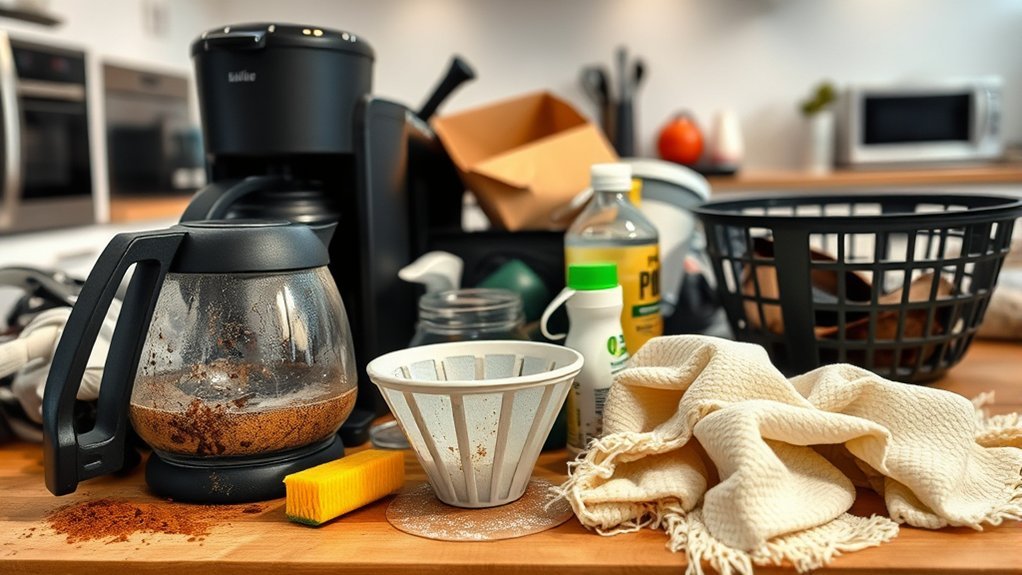
- Cleaning only the carafe. The brew basket, reservoir, reusable filter, drip tray, pod holder, shower screen, and milk parts may collect more residue than the carafe.
- Assuming vinegar is safe for every model. Some manufacturers permit diluted vinegar, while others warn that it can damage the machine.
- Using the wrong product. Dish soap, coffee-oil tablets, milk-system cleaner, and descaler perform different jobs. Use each only where the instructions specify.
- Guessing the concentration. Extra cleaner is not more effective and may be harder to rinse or harmful to seals and metal parts.
- Skipping fresh-water rinse cycles. Cleaner left in the water path can cause chemical odors, foam, or an unpleasant taste.
- Using bleach in the brew path. Do not circulate bleach unless the coffee maker manufacturer expressly provides a procedure for that model.
- Mixing cleaning products. Never combine bleach with vinegar, ammonia, acids, descaler, or another household cleaner.
- Putting every removable part in the dishwasher. Heat and detergent may warp or damage parts that are hand-wash only.
- Using abrasive pads or metal tools. They can scratch coatings, damage seals, or enlarge small openings.
- Immersing the powered machine. The electrical base should be wiped, not submerged or placed in a dishwasher.
- Ignoring water filters. An overdue filter can affect taste and may interfere with the expected maintenance schedule.
- Resetting a descale alert without completing the required mode. On some machines, running solution through a normal brew cycle does not complete the programmed descaling process.
- Leaving washed parts damp and enclosed. Dry accessible parts before reassembly and storage.
- Waiting for a major failure. Slow flow, unusual noise, inconsistent volume, grounds in the cup, weak steam, leaks, and persistent odors are reasons to inspect and clean the machine.
The Consequences of Skipping Grinder Cleaning
Coffee oils and retained grounds become stale over time. They can affect aroma, restrict the grounds chute, increase retention, and make grind output less consistent. Grinders used for oily dark-roast beans may need more frequent attention.
Flavor Quality Deterioration
Old grounds and oxidized coffee oils can mix with a fresh dose and produce stale or bitter flavors. Residue around the burrs and chute may also interfere with predictable dosing and grind adjustment.
Clogs and Malfunctions Increase
Accumulated grounds can narrow the exit chute or pack around removable burr components. This may slow delivery, increase retained coffee, or cause the grinder to sound strained. Do not continue forcing a jammed grinder to run.
Hygiene Problems Can Increase
A dry grinder is less hospitable to microbial growth than a wet reservoir or milk system, but moisture, food residue, and neglected grounds can still create sanitation problems. Avoid unsupported claims about a specific number of bacterial species; the practical goal is to keep the grinder dry and free of stale coffee.
Baratza’s grinder-cleaning guidance recommends unplugging the grinder, removing the hopper and accessible burr, brushing out loose grounds, cleaning the chamber and chute, and washing only the approved removable plastic parts before drying them thoroughly.
- Unplug the grinder before opening it.
- Empty the hopper and grind through remaining beans if the manual permits.
- Brush loose grounds from the burr chamber and grounds chute.
- Use grinder-cleaning tablets only when approved for the grinder.
- Do not wash burrs, motors, or electrical assemblies with water unless the manual specifically permits it.
- Allow washed hoppers and grounds bins to dry fully before reinstalling them.
Step-by-Step Guide to Cleaning Espresso Machines
- Turn off the machine and let it cool where required. Some rinse or purge steps must be completed while the machine is operating, so follow the sequence in the manual.
- Remove and rinse the portafilter and basket. Wash them with the approved method, making sure the filter holes are clear.
- Flush the group head. Run a brief water rinse after brewing when recommended. Wipe accessible coffee residue from the shower screen with a suitable brush or cloth.
- Backflush only if the machine supports it. Some machines allow a clear-water backflush after a brewing session. Use detergent or a cleaning tablet only according to the machine’s cleaning-cycle instructions.
- Empty and wash the drip tray. Clean the tray, grate, and grounds container before residue develops an odor.
- Clean the steam wand after every milk drink. Purge it as directed, then wipe the exterior promptly with a clean damp cloth. Do not touch the hot metal with bare fingers.
- Clean removable milk parts. Wash tubes, containers, lids, and connectors using the manufacturer-approved milk cleaner or mild dish soap, depending on the instructions.
- Run the prompted cleaning cycle. Use the specified tablet, disc, or accessory rather than improvising with household detergent.
- Descale when the machine indicates it or the manual requires it. Water hardness and filter use may change the interval.
Breville’s espresso-machine cleaning guidance illustrates why the instructions must be model-specific: cleaning accessories, filters, solutions, and descaling steps vary across machine designs.
Importance of Regular Descaling for Coffee Makers
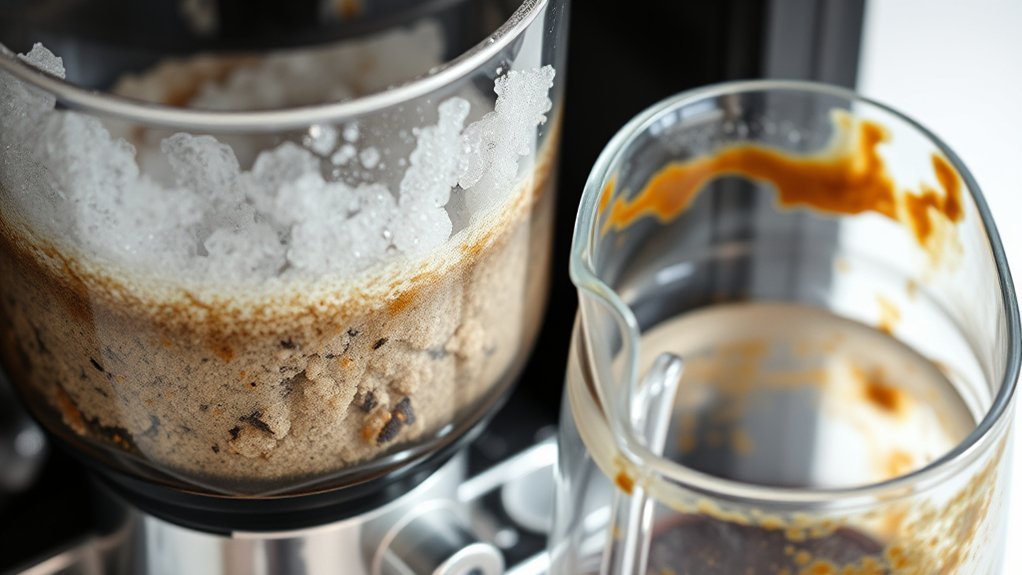
Minerals naturally present in water can collect inside the heating and water-delivery system. As deposits increase, the machine may brew more slowly, produce a smaller volume, make more noise, struggle to heat consistently, or display a maintenance alert.
There is no single correct interval for every coffee maker. Some pod brewers recommend descaling about every three to six months, while other systems use a capsule count, water-hardness setting, or automatic alert. Heavy use and hard water can shorten the interval.
Should You Use Vinegar or a Commercial Descaler?
Let the manufacturer decide. Some official guidance permits diluted white vinegar for specified machines. Other manufacturers prohibit it. For example, Nespresso states that vinegar should not be used because it may damage the machine.
Do not replace an approved descaler with vinegar, citric acid, lemon juice, baking soda, dishwashing detergent, or another household product unless the manual explicitly authorizes that substitution and gives the correct concentration.
Rinse Completely After Descaling
Complete every rinse step in the programmed cycle. Refill the reservoir with fresh water when instructed, empty the collection container, and repeat the required water-only cycles. If the machine still smells of cleaner or produces foam, stop and consult the manual rather than brewing coffee.
Note: A descale light may remain on until the full model-specific descale mode is completed. Simply running descaling solution through an ordinary brew cycle may not reset it.
Best Practices for Cleaning Milk Systems
Milk residue spoils faster than dry coffee residue and can block narrow air and steam passages. Clean milk-contact parts promptly instead of leaving them until the next day.
- Purge the steam wand as directed. Release a short burst into the drip tray to clear milk from the tip.
- Wipe the wand immediately. Use a clean damp cloth while avoiding contact with hot metal.
- Wash removable milk parts. Disassemble tubes, containers, frother lids, connectors, and pitchers according to the manual.
- Use the right cleaner. Automatic milk circuits may require a specialized milk-system product to dissolve milk fats and proteins.
- Clear blocked openings safely. Use the supplied cleaning pin or tool only after the wand has cooled and the machine is in the safe state specified by the manufacturer.
- Rinse and dry thoroughly. Soap or milk-cleaner residue can alter taste, while trapped moisture can create odors.
Overlooking Small Parts and Gaskets During Maintenance
Importance of Small Components
Brew baskets, reusable filters, shower screens, pod holders, funnels, needles, valves, reservoir seats, and milk connectors directly affect flow and flavor. A small amount of hardened residue in one opening can cause grounds in the cup, weak flow, dripping, or an incomplete serving.
Regular Gasket Inspections
Inspect accessible seals and gaskets for cracks, flattening, looseness, trapped grounds, or leaks. Clean them gently with the method approved for the material. Do not pry out a gasket unless the manual identifies it as a user-removable part.
A leaking reservoir may simply be seated incorrectly, but recurring leaks can indicate a worn seal, damaged valve, cracked tank, or internal fault. Stop using the machine if water is entering the electrical base.
Effective Cleaning Techniques
- Use a soft brush for accessible shower screens and brew-head residue.
- Rinse brew baskets, filters, and pod-holder components until their openings are clear.
- Clean grinder hoppers and chutes without introducing water into the motor or burr assembly.
- Wash reservoir lids and seals where the manual permits.
- Replace damaged user-serviceable seals with the correct manufacturer part.
How to Keep Your Cleaning Schedule on Track
A useful schedule separates quick after-use tasks from periodic maintenance. Adjust it for the machine’s instructions, your water hardness, and how often you brew.
After Each Use
- Discard used grounds or capsules.
- Rinse the carafe, brew basket, reusable filter, or portafilter.
- Empty obvious spills from the drip tray.
- Purge and wipe the steam wand after milk use.
- Rinse milk pitchers and removable milk-contact parts.
Daily or Every Few Days
- Wash frequently used removable parts with mild dish soap.
- Empty and rinse the drip tray and grounds container.
- Wipe the machine exterior and cooled warming plate.
- Refresh standing reservoir water as directed by the manufacturer.
Weekly
- Give removable parts a more thorough wash.
- Inspect brew openings, pod holders, shower screens, and milk connectors.
- Clean accessible grinder residue and the grounds chute.
- Check for odors, slow flow, leaks, or residue around seals.
Periodically or When Prompted
- Deep-clean the grinder according to its manufacturer’s interval.
- Run the machine’s cleaning-tablet or coffee-oil cycle when required.
- Descale according to the alert, manual, usage, and water hardness.
- Replace the water filter at the specified time or brew count.
- Inspect user-serviceable gaskets and replace worn parts.
Tips for Maintaining Your Coffee Maker’s Performance
Use a Regular but Flexible Cleaning Schedule
Calendar reminders can help with weekly washing, grinder cleaning, filter replacement, and descaling. However, do not let a generic calendar override a maintenance light or a shorter interval required by hard water and heavy use.
Watch for changes in the machine. Slower brewing, a reduced serving size, uneven flow, stale odors, weak steam, unexpected noise, visible scale, or a persistent warning light can indicate that maintenance is overdue.
Choose Proper Cleaning Products
Use mild, non-abrasive dish soap on washable parts and a soft, lint-free cloth on the exterior. For internal cycles, use the cleaning tablet, milk-system cleaner, or descaler approved for the machine.
Avoid abrasive sponges, steel wool, scented cleaners, random household detergents, and improvised chemicals. Do not add extra concentrate in an attempt to speed up the process.
Store cleaning products in their original containers and keep them separate. Rinse measuring tools and collection containers before using them for another purpose.
Troubleshooting Problems After Cleaning
Coffee Tastes or Smells Like Cleaner
Stop brewing coffee and run the remaining fresh-water rinse cycles specified in the manual. Wash the reservoir and removable parts again if permitted. Do not try to neutralize one cleaner by adding another chemical.
The Descale Light Stays On
Confirm that you entered and completed the machine’s dedicated descale mode. Some machines require a specific button sequence, volume of water, or final rinse before the alert resets.
The Machine Brews a Partial Cup or Runs Slowly
Check the reservoir seating, water level, brew basket, pod holder, needle openings, shower screen, and descale status. Clean only the accessible parts listed in the manual. If the problem continues after the full approved process, contact the manufacturer.
The Coffee Maker Leaks
Unplug the machine. Reseat the reservoir, drip tray, carafe, portafilter, or removable seals as appropriate. Inspect for cracks and worn gaskets. Do not continue operating a machine that leaks into its electrical housing.
The Grinder Still Clogs
Unplug it and clear the chute and accessible burr chamber according to the grinder manual. Very oily beans may increase residue. If the motor hums without turning or the burr carrier cannot be reinstalled correctly, stop and seek service rather than forcing it.
Frequently Asked Questions
Can I use vinegar instead of a commercial coffee maker descaler?
Use vinegar only when the manual for your exact model permits it and provides a concentration and procedure. Some manufacturers allow diluted vinegar, while others warn that it may damage internal components or leave persistent odor. When the manual requires an approved descaler, use that product.
How often should I clean my coffee maker?
Rinse or wash frequently used removable parts after use or every few days, depending on the part and manual. Perform deeper cleaning periodically. Descale when the machine alerts you or at the interval set by the manufacturer, adjusted for water hardness and use.
What should I avoid when cleaning a coffee maker?
Avoid immersing the powered base, using abrasive pads, guessing cleaner concentrations, mixing chemicals, putting unapproved parts in a dishwasher, forcing clogged components, touching hot parts, or placing your fingers near sharp pod needles.
Is it safe to use bleach in a coffee maker?
Do not run bleach through a coffee maker unless the manufacturer expressly provides a procedure for your model. Bleach residue is difficult to manage in an internal brew path, and bleach must never be mixed with vinegar, ammonia, descaler, or another cleaner.
Can I clean coffee maker parts in the dishwasher?
The powered machine must never go in a dishwasher. Some removable carafes, baskets, trays, reservoirs, or frother parts may be dishwasher-safe, while visually similar parts may require hand washing. Check the manual for every component before using a dishwasher.
How do I know when my coffee maker needs descaling?
Use the maintenance light or schedule in the manual. Possible signs include slower flow, reduced serving volume, unusual noise, inconsistent heating, visible scale, or a persistent descale alert. Those symptoms can have other causes, so follow the approved troubleshooting process.
Can I wash coffee grinder burrs with water?
Usually not. Many grinder manufacturers recommend brushing burrs and the chamber while washing only approved removable hoppers and grounds bins. Water can cause corrosion or damage if it reaches burrs, bearings, or the motor. Follow the grinder manual.
What should I do if mold or a bad odor returns?
Unplug the machine and wash all accessible, manufacturer-approved removable parts. Dry them thoroughly and complete the approved internal cleaning process. If mold appears inside an inaccessible water path or the odor remains after proper cleaning and rinsing, contact the manufacturer about service or replacement.
Conclusion
Avoiding common coffee maker cleaning mistakes comes down to using the correct process for each part. Wash coffee and milk residue from accessible components, descale mineral deposits only with an approved method, rinse thoroughly, and follow the machine’s alerts and manual instead of relying on a universal schedule. Regular attention to the reservoir, brew basket, grinder, milk system, gaskets, and filters helps protect flavor, flow, and long-term performance.
Sources
- NSF — Clean the Germiest Home Items — supports regular cleaning of damp coffee reservoirs.
- CDC — Chlorine Chemical Fact Sheet — supports the warning against mixing household cleaning products.
- Keurig K-Express Use and Care Guide — supports sharp-needle precautions, hand washing, maintenance intervals, and model-specific descaling.
- Nespresso Descaling Kit Guidance — supports the warning that vinegar is prohibited for Nespresso machines.
- Breville — How to Clean an Espresso Machine — supports model-specific espresso cleaning and descaling procedures.
- Baratza — Grinder Cleaning Essentials — supports safe burr-grinder cleaning and maintenance.