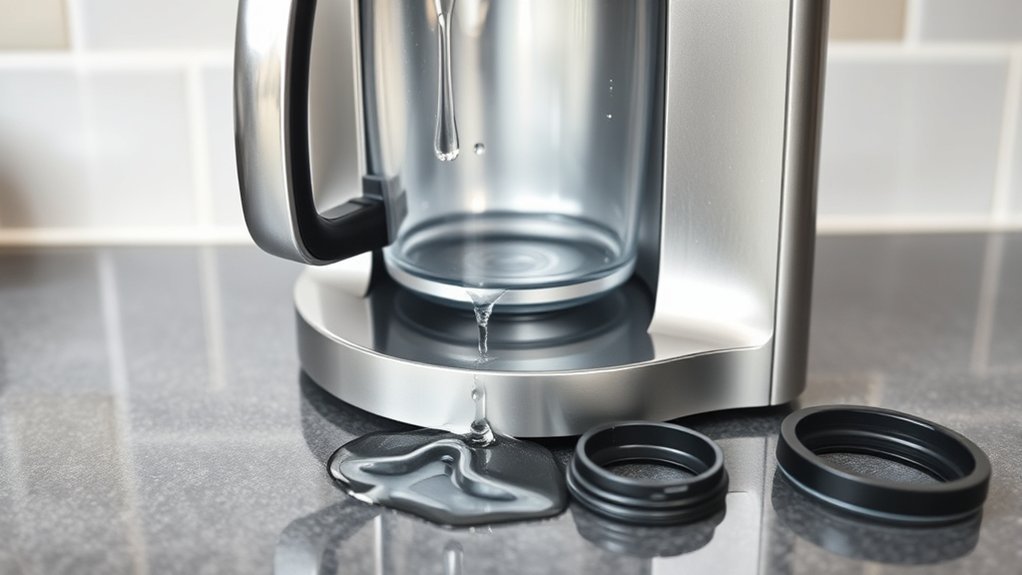
A coffee maker leaking from the water reservoir may have a tank that is overfilled, cracked, dirty underneath, or not seated correctly. The leak can also come from the reservoir outlet valve, an accessible gasket, the drip tray, or an overflowing brew basket. Identifying when and where the water appears is the fastest way to avoid replacing the wrong part.
Quick Answer
Turn off and unplug the coffee maker, dry the counter, and reseat the reservoir. If the tank is removable, fill it below the MAX line and place it on dry paper towels for 10 to 15 minutes. A tank that leaks while removed is usually cracked or has a faulty outlet valve; a dock-only leak points to dirt, misalignment, or a damaged seal.
Key Takeaways
- Unplug the coffee maker before inspecting or cleaning it, and stop using it if water reaches the base, cord, plug, or outlet.
- Test a removable reservoir separately to determine whether the tank itself or its connection to the machine is leaking.
- Clean the tank underside, docking recess, and accessible seal with methods approved in the model’s manual.
- Descaling may correct deposits around a dispensing valve, but it cannot repair a cracked tank, split hose, or worn gasket.
- Replace seals only when damaged and only with an exact model-compatible part; there is no universal six-month replacement schedule.
At a Glance
| Time Required | 15–45 minutes, plus drying or a model-specific descaling cycle if needed |
| Difficulty | Easy for cleaning and tank testing; moderate if an approved replaceable seal is involved |
| Tools Needed | Paper towels, flashlight, soft cloth or sponge, mild dish soap, clean water, and the model’s manual |
| Cost | Usually $0–$30 for cleaning supplies or a model-specific tank or seal; professional service may cost more |
Warning: Turn off and unplug the coffee maker before removing parts or cleaning it. Do not operate it if water has entered the base or reached the cord, plug, outlet, control panel, or warming plate. Let the machine cool and dry completely. Do not open the housing of a model identified as non-user-serviceable.
Common Causes of Coffee Maker Leaks From the Reservoir
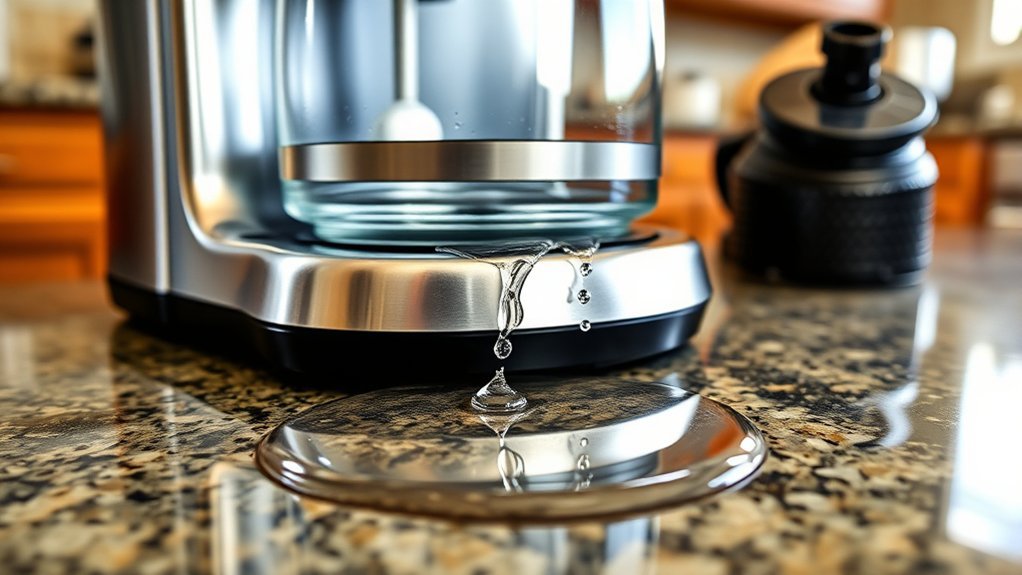
A puddle near the reservoir does not always mean the tank itself has failed. Water can travel along the housing and collect beneath the machine, so first note whether the leak occurs while the coffee maker is idle, while the reservoir is being installed, or only during brewing.
| What You Observe | Most Likely Area to Check |
| The removed reservoir leaks on the counter or in the sink | Cracked tank, damaged outlet valve, loose valve assembly, or failed tank seal |
| The tank holds water when removed but leaks after installation | Dirty docking surface, tilted tank, debris around the valve, or a damaged receiver gasket |
| Water appears only during brewing | Brew-basket overflow, misplaced filter, clogged outlet, carafe alignment, or an internal pressurized connection |
| Water is at the front of the machine | Full drip tray, dripping dispensing head, or carafe spillage |
| Water emerges from beneath the appliance | Reservoir connection or an internal hose, valve, heater, or seal; stop using the machine until identified |
The most common accessible causes include:
- Incorrect reservoir seating: The tank may be tilted, incompletely inserted, or resting on coffee grounds, scale, or another obstruction. Manufacturer troubleshooting commonly starts with checking that the tank is seated correctly. KitchenAid advises checking both seating and visible tank damage.
- Overfilling: Water above the MAX line can spill through an overflow opening, lid gap, or vent when the tank is moved or the machine heats.
- A cracked reservoir: Hairline cracks may open only when the tank is full or installed under slight pressure.
- A dirty or sticking outlet valve: Scale or debris may keep a spring-loaded valve from closing fully.
- A worn accessible gasket: A flattened, torn, twisted, swollen, or missing seal may no longer fit tightly.
- Brew-basket overflow: Too many grounds, an overly fine grind, a doubled filter, or a misplaced filter can send water down the housing and make the reservoir appear responsible.
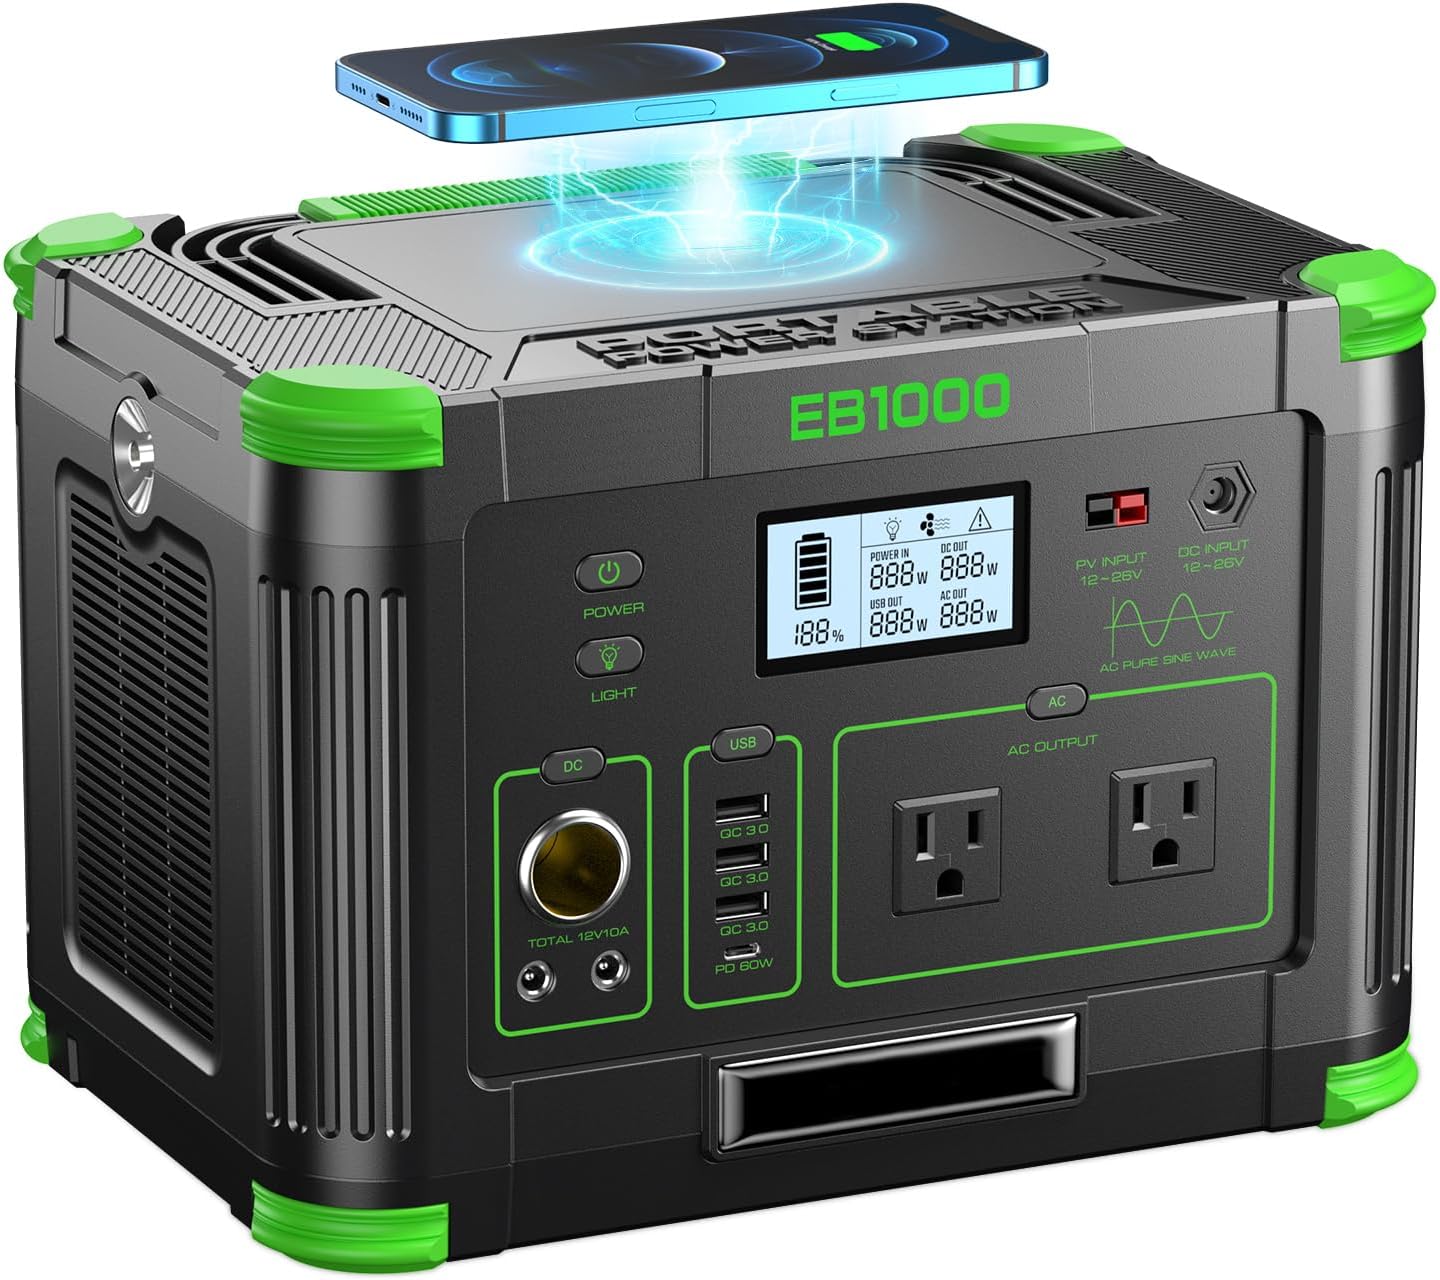
Power your essentials anywhere with a 999Wh pure sine wave power station delivering up to 1000W continuous with 2000W surge. It supports fast charging via USB-C PD 60W and USB-A QC 18W, plus simultaneous output for multiple devices through AC, USB, wireless, and car/DC ports. Recharge using AC, car, or solar with a built-in MPPT controller and dual cooling fans, while the upgraded battery management system protects against surges, short circuits, and overheating.

This is Replacement O Ring Set for Ninja Specialty Coffee Maker Filter CM DCM Series Water Reservoir Flip Lid Drip Stop Sealed Repair
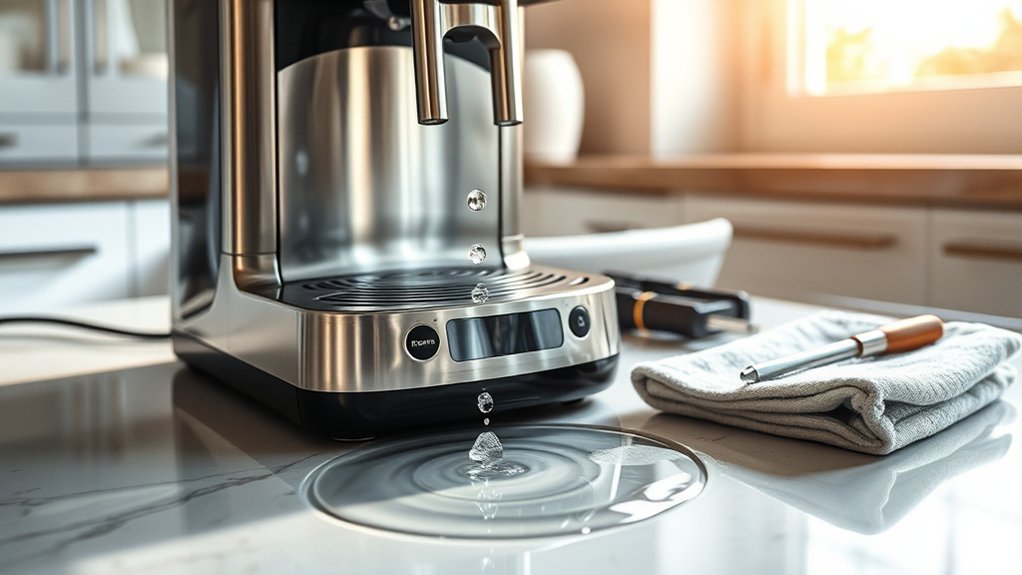
How to Identify the Source of the Coffee Maker Leak
Do not begin by descaling the machine or ordering an O-ring. First isolate the source with the appliance unplugged and the counter completely dry.
1. Inspect the Water Reservoir and Seating Area
Remove the reservoir if the model is designed for removal. Empty it and examine the tank under bright light. Look along corners, seams, molded handles, and the area around the outlet valve for cracks, white mineral crust, deformation, or impact damage.
Next, inspect the underside of the tank and the surface where it docks. Coffee grounds, scale, or a small object can leave the reservoir sitting too high or at an angle. This may prevent the dispensing valve from connecting correctly. Miele’s support guidance specifically identifies a soiled docking surface and deposits around the dispensing valve as possible leak causes.
Wipe the docking area with a damp cloth. Do not pour water into the machine base, push tools into the water inlet, or remove a gasket unless the manual describes it as a user-serviceable part.
2. Test a Removable Reservoir Separately
- Dry the reservoir completely on the outside.
- Fill it with cool water to a level below the MAX line.
- Place it upright in a dry sink or on several clean paper towels.
- Wait 10 to 15 minutes without pressing the outlet valve.
- Check beneath the tank and around its seams for moisture.
If the reservoir leaks while separated from the coffee maker, the problem is in the tank, outlet valve, or tank-mounted seal. Replace the complete reservoir or an approved serviceable part rather than attempting to patch a drinking-water component with glue or tape.
If the tank remains dry, the leak is more likely at the docking connection or elsewhere in the coffee maker.
Pro Tip: Place a separate strip of paper towel beneath the tank connection, drip tray, brew basket, and back edge of the machine. The first strip to become wet usually identifies the leak path more reliably than the final puddle location.
3. Check for Mineral Buildup
Hard-water deposits often appear as a white, tan, or chalky layer. Scale can interfere with a removable reservoir’s dispensing valve or slow the machine’s water flow. It may also cause partial cups, longer brewing times, or louder pumping.
Clean only the accessible tank and valve surfaces using the method specified in the owner’s manual. Do not assume a vinegar concentration or cleaning cycle. Some machines permit white vinegar, while others specify a branded or manufacturer-approved descaling solution and a dedicated cleaning mode.
Descaling is appropriate when the machine has slow flow, a maintenance alert, or visible valve deposits. It will not seal a cracked tank, replace a distorted gasket, or repair an internal hose.
4. Examine Accessible Components Thoroughly
Without opening the housing, check these parts:
- The reservoir lid and MAX fill line
- The tank outlet valve and its visible seal
- The docking recess and water inlet
- The drip tray and overflow indicator
- The filter basket, paper or reusable filter, and brew outlet
- The carafe lid and its alignment beneath the drip-stop valve
If the coffee maker has a fixed reservoir, inspect it from above with a flashlight after unplugging and cooling the unit. Look for a split rim, damaged lid, scale, or signs that water has been poured between the tank and housing. Do not tip a machine containing water or remove its base plate.
5. Perform a Controlled Water-Only Test
Only perform this test after the exterior and counter are dry and no leak is present while the machine is idle.
- Reinstall the clean reservoir firmly and fill it below the MAX line.
- Leave out coffee grounds, a pod, and any reusable filter.
- Place the correct carafe or a large heat-safe cup beneath the outlet.
- Plug in the machine and start the smallest water-only cycle.
- Observe from a safe distance without touching wet areas.
- Stop and unplug the coffee maker immediately if water runs toward the base, cord, plug, or controls.
If the leak occurs only during the test, inspect the brew basket, drip stop, carafe position, or other user-accessible brewing parts. Water emerging directly from the underside or rear of the machine indicates a likely internal problem that requires manufacturer support or qualified service.
Step-by-Step Guide to Cleaning the Water Reservoir
Cleaning can fix a reservoir that is sitting unevenly or a dispensing valve that cannot close because of debris. Use the following general process only where it agrees with the model’s instructions.
- Turn off and unplug the machine. Allow hot parts to cool.
- Remove and empty the reservoir. Also remove the water filter cartridge if the manual tells you to do so.
- Wash the reservoir as directed. For many removable tanks, warm water and a small amount of mild dish soap are appropriate. Use a soft cloth or nonabrasive sponge.
- Clean the outlet area gently. Wipe visible deposits from the exterior of the valve and accessible seal. Do not force the spring valve open with a sharp tool.
- Rinse thoroughly. Remove all soap residue from the tank, lid, valve area, and filter holder.
- Clean the docking surface. Wipe away grounds, scale, and standing water from the area beneath the reservoir.
- Air-dry as instructed. Some manufacturers warn against drying the inside with a cloth because lint may remain.
- Reinstall the reservoir squarely. Press only as directed; do not force it into place.
- Run a fresh-water rinse. Follow the manual’s cleansing-brew procedure before making coffee.
Note: Dishwasher safety varies. For example, the Keurig K-Express guide specifies hand-washing for its reservoir and removable parts. Check the manual before placing any tank, lid, gasket, filter holder, or drip tray in a dishwasher.
When to Descale the Coffee Maker
Descale when the machine’s alert appears, the manual’s maintenance interval is reached, or symptoms such as slow flow and partial brewing suggest scale. Follow the exact solution quantity, cycle, and fresh-water rinse sequence in the manual.
For example, the cited Keurig guide calls for descaling every three months or when its notification appears. Some Ninja cleaning instructions and Cuisinart cleaning instructions permit vinegar for specified machines. That does not make one vinegar formula safe for every model.
Warning: Do not add bleach to the reservoir unless the manufacturer explicitly instructs you to use it. Never mix bleach with vinegar, descaler, dish soap, ammonia, or another cleaner. The CDC advises never mixing bleach with any other cleaner.
Why Regular Maintenance Matters for Your Coffee Maker
Routine care cannot prevent every cracked tank or failed internal part, but it can stop debris and mineral deposits from interfering with the reservoir connection, water valve, filter basket, and brewing path.
Prevent Avoidable Repairs
Inspect the reservoir whenever you clean it. Finding a small crack, distorted seal, or buildup around the outlet valve before a large leak develops can protect the counter and reduce the chance of water reaching electrical components.
Keep a note of the model number, cleaning date, descaling date, and parts replaced. This information is useful when contacting the manufacturer and helps prevent repeated cleaning when the machine actually needs a new reservoir.
Maintain Brewing Quality
Scale and residue can slow water flow and change the amount delivered to the coffee grounds. Cleaning the removable reservoir, filter basket, carafe, and approved water path helps the machine dispense a more consistent volume.
Wash removable brewing parts after use as directed, and do not leave wet grounds in the basket. Coffee residue can block the basket outlet and create an overflow that resembles a reservoir leak.
Extend the Machine’s Useful Life
Follow the maintenance alert or schedule in the model’s manual rather than relying on one interval for every machine. Some manufacturers use a time interval, while others track brew cycles or activate a descale light.
Replace a damaged reservoir, lid, valve assembly, or serviceable gasket promptly. Continued use with a known leak may damage the counter, internal electronics, or other components.
Troubleshooting Persistent Coffee Maker Leaks
If the coffee maker still leaks after the reservoir and docking area are cleaned, use the timing of the leak to choose the next step.
- Leaks while the tank is removed: Replace the tank, tank outlet valve, or manufacturer-approved tank seal. A complete replacement reservoir is often safer than an improvised repair.
- Leaks only when the tank is docked: Recheck alignment, the tank underside, the receiver gasket, and the docking recess. Do not force the tank down.
- Leaks only during brewing: Reduce excessive grounds, use the correct filter, clean the basket outlet, and verify that the carafe or cup is correctly positioned.
- Leaks after the drip tray fills: Empty and clean the tray. Condensation and normal post-brew drips can fill a small tray faster than expected.
- Leaks from beneath or behind the housing: Stop using the machine and contact the manufacturer or a qualified appliance technician.
A reservoir that stays dry on its own but leaks when installed usually points to the docking surface, outlet-valve connection, or receiver seal—not a crack in the tank walls.
Do not continue running repeated cleaning cycles through an active base leak. Descaling liquid follows the same water path and may reach components already exposed by the leak.
Signs a Coffee Maker Seal or O-Ring May Need Replacement
Not every coffee maker has a user-removable O-ring. Consult the parts diagram or owner’s manual before trying to remove one. An accessible reservoir seal may need replacement when you find:
- Visible cuts, cracks, missing pieces, or surface flaking
- Flattening that prevents the seal from pressing evenly
- Swelling, stickiness, hardening, or permanent deformation
- A seal that repeatedly twists or slips out of its specified groove
- Continued leaking after the tank and docking surfaces are clean and correctly aligned
There is no universal six-month replacement interval. Replace a seal because inspection or manufacturer troubleshooting shows that it has failed.
Use an exact manufacturer-approved part whenever possible. A generic O-ring with the wrong diameter, thickness, material, or hardness may leak even if it appears to fit. Do not apply petroleum jelly, cooking oil, plumber’s tape, glue, or an unapproved lubricant to the drinking-water connection. Use a food-contact-safe lubricant only when the manufacturer specifically calls for it.
When to Stop Troubleshooting and Request Service
Contact the manufacturer, use warranty service, or consult a qualified appliance technician when:
- Water has reached the cord, plug, outlet, controls, heater, or base interior.
- The machine leaks from beneath the housing rather than an accessible removable part.
- The reservoir is not sold separately and its connection cannot be serviced externally.
- A new model-compatible tank still leaks when installed.
- The machine trips a breaker, loses power, smells hot, sparks, or behaves unpredictably.
- Descaling and fresh-water rinsing do not restore normal flow.
- The manual states that the coffee maker is not user-serviceable.
Check the warranty before removing screws or opening the housing. Some manufacturer warranties exclude damage caused by unauthorized service or non-approved parts. Photograph the leak, record when it occurs, and have the model and serial number ready when requesting support.
Best Practices for Preventing Future Coffee Maker Leaks
- Keep water at or below the marked MAX line.
- Install the reservoir straight and confirm that it sits flat.
- Wipe the tank underside and docking recess before reinstalling the reservoir.
- Inspect the tank, outlet valve, and visible seals during routine cleaning.
- Clean the filter basket and use the correct filter and amount of coffee grounds.
- Empty the drip tray before it reaches its overflow point.
- Use the manufacturer-approved descaling procedure at the specified interval or when prompted.
- Do not store or transport the coffee maker with water in the reservoir.
- Replace physically damaged water-contact parts instead of patching them.
Frequently Asked Questions
Can I use dish soap to clean the coffee maker reservoir?
Yes, if the model’s manual permits it. Use a small amount of mild dish soap, warm water, and a nonabrasive cloth or sponge. Rinse the reservoir thoroughly so no soap remains. Do not assume the tank is dishwasher-safe; many reservoirs must be hand-washed.
How often should I replace the O-ring in my coffee maker?
Replace it when it is cracked, flattened, swollen, hardened, distorted, missing, or confirmed as the source of a persistent leak. There is no universal replacement interval. First confirm that the seal is user-serviceable and obtain the exact part for the coffee maker model.
Does hard water affect my coffee maker’s performance?
Yes. Minerals can collect in valves and water passages, slowing the brew and causing partial cups. Deposits around a reservoir dispensing valve may also prevent it from closing correctly. Descale according to the model’s instructions, but replace any tank or seal that is physically damaged.
Can I run my coffee maker without water to clean it?
No. Do not operate the coffee maker dry. Use fresh water or the exact cleaning solution and quantity specified in the manual. Running a pump or heating system without water may cause overheating, noise, air-lock symptoms, or damage.
Is it safe to use bleach for cleaning my coffee maker?
Do not use bleach unless the manufacturer expressly instructs you to use it for that model. Bleach can leave residue and may damage components. Never mix bleach with vinegar, descaler, ammonia, dish soap, or any other cleaner because hazardous gases or reactions may result.
Why does the reservoir leak only when it is installed?
Installing the tank presses open its spring-loaded outlet valve. A dirty docking surface, misalignment, scale around the valve, or a damaged receiver gasket may then let water escape. Clean and reseat the tank; if the leak remains, replace the approved seal or reservoir connection part.
Should I replace the reservoir or repair it?
Replace the complete reservoir when the plastic is cracked, the outlet valve is not sold separately, or the manufacturer provides the tank only as an assembly. Replace an individual gasket only when it is listed as a serviceable, model-compatible part. Do not patch a drinking-water reservoir with household glue or tape.
Conclusion
A coffee maker leaking from the water reservoir is often caused by an overfilled or poorly seated tank, debris at the docking connection, a sticking outlet valve, a damaged seal, or a cracked reservoir. Testing a removable tank separately is the quickest way to distinguish a tank failure from a dock-only leak.
Clean only the user-accessible parts, follow the model’s approved descaling method, and replace damaged water-contact components with exact compatible parts. Stop using the coffee maker and request service if water reaches the base, cord, plug, controls, or other electrical areas.
Sources
- KitchenAid Product Help: Leaking From the Water Tank — supports checking reservoir seating, cracks, and damage.
- Miele USA: Water Under the Coffee Machine — supports cleaning the tank docking surface and deposits around the dispensing valve.
- Keurig K-Express Use & Care Guide — supports unplugging before cleaning, hand-washing instructions, descaling intervals, and user-serviceability limits.
- Ninja DualBrew Cleaning Guidance — demonstrates model-specific cleaning and descaling requirements.
- Cuisinart Coffee Maker Cleaning Guidance — supports model-specific cleaning, removable-part washing, and descaling procedures.
- CDC: How to Safely Clean and Sanitize With Bleach — supports the warning never to mix bleach with another cleaner.