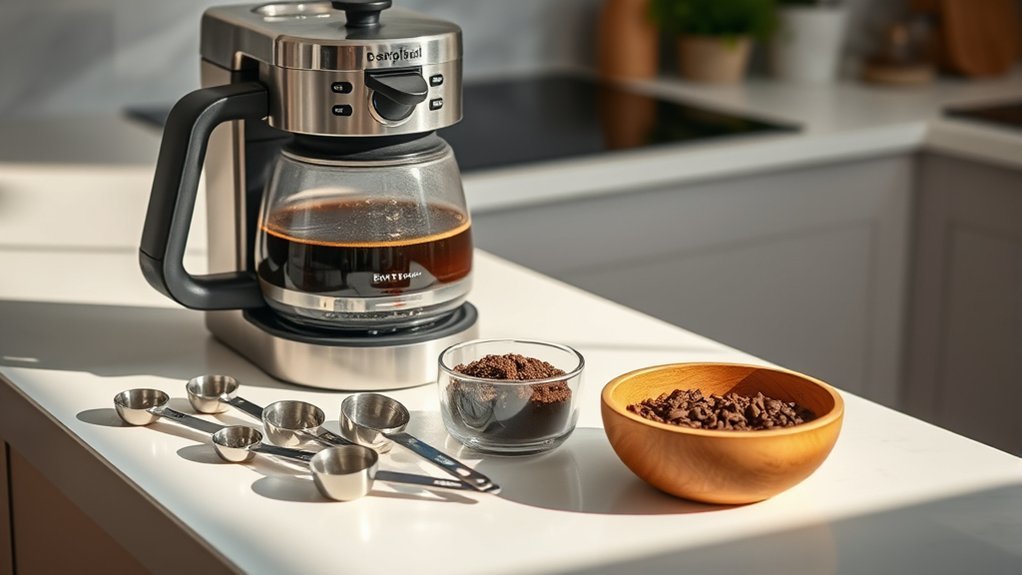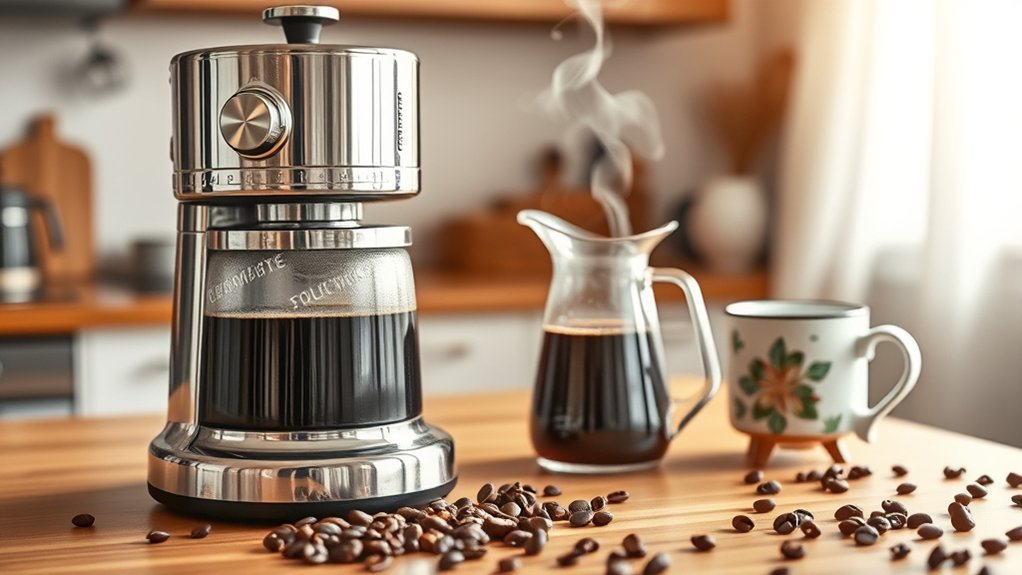
The 1–4 cup setting on a drip coffee maker is an automated brew cycle engineered to optimize extraction when making a small batch. When brewing only a few cups in a large 10- to 14-cup machine, standard water flow rushes through the shallow bed of coffee grounds too quickly, leading to weak, under-extracted coffee. Activating the 1–4 cup mode changes the water delivery rate, pulse intervals, or heating profile to ensure full flavor development. For the best cup, use your machine’s cup markings, weigh your coffee, engage the small-batch mode, and allow the complete cycle to run.
Quick Answer
To use a 1–4 cup setting, fill the water reservoir only with the amount you intend to brew, add medium-ground drip coffee (dosed for that water volume), press the 1–4 Cup button, and start the cycle. The machine slows water flow or pulses delivery to properly extract small batches from shallow grounds beds.
Key Takeaways
- Solves Under-Extraction: The 1–4 cup mode extends water-contact time to compensate for a shallower coffee bed in large brew baskets.
- Brewer Cups ≠ Drinking Mugs: Coffee-maker “cups” are typically 5 fluid ounces (about 150 mL), not standard 8-ounce measuring cups.
- Precise Golden Ratio: Use approximately 55 to 60 grams of ground coffee per liter of water (about 1:16 to 1:18 ratio) as a reliable scale-based baseline.
- Grind Consistency: Stick with a medium automatic-drip grind. Grinding too fine to compensate for batch size risks basket overflow and bitter channeling.
- Thermal Care: Decant small batches promptly to prevent standard warming plates from rapidly scorching low liquid volumes.
- Let the Program Finish: Do not interrupt the brew cycle manually; small-batch modes rely on programmed pulse pauses.
At a Glance
| Time Required | 6 to 10 minutes (slightly slower delivery than standard mode) |
| Difficulty | Beginner / Easy |
| Tools Needed | Drip coffee maker with 1–4 cup setting, carafe, filter, digital kitchen scale or scoop |
| Cost | Standard cost of water, coffee beans, and paper filter (if applicable) |
Before You Brew: Check Your Coffee Maker’s Manual
Before using the small-batch function, verify the exact control sequence for your brewer model. While the label 1–4 Cups or Small Batch is common across brands, manufacturers implement the mechanical adjustments differently.
According to Hamilton Beach technical documentation, its 1–4 cup mode slows the water delivery pump, extending the total brewing cycle to maximize flavor extraction from smaller coffee doses. Other manufacturers, including Cuisinart, modify water heater pulsing and element temperature to ensure brew water stays within the optimal extraction window.
Note on Cup Sizing: Automatic drip coffee makers do not use standard 8-ounce culinary cups. Most manufacturers designate a “cup” as 5 fluid ounces (approx. 148–150 mL). Always fill water according to the reservoir gauge rather than standard kitchen measuring cups.

Power your essentials anywhere with a 999Wh pure sine wave power station delivering up to 1000W continuous with 2000W surge. It supports fast charging via USB-C PD 60W and USB-A QC 18W, plus simultaneous output for multiple devices through AC, USB, wireless, and car/DC ports. Recharge using AC, car, or solar with a built-in MPPT controller and dual cooling fans, while the upgraded battery management system protects against surges, short circuits, and overheating.

SEMI-TRANSPARENT WATER RESERVOIR holds up to 5 cups of water capacity with a level indicator to always ensure you have enough water ready for brewing.

Please refer to user guide or user manual or user guide (provided below in PDF) before first use
Why Use the 1–4 Cup Setting for Small Batches?
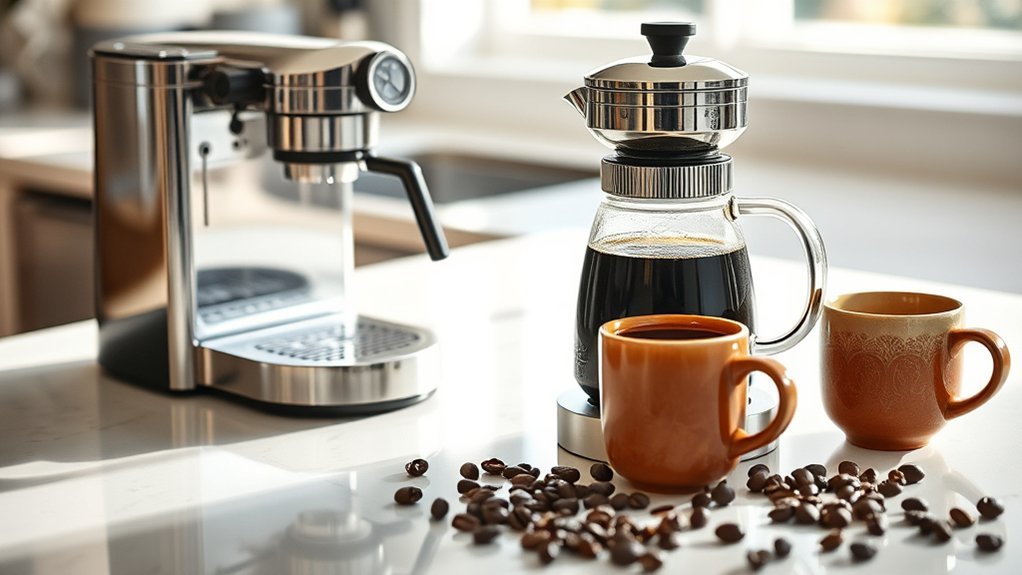
Most standard multi-cup coffee machines are engineered around a full 10- to 12-cup carafe. When you brew a full pot, a deep bed of coffee grounds naturally resists water flow, holding water in contact with the coffee long enough to extract balanced flavors, dissolved solids, and aromatic oils.
Brewing 2 to 4 cups in a wide filter basket creates a very thin, shallow layer of coffee grounds. Without the 1–4 cup setting, the following issues occur:
- Water Channeling: The fast stream from the showerhead punches through the shallow grounds, bypassing most of the coffee.
- Under-Extraction: Water drains into the carafe too quickly, leaving the coffee sour, weak, and thin.
- Heat Loss: Small water volumes lose heat quickly when traveling through a cold showerhead and basket, resulting in lower brewing temperatures.
What Does the 1–4 Cup Setting Actually Change?
The small-batch setting compensates for reduced volume through targeted mechanical adjustments:
- Pulsed Water Delivery: The heating element cycles on and off, showering water in short bursts so grounds can saturate and bloom properly.
- Extended Contact Time: By slowing the flow rate, water remains in contact with the shallow bed long enough to reach proper extraction yields.
- Heater Temperature Management: Some machines adjust boiler cycling to maintain target water temperatures (195°F–205°F / 90°C–96°C) despite lower flow volumes.
How to Select the Small Batch Option on Your Brewer
Activating the mode varies slightly depending on whether your brewer uses a dedicated toggle button or a digital menu system.
- Seat the Filter: Place a clean paper or permanent filter into the brew basket. Ensure it sits flush against the basket walls.
- Add Fresh Water: Pour fresh, cold water into the reservoir for only the specific number of cups you want to make (e.g., fill to the “3” line for 3 brewer cups).
- Add Ground Coffee: Dose your medium-ground coffee according to the water volume added.
- Position the Carafe: Ensure the glass or thermal carafe sits centered on the warming plate with the lid securely aligned with the brew-stop valve.
- Engage the 1–4 Cup Mode: Press the 1–4, Small Batch, or 1–4 Cups button. An indicator light will illuminate on the panel.
- Press Start / Brew: Allow the automated cycle to run to completion without pulling the carafe early.
Warning: Hot steam and boiling water collect in the brew basket. If water backs up or grounds overflow due to an overly fine grind, turn off the machine, unplug it, and allow the basket to cool completely before opening the lid.
Preparing Your Coffee: Measuring Water and Coffee Grounds

Small-batch brewing leaves minimal margin for measurement errors. In a 12-cup pot, being off by half a tablespoon of coffee is barely noticeable; in a 2-cup batch, that same error alters the brew ratio by up to 25%.
Measuring Water Accurately
Most manufacturers base their carafe markings on 5-ounce (150 mL) cup increments. For instance, Cuisinart brewer specifications calculate overall reservoir capacity using 5-fluid-ounce increments.
For repeatable precision, use a kitchen scale or liquid measuring cup to dose water in milliliters (1 mL of water = 1 gram).
Ground Coffee Proportions
The Specialty Coffee Association (SCA) Golden Cup Standard establishes a baseline ratio of 55 grams of coffee per 1,000 mL (1 liter) of water, scalable to approximately 1:16 to 1:18 ratios.
A reliable starting ratio for small batches is 55 grams of coffee per 1 liter of brew water (approx. 8.25 grams per 150 mL brewer cup). Adjust up or down by 1–2 grams to match your preferred strength.
| Water Volume | Brewer Cup Marks | Coffee Dose (at 55 g/L) | Approximate Volume Output |
|---|---|---|---|
| 300 mL (10.1 oz) | ~2 Cups | 16.5 g (~2.5 level tbsp) | 1 standard drinking mug |
| 450 mL (15.2 oz) | ~3 Cups | 24.8 g (~3.5 level tbsp) | 1 large travel mug |
| 600 mL (20.3 oz) | ~4 Cups | 33.0 g (~5 level tbsp) | 2 medium mugs |
Adjusting for Strength
When dialing in your small batch, adjust one factor at a time:
- If the coffee tastes sour or watery: Increase the coffee dose by 1–2 grams, or check that 1–4 cup mode was successfully engaged.
- If the coffee tastes bitter, chalky, or astringent: Reduce the coffee dose slightly or coarsen the grind setting.
- Basket Shape Considerations: Cone-shaped filter baskets concentrate small grounds beds naturally. Wide, flat-bottom commercial baskets spread grounds thinner, making the 1–4 cup setting critical for preventing channeling.
How Much Coffee Do You Need for Small Batches?

Using a digital scale eliminates density discrepancies between different roasts. Dark roasts are less dense and occupy more scoop volume than dense light roasts; weighing by grams ensures consistent strength every time.
Measuring Coffee Grounds Accurately
Place your filter or a dosing cup on a digital scale, tare to zero, and weigh your coffee beans or grounds. For a 450 mL (3 brewer cup) batch, aim for 25 grams. Distribute the grounds evenly across the filter floor without tamping or packing them down.
Pro Tip (Preheat Cold Carafes): Small batches lose temperature rapidly when dripping into a cold glass carafe. Swirl 4–6 ounces of hot tap water inside the carafe for 30 seconds, discard it, and place the preheated carafe on the brewer before starting.
Adjusting Strength Preferences
If your machine includes both a Bold/Strong button and a 1–4 Cup button, consult your manual before selecting both. Some machines allow you to combine both modes to restrict flow further, while other models treat them as mutually exclusive brewing programs.
Batch Size Considerations
Most conventional drip machines do not have internal water meters; they brew whatever volume of water you pour into the reservoir. Never fill the reservoir to 10 cups expecting the machine to stop at 3 cups because the 1–4 button is pressed.
Start Your Brewing Process
Follow this checklist to execute a clean, full-bodied small batch:
- Check Water Level: Confirm the water reservoir matches only the small volume you intend to brew.
- Level the Bed: Gently shake the brew basket horizontally to level the grounds bed before inserting it into the machine.
- Lock Components: Ensure the brew basket is firmly snapped in place and the carafe lid aligns with the drip-stop mechanism.
- Select 1–4 Mode: Press the small-batch control before hitting the brew button.
- Complete the Cycle: Allow the brewer to finish dripping entirely before serving.
- Decant Immediately: If your machine has a standard heated warming plate, turn it off or pour the coffee into your mug right away to prevent scorching.
Do You Need to Watch Brewing Time for the Best Flavor?
On an automatic coffee maker, brewing time is an automated variable. Because the machine introduces pulse pauses to compensate for shallow bed depth, a 1–4 cup cycle often takes nearly as long as a 6- or 8-cup standard cycle.
Brewing Time Importance
Watch brew time as a diagnostic tool rather than a manual stopwatch target:
- Unusually Fast (< 3 minutes for 3 cups): The 1–4 mode may not have engaged, or grounds are too coarse, resulting in sour, under-extracted coffee.
- Excessively Slow (> 8–10 minutes for 3 cups): The grind is too fine, the filter is clogged, or mineral scale is choking the internal heating tube.
Optimal Extraction Techniques
| Brewing Factor | Recommended Starting Point | Why It Matters |
|---|---|---|
| Grind Size | Medium (like kosher salt) | Prevents basket overflow while allowing complete extraction |
| Cycle Timing | Allow full automatic finish | Accommodates programmed pre-infusion and pulsing intervals |
| Brew Ratio | 55–60 g per 1 L of water | Delivers balanced total dissolved solids (TDS) without bitterness |
| Freshness | Whole beans ground before brewing | Maximizes aromatic oils in lower-volume brews |
| Machine Hygiene | Monthly descaling / regular wash | Keeps boiler pump pressure consistent across low water volumes |
Flavor Profile Monitoring
Use taste feedback to fine-tune your next batch:
- Sour, Sharp, or Grassy: Under-extraction. Verify 1–4 cup mode is on, increase dose slightly, or grind slightly finer.
- Bitter, Astringent, or Dry Finish: Over-extraction. Coarsen the grind or reduce the coffee dose by 1–2 grams.
- Burnt or Cooked Taste: Hot plate overheating. Decant the coffee immediately after brewing finishes.
Best Practices for Brewing Small Batches
| Step | Action | Tip |
|---|---|---|
| 1. Water Setup | Pour exact target volume into reservoir | Use reservoir scale markings, not standard 8 oz mugs |
| 2. Dosing | Weigh coffee at ~55 g/L ratio | A digital gram scale yields the most consistent flavor |
| 3. Basket Prep | Level the grounds bed evenly | Avoid pressing or tamping down the grounds |
| 4. Mode Selection | Engage 1–4 Cup / Small Batch button | Confirm the indicator light turns on before pressing Brew |
| 5. Finishing | Let full cycle drip through and serve | Do not leave small volumes resting on high-heat warming plates |
Clean Your Brewer for Better Coffee Quality
Mineral scale accumulation inside the heating elements restricts water flow and lowers brew temperatures. In small-batch cycles where water volume is already low, calcification can cause water to boil away into excess steam rather than saturating the grounds.
Cleaning instructions vary by brand. Consult the Cuisinart Cleaning and Descaling Guide or the official Hamilton Beach Care Manual for approved vinegar-to-water ratios or commercial descaling solutions.
- Daily Rinse: Wash the removable brew basket, permanent gold-tone filter, and carafe with warm, soapy water after every brew to remove rancid coffee oils.
- Monthly Descaling: Run a manufacturer-approved descaling solution or a 1:2 white vinegar-and-water mixture through a complete cycle if water flow slows or the clean light flashes.
- Fresh Rinse Cycles: Run 2 to 3 full pots of fresh, cold water through the machine after descaling before brewing coffee again.
Pro Tip: If your brewer suddenly sputters, produces excess steam, or takes more than 10 minutes to brew 3 cups on the 1–4 mode, descale the machine immediately before changing your coffee grind size.
Experimenting With Coffee Strength and Varieties
Brewing 1–4 cup batches is an efficient way to sample single-origin beans, light roasts, or dark roasts without wasting coffee on full 12-cup pots.
When sampling new beans, keep your water volume constant (e.g., 450 mL) and use the standard 55 g/L ratio. Once you establish the flavor profile of the bean, adjust the dose by 1–2 grams to reach your preferred intensity.
Troubleshooting Brewing Issues
When troubleshooting small batches, adjust only one variable at a time (grind size, dose weight, or water ratio). Adjusting multiple settings at once makes it impossible to pinpoint the fix.
Coffee Is Weak or Watery
- Verify that the 1–4 cup mode indicator light was active during the cycle.
- Ensure you dosed coffee for the actual fluid ounce volume rather than guessing from drinking mugs.
- Increase the coffee dose by 2 to 3 grams.
- Ensure coffee grounds are fresh and ground to medium drip consistency.
Coffee Is Bitter or Harsh
- Coarsen the grind slightly to speed up water drainage through the basket.
- Reduce coffee dose slightly if over-extraction persists.
- Thoroughly clean old coffee oils from the filter basket, drip valve, and carafe.
- Decant immediately so the warming plate does not burn the liquid.
Coffee Brews Slowly or the Basket Overflows
- Do not use espresso-fine or Turkish grinds in a drip coffee maker.
- Ensure the paper filter has not folded over or collapsed during water pulsing.
- Check the spring-loaded drip-stop valve under the basket for grounds obstruction.
- Descale the brewer to remove calcium buildup in the water tubes.
Coffee Is Not Hot Enough
- Preheat the glass carafe with hot tap water before starting the cycle.
- Ensure the machine finishes its complete cycle so all heated water leaves the boiler.
- Descale the machine to restore heating element efficiency.
When Should You Not Use the 1–4 Cup Setting?
Do not activate the 1–4 cup setting when brewing a full pot (5 to 14 cups). Because the mode slows flow and pulses water delivery, using it with a full reservoir can extend brew time past 12–15 minutes, causing over-extraction, muddy bitterness, and potential brew basket overflows.
Frequently Asked Questions
Can I Use Pre-Ground Coffee for Small Batches?
Yes. Commercial pre-ground coffee is typically calibrated to a medium drip grind, making it suitable for 1–4 cup cycles. While freshly ground whole beans offer richer aromatics, standard pre-ground coffee works well as long as you dose it accurately by weight or level tablespoons.
What Type of Water Is Best for Brewing Coffee?
Use fresh, filtered tap water or spring water. Water should be free of chlorine and off-odors but contain moderate mineral content (calcium and magnesium) to bind with coffee flavor compounds during extraction. Avoid pure distilled or zero-mineral reverse osmosis water unless remineralized.
How Often Should I Clean My Coffee Brewer?
Wash the carafe and filter basket with dish soap after every use. Descale the internal boiler every 1 to 3 months depending on your local water hardness. Descale immediately if the machine sputters, develops heavy steam, or takes longer than usual to complete a small-batch cycle.
Is It Okay to Brew Small Batches Daily?
Yes. The 1–4 cup function is engineered for daily use. Keep the warming plate clean and descale on a regular schedule to prevent low-volume water scale buildup on the heating element.
Can I Adjust the Brewing Temperature for Better Flavor?
Most standard drip coffee makers feature factory-set internal thermostats and do not allow manual temperature adjustments. Premium specialty brewers with adjustable PID controllers allow temperature changes, but on standard units, optimal extraction is managed by the 1–4 cup cycle timing.
Does the 1–4 Cup Setting Make Coffee Stronger?
Not inherently. The setting optimizes extraction efficiency so a small batch achieves proper strength instead of turning out watery. To make the cup stronger or bolder, increase the dose of coffee grounds or select a Bold setting if your model permits combining modes.
Can I Use the 1–4 Cup Setting for a Full Pot?
No. Brewing a full 10- to 14-cup reservoir on 1–4 mode will excessively restrict water flow, over-saturate a deep bed of grounds, and cause over-extraction, intense bitterness, and potential brew basket overflows.
Conclusion
The 1–4 cup setting resolves the extraction hurdles of shallow grounds beds and rapid water flow in large drip machines. By slowing water delivery and pulsing the showerhead, your coffee maker achieves balanced extraction and full flavor even on 2- or 3-cup batches. For consistent results, fill only the water you plan to brew, dose your coffee using a scale at approximately 55 g/L, activate the 1–4 cup mode, and decant your fresh coffee promptly.
Sources
- Hamilton Beach FAQs — Technical documentation explaining small-batch water flow and extraction adjustments.
- Hamilton Beach Use & Care Guide — Standard procedures for small-batch brewing, filter prep, and descaling.
- Specialty Coffee Association Home Brewer Certification Requirements — Standards for coffee-to-water ratios, contact time, and water temperatures.
- Cuisinart 14-Cup Programmable Coffee Maker Guide — Details regarding small-batch settings, cup capacities, and heater controls.
- Cuisinart Coffee Maker Cleaning Guide — Official instructions for brewer maintenance, decalcification, and flow preservation.