Setting a coffee maker’s clock takes only a minute once you know whether your machine uses dedicated HOUR/MIN buttons, a single SET CLOCK toggle, a digital menu, or a rotary dial. Programming the internal clock correctly is essential not only for displaying the right time on your countertop, but also for ensuring that delayed-brew schedules start exactly when you expect them in the morning.
Quick Answer
Plug the coffee maker in and keep it in standby mode. Press or hold CLOCK, SET, or HOUR until the display flashes. Adjust the hour (checking the AM/PM indicator), adjust the minutes with MIN or arrow buttons, and wait 5 seconds or press CLOCK again to lock the setting.
Key Takeaways
- Two Distinct Settings: Setting the real-time clock and setting the automatic delay-brew time are separate functions on programmable machines.
- Watch the AM/PM Light: Most automated brewing failures happen because the clock or timer was inadvertently set to PM instead of AM.
- Standby State Required: Adjust the clock when the machine is idle; most models lock out programming controls during active brewing cycles.
- Save Triggers Vary: Some models require pressing a confirmation button, while others save the time automatically after 5 to 10 seconds of inactivity.
- Power Backup Limitations: Most consumer drip makers use volatile memory or short-term capacitors, meaning a brief outage requires a clock reset.
At a Glance
| Time Required | 1–2 minutes |
| Difficulty | Easy |
| Tools Needed | None (reference manual optional) |
| Cost | $0 |
How Coffee Maker Clock Controls Work
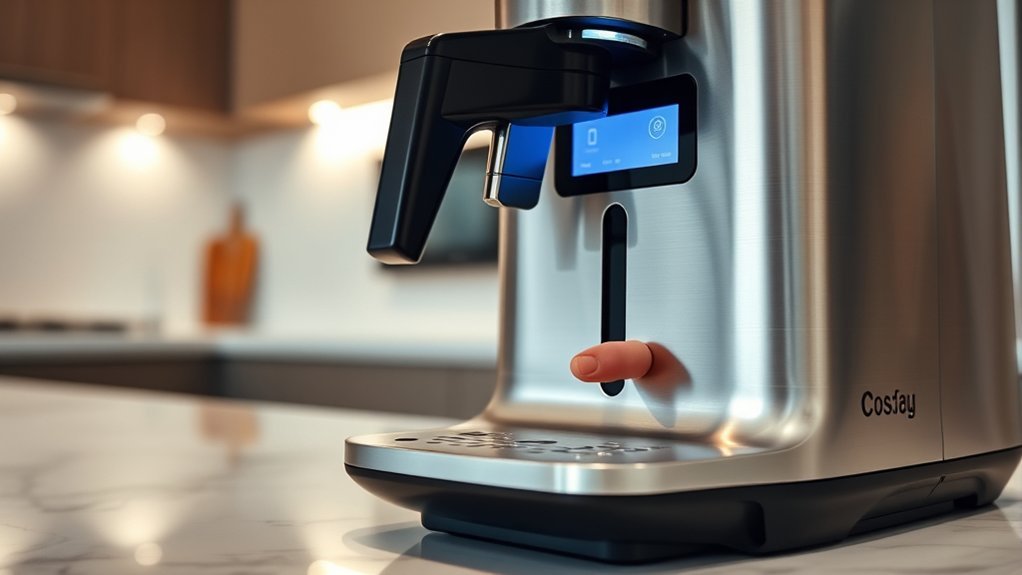
Before pressing buttons at random, inspect your appliance’s interface. Digital coffee makers typically fall into one of four control architectures:
- Dedicated Dual Buttons (H / M): Common on traditional drip brewers like standard Mr. Coffee and Black+Decker units. You press or hold HOUR and MIN directly to advance numbers without entering a dedicated sub-menu.
- Single Set Button: Found on modern Hamilton Beach and compact brewers. Pressing SET CLOCK causes the hour digits to flash, a second press moves to minutes, and the display locks in the setting automatically after a pause.
- Rotary Dial & Push Selection: Used on premium machines from brands like Breville and Ninja. Turning a central knob scrolls through digits, while pressing the knob or a START/SELECT button confirms each parameter.
- Digital Screen Menus: Found on single-serve pod machines (such as Keurig K-Elite or K-Supreme Plus). You navigate through an on-screen gear or settings menu using physical arrows or touchscreen prompts.
If your control panel is faded or unlabeled, check the rating label on the bottom or back of the chassis for the model number, then consult official libraries such as the Cuisinart coffee maker manuals or Mr. Coffee instruction manuals.
Note: Do not confuse the clock buttons with PROG, PROGRAM, DELAY BREW, or BREW LATER. The clock sets the current time of day; delay settings schedule future brewing cycles.

Power your essentials anywhere with a 999Wh pure sine wave power station delivering up to 1000W continuous with 2000W surge. It supports fast charging via USB-C PD 60W and USB-A QC 18W, plus simultaneous output for multiple devices through AC, USB, wireless, and car/DC ports. Recharge using AC, car, or solar with a built-in MPPT controller and dual cooling fans, while the upgraded battery management system protects against surges, short circuits, and overheating.

12-CUP DURALIFE GLASS CARAFE: The sturdy 12-cup* carafe has measurement markings for accurate filling and an easy-grip handle for comfortable pouring. *Cup equals approximately 5 ounces (varies by brewing technique).

Please refer to user guide or user manual or user guide (provided below in PDF) before first use
Universal Step-by-Step Clock Setting Process
1. Put the Machine in Standby & Enter Setup Mode
Ensure the coffee maker is plugged into a functional wall outlet. If the machine is actively running a brew cycle or warming plate routine, cancel the cycle or wait until it finishes. Digital logic boards frequently disable clock adjustments during active heating cycles.
Depending on your machine layout:
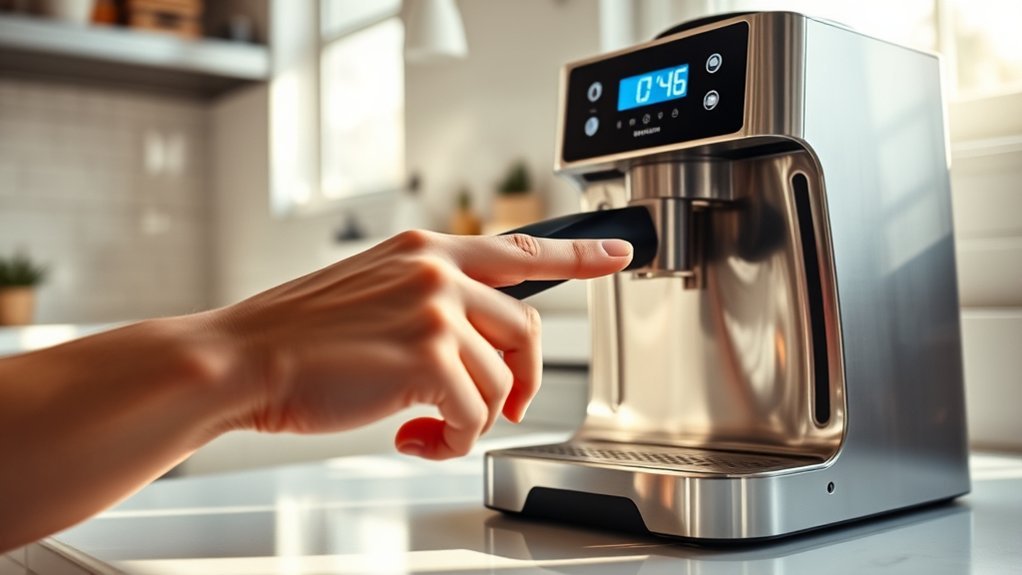
- Press and hold the CLOCK or SET CLOCK button for 2–3 seconds until the digits begin blinking.
- On dual-button machines without a dedicated Clock button, pressing HOUR or MIN directly will initiate adjustment.
- On menu-driven screens, scroll to the Clock or Time menu and press Select.
Warning: Never disassemble the base panel or housing to search for a clock backup battery. Coffee makers contain high-voltage wiring, thermoblocks, and heating elements. Consumer drip machines rely on line power and internal capacitors, not user-replaceable coin-cell batteries.
2. Adjust the Hour and Verify AM/PM
Press the HOUR button, turn the dial, or tap the up/down arrows to reach the current hour. Hold the button down for rapid scrolling, or tap it repeatedly for precise adjustments.
Pay close attention to how your display indicates afternoon and evening hours:
- LED Indicator Dot: A small glowing dot or text reading PM usually illuminates in the upper or lower corner.
- AM Identification: If the PM light is off, the machine is in AM mode. Some displays show an explicit “AM” icon, but many leave the indicator blank during morning hours.
- 24-Hour Format: European and specialty commercial machines may cycle from 00:00 to 23:59 without AM/PM markers.
Pro Tip: When setting the time in the afternoon, cycle the hour forward until you see the PM light activate, then set your target hour. This prevents scheduling your morning auto-brew for midnight or midday by mistake.
3. Set the Exact Minutes
Press the MIN button, tap the minute arrows, or rotate the adjustment knob until the display matches the current time on your phone or reference clock. If your coffee maker uses a single SET CLOCK button, press it once to advance from flashing hours to flashing minutes before adjusting.
If you accidentally scroll past your desired minute mark on models with single-direction cycling, continue cycling through 59 back to 00. Machines with forward and back arrows allow bidirectional navigation.
4. Save and Confirm the Setting
To lock the selected time into the coffee maker’s internal memory:
- Automatic Timeout: Many modern units (such as Hamilton Beach One Press and Black+Decker models) automatically save the setting and exit setup mode after 5 seconds of button inactivity.
- Manual Confirmation: On Cuisinart, Keurig, and Breville units, press CLOCK, SET, or the central dial knob to confirm.
The time display will stop blinking and remain steady once the clock mode has closed successfully. Compare the reading against an external clock to ensure both minutes and the PM indicator are accurate.
| Display State | System Status | Required Action |
|---|---|---|
| Solid, non-blinking time | Clock mode is locked and tracking time normally. | None; machine is ready for delayed-brew programming. |
| Flashing 12:00 or 0:00 | Power loss reset; memory has returned to factory default. | Re-enter current time following standard setup steps. |
| Flashing hour or minute digits | Machine is actively in programming or adjustment mode. | Complete minute selection and wait or press Clock/Set. |
| Illuminated AUTO / PROG LED | Delayed brew timer is armed and scheduled. | Verify that current clock and brew time are both correct. |
Brand-Specific Clock Setting Methods
Different manufacturers implement distinct control logic. Here is how the most common brands operate:
- Mr. Coffee: Most standard 12-cup programmable models feature direct HOUR and MIN buttons. Simply press either button while plugged in to change the time. Press SET DELAY to program the morning timer separately.
- Cuisinart (e.g., DCC series): Turn the function knob to CLOCK, then press and hold HOUR or MIN until numbers flash. Cycle to the correct time, then rotate the function knob back to AUTO ON, AUTO OFF, or BREW to lock it in.
- Hamilton Beach: On traditional BrewStation models, press H and M directly. On single-button One Press models, tap SET CLOCK once for hours, tap again for minutes, and let it sit for 5 seconds to automatically save.
- Keurig (e.g., K-Elite, K-Supreme Plus): Press the Settings button (gear icon) or navigate to the Clock icon using directional arrows. Use the arrows to select the hour, verify AM/PM, adjust minutes, and tap OK or Save.
- Ninja Coffee Bar & DualBrew: Press the CLOCK button once. The clock display will illuminate. Use the H (Hour) and M (Minute) buttons to set the time, then press the CLOCK button again or wait 5 seconds to store.
- Black+Decker (QuickTouch): Press HOUR and MIN directly on the digital pad. Black+Decker units save immediately upon button release.
Current Time vs. Automatic Brew Programming
The current clock tells the coffee maker what time it is right now; the auto-brew setting tells it when to trigger the heating element. Both must have their AM/PM settings aligned for morning coffee to brew on schedule.
Once your real-time clock is verified, follow this separation of operations for scheduling:
- Press the PROGRAM, PROG, DELAY BREW, or BREW LATER button. The display will change from the current time to a preset brew time (often defaulting to 6:00 AM).
- While the program indicator light flashes, use the HOUR and MIN buttons to set your desired start time. Ensure the AM indicator is illuminated for morning brewing.
- Press the PROGRAM or AUTO button again, or wait for the display to time out back to the current time.
- Verify that the indicator light beside the AUTO or PROGRAM button remains steadily illuminated. If the LED is dark, the automatic schedule is disabled.
Troubleshooting Coffee Maker Clock & Display Issues
Clock Constantly Flashes 12:00 or Resets
If the display resets to 12:00 every time you plug in the machine or flip a counter switch, the unit is operating normally for a model without persistent non-volatile memory. Drip coffee makers rely on line voltage to track time. However, if the clock resets while plugged into an uninterrupted outlet, inspect the wall socket for loose prongs or test another kitchen circuit.
Clock Resets After a Split-Second Outage
Memory retention during blackouts varies by design. While units such as the Cuisinart DCC-1170 include a 60-second power loss backup capacitor, most entry-level machines lose their clock settings immediately when line power drops below operational thresholds. Re-program both the clock and delay-brew timer after any storm or breaker trip.
Clock Buttons Do Not Respond
- Active Cycle Lockout: If the heating element or warming plate is on, press the power/brew cancel button to enter standby before attempting to program.
- Button Press Duration: Some controllers require holding the CLOCK or PROG button for a full 3 seconds to prevent accidental bumping from resetting the time.
- Microcontroller Freeze: Perform a hard power cycle. Unplug the coffee maker from the wall for 60 seconds to allow the internal logic capacitors to fully discharge, plug it back in, and test the buttons again.
- Kitchen GFCI Trip: Test the outlet with a lamp or multimeter to ensure the countertop GFCI receptacle has not tripped.
Coffee Maker Brews 12 Hours Off Schedule
This is the most common scheduling problem. It occurs when either the main clock is set to 7:00 PM instead of 7:00 AM, or the DELAY BREW timer is set to PM. Access both the real-time clock mode and the programming mode to verify that the PM indicator light matches the appropriate 12-hour period on each screen.
Clock Gains or Loses Several Minutes Per Day
Coffee makers use basic quartz crystal oscillators or AC line frequency timing to keep time. If your clock gains or loses more than 2 to 5 minutes over a week, the internal timing circuit or control board may be failing, or voltage fluctuations on the home circuit may be interfering with AC cycle counting. If accurate timing is critical for auto-brewing, contact the manufacturer for replacement parts.
How to Maintain Clock Accuracy & Reliability
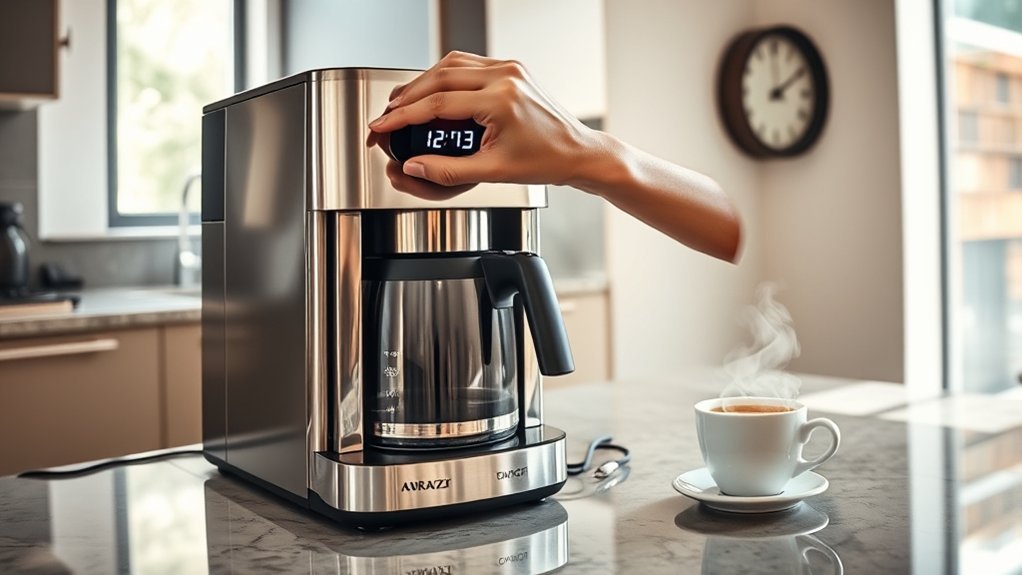
Keep your machine’s digital display running reliably with these maintenance best practices:
- Bi-Annual Daylight Saving Adjustments: Drip coffee makers lack Wi-Fi synchronization. Manually advance or set back the hour twice a year to keep scheduled morning brews aligned with your routine.
- Avoid Switched Outlets: Do not plug programmable coffee makers into wall outlets controlled by a kitchen wall light switch, as turning off the switch wipes the clock memory.
- Steam Protection: Position the coffee maker away from under-cabinet steam traps where boiling vapor can penetrate the control board housing and cause display segments to dim or short out.
- Surge Protection: Use a kitchen-rated surge strip if your local electrical grid experiences frequent brownouts or voltage spikes.
Should You Turn Off Your Coffee Maker First?
You should stop any active water heating or brewing cycles, but leave the coffee maker connected to live electrical power. Digital clocks require incoming electricity to power the LCD/LED screen and register logic inputs. Canceling the brew cycle returns the motherboard to standby state, which un-locks the programming buttons on models equipped with cycle protection.
Frequently Asked Questions
Can I set the clock while the coffee maker is brewing?
Most coffee makers lock out clock and timer adjustments during an active brew cycle to prevent control conflicts and ensure consistent heating power. Wait until the brew cycle finishes and the appliance enters standby before setting the time.
What if my coffee maker does not have a digital display?
Coffee makers without digital displays lack internal clocks and cannot be programmed directly. If you have a basic mechanical switch brewer, you can plug it into a heavy-duty external appliance timer or a smart plug with scheduled power automation.
Does the Program button save the current clock time?
No. On almost all programmable brewers, the PROGRAM or PROG button is strictly for scheduling automated future brewing. The real-time clock is saved automatically after setting or by pressing a dedicated CLOCK/SET button.
Is there a universal factory-reset procedure?
There is no universal button combination for all brands. However, unplugging the machine from the wall for 60 to 90 seconds drains the internal motherboard capacitors on almost all consumer drip brewers, resetting the clock to 12:00 and clearing stored delay timers.
How often should I check the clock for accuracy?
You only need to check the clock after power interruptions, when adjusting for daylight saving time, or if you notice your morning delayed brew starting slightly earlier or later than scheduled.
Can I change the display from 12-hour to 24-hour time?
Most standard North American drip coffee makers operate on a fixed 12-hour AM/PM system. High-end espresso machines and select European models (like Breville or De’Longhi) allow toggling 12/24-hour formats inside their digital setup menus.
Why does the clock keep returning to 12:00?
A clock that frequently resets indicates an intermittent power loss. Common causes include a loose power cord, plugging into a switched wall outlet that gets turned off, a tripping kitchen GFCI breaker, or a degraded internal power supply on an older appliance.
Conclusion
Setting the clock on a coffee maker is straightforward once you identify your unit’s interface. Put the machine in standby mode, enter time setup using your brand’s designated button or menu, verify the AM/PM indicator, adjust the hours and minutes, and confirm the setting. Keeping your real-time clock accurate ensures your automated morning brew starts precisely on schedule every day.
Sources
- Hamilton Beach One Press Coffee Maker Use and Care Guide — official documentation detailing single-button clock programming and electrical operation.
- Hamilton Beach Stay or Go Thermal Coffeemaker Manual — covers dual H/M button configurations and separate PROG scheduling logic.
- BLACK+DECKER DCM2160 Use and Care Manual — details QuickTouch digital controls, independent delay-brew settings, and display indicators.
- Cuisinart DCC-1170 Product Guide — documents 60-second power loss memory retention specifications.
- Cuisinart Coffee Maker Manual Library — searchable manufacturer repository for DCC, SS, and DGB series control layouts.
- Mr. Coffee Instruction Manuals — official product guide database for programmable drip coffee brewers.