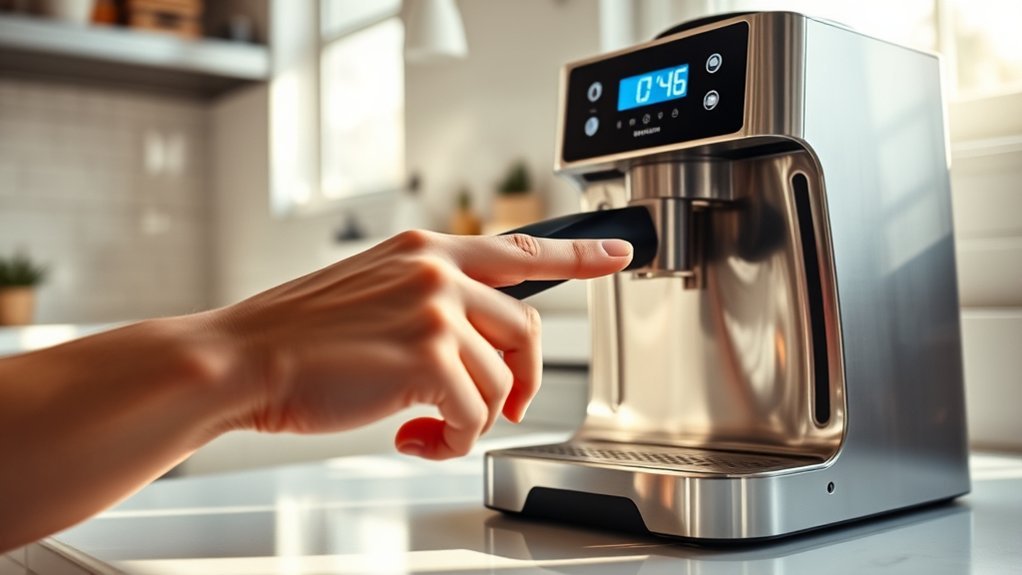
Setting a coffee maker’s clock usually takes only a minute or two, but the exact buttons depend on the model. Some machines use separate HOUR and MIN buttons, while others use one SET CLOCK button, arrow keys, a dial, or a touchscreen menu. Start by identifying your controls, then set the time and delayed-brew schedule separately.
Quick Answer
Plug in the coffee maker, enter its clock-setting mode, set the hour and correct AM or PM period, and then set the minutes. Depending on the model, the time may save automatically after a few seconds or require another press of CLOCK or SET. Program automatic brewing separately.
Key Takeaways
- Check the labels on your control panel or find the model’s manual before assuming which buttons set the clock.
- Common controls include HOUR and MIN, a single SET CLOCK button, or a CLOCK menu with arrow keys.
- Watch the AM or PM indicator carefully, especially when setting a morning auto-brew time.
- The current clock and the scheduled brewing time are separate settings on most programmable machines.
- Power-loss behavior varies by model, so reset the clock whenever the display flashes 12:00, 0:00, or another default time.
At a Glance
| Time Required | 1–3 minutes |
| Difficulty | Easy |
| Tools Needed | None; the model manual may help |
| Cost | $0 |
How to Set the Clock on Your Coffee Maker
Before pressing any buttons, look at the control panel and identify labels such as HOUR, MIN, CLOCK, SET CLOCK, MENU, or arrow symbols. The Program, Auto, Delay Brew, or Brew Later control may be for scheduling coffee rather than setting the current time.
If you cannot identify the controls, find the model number on the bottom, back, or rating label of the machine. You can then search the manufacturer’s manual library, such as the official Cuisinart coffee maker manuals or Mr. Coffee instruction manuals.
Note: Setting the clock and setting the automatic brewing time are normally two different tasks. First set the correct time of day. Then use the Program, Auto, Delay Brew, or Brew Later control if you want the machine to start automatically.
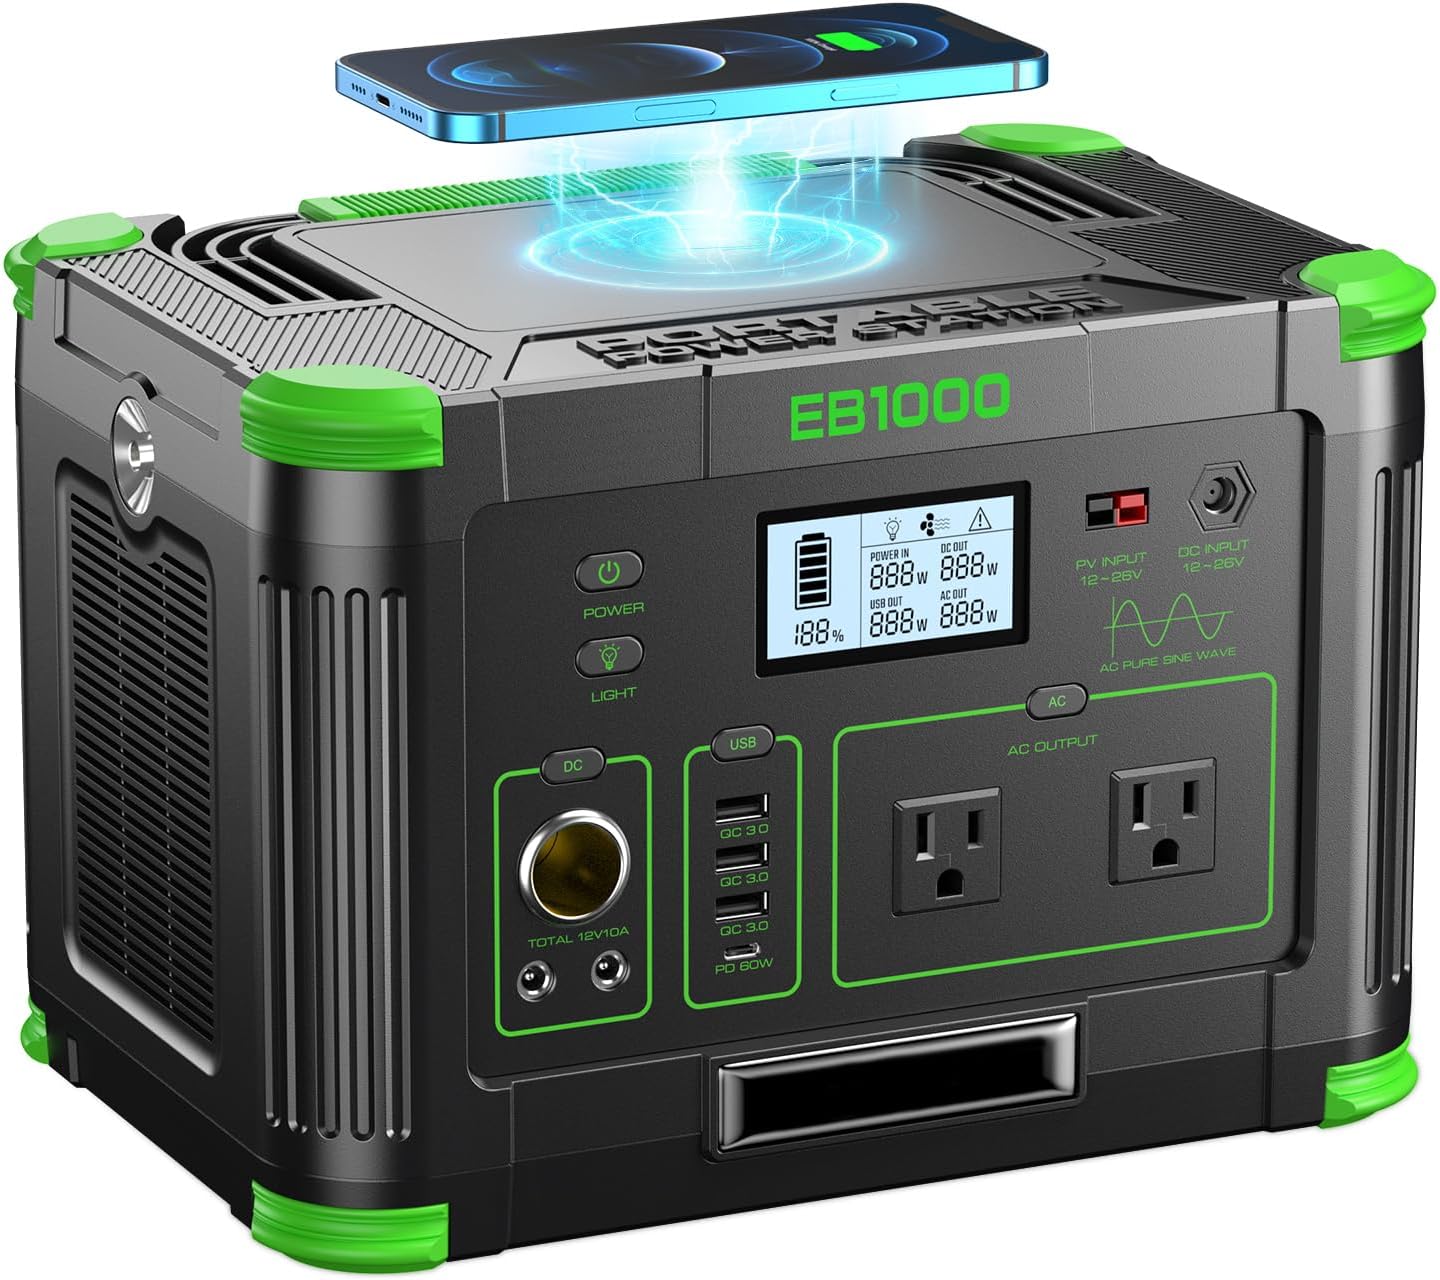
Power your essentials anywhere with a 999Wh pure sine wave power station delivering up to 1000W continuous with 2000W surge. It supports fast charging via USB-C PD 60W and USB-A QC 18W, plus simultaneous output for multiple devices through AC, USB, wireless, and car/DC ports. Recharge using AC, car, or solar with a built-in MPPT controller and dual cooling fans, while the upgraded battery management system protects against surges, short circuits, and overheating.

12-CUP DURALIFE GLASS CARAFE: The sturdy 12-cup* carafe has measurement markings for accurate filling and an easy-grip handle for comfortable pouring. *Cup equals approximately 5 ounces (varies by brewing technique).

WHAT'S IN THE BOX: One water filter handle, and one filter to help ensure your beverages taste their absolute best.
Step-by-Step Instructions for Setting the Clock
1. Identify Your Model and Clock Controls
Check whether your coffee maker uses one of these common layouts:
- Separate HOUR and MIN buttons: Press or hold HOUR until the correct hour and AM/PM period appear, then adjust MIN.
- One SET CLOCK button: Press it to select the hour, wait for the minutes to flash, and press it again to advance the minutes.
- CLOCK plus arrow buttons: Hold CLOCK or select it from the menu, then use the arrows to change the hour and minutes.
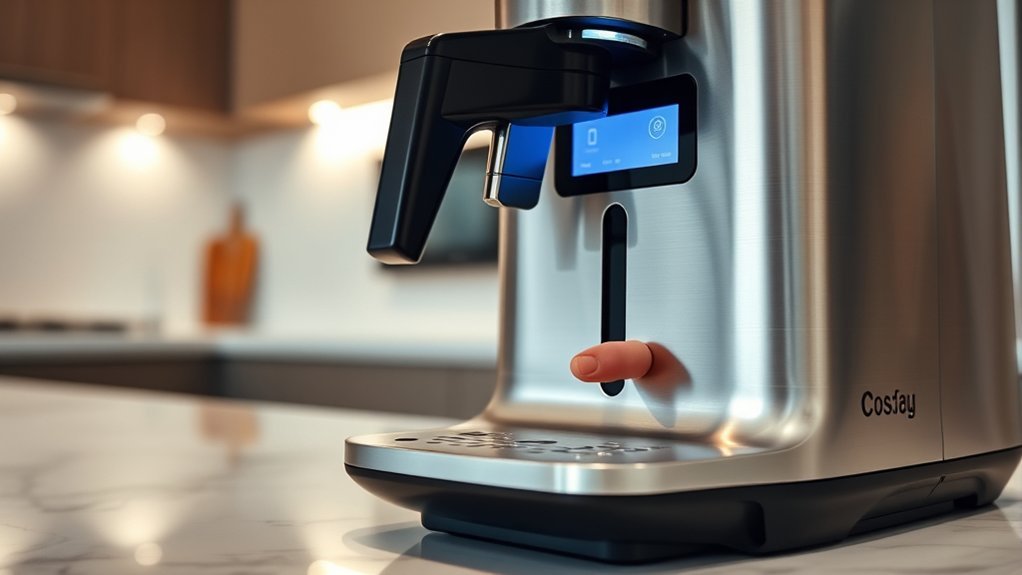
- Dial or touchscreen: Open Settings or Clock, adjust the time, and select Save, Done, or the check mark if shown.
For example, one official Hamilton Beach guide uses separate H and M buttons, while a newer Hamilton Beach model uses one Set Clock button and saves the selected time after a short pause. That is why the model manual should take priority over generic directions.
2. Stop Brewing or Use Standby if Required
You do not need to unplug the coffee maker to set its clock. In fact, the display normally needs power while you change the time. If the machine is actively brewing, wait until the cycle ends or stop it according to the manual. Some control panels ignore clock buttons during a brew cycle.
If the machine has a separate power or brew button, leave it in its normal standby state unless the manual says otherwise. The display may remain illuminated even when the heating and brewing functions are off.
Warning: Do not remove the bottom cover, control panel, or outer housing to look for a clock battery. Coffee makers contain electrical components, and many have no user-serviceable clock battery. If the cord, plug, display, or controls appear damaged, unplug the machine and contact the manufacturer.
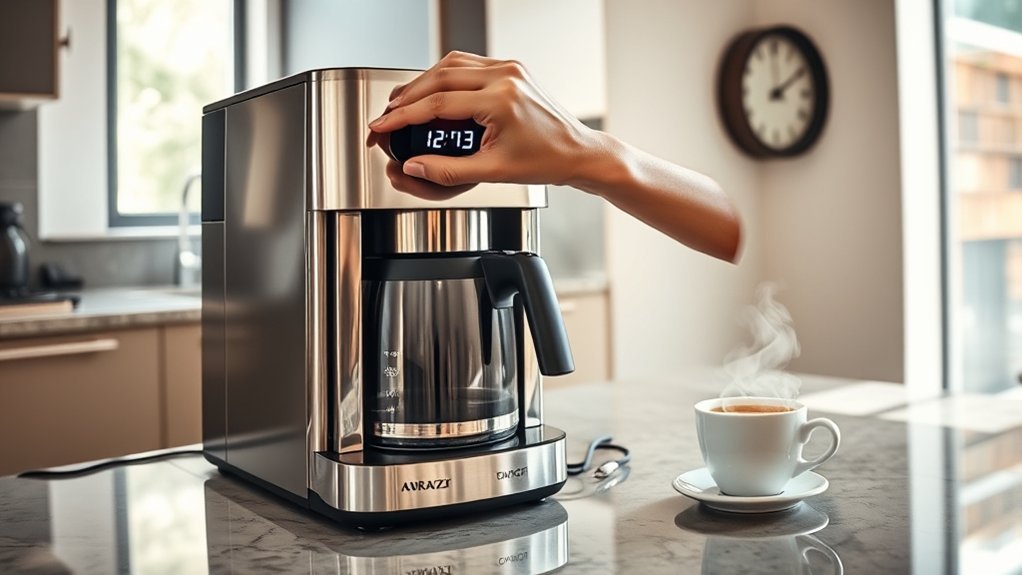
3. Adjust the Hour and Minute
Enter clock-setting mode using the control named in your manual. Then set the time in this order:
- Set the hour. Press or hold HOUR, CLOCK, SET CLOCK, or the appropriate arrow until the correct hour appears.
- Check AM or PM. On many 12-hour displays, a small PM light or letters appear only during afternoon and evening hours. No indicator may mean AM.
- Set the minutes. Press MIN or the appropriate control until the exact minute appears.
- Save the setting. Wait several seconds if the display saves automatically, or press CLOCK, SET, DONE, or the control specified in the manual.
Holding a button usually advances the numbers quickly, while short presses move one hour or minute at a time. If you pass the correct number, continue cycling forward or use a back arrow when the panel provides one.
4. Confirm the Time Setting Properly
After the display returns to its normal state, compare it with a phone or another accurate clock. Confirm both the minutes and the AM/PM period.
| What You See | What It Usually Means |
|---|---|
| Normal current time | The clock-setting mode has closed. |
| Flashing 12:00 or 0:00 | The time has not been set or was lost after a power interruption. |
| Auto, Program, Delay, or Brew Later light | Automatic brewing is armed; it does not necessarily confirm the current clock setting. |
| Flashing hour or minute digits | The machine is still in a clock or programming mode. |
Pro Tip: When setting a morning brew schedule, move the clock forward by 12 hours once and watch when the PM indicator turns on. This helps you understand how your display marks AM and PM before you program the start time.
Confirming Your Time Settings
Verify the Current Time Display
Allow the control panel to return to its normal display, then check the time against your phone. If the digits are still flashing, the machine may be waiting for another button press or for the setting period to time out.
A Program button is not always needed to save the current time. For example, some models save after a few seconds, while others use HOUR and MIN for the clock and reserve PROG for delayed brewing.
Check the Program Indicator Light
After the current clock is correct, you can set the scheduled brewing time if your machine supports it. Press the button labeled PROGRAM, AUTO, DELAY BREW, or BREW LATER, and set the desired start time according to the manual.
An illuminated program indicator normally means the delayed-brew feature is armed. It does not prove that the clock itself was saved correctly, so check the main display separately.
The current clock tells the coffee maker what time it is; the auto-brew setting tells it when to begin brewing. Both must be correct for scheduled coffee to start on time.
Confirm the Automatic Brew Schedule
Once the scheduled time is entered, return the panel to its normal display and look for the Auto, Program, Delay, or Brew Later indicator. On some models, pressing the programming button briefly displays the scheduled time. On others, that same press turns the feature on or off.
Do not assume the On/Off button is the universal way to cancel a schedule. Use the labeled automatic-brew control or follow the cancellation instructions in the model manual.
Common Coffee Maker Clock Control Layouts
The following examples show why a single set of instructions cannot cover every machine:
- HOUR and MIN layout: An official Hamilton Beach BrewStation guide directs users to press H and then M to set the time. Its PROG button is used for automatic brewing.
- Single-button layout: A current Hamilton Beach One Press model uses one Set Clock button. Hours flash first, minutes flash next, and the display saves the setting after a short wait.
- QuickTouch layout: Some BLACK+DECKER programmable machines provide separate digital controls for the clock and 24-hour auto-brew function.
- Backup-memory layout: Some Cuisinart models retain clock and brewing settings briefly during a power interruption rather than resetting immediately.
If the buttons on your machine do not match these examples, use the model-specific manual rather than testing random button combinations.
Troubleshooting Issues When Setting the Clock on Your Coffee Maker
The Clock Flashes 12:00 or 0:00
This normally means the clock has not been set or lost its setting after an outage, unplugging, or a tripped outlet. Set the current time again. If the display resets every time the plug is moved, that may be normal for a model without backup memory.
The Clock Resets After a Short Power Outage
Power backup varies by model. Some coffee makers lose the time quickly, while others retain their settings for a short period. For example, the Cuisinart DCC-1170 lists a 60-second reset memory. Do not rely on one backup duration for every machine.
The Clock Buttons Do Not Respond
- Wait until the brewing or keep-warm cycle ends.
- Press and release the button instead of holding it, then try holding it for two or three seconds.
- Check whether a child-lock or control-lock symbol is displayed.
- Unplug the machine for about one minute, reconnect it, and try setting the clock again.
- Confirm that the outlet works by testing another small appliance.
If the controls remain unresponsive, stop using the coffee maker and contact the manufacturer rather than opening the housing.
The Display Is Blank or Dim
Make sure the plug is fully inserted and check the outlet, power strip, or kitchen GFCI reset. A dim display that remains readable may be normal on a machine with an energy-saving standby mode. A completely blank display combined with failed brewing may indicate a power or control fault.
The Machine Brews 12 Hours Early or Late
The clock or scheduled time is probably set to the wrong AM/PM period. Re-enter both settings and watch for the PM indicator. Remember that the current time and auto-brew time may each have their own AM/PM selection.
The Clock Gains or Loses Time
Reset the clock and observe it for a day or two while the machine stays connected to stable power. A difference of several minutes per day may indicate a control-board or timing fault. Contact the manufacturer if the error continues and affects scheduled brewing.
The Coffee Maker Has No Clock
A machine without a digital clock may not support delayed brewing. Some older models use a mechanical timer, while basic coffee makers have only an On/Off switch. Do not look for a hidden digital setting if no clock or timer control appears in the manual.
How to Keep Your Coffee Maker’s Clock Accurate
Check the clock after a power outage, after unplugging the machine, and when daylight-saving time changes in your area. You should also compare it with another clock if automatic brewing begins earlier or later than expected.
Avoid repeatedly disconnecting the coffee maker if you rely on its timer and the model has no backup memory. However, always follow the manufacturer’s safety instructions about unplugging the appliance when it is not in use.
- Reset both the current time and scheduled brew time after a full clock reset.
- Confirm AM or PM whenever you change either setting.
- Keep the plug and outlet connection secure.
- Use the manual’s cancellation procedure when disabling auto-brew.
- Contact support if the clock drifts rapidly despite stable power.
Should You Turn Off Your Coffee Maker First?
Stopping an active brew cycle is a sensible starting point, but turning the entire machine off is not a universal requirement for setting the clock. Many models expect the machine to be plugged in with the display active, and some enter clock-setting mode immediately after power is connected.
Place the machine in standby if the panel allows it, keep your hands away from hot surfaces, and follow the exact sequence in the manual. Do not unplug it until after setting the time unless you are troubleshooting a frozen display or the manufacturer specifically directs you to do so.
Frequently Asked Questions
Can I set the clock while the coffee maker is brewing?
It depends on the model. Some control panels lock clock functions during brewing. The safest approach is to wait until the brew cycle ends, place the machine in standby if required, and then set the clock.
What if my coffee maker does not have a digital display?
It may not have a clock or automatic-start feature. Check for a mechanical timer or Auto control in the manual. A basic machine with only an On/Off switch usually cannot be programmed to start later.
Does the Program button save the current clock time?
Not necessarily. On many machines, Program controls the delayed-brew schedule rather than the current clock. The clock may save automatically or use a separate Clock or Set button.
Is there a universal factory-reset procedure?
No. Unplugging the coffee maker may clear its clock, but it may not reset every stored setting. Do not hold random button combinations or open the housing. Use the reset procedure listed for your exact model.
How often should I check the clock for accuracy?
Check it after an outage, after unplugging the machine, during daylight-saving time changes, or whenever scheduled brewing starts at the wrong time. A fixed monthly check is usually unnecessary.
Can I change the display from 12-hour to 24-hour time?
Only if your model provides that option. Many simple programmable coffee makers use a fixed 12-hour AM/PM display. Check the Clock, Settings, or Display section of the manual.
Why does the clock keep returning to 12:00?
The machine may be losing power, have no backup memory, or be connected to a switched or tripping outlet. Check the plug and outlet, then reset the time. Contact the manufacturer if it resets while power remains stable.
Conclusion
To set your coffee maker’s clock correctly, identify its control layout, set the hour and AM or PM period, adjust the minutes, and use the model’s required save method. Then program automatic brewing separately. If the display resets, buttons stop responding, or the clock drifts badly, use the manufacturer’s manual and avoid opening the appliance yourself.
Sources
- Hamilton Beach One Press Coffee Maker Use and Care Guide — demonstrates a single-button clock-setting process, automatic saving, display functions, and electrical-safety guidance.
- Hamilton Beach Stay or Go Thermal Coffeemaker Manual — shows separate H and M clock controls and a distinct PROG control for automatic brewing.
- BLACK+DECKER DCM2160 Use and Care Manual — supports HOUR/MIN clock setting, AM/PM confirmation, and the distinction between ordinary and delayed brewing.
- Cuisinart DCC-1170 Coffee Maker — documents model-specific 60-second backup memory for clock and brewing settings.
- Cuisinart Coffee Maker Manual Library — provides model-specific operating instructions.
- Mr. Coffee Instruction Manual Library — provides manuals searchable by model number.