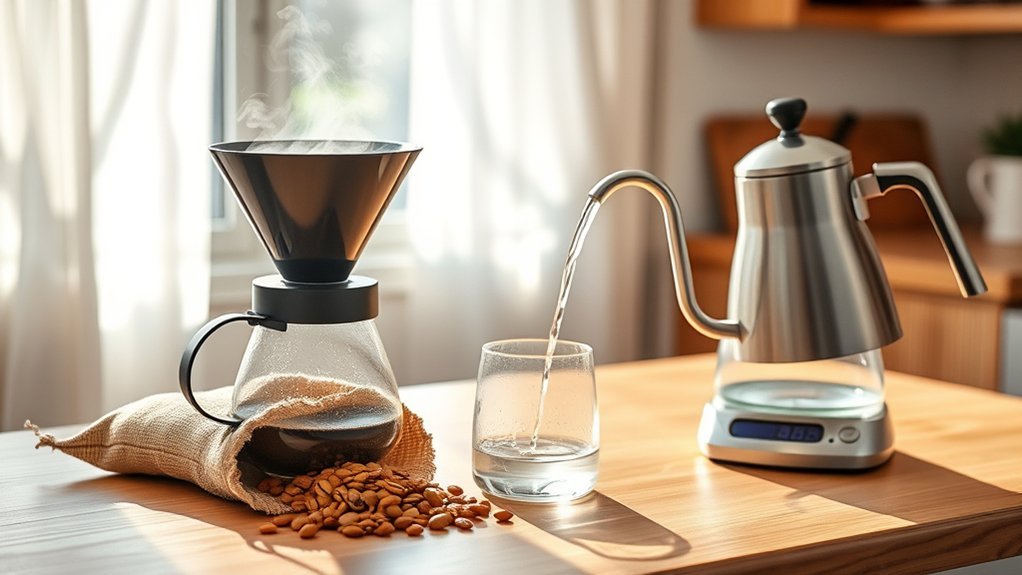
Better drip coffee does not require a complicated recipe or expensive accessories. Start with a clean brewer, fresh coffee, a medium grind, and a measured coffee-to-water ratio. Then taste the result and change only one variable at a time. This approach makes it much easier to correct coffee that tastes weak, sour, bitter, stale, or flat.
Quick Answer
To make drip coffee taste better, weigh the coffee and water, start near a 1:16 to 1:18 ratio, use fresh beans ground medium just before brewing, choose clean mineral-containing water, and keep the brewer clean. Adjust one variable at a time: coarser for harsh coffee and slightly finer for sour or weak coffee.
Key Takeaways
- Use a scale when possible and begin with about 1 gram of coffee for every 16 to 18 grams of water.
- Start with a medium grind and make small changes instead of moving several grinder settings at once.
- Use fresh, pleasant-tasting water, but avoid distilled or heavily softened water unless your brewer manual recommends it.
- Wash removable parts after use and descale only with the method and schedule approved by the manufacturer.
- Record the dose, grind, water, brew time, and taste so you can repeat successful cups.
At a Glance
| Time Required | About 10–15 minutes for measuring, brewing, and noting the result |
| Difficulty | Easy |
| Tools Needed | Drip coffee maker, correct filter, mug or carafe, and ideally a kitchen scale and burr grinder |
| Cost | Usually $0 with your existing equipment; optional filters, a scale, or a grinder cost extra |
Master the Coffee-to-Water Ratio
The coffee-to-water ratio controls the basic strength of your drip coffee. A useful starting range is 1:16 to 1:18. That means using 1 gram of coffee for every 16 to 18 grams of water.
The Specialty Coffee Association’s brewer-testing requirements use 55 grams of coffee per liter as a starting test recipe, which is about 1:18.2. Many home drinkers prefer a slightly stronger starting recipe near 1:16 or 1:17.
Use these amounts as a practical starting point:
| Water | Coffee at 1:18 | Coffee at 1:16 |
|---|---|---|
| 350 g | 19 g | 22 g |
| 500 g | 28 g | 31 g |
| 750 g | 42 g | 47 g |
| 1,000 g | 56 g | 63 g |
Water weighs close to 1 gram per milliliter, so 500 milliliters of water can be measured as about 500 grams on a kitchen scale. Brewer “cup” markings are less dependable because manufacturers do not all use the same cup size.
If you do not have a scale, the National Coffee Association suggests starting with 1 to 2 tablespoons of ground coffee for every 6 fluid ounces of water. Treat that as an estimate because the weight of a tablespoon changes with the bean and grind.
Pro Tip: Change either the dose or the grind first—not both. If you change several variables at once, you will not know which adjustment improved or harmed the cup.

Power your essentials anywhere with a 999Wh pure sine wave power station delivering up to 1000W continuous with 2000W surge. It supports fast charging via USB-C PD 60W and USB-A QC 18W, plus simultaneous output for multiple devices through AC, USB, wireless, and car/DC ports. Recharge using AC, car, or solar with a built-in MPPT controller and dual cooling fans, while the upgraded battery management system protects against surges, short circuits, and overheating.
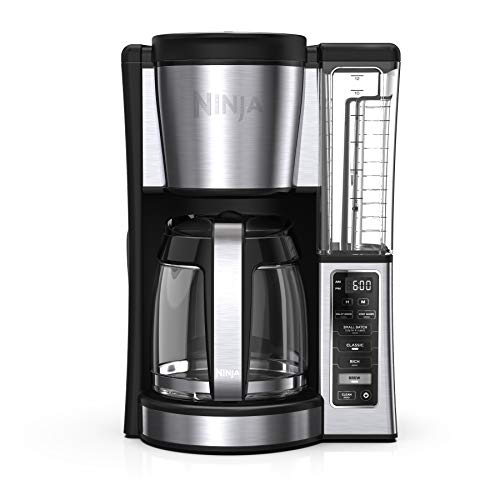
2 BREW STYLES: Classic or Rich, each brew is flavorful and never bitter with custom brew strengths.

WHAT'S IN THE BOX: One water filter handle, and one filter to help ensure your beverages taste their absolute best.
Understand Strength Versus Extraction
Strength describes how concentrated the brewed coffee tastes. Adding more coffee while keeping the same water amount usually makes the drink stronger.
Extraction describes how much material the water removes from the grounds. Grind size, water temperature, contact time, and water flow all affect extraction. A cup can be strong but sour, or weak but harsh, so increasing the dose is not the answer to every flavor problem.
Start With Fresh Coffee Beans
Fresh, well-stored beans make it easier to taste sweetness, aroma, and distinct flavor notes. Coffee begins losing aroma after roasting, but there is no reliable universal rule that a fixed percentage disappears after eight days.
The National Coffee Association’s storage guidance recommends buying smaller amounts, often enough for about one or two weeks, and grinding only what you need before brewing.
Choose Beans That Match Your Taste
There is no single best roast for drip coffee. Light roasts often emphasize fruit, floral notes, and acidity. Medium roasts tend to balance sweetness, acidity, and body. Dark roasts usually taste more roasted, smoky, bitter, or chocolate-like.
Blends are often designed for a dependable, balanced profile. Single-origin coffees may show more distinct regional or processing characteristics. Neither option is automatically better; choose the flavor profile you enjoy.
Store Coffee Correctly
- Keep beans in an opaque, airtight container.
- Store the container in a cool, dry cabinet away from the oven and direct sun.
- Avoid repeatedly opening a large frozen package, which can expose the beans to moisture and odors.
- Do not store beans in the grinder hopper for long periods if the hopper is clear or sits in a warm location.
- Grind the amount you need as close to brewing as practical.
Keep Your Drip Coffee Equipment Clean
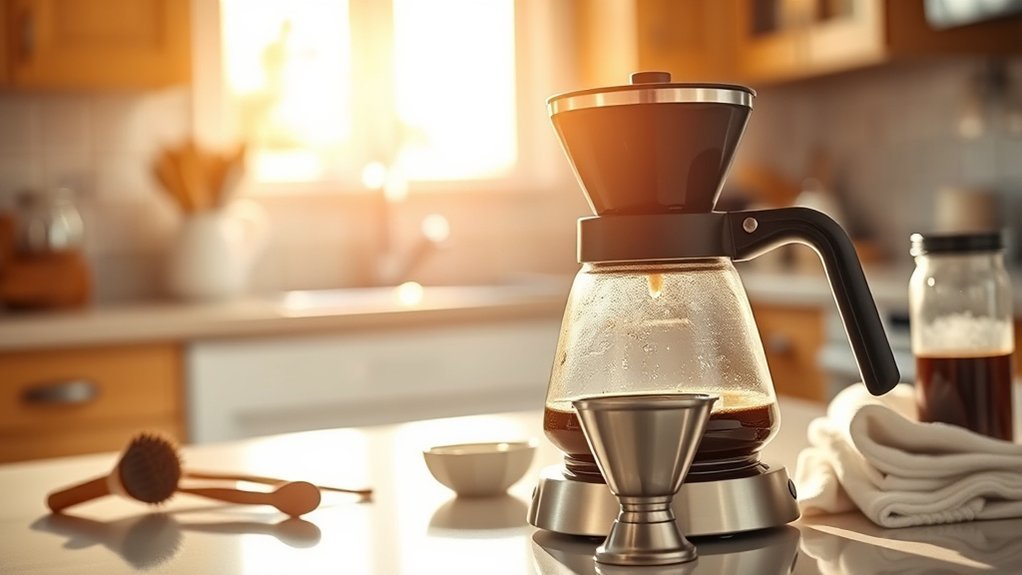
Old coffee oils can create stale, rancid, or bitter flavors. Mineral scale can slow water flow and interfere with the brewer’s heating and distribution system. Cleaning these two types of residue requires different steps.
Warning: Unplug the brewer and let hot plates and other surfaces cool before cleaning. Do not immerse the machine, use an unapproved chemical, or place a part in the dishwasher unless the manufacturer says it is safe.
Clean Removable Parts After Brewing
- Discard the used grounds and paper filter after the brew cycle has finished.
- Wash or rinse the filter basket, permanent filter, lid, and carafe according to the manual.
- Use mild dish soap when permitted to remove coffee oils.
- Wipe the showerhead and surrounding area once the machine is cool.
- Dry the parts before reassembling the brewer.
- Wipe spills from the hot plate only after it has cooled.
The NCA recommends cleaning equipment after use and checking that grounds and coffee oils are not collecting in the basket or carafe.
Pre-Rinse Paper Filters When It Helps
Some manual-brewing recipes recommend rinsing a paper filter with hot water to remove loose paper fibers, warm the brewer, and help the filter sit in place. With an automatic drip machine, this step is optional.
Rinse the filter only when it fits securely afterward and the brewer’s instructions allow it. Many quality filters have little noticeable paper flavor and do not require rinsing. Always discard the rinse water before adding coffee.
Descale According to the Brewer Manual
Descaling removes mineral deposits from the internal water path. Do not assume that every brewer should be cleaned with a 50/50 vinegar mixture each month.
Check the manual for:
- The recommended descaling interval
- Whether the brewer has a cleaning indicator or cleaning cycle
- Whether white vinegar is allowed
- The correct amount of commercial descaling solution
- The number of clean-water rinse cycles required afterward
Major manufacturers commonly recommend descaling at intervals of roughly three to six months, but hard water, heavy use, and the individual machine can change that schedule. If the brewer begins running slowly, making unusual noises, or producing cooler coffee, scale may be contributing.
Note: A water filter in the reservoir does not eliminate the need to descale. Replace that filter at the interval listed by the brewer manufacturer.
Choose the Right Grind Size for Drip Brewing
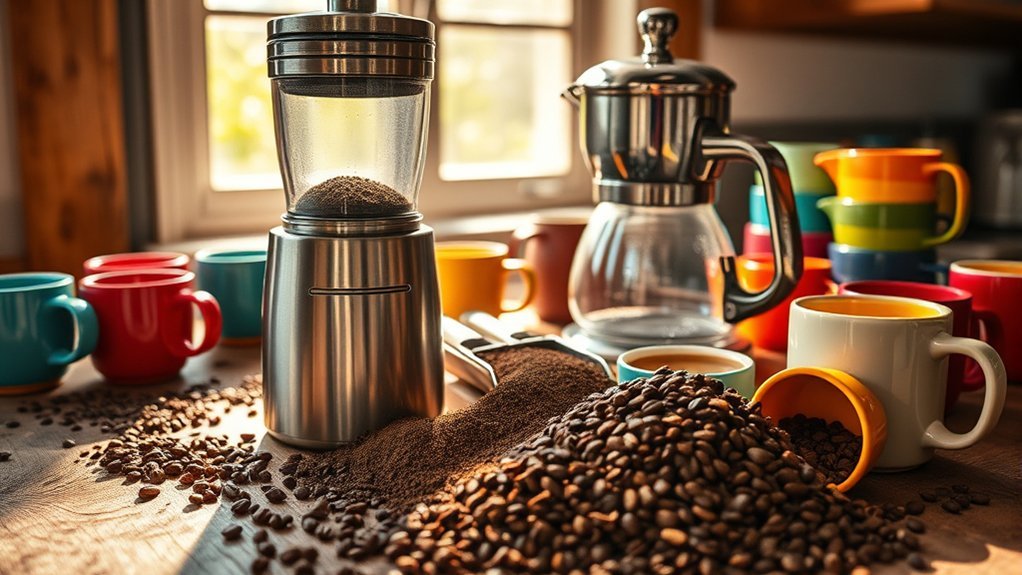
Start with a medium grind, similar in appearance to kosher salt. The exact setting depends on the grinder, coffee, batch size, and shape of the filter basket.
A burr grinder usually creates a more even particle size than a basic blade grinder. More even grounds make water flow and extraction easier to control. Grind immediately before brewing when practical.
Adjust the Grind by Taste and Flow
- Harsh, bitter, drying, or very slow brew: Try a slightly coarser grind.
- Sour, thin, weak, or very fast brew: Try a slightly finer grind.
- Good flavor but too strong: Use a little less coffee or more water without changing the grind first.
- Good flavor but too weak: Use a little more coffee or less water without changing several settings at once.
UC Davis coffee research guidance explains that finer grounds generally extract more quickly, while coarser grounds lower the extraction rate and can produce a diluted, sour cup.
Maintain the Grinder
There is no universal rule that grinder blades or burrs must be changed every one to three years. First clean the grinder according to its manual. Coffee particles and oils can reduce speed, consistency, and flavor clarity.
Baratza’s grinder-maintenance guidance, for example, recommends routine burr-chamber cleaning and explains that dark, oily coffee may require more frequent care. Replace burrs or blades when the manufacturer recommends it or when clear wear remains after cleaning.
Use Better Water and the Right Brewing Temperature
Water is most of the finished drink, so an unpleasant odor or taste in the water will usually appear in the coffee. However, completely mineral-free water is not automatically better.
Aim for the Proper Brewing Temperature
The water contacting the grounds should generally be near 195°F to 205°F. The SCA’s brewer requirements use approximately 198°F to 205°F at the coffee bed.
Most automatic drip machines control this temperature internally. If a clean brewer consistently makes cool, dull, or sour coffee, the heating system may be the limiting factor. An older or low-powered machine may not reach or maintain the needed temperature.
When replacing a machine, the SCA Certified Home Brewer list identifies models that have completed third-party testing for brewing performance and consistency.
Choose Water With a Clean Taste
Use fresh, cold water that tastes pleasant on its own. A suitable carbon filter may help when tap water has a noticeable chlorine odor or other off-flavor, but filtration performance differs by filter.
Avoid distilled water and heavily softened water unless your brewer manual specifically recommends them. Some dissolved minerals help coffee extraction, while excessive hardness can increase scale.
If the coffee tastes good but the machine scales quickly, use a filter or water treatment intended for coffee equipment rather than changing to completely mineral-free water.
Preheat the Carafe and Cup
A cold carafe or mug can pull heat from freshly brewed coffee. Before brewing, fill the carafe and cup with hot water, let them warm briefly, and empty them before the brew begins.
Do not run an extra water-only cycle solely for preheating unless the manufacturer permits it. Some machines are not designed for repeated back-to-back cycles, and water left in the system can alter the next recipe.
If you rinse a paper filter, that rinse can warm the basket at the same time. Make sure the basket drains fully before adding ground coffee.
Set Up the Filter Basket for Even Brewing
Good coffee can still taste uneven when the filter is folded incorrectly, the basket is overfilled, or water finds an easy channel through the grounds.
- Use the filter size and shape specified for the brewer.
- Seat the filter against the basket so it cannot collapse during brewing.
- Add the measured coffee without packing or tamping it.
- Gently shake the basket to create a level coffee bed.
- Confirm that the basket and carafe are fully seated.
- Stay below the brewer’s maximum coffee and water capacity.
Flat-bottom and cone-shaped baskets can respond differently to the same grind. When changing brewers or basket shapes, treat the first cup as a new recipe rather than assuming the previous grinder setting will work unchanged.
If your machine offers a built-in bloom or pre-infusion setting, test it with fresh coffee. This setting wets the grounds before the main flow begins. Do not manually interrupt the brew cycle unless the manual says that doing so is safe.
Follow a Repeatable Drip Coffee Process
- Check the brewer: Make sure the basket, carafe, showerhead, and water reservoir are clean.
- Measure the water: Use fresh, cold water and weigh it when possible.
- Measure the coffee: Start between 1:16 and 1:18.
- Grind medium: Grind the beans shortly before brewing.
- Prepare the filter: Use the correct size, rinsing it only when useful and permitted.
- Level the grounds: Do not tamp them.
- Brew the full planned batch: Avoid brewing below the machine’s recommended minimum volume.
- Serve promptly: Stir or gently swirl the finished carafe before pouring so the stronger early liquid and weaker later liquid are mixed.
- Record the result: Note the ratio, grind, brew time, and flavor.
A repeatable recipe beats guesswork: weigh the dose, record the result, and change only one variable before the next brew.
Add Flavor Only After Fixing the Brew
Cinnamon, cocoa, milk, salt, and citrus can change the finished cup, but they should not replace correct measurement, fresh coffee, clean equipment, and suitable extraction.
- Cinnamon or cardamom: Add a small amount to the finished cup. Putting spices through a grinder or machine may leave residue or cause clogs.
- Frothed milk: Use a milk frother, whisk, or clean French press. Follow safe heating instructions and leave room for the milk to expand.
- Cocoa or hot chocolate powder: Mix it with a small amount of hot coffee first to form a smooth paste, then add the remaining coffee.
- Salt: A few grains in the finished cup may reduce perceived bitterness for some people. Too much will make the coffee taste salty, and it will not correct stale beans or severe overextraction.
- Citrus zest: Add a small strip or fine zest to the finished drink rather than placing peel in the water reservoir or machine.
Warning: Do not vigorously shake hot milk in a tightly sealed container. Heated liquid and steam can build pressure and cause the lid to leak or release suddenly.
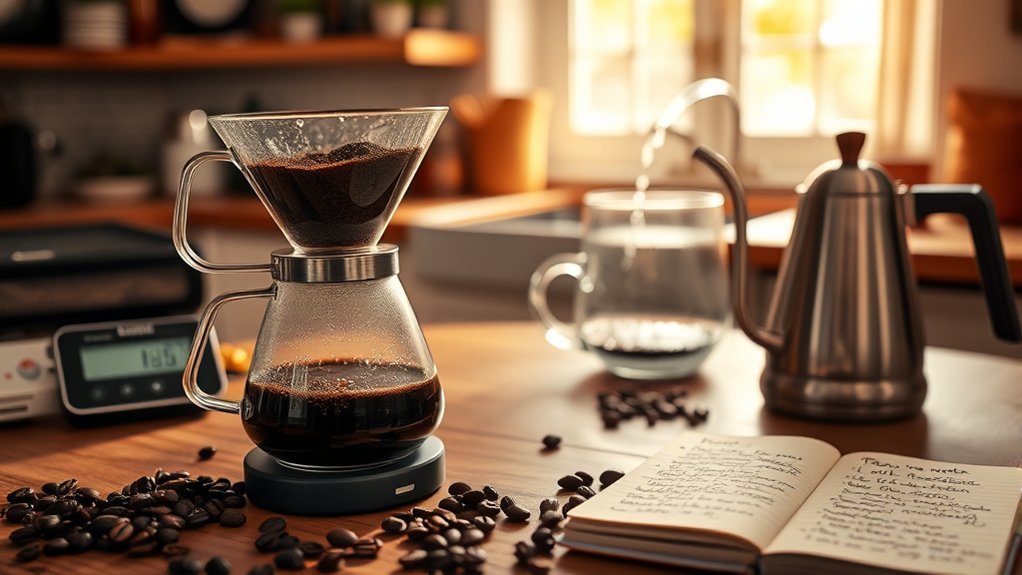
Track Your Preferences With a Brew Log
A brew log turns trial and error into a repeatable process. Record enough information to reproduce a good cup without making the routine burdensome.
- Coffee name, roast level, and roast date when available
- Coffee dose in grams
- Water weight or volume
- Calculated coffee-to-water ratio
- Grinder and grind setting
- Filter type and basket shape
- Approximate brew time
- Water source
- Taste notes such as sweet, sour, bitter, thin, drying, or stale
- The single adjustment planned for the next brew
You may also record serving temperature, food pairings, or mood as tasting context. These factors can change how you perceive the drink, but they do not change the physical extraction that occurred in the brewer.
Troubleshoot Common Drip Coffee Problems
| Problem | Likely Causes | First Adjustment |
|---|---|---|
| Bitter, harsh, or drying | Grind too fine, brew running too slowly, dark roast, dirty equipment, or coffee held too long on a hot plate | Move slightly coarser and clean the basket and carafe |
| Sour, sharp, or underdeveloped | Grind too coarse, brew too fast, water too cool, or an unsuitable small batch | Move slightly finer and confirm the machine is hot and clean |
| Weak or watery | Too little coffee, grind too coarse, channeling, or a batch below the machine’s recommended minimum | Use more coffee or a slightly finer grind |
| Too strong but otherwise pleasant | High coffee dose for the water amount | Use slightly less coffee or more water |
| Stale or rancid | Old coffee, coffee oils in the basket or carafe, or beans stored near heat and light | Clean removable parts and try a freshly opened, properly stored coffee |
| Papery | Filter flavor, incorrect filter, or poorly stored filters | Try a different compatible filter or rinse it if the brewer permits |
| Basket overflows | Grind too fine, too much coffee, collapsed filter, blocked outlet, or carafe not seated | Stop the machine safely, correct the filter fit, and use a coarser grind or smaller dose |
| Brew cycle is unusually slow | Mineral scale, blocked showerhead, fine grind, or excess coffee | Clean or descale according to the manual, then test the grind |
| Grounds or sediment in the carafe | Torn filter, incorrect filter size, basket overflow, or very fine particles | Replace and correctly seat the filter; inspect the basket outlet |
| Coffee is not hot enough | Cold carafe, scale, low brewing temperature, or failing heater | Preheat the carafe, descale as directed, and check the brewer’s performance |
Frequently Asked Questions
How often should I change my coffee grinder blades or burrs?
There is no universal one- to three-year replacement schedule. Clean the grinder first and follow its manual. Consider replacement when the grinder becomes much slower, produces increasingly uneven particles, requires extreme settings, or no longer performs consistently after proper cleaning.
Can I reuse coffee grounds for brewing again?
You can run water through used grounds, but most of their desirable soluble material has already been removed. The second brew will usually taste thin, flat, and unbalanced. Use fresh grounds for drinking and repurpose cooled used grounds only in ways appropriate for your home or local waste program.
What is the best way to store coffee beans?
Store beans in an opaque, airtight container in a cool, dry cabinet away from sunlight, moisture, and heat. Buy manageable quantities and grind only what you need. Avoid leaving beans in a clear grinder hopper for long periods.
Does the type of water affect coffee taste?
Yes. Water with chlorine, strong odors, extreme hardness, or very low mineral content can change flavor and equipment performance. Use fresh water that tastes good by itself. Filter tap water when needed, but avoid distilled or heavily softened water unless the brewer manufacturer recommends it.
How do I know if my coffee is over-extracted?
Coffee commonly described as over-extracted may taste harsh, bitter, hollow, or drying. It may also brew very slowly. Try a slightly coarser grind and confirm that the basket is not overloaded. Remember that dark roasting, stale oils, or a dirty hot plate can also cause bitterness.
Should I rinse an automatic drip coffee filter?
Rinsing is optional. It may help when a filter has a noticeable paper smell or needs help sitting flat, but many automatic-drip filters work well without it. Rinse only when the wet filter remains secure and the brewer instructions allow the step.
Why does my drip coffee maker produce lukewarm coffee?
A cold carafe, mineral scale, a small unsupported batch, or a weak heating system may be responsible. Preheat the carafe, descale according to the manual, and test a normal batch. If the clean machine still brews cool, it may need service or replacement.
Can pre-ground coffee still make good drip coffee?
Yes. Choose coffee ground for automatic drip, buy a package size you can finish while it still tastes fresh, reseal it promptly, and store it in an opaque airtight container. Whole beans ground before brewing usually retain aroma better, but careful measurement and storage still improve pre-ground coffee.
Conclusion
Start with a simple baseline: a clean brewer, fresh coffee, a medium grind, pleasant-tasting water, and a ratio between 1:16 and 1:18. Brew a normal batch, taste it, and record the result. If the coffee is harsh, move slightly coarser. If it is sour or weak, move slightly finer or adjust the dose. Small, measured changes will improve your drip coffee more reliably than adding several new steps at once.
Sources
- National Coffee Association — Drip Coffee — brewing ratios, grind guidance, equipment cleaning, water, and descaling
- National Coffee Association — Storage and Shelf Life — airtight storage, buying smaller quantities, and grinding before brewing
- Specialty Coffee Association — Certified Home Brewers — current third-party-tested home brewing equipment
- Specialty Coffee Association — Brewer Certification Requirements — brewing temperature, ratio, time, water, and extraction requirements
- UC Davis College of Engineering — An Engineer’s Guide to Coffee — grind size, extraction rate, and drip brewing science
- Baratza — Grinder Cleaning Essentials — burr-chamber cleaning, oil buildup, consistency, and clog prevention