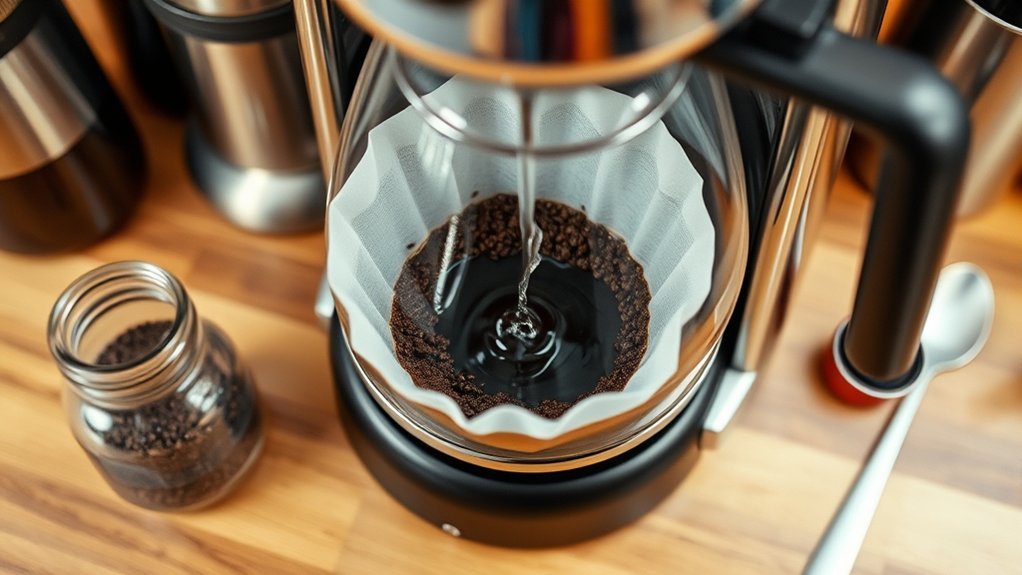
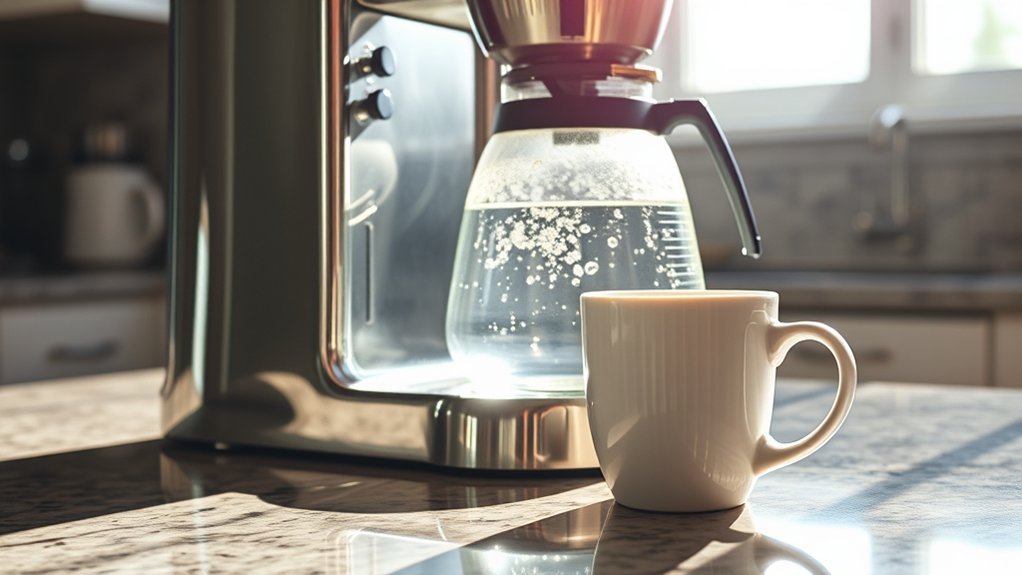
An automatic drip coffee maker turns cool water and ground coffee into a hot carafe of coffee by heating water in an internal chamber, lifting it through a vertical riser tube via a thermal bubble pump, dispersing it evenly across a bed of grounds, and using gravity to pull the brewed extraction through a filter. Extraction temperature, showerhead distribution, particle size, coffee-to-water ratio, and contact duration dictate the flavor clarity and body of the final cup.
Quick Answer
An automatic drip coffee maker relies on a resistive heating element and a one-way check valve. As cold water enters the heating pipe, it quickly boils into steam bubbles that force hot water up a vertical riser tube to a sprayhead. Hot water sprinkles over the ground coffee, dissolving flavor compounds before gravity pulls the filtered coffee into a carafe below—operating entirely without mechanical pumps or 9-bar espresso pressure.
Key Takeaways
- A one-way check valve prevents boiling water from returning to the reservoir, creating a natural thermosiphon bubble pump that pushes water upward.
- Industry standards by the Specialty Coffee Association (SCA) target a water temperature between 92°C and 96°C (198°F to 205°F) at the coffee bed for balanced extraction.
- Drip coffee relies on atmospheric pressure and gravity for filtration, unlike espresso machines which use mechanical pumps to generate approximately 9 bars of pressure.
- A medium grind size combined with a baseline ratio of 55 grams of coffee per liter of water yields an optimal extraction yield (18–22%).
- Basket geometry (flat-bottom vs. cone) alters water contact time and bed depth, influencing flavor clarity and body.
- Routine descaling removes calcium carbonate scale from the aluminum heating element, preserving water flow rate and temperature stability.
At a Glance
| Time Required | 4–8 minutes of water contact time; 5–10 minutes total cycle depending on brew volume |
| Difficulty | Beginner / Easy |
| Tools Needed | Automatic drip coffee maker, paper or permanent filter, burr grinder, kitchen scale, fresh water |
| Cost | Ongoing costs limited to whole beans, filtered water, and replacement paper filters |
The Anatomy of a Coffee Maker: Key Components Explained
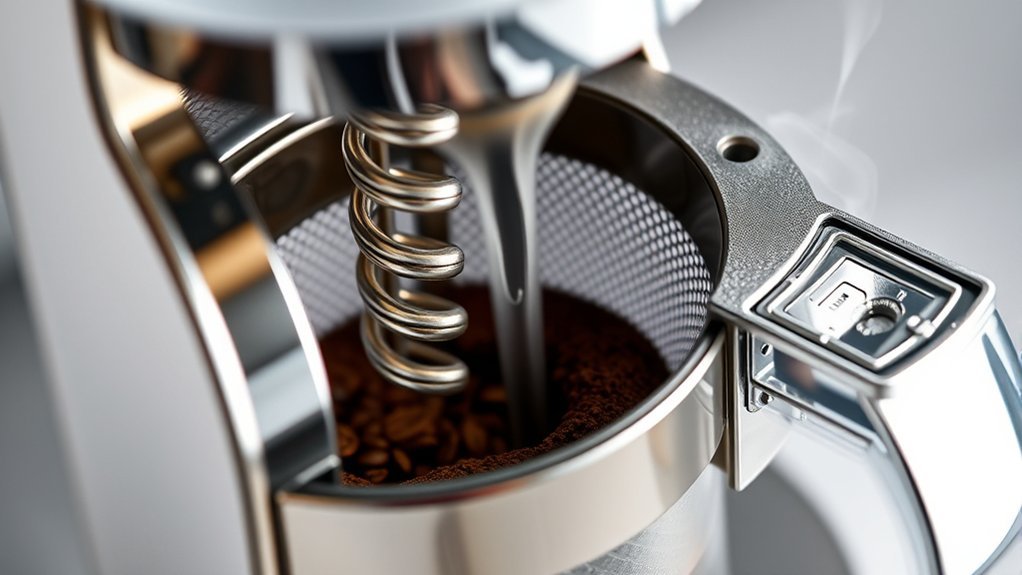
Although modern drip machines vary from budget home units to commercial batch brewers, their core mechanical systems share a consistent engineering design. Understanding the structural anatomy helps diagnose flow restrictions, thermal drop, and extraction imbalances.
| Component | Mechanical Function |
|---|---|
| Water Reservoir | Stores cold water and feeds the heating tube via gravity through an intake port. |
| One-Way Check Valve | A ball or flapper valve that allows cold water into the heater but prevents expanding steam and hot water from backing into the reservoir. |
| Dual-Channel Heating Element | An extruded aluminum or copper tube containing an electric resistive heating coil wrapped parallel to the water pipe. It simultaneously heats brew water and powers the warming plate. |
| Thermal Fuse & Thermostat | Bi-metal thermostats regulate temperature by cycling power, while a one-time thermal cutoff fuse permanently breaks the circuit if temperatures exceed safety thresholds. |
| Vertical Riser Tube | A heat-resistant silicone or glass tube carrying boiling water and steam bubbles upward from the base to the sprayhead. |
| Showerhead / Sprayhead | Perforated nozzle array that distributes hot water evenly across the coffee bed to eliminate dry spots and prevent tunneling. |
| Brew Basket & Filter | Holds the ground coffee bed and filter media (cone, flat-bottom, or permanent mesh) while regulating outflow through an exit orifice. |
| Carafe & Drip-Stop | Collects brewed coffee. A spring-loaded mechanical seal beneath the basket stops liquid flow when the carafe is temporarily pulled away. |
Water heating performance separates certified specialty brewers from entry-level appliances. The Specialty Coffee Association (SCA) specifies that water contacting the coffee bed must reach at least 92°C (198°F) within the first minute of brewing and not exceed 96°C (205°F) throughout the cycle. You can review the complete technical benchmarks in the SCA brewer certification requirements.

Power your essentials anywhere with a 999Wh pure sine wave power station delivering up to 1000W continuous with 2000W surge. It supports fast charging via USB-C PD 60W and USB-A QC 18W, plus simultaneous output for multiple devices through AC, USB, wireless, and car/DC ports. Recharge using AC, car, or solar with a built-in MPPT controller and dual cooling fans, while the upgraded battery management system protects against surges, short circuits, and overheating.

CLEANEST POUR - Our exclusive Drip-Free Carafe delivers the cleanest pour on the market with a proprietary lid and spout design that arcs the coffee into the cup and wicks the rest back into the carafe.

CAPACITY: 5-cup (25 ounces) glass carafe with lid
The Physics: How Heated Water Rises Without a Pump
A frequent question regarding drip coffee makers is how water travels from the base reservoir up to the showerhead without an electric motor or mechanical impeller.
This movement is powered by basic fluid dynamics: the thermosiphon bubble pump effect. The system operates in four distinct phases:
- Gravity Feed: Cold water flows from the reservoir down through a flexible silicone tube toward the heating element located in the machine’s base.
- Unidirectional Valve Locking: The water passes through a small one-way check valve (typically a stainless steel or silicone ball seated in a tapered chamber).
- Localized Flash Boiling: As water enters the narrow aluminum tube adjacent to the resistive heating element, the water closest to the metal quickly boils, transforming into expanding pockets of steam.
- Vapor-Lift Action: The steam bubbles rapidly expand. Because the one-way valve prevents the expanding vapor and liquid from escaping back into the cold reservoir, the pressure has only one path of egress: up the vertical riser tube. As the steam bubbles rise, they push columns of hot water upward ahead of them, releasing rhythmic spurts of water out through the showerhead.
Note: Premium drip brewers rely on high-grade materials to optimize this natural percolation. For instance, Moccamaster drip brewers utilize an energy-efficient copper heating element to rapidly boil water within a borosilicate glass riser tube, entirely eliminating the need for motorized pumps.
Understanding Coffee Grind Size and Its Impact on Flavor
Grind size dictates two critical brewing dynamics: the total surface area exposed to water and the hydraulic resistance of the coffee bed. When water drips onto grounds, it dissolves soluble organic compounds, acids, sugars, and bitter polyphenols in a specific sequence.
If the grind is too fine, the packed particles restrict water flow. Water pools in the basket, prolonging contact time and over-extracting bitter, astringent compounds. Conversely, if the grind is too coarse, water rushes between large granules without penetrating their cell structure, leading to an under-extracted cup that tastes sour, weak, and grassy.
Grind Size Variations
Different brewing methods require specific particle distributions to balance contact time with flow rate:
- Espresso (Extra Fine to Fine): High-pressure extraction (9 bars) requires a tightly packed, fine bed to generate resistance over a 25–30 second extraction.
- Automatic Drip (Medium to Medium-Coarse): Gravity-fed water systems perform best with medium grinds resembling sea salt or coarse sand, permitting consistent drainage.
- French Press (Coarse): Full-immersion steeping over 4–5 minutes requires large particles to prevent over-extraction and keep sediment out of metal mesh filters.
- Cold Brew (Extra Coarse): Extended steeping over 12–24 hours requires a coarse profile to avoid excessive bitterness.
Basket Geometry: Flat-Bottom vs. Cone
The shape of your brew basket directly influences water contact dynamics and flavor separation:
| Basket Shape | Flow Dynamics & Bed Depth | Resulting Flavor Profile |
|---|---|---|
| Conical Basket (e.g., #2 / #4 Filters) | Water travels through a deeper, narrowing column of coffee grounds before exiting through a single small hole at the base. | Higher contact time in lower layers; highlights acidity, fruity notes, and distinct flavor separation. |
| Flat-Bottom Basket (Cupcake Style) | Spreads grounds into a wider, shallower, uniform bed with multiple drainage holes across the base. | Even extraction across the entire bed surface; enhances sweetness, chocolate notes, and full body. |
| Permanent Metal Mesh Basket | Larger pore size allows microscopic insoluble solids and natural coffee oils (diterpenes) to pass into the carafe. | Heavier mouthfeel, fuller body, and slight siltiness similar to a French press. |
Pro Tip: Invest in a quality burr grinder over a blade grinder. Burr grinders crush beans evenly between rotating abrasive surfaces, producing uniform particles. Blade grinders shatter beans randomly, producing a mix of fine dust (which over-extracts and clogs filters) and large chunks (which under-extract).
Coffee Brewing: A Step-by-Step Guide
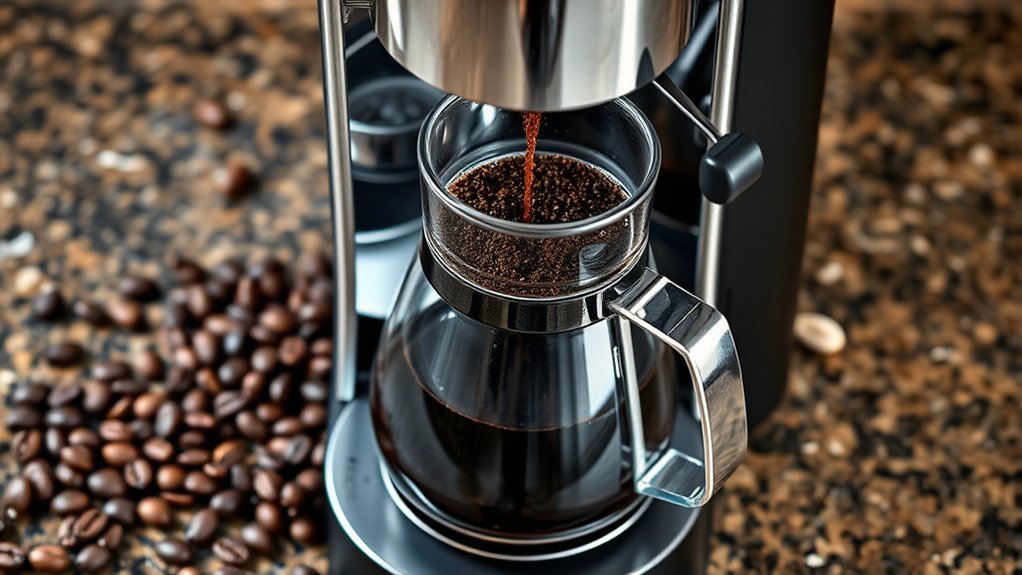
Brewing balanced coffee consistently requires precision in measurement, grind consistency, and water handling.
Coffee Preparation Steps
- Add Clean, Filtered Water: Pour fresh, potable water into the reservoir up to your desired volume marking. Avoid softened or distilled water unless blended.
- Seat the Filter: Place the appropriate paper or permanent filter into the brew basket. If using paper, consider a quick warm-water rinse to remove residual wood pulp taste.
- Measure the Coffee Dose: Weigh whole bean coffee using a digital scale. The baseline recommendation is 55 grams of coffee per 1,000 ml (1 liter) of water (a 1:18 brew ratio).
- Grind Fresh: Grind the weighed coffee to a medium consistency just prior to brewing to preserve volatile aromatic compounds.
- Distribute and Level the Coffee Bed: Pour the grounds into the filter and tap the sides gently to create a level, uniform surface. Do not tamp or compress the coffee bed.
- Seat the Carafe: Position the glass or thermal carafe firmly onto the base plate to engage the spring-loaded drip-stop valve.
- Initiate Brew Cycle: Power on the machine and allow the brew cycle and drip-out phase to finish completely before pouring.
Warning: The heating plate, glass carafe, brew basket, and internal steam elements reach temperatures well above 90°C (194°F). Never open the brew basket or touch heating surfaces during a cycle. Always unplug the appliance before cleaning, and never submerge the electrical housing in water.
Brewing Process Overview: The Extraction Phases
Once you engage the brew switch, the coffee maker transitions through three extraction phases:
- The Bloom (Degassing): As the first hot water strikes the dry coffee bed, heat causes trapped carbon dioxide ($CO_2$) gas to escape rapidly, causing the grounds to foam and swell. Degassing clears the pathway for water to penetrate the coffee’s cellular matrix evenly.
- Main Extraction: The sprayhead distributes water across the bed. Organic acids and light fruity compounds dissolve first, followed by sweet caramelized sugars, and finally heavier bitter compounds and tannins.
- Draw-Down and Drip-Out: After the water reservoir empties, remaining water drains through the bed into the carafe by gravity. The cycle is complete when the steady stream slows to occasional drips.
Drip Brewers vs. Espresso: Pressure vs. Gravity
The functional difference between automatic drip brewers and espresso machines lies in fluid dynamics, particle resistance, and brew pressure.
A drip machine is an open-atmosphere, gravity-fed system. Water is sprinkled loosely over an uncompressed coffee bed, draining downward at ambient atmospheric pressure (1 bar). The resistance is controlled primarily by the grind size and filter medium.
In contrast, an espresso machine is a sealed, high-pressure system. A mechanical rotary or vibratory pump forces heated water through a finely ground, tamped coffee puck at approximately 9 bars of pressure (roughly 130 psi). For example, commercial and high-end home espresso systems like the Breville Oracle Touch utilize targeted pre-infusion followed by 9-bar extraction to emulsify coffee oils and solids into a concentrated liquid with a dense layer of crema.
| Feature | Automatic Drip Brewer | Espresso Machine |
|---|---|---|
| Extraction Mechanism | Gravity percolation | Mechanical pump pressure (approx. 9 bars) |
| Coffee Bed Preparation | Loose, leveled bed; no tamping | Finely ground, compacted, and leveled puck |
| Contact Time | 4 to 8 minutes | 25 to 35 seconds |
| Beverage Concentration (TDS) | 1.15% to 1.45% Total Dissolved Solids | 8.0% to 12.0% Total Dissolved Solids |
How Long Should You Brew Your Coffee for Best Taste?
In automatic drip brewing, total brew cycle time encompasses heating, water delivery, and bed drainage. Optimal extraction yields (extracting 18% to 22% of soluble mass from the dry coffee) depend on precise water-to-coffee contact time.
According to published Specialty Coffee Association (SCA) brewer certification criteria, water-to-coffee contact time during a full-batch drip cycle must remain within 4 to 8 minutes to prevent both under-extraction sourness and over-extraction bitterness.
- Automatic Drip Brewers: Water contact time should average 4 to 6 minutes for half batches and 6 to 8 minutes for full 10–12 cup carafes.
- Espresso: 25 to 30 seconds for a standard 1:2 shot ratio.
- French Press (Immersion): 4 to 5 minutes of total steeping before pressing.
- Cold Brew: 12 to 24 hours under room-temperature or refrigerated conditions.
Coffee-to-Water Ratio and Water Quality
A properly operating coffee maker cannot compensate for poor water chemistry or improper coffee dosage. Coffee is approximately 98.5% water; the minerals present serve as the primary solvent for flavor extraction.
The industry benchmark for automatic drip brewing starts at 55 grams of coffee per 1,000 ml of water (a 1:18.18 ratio). Adjust according to taste preference:
- 500 ml Water (approx. 2 cups): 27.5 g coffee (1:18 balance) or 31 g coffee (1:16 richer profile)
- 750 ml Water (approx. 5 cups): 41.5 g coffee (1:18 balance) or 47 g coffee (1:16 richer profile)
- 1,000 ml Water (approx. 8 cups): 55.0 g coffee (1:18 balance) or 62.5 g coffee (1:16 richer profile)
- 1,250 ml Water (approx. 10 cups): 69.0 g coffee (1:18 balance) or 78 g coffee (1:16 richer profile)
Water quality plays a vital role in taste and machine longevity. The U.S. Environmental Protection Agency (EPA) monitors public water standards, noting that tap supplies often contain variable mineral levels and chlorine. For optimal brewing, water should be odor-free, contain roughly 75–150 mg/L total dissolved solids (TDS), and maintain a neutral pH near 7.0. Avoid 100% distilled or demineralized water in auto-drip machines, as water needs minerals to extract coffee flavors properly, and some brewers require ions to sense water levels.
Common Coffee Maker Problems and Solutions
When an automatic drip coffee maker malfunctions, issues typically stem from mineral scale accumulation, electrical switch faults, grind size mismatches, or clogged spray nozzles.
| Symptom | Probable Cause | Diagnostic & Corrective Action |
|---|---|---|
| Machine does not power on or heat | Tripped thermal fuse, faulty switch, or unseated reservoir interlock. | Test outlet power; verify reservoir lid and safety interlocks are seated. If the element stays cold, the internal thermal cutoff fuse may need professional replacement. |
| Brew cycle is slow with loud gurgling | Heavy calcium carbonate scale lining the heating element and one-way check valve. | Run a dedicated descaling cycle using manufacturer-approved descaling solution to clear the internal passages. |
| Brew basket overflows | Grind size too fine, excessive coffee dose, doubled paper filters, or stuck drip-stop spring. | Switch to a medium grind, reduce dose to 55 g/L, confirm only one filter is inserted, and clean the spring-loaded drip-stop valve. |
| Coffee tastes sour, flat, or thin | Under-extraction caused by low water temperature (<90°C), coarse grind, or low coffee dose. | Adjust grind finer, verify scale measurements, and descale the brewer to restore element heating efficiency. |
| Coffee tastes harsh, burnt, or bitter | Over-extraction from fine grind, stale coffee oils in basket, or prolonged contact on hot plate. | Grind coarser, wash carafe and basket with coffee detergent, and serve coffee immediately rather than leaving it on the heating plate. |
| Water pooling around machine base | Degraded silicone tubing, loose clamp, split check valve, or overflowing reservoir. | Check for overfilling. If clean water leaks from inside the base, inspect internal silicone hose fittings for splits. Discontinue use if leaks contact wiring. |
Tips for Maintaining Your Coffee Maker for Longevity
Preventative maintenance prevents stale coffee oil oxidation and stops mineral scale from destroying heating elements.
- Daily Post-Brew Flush: Discard wet grounds immediately after brewing. Rinse the brew basket and carafe thoroughly with warm water to prevent coffee oil polymerization.
- Weekly Detergent Cleaning: Wash removable components using mild, fragrance-free dish soap or specialized coffee equipment detergent to dissolve rancid coffee oils.
- Showerhead Inspection: Inspect sprayhead holes monthly. Mineral scale and coffee oils can clog individual nozzles, creating uneven distribution and bed channeling.
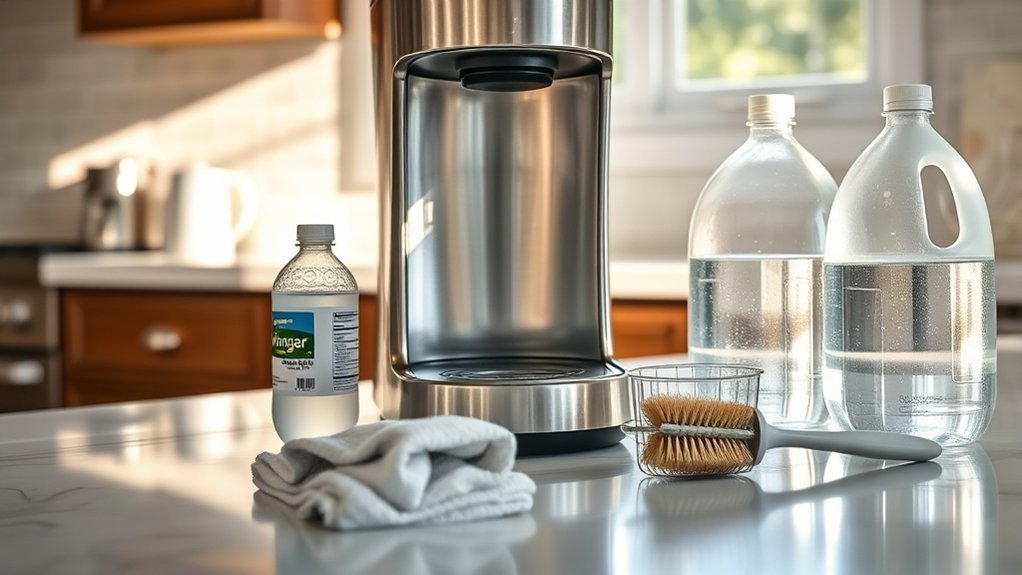
- Descaling Protocol: As water heats, dissolved calcium and magnesium precipitate out as solid limescale, coating the inner walls of the aluminum heating pipe. This acts as an insulating barrier, slowing heat transfer, dropping brew temperatures, and eventually burning out the heating element.
Always consult manufacturer guidelines regarding cleaning agents. While white vinegar (dilute acetic acid) is a common home remedy, many manufacturers caution against it due to its lingering odor and potential to degrade internal silicone seals over time.
For example, Moccamaster cleaning instructions recommend running an odorless, citric-acid-based descaler every 100 brew cycles (or every 3 months) and specifically advise against using household vinegar.
Troubleshooting: Fixing Your Coffee Maker Issues
Follow this step-by-step diagnostic workflow when experiencing operational faults:
1. If the Coffee Maker Will Not Brew
Confirm the power cord is connected to an active, un-tripped electrical outlet. Ensure the water reservoir is filled past the minimum fill line and firmly seated. Inspect any safety microswitches (such as carafe alignment levers or lid latches) to verify they are fully engaged.
2. If Water Flow Is Abnormally Slow
Inspect the sprayhead nozzles for scale crusting and clear them using a soft brush or toothpick. If the machine sputters steam with minimal water delivery, scale buildup has restricted the riser pipe. Run a descaling cycle with an approved commercial descaling agent, followed by two full-reservoir flushes with fresh water.
3. If the Coffee Tastes Burnt or Bitter
Adjust your grinder 1–2 notches coarser to speed up drainage. Wash the brew basket and carafe thoroughly to remove built-up coffee oils. If your coffee maker uses a glass carafe over an active hot plate, transfer brewed coffee into an insulated thermal carafe immediately rather than allowing the hot plate to cook the brewed liquid.
4. If Coffee Tastes Weak or Watery
Weigh your ground coffee using a kitchen scale rather than relying on volume scoops. If the ratio is confirmed at 55–60 g/L, adjust your grind finer to increase extraction resistance. If the brewed coffee is only lukewarm, the heating element may be coated in scale and require descaling.
5. If Your Combination Machine Has a Steam Wand Issue
On hybrid drip/espresso machines, steam wands can clog with dried milk residue. Purge the steam wand immediately after each use and soak the nozzle in warm water and dairy cleaner if steam pressure drops.
Warning: Discontinue use and unplug your coffee maker immediately if you detect a persistent burning plastic odor, notice scorching near the base, experience recurring circuit breaker trips, or see water leaking directly into the electrical base housing.
Frequently Asked Questions
Can I Use Tap Water in My Coffee Maker?
Yes, provided your tap water is potable, clean, and free of unpleasant odors. However, high mineral hardness (calcium and magnesium) accelerates limescale buildup, while chlorine can negatively alter coffee flavor. Using carbon-filtered water balances flavor extraction with machine longevity. Avoid pure distilled or reverse osmosis water unless remineralized, as zero-mineral water can cause flat-tasting coffee and may not register on electronic water sensors.
How Often Should I Clean and Descale My Coffee Maker?
Rinse the brew basket and carafe after every use. Wash removable parts weekly with warm, soapy water. Descale the internal heating element every 1 to 3 months (or roughly every 90–100 brew cycles), depending on your municipal water hardness and brewing frequency.
Does Coffee Maker Brand Affect Brewing Quality?
Yes, but primarily due to engineering tolerances. High-performance machines maintain stable water temperatures between 92°C and 96°C, feature wide sprayheads for uniform wetting, and manage water contact time accurately. Entry-level machines often deliver water that is too cool during early minutes and excessively hot toward the end, resulting in uneven extraction.
Can I Brew Tea in My Coffee Maker?
While you can place loose tea or tea bags in the brew basket, standard drip coffee makers brew near 92–96°C, which is too hot for delicate green and white teas and can cause bitter over-steeping. Additionally, residual coffee oils in the brew basket and carafe will taint tea flavor unless thoroughly cleaned with specialty coffee detergent.
What Is the Best Coffee-to-Water Ratio?
A baseline ratio of 55 grams of ground coffee per 1,000 ml of water (1:18 ratio) works well for automatic drip brewers. For a bolder cup with heavier body, adjust up to 60–62 grams per liter (1:16 ratio). Weighing both coffee and water on a digital scale ensures consistent extraction.
Do Coffee Makers Boil the Water?
A standard drip coffee maker only flash-boils a tiny fraction of the water in its lower heating chamber to generate steam bubbles that lift water up the riser tube. The water that emerges from the sprayhead onto the coffee bed cools slightly, ideally landing at 92°C to 96°C (198°F to 205°F), rather than delivering 100°C boiling water over the grounds.
Do Drip Coffee Makers Use Pressure?
No. Automatic drip brewers operate via gravity percolation under normal atmospheric pressure (1 bar). Unlike espresso machines, which use mechanical pumps to push water through tightly compacted coffee at 9 bars of pressure, drip makers gently sprinkle heated water over an uncompressed coffee bed.
Why Does My Coffee Maker Gurgle and Sputter?
Rhythmic gurgling is a normal byproduct of the bubble-pump mechanism as steam bubbles expand and push water upward. However, excessive, loud sputtering accompanied by slow flow and heavy steam indicates limescale buildup in the heating tube or check valve, signaling that the machine needs descaling.
Conclusion
An automatic drip coffee maker is an efficient appliance that pairs fluid physics with precise extraction chemistry. By utilizing a simple one-way check valve and a dual-purpose heating element, the machine creates a thermosiphon bubble pump that heats and lifts water to the coffee bed without mechanical pumps.
Mastering your machine comes down to controlling key extraction variables: using clean filtered water, weighing coffee to maintain a consistent 55 g/L ratio, grinding to a uniform medium particle size, and descaling routinely to preserve heating efficiency. Managing these factors ensures your coffee maker operates smoothly and delivers balanced, flavorful coffee every morning.
Sources
- Specialty Coffee Association — Coffee Standards — Technical standards for water temperature, brewing extraction, and the SCA-310 Certified Home Brewer protocols.
- Specialty Coffee Association — Certified Home Brewer Requirements — Certified testing criteria for coffee bed temperature (92–96°C) and water contact time.
- Moccamaster — KB Brewer Operation — Technical documentation detailing copper heating elements and non-pump thermosiphon percolation.
- Breville — Oracle Touch Espresso Machine — Technical specifications for commercial-grade 9-bar espresso extraction and pre-infusion systems.
- Moccamaster Support — Cleaning and Descaling Guidance — Maintenance schedules, scale prevention, and chemical descaler recommendations.
- U.S. Environmental Protection Agency — Drinking Water Basics — Water quality parameters, municipal water reports, and mineral content information.