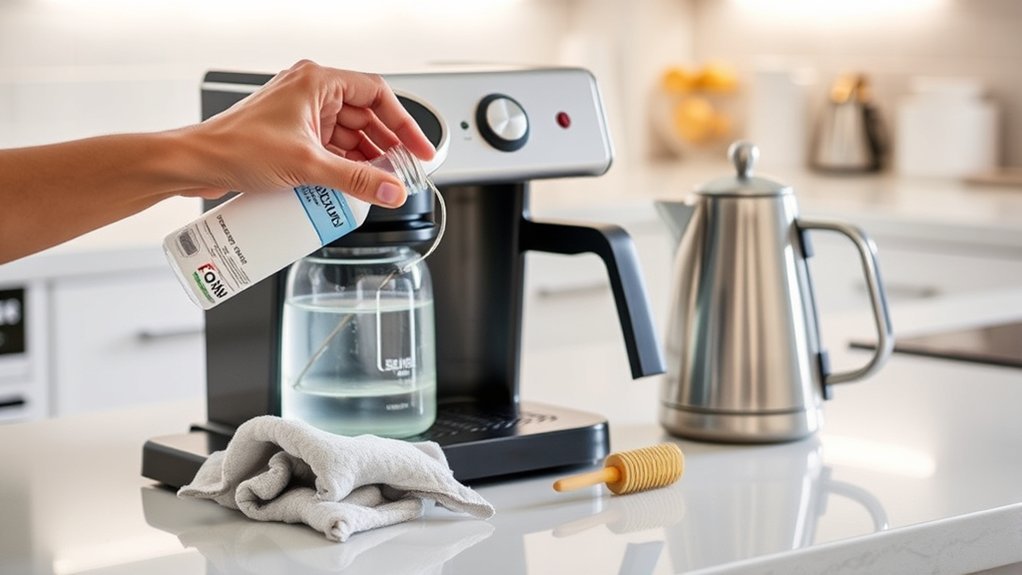
Cleaning a coffee maker involves two separate jobs: washing away coffee oils and residue from removable parts, and descaling mineral deposits from the internal water system. The safest method depends on your machine. Before using vinegar, baking soda, or a commercial descaler, check the owner’s manual for the approved solution, ratio, cycle, and cleaning schedule.
Quick Answer
Wash the carafe, brew basket, lid, and other approved removable parts with warm, soapy water. Wipe the exterior with a damp cloth. Descale the internal water system only with the solution and procedure listed in your model’s manual, then run the required fresh-water rinse cycles before brewing coffee.
Key Takeaways
- Routine cleaning removes coffee grounds, oils, spills, and residue; descaling targets mineral deposits inside the water system.
- Wash approved removable parts after use and let them dry completely before reassembly.
- Do not assume that vinegar is safe for every machine. Some manuals permit it, while others require a manufacturer-approved descaler.
- Descaling frequency depends on the model, water hardness, brewing volume, and cleaning indicator—not one universal 30-day schedule.
- Do not put bleach, hydrogen peroxide, or mixed household chemicals into the water reservoir unless the manufacturer expressly instructs you to do so.
At a Glance
| Time Required | About 15 minutes for routine cleaning; 30–90 minutes for descaling and rinsing, depending on the model |
| Difficulty | Easy |
| Tools Needed | Mild dish soap, soft sponge or cloth, small soft brush, clean water, and the manual-approved descaling product |
| Cost | Usually $0–$15, depending on whether an approved descaler is required |
Before You Start: Check the Machine and Manual
Coffee makers do not all use the same cleaning method. A standard drip machine, pod brewer, espresso machine, fully automatic machine, and grind-and-brew model may have different removable parts, cleaning tablets, descaling cycles, and chemical restrictions.
Find the model number on the base, back, or rating label. Then check the printed guide or the manufacturer’s support page. The manual should tell you:
- Which parts can be removed or placed in a dishwasher
- Whether the water filter must be removed before descaling
- Whether vinegar is permitted
- Which descaling product and dilution ratio to use
- How to start and complete the cleaning cycle
- How many fresh-water rinse cycles are required
- How to reset the descale or clean indicator
Warning: Unplug the coffee maker and let it cool before removing parts, washing by hand, or wiping the housing. Never immerse the electrical base, power cord, or plug in water. Plug the machine in only when the manufacturer’s descaling procedure requires a powered brew or cleaning cycle.
Do not mix vinegar with bleach, hydrogen peroxide, ammonia, commercial descaler, or another cleaner. Never pour a chemical into the reservoir unless the manufacturer identifies it as safe for that model.
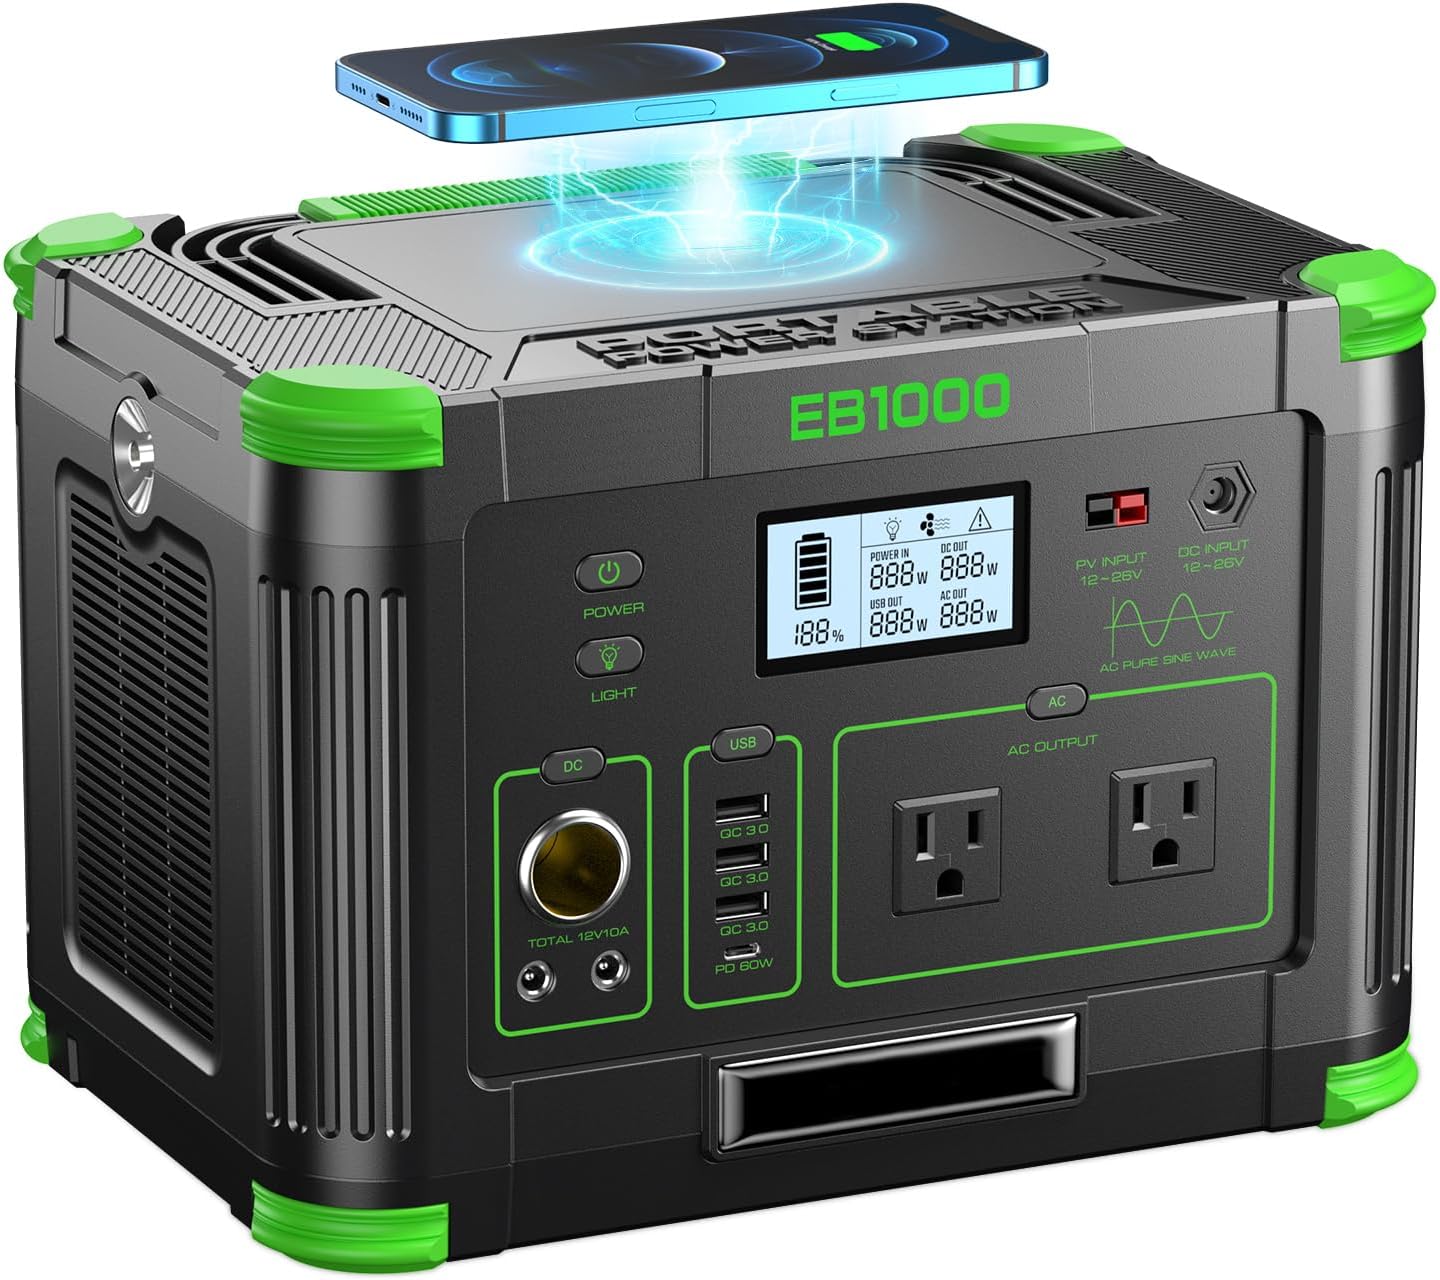
Power your essentials anywhere with a 999Wh pure sine wave power station delivering up to 1000W continuous with 2000W surge. It supports fast charging via USB-C PD 60W and USB-A QC 18W, plus simultaneous output for multiple devices through AC, USB, wireless, and car/DC ports. Recharge using AC, car, or solar with a built-in MPPT controller and dual cooling fans, while the upgraded battery management system protects against surges, short circuits, and overheating.
Better tasting beverages: Reduces flavor carry over between brews

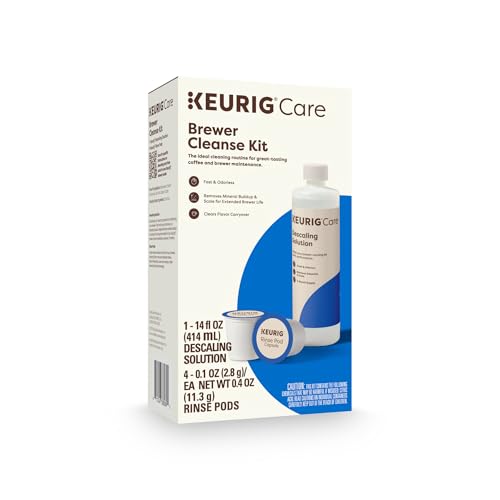
RESTORE COFFEE FLAVOR & AROMA: Our universal descaling solution removes bitter mineral buildup and calcium deposits from heating elements. This ensures your Keurig cleaner process restores the original "day one" taste of your favorite pods and espresso capsules
Why Cleaning Your Coffee Maker Matters
Coffee oils and fine grounds collect on the brew basket, lid, carafe, reusable filter, and other surfaces that contact brewed coffee. If they remain in place, they can create stale odors and bitter or rancid flavors.
Minerals in water can also form scale inside the reservoir, heater, tubing, and outlet. This is a different problem from coffee residue. Descaling helps remove those deposits when it is performed with a product and procedure approved for the machine.
Routine washing removes coffee residue from accessible parts. Descaling removes mineral deposits from the internal water path. A complete maintenance routine includes both jobs.
Regular care may improve flavor, reduce odors, and help prevent scale-related slowdowns. It also gives you an opportunity to inspect the cord, plug, carafe, seals, and water reservoir for damage.
Moisture left in a closed reservoir or on damp removable parts can support unwanted growth. After washing, rinse the parts well and let them dry completely before reassembly. The U.S. Environmental Protection Agency’s mold guidance recommends cleaning washable hard surfaces with detergent and water and drying them completely.
Essential Supplies for Effective Coffee Maker Cleaning
You usually need only a few basic supplies:
- Warm water
- Mild dish soap
- A soft sponge, microfiber cloth, or nonabrasive dishcloth
- A small, soft brush for removable crevices
- Fresh water for rinsing
- The descaling product approved in the owner’s manual
- Plain distilled white vinegar only when the manual permits it
- Baking soda for a carafe soak or surface paste when compatible with the material
Avoid steel wool, abrasive powders, harsh scouring pads, and sharp tools. They can scratch a carafe, damage a nonstick warming plate, puncture a screen, or harm a seal.
If your machine uses a charcoal or replaceable water filter, check whether it should be removed before descaling. KitchenAid, for example, instructs owners of certain coffee makers to remove the water filter before the descaling cycle and reinstall or replace it afterward.
Note: Filtered water may reduce mineral accumulation, but it does not eliminate the need for descaling. Follow the machine’s indicator and maintenance schedule.
Step-by-Step Guide to Cleaning Your Coffee Maker
The following procedure is suitable as a general framework. Your model’s manual takes priority whenever its steps differ.
| Step | Action | Important Notes |
|---|---|---|
| 1. Empty | Discard coffee, grounds, pods, and used paper filters. | Let the machine and warming plate cool. |
| 2. Unplug | Disconnect power before hand-cleaning the machine. | Do not immerse the base, cord, or plug. |
| 3. Remove parts | Remove the carafe, lid, brew basket, reusable filter, drip tray, and other manual-approved parts. | Do not force a component that is not designed to come out. |
| 4. Wash | Wash suitable removable parts with warm water, mild dish soap, and a soft sponge. | Use a soft brush around mesh, hinges, and grooves. |
| 5. Wipe | Wipe the housing and cool warming plate with a damp cloth. | Keep water out of buttons, vents, seams, and electrical openings. |
| 6. Descale | If descaling is due, remove the water filter if directed, add the approved solution, and run the specified cycle. | Do not substitute a vinegar ratio from another brand. |
| 7. Rinse | Discard the used solution and run the required number of full fresh-water cycles. | Continue rinsing if the manual requires it or an approved vinegar method leaves an odor. |
| 8. Dry and reassemble | Dry all removable parts and reinstall them securely. | Replace or reinstall the water filter as directed. |
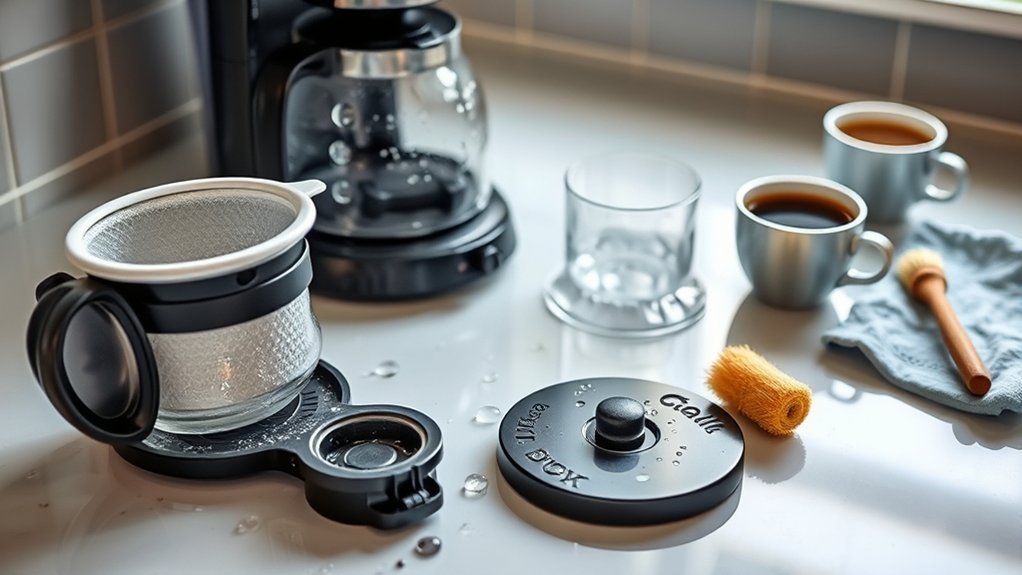
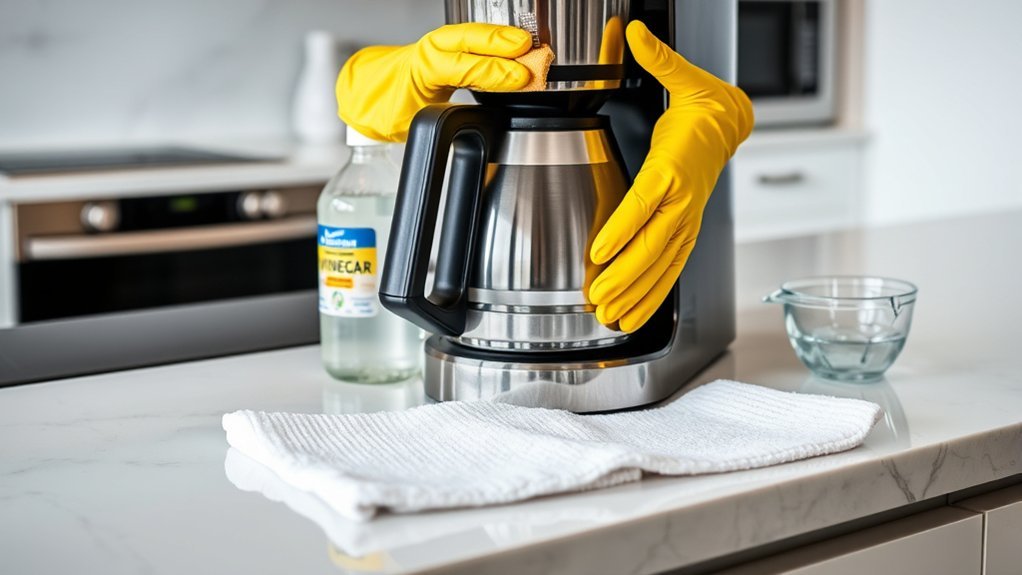
Clean the Carafe and Brew Basket
Wash the carafe, lid, and brew basket after each day of use or more often when residue is visible. Warm, soapy water is usually enough. Check the manual before placing any part in a dishwasher because heat can warp plastic components and damage printed markings or insulated carafes.
For stains inside a compatible glass carafe, make a paste with baking soda and a small amount of water, apply it with a soft sponge, and rinse well. You can also soak the carafe with warm water and a small amount of dish soap before scrubbing.
Clean the Reservoir and Exterior
If the reservoir is removable and washable, clean it according to the manual and dry it fully. For a fixed reservoir, do not reach into the machine with an abrasive tool or flood the housing. Wipe accessible surfaces with a clean, damp cloth.
Use only a lightly damp cloth on the exterior and the cool warming plate. Do not spray cleaner directly onto the machine because liquid can enter the control panel or ventilation openings.
Descale the Internal Water System
Descale when the machine’s indicator appears, the manual’s interval arrives, or symptoms suggest mineral buildup. Some drip machines allow vinegar. For example, KitchenAid publishes a half-vinegar, half-water procedure for certain coffee makers, while Cuisinart instructions vary by model and method.
Other manufacturers require a proprietary or approved descaler. De’Longhi instructs owners of its fully automatic machines to use its descaler and not vinegar. Keurig’s current guidance directs owners to find the instructions for their specific brewer.
Pro Tip: Take a photo of the model label and save the manufacturer’s cleaning page on your phone. You will have the correct ratio, button sequence, and descale-light reset instructions when maintenance is due.
How to Properly Rinse and Reassemble Your Coffee Maker
When the descaling cycle is complete, discard the used solution safely. Fill the reservoir with fresh water and run the number of rinse cycles specified in the manual. Certain KitchenAid instructions call for two complete fresh-water cycles, but another model may require a different amount.
Let the machine cool before handling removable parts. Wash the carafe and filter basket with warm, soapy water to remove loosened coffee oils or remaining cleaner. Rinse them thoroughly.
Dry the carafe, lid, filter basket, reservoir, and other removable parts completely. Drying discourages musty odors and prevents water from being trapped around seals or storage areas.
Reinstall the water filter if one was removed. Place each part in its correct position without forcing it. Make sure the brew basket is seated properly, the carafe lid is attached, and the drip tray or pod holder is secure.
Before brewing coffee, run an additional water-only cycle if you still detect a cleaning-product odor or taste. Do not use the machine until the rinse water is clear and free of cleaning residue.
Signs You Need to Clean or Descale Your Coffee Maker
Clean accessible parts when you notice:
- Visible coffee oils, grounds, stains, or residue
- A stale, sour, or musty smell
- Bitter or unusual flavors that are not caused by the beans or water
- Residue around the lid, basket, reusable filter, drip tray, or pod holder
- Standing water left in the reservoir for an extended period
Descaling may be due when you notice:
- A clean or descale indicator light
- Longer-than-normal brew times
- Reduced water flow
- Gurgling or other unusual sounds during brewing
- Visible mineral deposits
- Smaller beverage volume than the selected setting
KitchenAid lists excessive brew times and unusual noises among the signs that certain coffee makers need descaling. However, these symptoms can also have mechanical causes.
If coffee remains lukewarm after a proper cleaning and descaling cycle, the heater, thermostat, sensor, or electrical system may need service. Stop using the machine if it leaks near electrical components, emits smoke, smells like overheated plastic, repeatedly trips a breaker, or has a damaged cord or plug.
How Often Should You Clean and Descale a Coffee Maker?
There is no single schedule for every coffee maker. Use the following routine as a starting point, then adjust it to the manual, brewing volume, and water hardness.
| Frequency | Maintenance |
|---|---|
| After each use or daily | Discard grounds or pods, rinse the carafe and basket, wipe spills, and avoid leaving brewed coffee or standing water in the machine. |
| Weekly | Wash approved removable parts more thoroughly and clean the drip tray, reusable filter, pod holder, and accessible reservoir surfaces. |
| Every 1–6 months or when prompted | Descale according to the manual. Hard water and heavy use may shorten the interval. |
| Immediately | Clean spills, sour odors, visible growth, overflowing grounds, milk residue, or contamination from a foreign substance. |
Cuisinart currently suggests descaling many of its coffee makers every one to three months depending on water hardness. Keurig recommends every three to six months for its brewers or when the descale light appears. Those schedules illustrate why the machine’s own instructions should control the timing.
Alternative Cleaning Agents for Your Coffee Maker
Manufacturer-Approved Descaler
An approved descaling liquid, powder, or tablet is the safest default when the manual specifies one. Use the exact amount of product and water listed on the package and in the machine instructions. Do not increase the concentration to speed up the process.
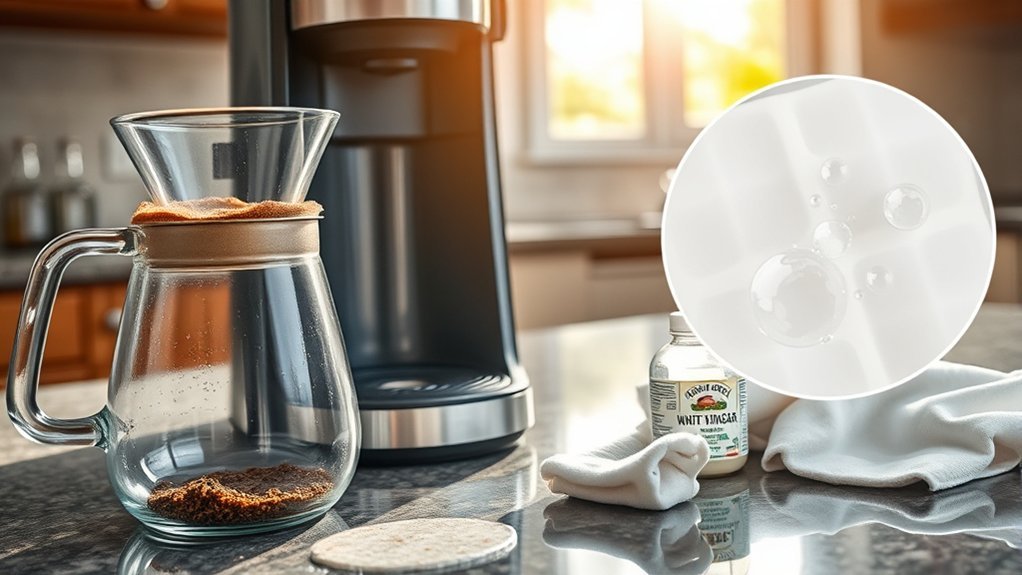
Distilled White Vinegar
Plain distilled white vinegar can remove mineral deposits in machines whose manufacturers allow it. The correct concentration and pause time vary. Do not use apple cider vinegar, balsamic vinegar, cleaning vinegar, flavored vinegar, or another colored product because it may leave residue, odor, or staining.
Do not assume that vinegar is acceptable for an espresso or fully automatic machine. De’Longhi, for example, expressly tells owners of its fully automatic machines to use the approved descaler and never vinegar.
Baking Soda
Baking soda is useful for deodorizing and gently scrubbing a compatible carafe or removable surface. Mix it with a small amount of water to form a paste, apply it with a soft sponge, and rinse thoroughly.
Cuisinart publishes an internal baking-soda method for certain conditions, but that does not make the method suitable for every brand. Powder that is not completely dissolved may remain in tubing, valves, or narrow outlets. Do not run baking soda through the machine unless its manufacturer permits it.
Lemon Juice, Hydrogen Peroxide, and Bleach
Do not use lemon juice as a generic internal descaler. Its concentration varies, and it can leave sugars, pulp, odor, or residue. De’Longhi warns that DIY acids may contribute to residue and internal problems in its machines.
Do not pour hydrogen peroxide or chlorine bleach into a coffee maker unless the manufacturer gives a specific procedure for that exact model. Never combine either product with vinegar or another cleaner.
Warning: Mixing chlorine bleach with an acid such as vinegar can release dangerous chlorine gas. Use only one manual-approved product at a time, and rinse as directed.
Cleaning Different Types of Coffee Makers
Standard Drip Coffee Makers
Wash the carafe, lid, brew basket, and reusable filter regularly. Wipe the warming plate only after it is cool. When descaling is due, remove the charcoal filter if directed and run the model-approved solution through a full cleaning or brew cycle.
Single-Serve and Pod Brewers
Clean the drip tray, pod holder, funnel, and removable reservoir according to the manual. The entrance and exit needles can be sharp, so use the manufacturer’s cleaning tool or procedure rather than inserting your fingers or a metal object. Complete the programmed descaling sequence and reset the indicator as instructed.
Espresso and Fully Automatic Machines
These machines may require separate cleaning for the brew group, portafilter, shower screen, steam wand, milk system, grinder, and internal water circuit. Cleaning tablets and descaling products are not interchangeable. Use the product assigned to each procedure.
Some removable brew groups are rinsed with water only. De’Longhi advises owners of certain fully automatic machines to clean the brewing unit weekly with water and to use its approved descaler rather than vinegar.
Grind-and-Brew Coffee Makers
Keep water away from the grinder and motor. Brush away dry grounds only where the manual permits, and remove oily buildup from approved grinder parts with the specified tool or cleaning product. Do not pour water into a burr assembly unless it is designed to be washed.
Troubleshooting After Cleaning
The Vinegar or Cleaner Smell Remains
Run another full reservoir of fresh water through the machine. Wash the carafe, lid, and basket again. Repeat until the water has no cleaner smell or taste. If the odor remains after the manual’s rinse procedure, contact the manufacturer before brewing coffee.
The Coffee Maker Still Brews Slowly
Confirm that you used the correct descaling product, concentration, and complete cycle. Check the basket, outlet, pod holder, and reusable filter for residue. If flow remains slow, the machine may have a blocked valve, failing pump, or other internal fault that requires service.
The Descale Light Stays On
Many machines require the complete programmed cycle before the indicator resets. Some also require a button sequence after rinsing. Look up the instructions for the exact model rather than repeating random vinegar cycles.
The Coffee Maker Leaks After Cleaning
Make sure the reservoir, carafe lid, basket, drip tray, seals, and removable parts are seated correctly. Stop using the machine if water reaches the cord, plug, control panel, or underside of the electrical base.
There Is Visible Mold or Musty Residue
Unplug the machine. Wash accessible, manufacturer-approved hard surfaces with detergent and water, then dry them completely. Replace disposable filters and other contaminated replaceable parts.
If growth appears inside inaccessible tubing, insulation, a sealed reservoir, or another area that cannot be safely opened and cleaned, contact the manufacturer. Replacement may be safer than continued use when contamination cannot be removed.
Final Thoughts on Coffee Maker Maintenance
A good maintenance routine is simple: remove coffee residue frequently, keep removable parts dry, and descale only when the model’s instructions call for it. This approach protects flavor without exposing the machine to an incompatible chemical or an overly concentrated solution.
Importance of Regular Cleaning
Routine washing removes oils, grounds, and residue before they harden or create stale flavors. Periodic descaling addresses minerals that may slow water flow or affect brewing performance.
| Cleaning Benefit | Maintenance Practice |
|---|---|
| Fresher flavor | Wash the carafe, lid, basket, and reusable filter regularly. |
| Reduced mineral buildup | Descale according to water hardness, usage, and the manual. |
| Fewer musty odors | Empty standing water and dry washable parts completely. |
| Earlier problem detection | Inspect the carafe, seals, cord, plug, reservoir, and housing while cleaning. |
Signs of Needed Maintenance
Bad-tasting coffee, stale odors, visible residue, slower flow, unusual brewing sounds, and a cleaning indicator can signal that maintenance is due. Start with the procedure specified for your model.
Cleaning is not a repair for every problem. Persistent leaks, low brewing temperature, electrical odors, damaged wiring, pump failure, or repeated error messages should be evaluated through the manufacturer’s support channel.
Best Cleaning Practices
- Read the manual before using a descaling chemical.
- Clean removable coffee-contact parts frequently.
- Use soft, nonabrasive tools.
- Remove a water filter before descaling when instructed.
- Measure the cleaning solution accurately.
- Complete the full programmed cycle without interruption unless the instructions require a pause.
- Run every required fresh-water rinse.
- Dry washable parts before reassembly.
- Do not mix cleaning products.
- Stop using a machine with an electrical or unresolved leak hazard.
Frequently Asked Questions
Can I use regular vinegar instead of distilled white vinegar?
Use only plain distilled white vinegar when your coffee maker’s manual permits vinegar. Avoid apple cider, balsamic, flavored, colored, or high-strength cleaning vinegar because these products can leave odor, residue, or stains. Some espresso and fully automatic machines prohibit all vinegar.
How often should I replace my coffee maker?
There is no universal replacement age. Consider replacement when the machine has an unsafe cord or plug, unresolved electrical problems, internal contamination that cannot be cleaned, repeated leaks, unavailable replacement parts, or a repair cost that approaches the cost of a suitable new machine.
Is it safe to clean my coffee maker with bleach?
Do not put chlorine bleach into the water reservoir unless the manufacturer provides a specific procedure for your exact model. Never mix bleach with vinegar, lemon juice, a descaler, or another acid. Use mild dish soap on approved removable parts and the manual-approved product for the internal system.
What should I do if my coffee maker smells bad?
Discard standing water, grounds, pods, and old filters. Wash the carafe, basket, lid, drip tray, reservoir, and other approved removable parts with warm, soapy water. Dry everything completely. If the odor appears to come from inaccessible internal parts, contact the manufacturer before using the machine again.
Can I clean my coffee maker with baking soda?
Baking soda can help clean a compatible carafe or removable surface when used as a paste or soak. Do not run it through the internal water system unless the manufacturer allows that method and provides measurements. Undissolved powder can remain in narrow tubing or outlets.
How much vinegar should I use to descale a coffee maker?
Use the ratio listed in the owner’s manual. Some KitchenAid drip machines use equal parts vinegar and water, while Cuisinart publishes different ratios for different methods. Other manufacturers prohibit vinegar. There is no safe universal amount for every coffee maker.
Can I put coffee maker parts in the dishwasher?
Only place a part in the dishwasher when the manual identifies it as dishwasher-safe. High heat may warp plastic, damage an insulated carafe, loosen seals, or remove printed markings. Hand-washing with warm, soapy water is the safer choice when you are unsure.
Why is my coffee maker still slow after descaling?
Confirm that you completed the correct cycle with the approved solution and concentration. Clean the basket, reusable filter, pod holder, and accessible outlets. Continued slow flow may indicate a blocked valve, failing pump, heater problem, or another fault that requires manufacturer support.
Sources
- Cuisinart: How to Clean a Coffee Maker — vinegar ratios, removable-part care, filter maintenance, and cleaning frequency
- KitchenAid Product Help: Descale a Coffee Maker — descaling symptoms, filter removal, vinegar ratio, rinse cycles, and washing instructions
- Keurig: Brewer Descaling Guidance — mineral-scale effects and current three-to-six-month guidance
- De’Longhi: Cleaning a Fully Automatic Coffee Machine — approved descaler, vinegar restriction, rinse care, and brew-unit cleaning
- U.S. Environmental Protection Agency: Basic Mold Cleanup Steps — detergent cleaning, moisture control, and complete drying
Conclusion
A clean coffee maker can produce better-tasting coffee and operate more consistently, but the right method depends on the machine. Wash approved removable parts with warm, soapy water, wipe the housing without soaking it, and let every part dry completely.
When mineral scale needs attention, use the product, ratio, and cycle listed for your model. Vinegar is suitable for some drip machines but prohibited in others, especially certain fully automatic systems. Finish every descaling procedure with the required fresh-water rinses, and seek service when leaks, electrical problems, low heat, or slow flow continue after proper maintenance.