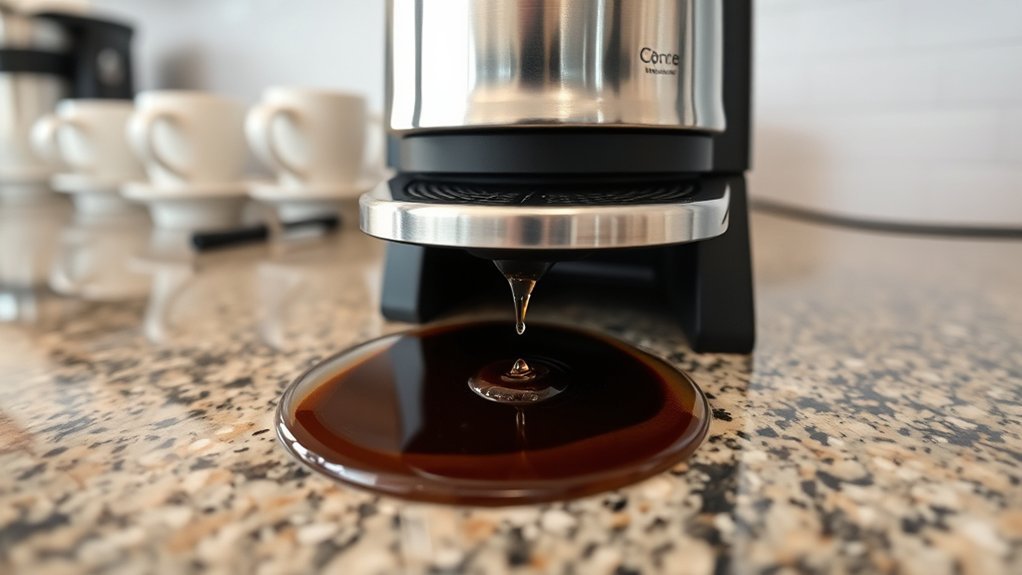
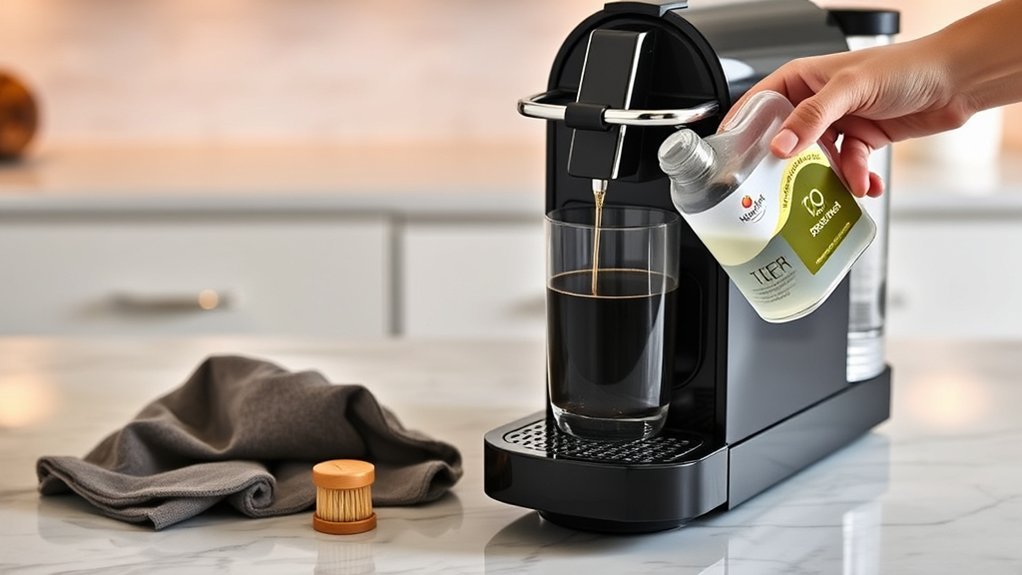
Flushing a coffee maker after descaling removes the cleaning solution from the water path before you brew again. The safest method is to finish the machine’s built-in rinse program or run the fresh-water cycles specified in the owner’s manual. Because drip, pod, and espresso machines use different water systems and rinse sequences, there is no universal rinse count for every model.
Quick Answer
Empty and rinse the reservoir, refill it with fresh potable water, and complete the manufacturer’s rinse cycle. Some drip coffee makers require two full water-only brew cycles, while pod and espresso machines may use one or more programmed rinse phases. Follow the instructions for your exact model before brewing coffee again.
Key Takeaways
- Follow the rinse steps for your exact model rather than assuming every coffee maker needs the same number of cycles.
- Rinse the reservoir before refilling it, and remove or reinstall the water filter only when the manual tells you to.
- Treat milk-system cleaning separately unless your machine specifically directs descaler or rinse water through that circuit.
- Do not assume the reservoir is dishwasher-safe; cleaning instructions can differ even between models from the same brand.
- Do not add vinegar, baking soda, soap, or another cleaner during the post-descaling rinse unless your exact instructions specifically require it.
- Do not brew coffee until the rinse program is complete and the output has no cleaner odor, unusual color, or persistent particles.
At a Glance
| Time Required | Usually about 10–30 minutes for rinsing and cleanup, but the exact time depends on the machine and required rinse sequence |
| Difficulty | Easy |
| Tools Needed | Fresh potable water, a large heat-safe container or carafe, and a soft cloth; mild dish soap for removable parts that the manual approves for washing |
| Cost | Usually no added cost beyond water and basic cleaning supplies |
Why Flushing Is Essential After Descaling

Descaling loosens limescale inside the machine’s water circuit. The rinse phase then carries away the used descaling solution and loosened residue. Skipping or interrupting that phase can leave an unwanted smell or taste. On machines with a programmed maintenance sequence, an incomplete cycle can also leave the descale or cleaning indicator active.
The required water volume and number of rinses depend on the machine. For example, KitchenAid’s drip-coffee guidance calls for two full fresh-water brew cycles. By comparison, Philips’ model-specific espresso procedures include different programmed rinse stages depending on the series.
The correct rinse is the one specified for your exact coffee maker—not a fixed number copied from another brand or machine type.
Warning: Do not drink or taste descaling solution or rinse water. Keep descaler out of reach of children, avoid eye and skin contact, and follow the product label. Water and steam dispensed during descaling or rinsing may be hot enough to cause burns.

Power your essentials anywhere with a 999Wh pure sine wave power station delivering up to 1000W continuous with 2000W surge. It supports fast charging via USB-C PD 60W and USB-A QC 18W, plus simultaneous output for multiple devices through AC, USB, wireless, and car/DC ports. Recharge using AC, car, or solar with a built-in MPPT controller and dual cooling fans, while the upgraded battery management system protects against surges, short circuits, and overheating.

RESTORE COFFEE FLAVOR & AROMA: Our universal descaling solution removes bitter mineral buildup and calcium deposits from heating elements. This ensures your Keurig cleaner process restores the original "day one" taste of your favorite pods and espresso capsules

RESTORE COFFEE FLAVOR & AROMA: Our universal descaling solution removes bitter mineral buildup and calcium deposits from heating elements. This ensures your Keurig cleaner process restores the original "day one" taste of your favorite pods and espresso capsules
Before You Start the Rinse
Complete these checks before sending fresh water through the machine:
- Confirm the exact model: Check the model number on the machine, label, manual, or manufacturer support page. Button combinations, fill lines, filter instructions, and rinse counts can differ even within one brand.
- Finish the descaling phase: Do not stop a programmed cycle midway unless the manufacturer specifically tells you to.
- Remove used solution: Empty the carafe, drip tray, capsule container, grounds bin, and collection bowl as applicable.
- Rinse the reservoir: Remove the tank when the design allows, rinse it with fresh water, and refill it to the level stated in the manual.
- Handle a fixed reservoir correctly: If the reservoir does not detach, do not force it out or pour soap into the machine. Empty and refill it using the cleaning or rinsing method specified for that model.
- Check the water filter: Many machines require the filter to be removed before descaling and reinstalled or replaced afterward.
- Check removable milk parts: Some espresso machines require the milk frother, carafe, or LatteGo-style assembly to be removed during descaling. Do not assume the milk circuit should receive descaling solution.
- Use a large container: Place a heat-safe vessel under every outlet the rinse procedure identifies, such as the coffee spout or hot-water outlet.
Note: “Fresh water” means potable water that is suitable for your machine. Do not add coffee, a capsule, soap, vinegar, baking soda, or more descaler during the post-descaling rinse unless the manufacturer specifically directs otherwise.
Steps to Flush Your Coffee Maker Effectively
Once the descaling phase is complete, use this general sequence while giving your owner’s manual priority:
- Empty the used descaling liquid. Carefully discard the liquid collected during descaling and rinse the collection container.
- Rinse the water reservoir. Remove and rinse it with fresh water when the design permits so no visible descaling liquid remains.
- Refill with fresh potable water. Fill to the level required for the rinse program, which may be MAX, CALC/CLEAN, or another marked level.
- Start the rinse cycle. Select the machine’s rinse or descale-continuation step. On a simple drip maker without a programmed rinse, run the water-only brew cycle specified in its instructions.
- Let the cycle finish. Do not interrupt the machine, remove the tank, or add more water unless the display or manual instructs you to do so.
- Repeat only as directed. Some machines complete one programmed rinse; others require additional water. Some drip makers, including the KitchenAid procedure cited here, call for two full fresh-water brew cycles.
- Complete the final checks. Confirm the descale light has cleared when applicable, rinse the carafe or drip tray, and reinstall or replace the water filter as directed.
Pro Tip: Keep the manual or manufacturer support page open while rinsing. Button sequences, required fill levels, filter handling, and indicator behavior can be specific to one model even when two machines share the same brand.
Drip Coffee Makers
Remove the paper filter and coffee grounds before rinsing. Fill the reservoir with fresh, cool water and run the water-only brew cycle required by the manufacturer. Empty the carafe after each rinse. KitchenAid, for example, recommends two full fresh-water cycles after its drip-coffee descaling procedure, but you should not automatically apply that number to every drip maker.
Pod and Single-Serve Coffee Makers
Remove any pod or capsule and use the machine’s descale or rinse sequence. Do not assume that an ordinary cleansing brew will complete a programmed descaling process. Continue until the machine signals that the required sequence is finished. Keurig provides model-specific instructions through its official descaling support.
Espresso and Super-Automatic Machines
These machines may rinse through several outlets, including the grouphead, coffee spout, hot-water outlet, or steam wand. Place containers under all outlets named in the manual and follow the displayed sequence rather than improvising with “throwaway shots.”
Handle milk equipment separately unless the manual explicitly includes it in the descale procedure. Some machines instruct you to remove the milk frother or milk-carafe system before descaling. Do not intentionally run descaler through a milk circuit unless your exact manufacturer instructions tell you to do so.
What to Do If Your Water Looks Cloudy After Flushing

Cloudy rinse water can have several causes, including loosened mineral particles, coffee debris, cleaner residue, or tiny air bubbles. Appearance alone does not prove that descaler remains, so compare the output with the fresh water entering the reservoir and check for odor, visible particles, or unusual color.
Run the next rinse step specified by the machine. If the water remains cloudy after the full program, do not add another chemical cleaner. Instead, inspect the reservoir, carafe, filter basket, pod holder, drip tray, and other accessible removable parts for residue or debris.
Possible Causes Explained
- Incomplete rinse program: The machine may still be in its descaling sequence or waiting for another tank of fresh water.
- Loosened scale: Descaling can release mineral residue that must be carried out through the approved rinse procedure.
- Coffee residue: Oils or grounds in the brew basket, capsule holder, carafe, or outlet can discolor the water.
- Reservoir residue: Descaling liquid may remain if the tank was refilled without first being rinsed when the reservoir design allows rinsing.
- Air bubbles: Aerated water can look milky for a short period and then become clear as the bubbles escape.
If cloudy water becomes clear quickly while standing, trapped air may be responsible. If visible particles settle, clean the approved removable parts and complete another water-only rinse if the manual permits it. If there is a chemical odor, do not brew coffee yet.
Further Flushing Methods
Use additional fresh-water cycles only when the manual allows them. An extra water rinse is not the same as beginning another chemical descaling treatment. Do not follow a descaling cycle with an improvised vinegar or baking-soda treatment in an attempt to “neutralize” the machine. Using unapproved chemicals can leave additional residue or conflict with manufacturer instructions.
Vinegar is acceptable for some drip coffee makers, but it is prohibited for other machines. Nespresso states that vinegar can damage its machines, and Philips gives similar restrictions for specified espresso models. Use vinegar only when the manual for your exact machine approves it—and use it as part of the approved descaling process, not as a remedy for cloudy rinse water after another descaler.
If repeated approved rinses do not produce normal-looking water, or if the machine leaks, overheats, makes abnormal noises, or cannot complete its rinse program, stop using it. Switch it off and unplug it when safe to do so, allow hot components to cool before handling them, and contact the manufacturer or an authorized service provider.
How to Clean Removable Parts for a Thorough Flush
Cleaning removable parts prevents old coffee residue or leftover descaler in the reservoir and carafe from being mistaken for a problem deeper inside the water circuit.
- Unplug and cool the machine before removing parts that are not intended to be handled during operation.
- Check the manual for cleaning instructions covering the carafe, lid, filter basket, reusable filter, reservoir, drip tray, capsule holder, and milk-system parts.
- Hand-wash approved parts with warm water, mild dish soap, and a soft sponge or cloth.
- Rinse thoroughly so no soap remains on any surface that contacts water or coffee.
- Air-dry completely before reassembly, leaving lids or compartments open when the manufacturer allows it.
Do not assume the reservoir is dishwasher-safe. Dishwasher guidance can vary even within one brand. For example, some Keurig care guides require the reservoir and lid to be hand-washed, while other Keurig models permit top-rack dishwasher cleaning. Check the instructions for the exact model and part instead of applying one dishwasher rule to every machine.
For non-removable areas, use a soft, damp, lint-free cloth when the manufacturer permits it. Do not pour vinegar or soapy water into seams, controls, vents, the heating plate, or other areas outside the approved water path, and never immerse the appliance base in water.
Maintain Your Coffee Maker After Flushing

After the final rinse, empty and rinse the carafe or collection container, reinstall or replace the water filter when required, and wipe the exterior with a damp cloth. Allow washable parts to dry before reassembly. Keeping the reservoir lid or filter-basket area open between uses, when the machine design and manual allow it, can help trapped moisture evaporate.
Routine cleaning and descaling are different jobs. Wash coffee-contact parts regularly to remove grounds and oils, but descale according to the schedule, brew count, indicator, or prompt specified by the manufacturer. Descaling more often with an unapproved acid does not improve maintenance.
Use water that meets the machine maker’s guidance. Filtered water may reduce some tastes and mineral load, but some manufacturers advise against distilled water in specified machines. Replace in-tank water filters according to their own schedule rather than automatically waiting until the next descale.
Common Mistakes to Avoid When Flushing
- Using one rinse count for every machine: Two cycles are specified for some drip machines, but other drip, pod, and espresso makers use different rinse sequences.
- Stopping when the first tank empties: Some machines have another rinse phase or require you to confirm the next step.
- Underfilling the rinse tank: Some models require the reservoir to reach a specific MAX or CALC/CLEAN level before the rinse can finish correctly.
- Adding baking soda or another cleaner: Post-descaling flushing should use fresh water unless the manufacturer explicitly specifies something else.
- Using vinegar without checking: Some manufacturers permit it for selected machines, while others warn that it can damage the appliance.
- Putting every removable part in the dishwasher: Dishwasher safety varies by part and model.
- Leaving the water filter in place: Some descale procedures require removal before descaling and installation of the filter again afterward.
- Sending descaler through the milk system without instructions: Milk equipment may require separate cleaning or removal during the descale procedure.
- Tasting rinse water: Judge completion by the official rinse sequence, normal appearance, and absence of cleaner odor—not by drinking rinse water.
- Forcing the descale light off: An indicator that stays on can mean the programmed sequence was not completed correctly. Follow the exact completion or troubleshooting steps for the model.
When to Schedule Your Next Descaling
There is no single calendar rule for every coffee maker. Descaling frequency depends on the model, water hardness, brewing frequency, filter system, and whether the machine tracks scale, time, or brew count. Follow the manual, on-screen prompt, or descale indicator for your machine.
Frequency Based on Usage
Frequent brewing and mineral-rich water usually lead to faster scale buildup. Light use or an approved water-filter system may extend the interval. Manufacturer recommendations vary widely: one machine may use a calendar interval, another may track brewing activity, and another may rely primarily on a maintenance alert.
Use the manufacturer’s schedule as the starting point, then respond promptly if the machine displays a maintenance alert or develops performance changes associated with scale.
Signs Your Machine Needs Descaling
- A descale or clean indicator turns on.
- Brewing takes longer than usual.
- Water flow becomes weak, uneven, or intermittent.
- The machine makes new gurgling or pumping noises.
- Visible white mineral deposits appear on accessible areas.
- Coffee volume or temperature changes without a corresponding setting change.
A chemical smell or taste immediately after descaling points first to a rinse problem rather than automatically meaning the machine needs another dose of descaler. Complete the approved rinse procedure before considering another chemical treatment.
Manufacturer’s Recommended Schedule
Check the model number on the machine and use the matching manual or official support page. Recommendations can differ even among machines from the same brand. Nespresso guidance varies by machine and market, while Philips publishes distinct procedures for several espresso series.
Record the date when you descale, note water-filter changes, and keep the descaling product instructions with the appliance manual. This makes it easier to follow the proper interval without unnecessary chemical cleaning.
Final Checks Before Brewing Again
After the machine completes its rinse program, use this final checklist before brewing:
- The reservoir has been rinsed when removable and filled with fresh water.
- The carafe, drip tray, capsule container, and removable brew parts are clean.
- The water filter has been reinstalled or replaced when required.
- Any milk-system components removed for descaling have been cleaned and reinstalled according to their instructions.
- The descale indicator has turned off or the display confirms completion when applicable.
- The rinse output has no cleaner odor, unusual color, or persistent particles.
- No descaling solution, vinegar, baking soda, or soap remains in the approved water path.
If all checks pass, the coffee maker is ready to brew. You generally do not need to discard a normal cup of coffee after the manufacturer’s complete rinse sequence unless the manual specifically instructs you to do so. If the first brew has a chemical odor or otherwise seems abnormal, stop drinking it and return to the approved fresh-water rinse procedure.
If the descale light remains on or the water still smells like cleaner, repeat only the official completion or fresh-water rinse steps permitted for the machine. Do not automatically begin another improvised chemical descaling cycle.
Frequently Asked Questions
How often should I descale my coffee maker?
Follow the schedule in the owner’s manual or the machine’s descale alert. The interval can depend on the model, water hardness, filter use, brewing frequency, and sometimes brew count, so a universal three- or four-month rule is not reliable for every coffee maker.
Can I use vinegar instead of a descaling solution?
Only when the manufacturer approves vinegar for your exact model. Some drip-coffee instructions allow diluted white vinegar, while Nespresso and specified Philips espresso machines warn against it. Never add vinegar after a commercial descaler simply to clear cloudy rinse water.
What type of water is best for my coffee maker?
Use potable water that meets the manufacturer’s guidance. Filtered water may reduce chlorine taste and some mineral buildup, but distilled water is not recommended for certain machines. Check the manual before changing the water type.
How can I tell if my coffee maker is properly flushed?
The manufacturer’s rinse sequence is complete, any applicable maintenance alert has cleared, and the output has no cleaner odor, unusual color, or persistent particles. Do not taste rinse water. If needed, run another water-only rinse only when the manual allows it.
Will flushing affect my coffee maker’s warranty?
Flushing performed according to the manufacturer’s instructions is normal maintenance. Warranty problems are more likely to arise from using an unapproved chemical, failing to follow required maintenance, or cleaning parts in a way the manufacturer prohibits. Check the warranty terms for your exact model.
How many rinse cycles are needed after descaling?
Use the number or programmed sequence specified for your model. KitchenAid’s cited drip-coffee procedure uses two full fresh-water cycles, while other machines may use one programmed rinse, multiple rinse tanks, or a guided sequence that continues until the display confirms completion.
What should I do if the water still smells like descaler?
Do not brew coffee or taste the rinse water. Rinse the removable reservoir when applicable, confirm that every programmed rinse step was completed, and run another approved fresh-water cycle if the manual permits it. Contact the manufacturer if the odor remains.
Why is the descale light still on after rinsing?
The machine may not have registered the full programmed sequence, a required rinse tank may have been underfilled, or a button step may have been missed. Follow the official completion steps for the exact model rather than repeatedly unplugging the machine or forcing a reset unless its manual instructs you to do so.
Can I make coffee immediately after the final rinse?
Yes, once the manufacturer’s complete rinse procedure has finished, the machine indicates it is ready, and the water path has no cleaner odor or abnormal residue. If the first brewed cup has a chemical smell or seems abnormal, do not drink it; complete another approved fresh-water rinse or contact support.
Conclusion
Flushing after descaling is simple, but the details are model-specific. Rinse the reservoir when the design permits, use fresh potable water, complete every programmed rinse step, handle filters and milk-system parts as instructed, and clean removable components according to the manual. Avoid universal assumptions about rinse count, vinegar, dishwasher safety, or descaling frequency. Once the required sequence is complete and the output is normal and odor-free, the machine is ready to brew again.
Sources
- KitchenAid: How to Clean and Descale a Coffee Maker — supports drip-maker rinse cycles, removable-part cleaning, water guidance, and model-dependent vinegar use.
- Philips: How to Descale My Philips Espresso Machine — supports model-specific rinse programs, water-filter handling, milk-component removal, and restrictions on certain acids.
- Keurig: How to Descale Your Keurig Coffee Maker — supports following the correct model-specific descale and completion sequence.
- Keurig: Regular Coffee Maker Maintenance — supports cleaning removable components according to the exact brewer’s care guidance.
- Nespresso: Descaling Kit and Safety Guidance — supports descaler safety precautions and the warning against using vinegar in Nespresso machines.