
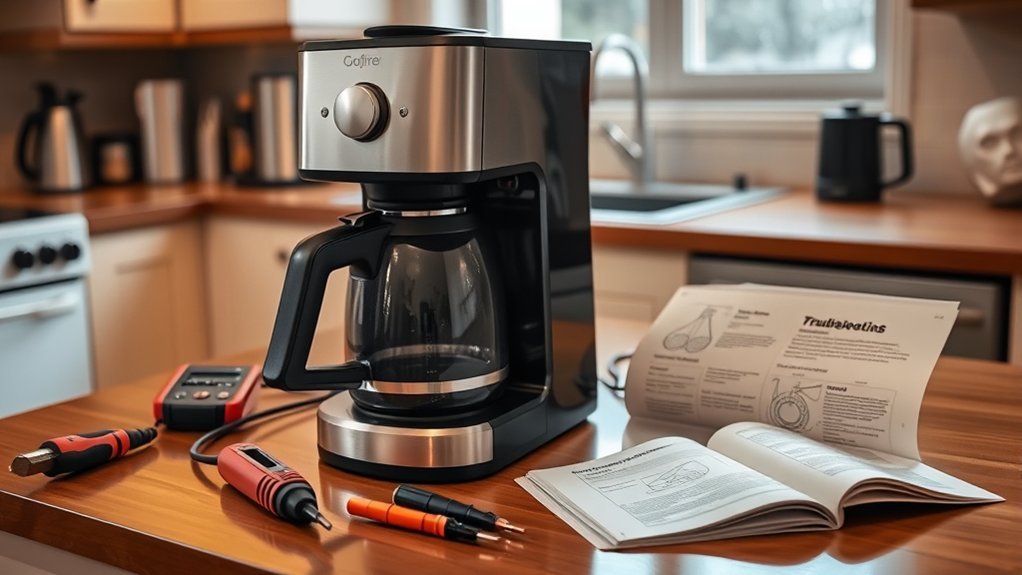
If your coffee maker will not turn on, first determine whether it is completely dark or whether it has lights but refuses to brew. A dead display usually points to the outlet, GFCI, breaker, plug, cord, power switch, or an electronic fault. Water, lid, clog, and scale problems are more likely when the machine still has power.
Quick Answer
Test the outlet, reset any tripped GFCI or breaker, inspect the plug and cord, and unplug the coffee maker for 30 seconds before trying again. If it has lights but will not brew, check the reservoir, lid, and removable brew parts. Stop immediately if you notice smoke, melting, sparking, or a burnt smell.
Key Takeaways
- A completely dark machine usually has a power-supply, cord, switch, control, or internal electrical problem.
- A machine with lights that will not brew may have too little water, an open lid, a misplaced basket, a clog, or mineral buildup.
- Test the wall outlet with another small appliance and check nearby GFCI outlets before assuming the coffee maker has failed.
- Do not open the housing, solder wires, or replace an internal fuse unless the manufacturer identifies the part as user-serviceable.
- Use your exact model manual for reset, cleaning, descaling, filter, and replacement-part instructions.
At a Glance
| Time Required | 5–20 minutes for safe external checks |
| Difficulty | Easy for outlet, reset, reservoir, and removable-part checks; professional skill for internal electrical repair |
| Tools Needed | A lamp or other small appliance, dry cloth, flashlight, and the model’s instruction manual |
| Cost | Usually $0 for basic checks; parts and professional service vary by model |
Warning: Unplug the coffee maker and let it cool before cleaning, moving removable parts, or inspecting the exterior. Do not use it if the cord or plug is melted, cracked, unusually hot, sparking, smoking, or giving off a burnt-plastic smell. Do not open the housing or touch internal wiring unless the manufacturer provides a user-service procedure and you are qualified to perform it.
Common Reasons Your Coffee Maker Won’t Turn On
A coffee maker can appear dead because power never reaches it, the controls are in a sleep or error state, or an internal protective component has failed. Start with the checks that do not require disassembly.
- Dead or switched-off outlet: The receptacle may have lost power even though other kitchen outlets still work.
- Tripped GFCI: A GFCI-protected kitchen circuit may shut off after detecting a ground fault.
- Tripped breaker: A circuit overload or electrical fault may have opened the breaker.
- Loose or damaged plug: Bent prongs, discoloration, heat damage, or a loose fit can interrupt power.
- Damaged cord: Cuts, crushed sections, exposed conductors, or heat damage require immediate stop-use.
- Power switch or button problem: A stuck, broken, or electronically unresponsive control may prevent startup.
- Control reset needed: Some electronic models recover after being unplugged briefly.
- Internal electrical failure: A thermal cutoff, fuse, switch, wiring connection, heater, or control board may have failed.
Power your essentials anywhere with a 999Wh pure sine wave power station delivering up to 1000W continuous with 2000W surge. It supports fast charging via USB-C PD 60W and USB-A QC 18W, plus simultaneous output for multiple devices through AC, USB, wireless, and car/DC ports. Recharge using AC, car, or solar with a built-in MPPT controller and dual cooling fans, while the upgraded battery management system protects against surges, short circuits, and overheating.

Wide Compatibility with Hoover Vacuum Models: KCD1-105 Red rocker switch Compatible with Hoover Windtunnel UH70815 UH70819 UH70821 UH70829 UH70832 UH70839 UH71250 UH71230 UH70817 Wind-Tunnel-2 Hoover 270046001 440003992 Windtunnel UH70830 UH70831 UH70820 UH70816 UH70809 UH70800 UH70825 UH70831PC UH17200 UH70801 UH70805 UH70810 UH70811 UH71200 Upright Vacuum Cleaner

【Wide Application】This mini rocker switch is widely used for various kinds of household appliances and DIY power control ,such as , boat, truck , pannel DIY control, lights, water dispenser, genertor, coffee pot, speaker,TV, conmutador Vacuum Cleaner and breadboard DIY power control.
Is It Completely Dead or Just Not Brewing?
| What You Observe | Most Useful First Checks |
|---|---|
| No lights, display, sound, or heat | Outlet, GFCI, breaker, plug, cord, power button, and reset |
| Lights are on, but brewing will not start | Water level, reservoir seating, lid, brew basket, pod holder, error message, and cleaning alert |
| Machine starts, then turns off | Auto-off setting, overheating, scale, circuit overload, and manufacturer support |
| GFCI or breaker trips when plugged in | Stop using the machine; do not repeatedly reset the circuit |
| Burnt smell, smoke, melting, or sparking | Unplug if safe, discontinue use, and check the model for recalls |
Why Checking the Power Source and Switch Is Critical
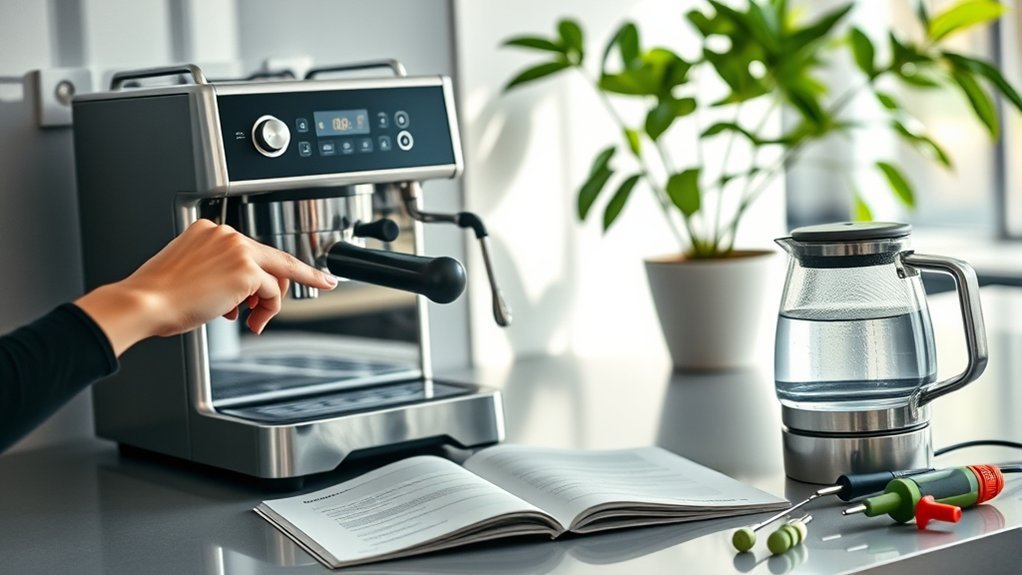
A working-looking outlet can still be dead. Test the receptacle before assuming the coffee maker needs repair.
- Unplug the coffee maker. Make sure your hands, the counter, the plug, and the outlet area are dry.
- Test the outlet. Plug in a lamp or another small appliance you know works. If that device also remains off, the problem is outside the coffee maker.
- Check the GFCI. Look for a receptacle with TEST and RESET buttons on the same kitchen circuit. Press RESET once. The U.S. Consumer Product Safety Commission recommends GFCI protection for kitchen-counter receptacles and regular testing of these devices.
- Check the breaker panel. Reset a clearly tripped breaker once by moving it fully to OFF and then back to ON.
- Try the coffee maker again. Plug it into a known-good, properly grounded wall outlet that matches the instructions in its manual.
- Press the correct power or brew control. Some models use a screen icon, brew button, side switch, or wake-up control instead of a traditional power switch.
Warning: If the GFCI or breaker trips again when the coffee maker is connected, leave the machine unplugged. Repeated resetting can hide an appliance fault, damaged receptacle, or circuit problem. Contact the manufacturer, a qualified appliance technician, or a licensed electrician as appropriate.
Pro Tip: Temporarily remove power strips, smart plugs, timers, and extension cords during diagnosis. A direct known-good outlet helps you tell whether the coffee maker or an accessory is causing the problem.
How to Reset an Unresponsive Coffee Maker
Electronic controls can sometimes freeze after a brief outage or voltage interruption. A power reset is safe to try as long as the cord and plug show no damage.
- Turn the coffee maker off if it has a separate switch.
- Unplug it from the wall.
- Wait at least 30 seconds.
- While it is unplugged, remove any pod and make sure the brew basket, carafe, reservoir, and lid are seated correctly.
- Plug it into a known-good outlet and press the normal power or brew control.
A 30-second unplug is an official reset step for some Keurig models, but the exact reset process can differ. Use the instructions for your brand and model rather than holding random button combinations.
How to Ensure Your Water Supply Is Adequate
Water-level problems usually matter when the machine has power but will not start a brew cycle. Some models display an “add water,” “fill tank,” or similar message. Others require the reservoir, lid, or brew head to be fully seated.
- Fill the reservoir at least to the model’s minimum line without exceeding the maximum line.
- Use fresh, cool water unless the manual says otherwise.
- Remove and reseat a detachable reservoir so its valve connects correctly.
- Close the reservoir lid, brew head, pod holder, and filter-basket compartment completely.
- Check the display for a water, lid, cleaning, or overload message.
Note: An empty reservoir may block brewing on some machines, but it normally does not explain a coffee maker with no display, lights, sounds, or response at all.
Check for Clogs Only When the Machine Has Power
A clogged needle, valve, hose, filter basket, or water path can stop dispensing or make a brew cycle unusually slow. It is not a likely explanation for a machine that receives no electrical power.
If the controls light up but no coffee comes out:
- Unplug the coffee maker and let it cool.
- Remove and wash only the brew basket, pod holder, filter, carafe, reservoir, or needle holder identified as removable in the manual.
- Clear accessible coffee grounds using the manufacturer’s approved method.
- Do not insert metal objects into hidden openings unless the manual specifically directs you to do so.
- Run the approved cleaning or descaling cycle if the machine shows a cleaning alert or the flow has slowed.
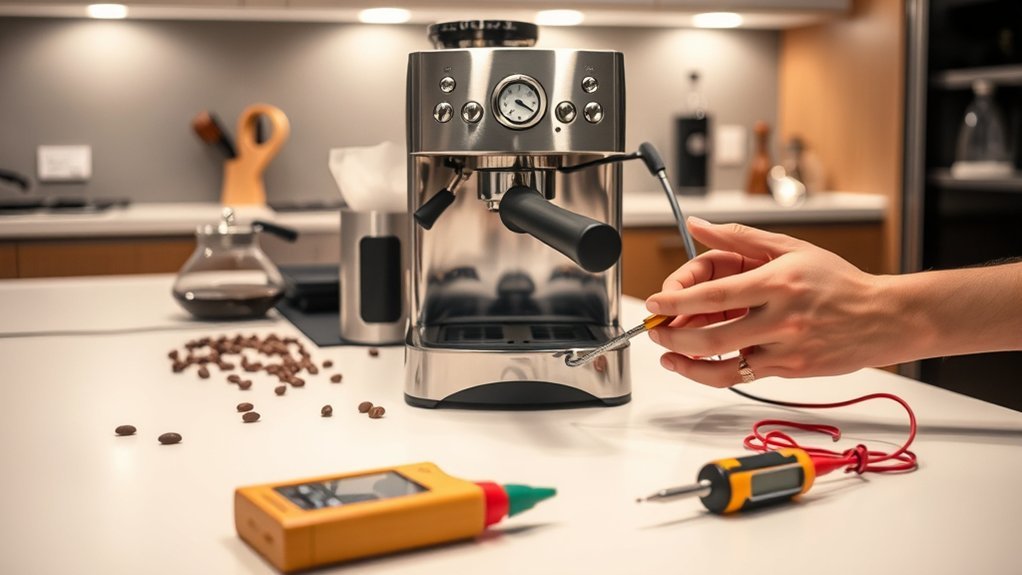
How to Inspect Components for Visible Damage
You can perform a useful safety inspection without removing the appliance housing.
- Look for cuts, crushed areas, exposed conductors, discoloration, or melted spots on the power cord.
- Check the plug for bent prongs, looseness, black marks, corrosion, or melted plastic.
- Inspect the outlet face for heat damage or a loose connection.
- Check the exterior switch or button for cracks, sticking, or unusual looseness.
- Look beneath the machine for leaking water that may have reached the electrical base.
- Check the model label for the full model and serial number before contacting support.
Do not remove covers to inspect wiring, thermostats, thermal cutoffs, internal fuses, heating elements, or control boards. Some manufacturers expressly tell owners not to disassemble their coffee makers.
Cleaning Your Coffee Maker Safely
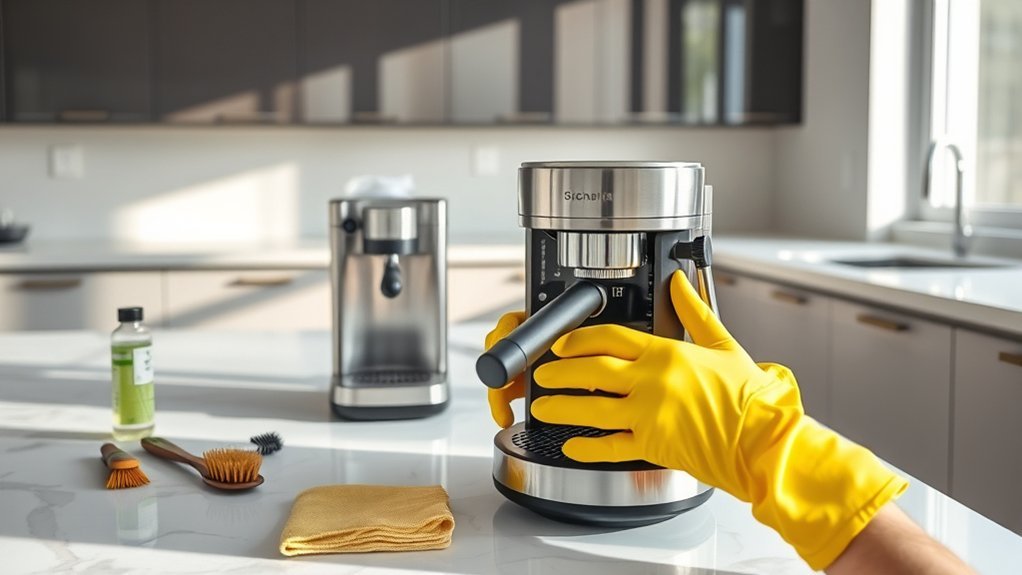
Cleaning will not repair a dead outlet, broken cord, failed switch, or damaged control board. It can, however, correct slow flow, incomplete brewing, error messages, and shutdowns caused by restricted water movement or mineral buildup.
- Unplug the coffee maker and let it cool.
- Wash the removable basket, carafe, lid, pod holder, and reservoir as directed by the manual.
- Wipe the exterior and warming surface with a damp cloth. Never immerse the electrical base, cord, or plug.
- Use only the descaling solution and procedure approved for the exact model.
- Run the required fresh-water rinse cycles before brewing coffee again.
Cleaning frequency is model-specific. Mr. Coffee recommends cleaning certain brewers every 40–80 brew cycles, while some Hamilton Beach instructions call for monthly cleaning and more frequent cleaning in hard-water areas. Certain Nespresso machines recommend descaling every three months or 300 capsules.
Caution: Do not assume vinegar is safe for every coffee maker. Some drip-coffee manufacturers publish vinegar procedures, while Nespresso warns that vinegar and nonapproved descalers may damage specific machines. Follow your manual.
How to Replace a Broken Knob or Switch
An external knob may be a simple user-replaceable part. An electrical switch mounted behind the control panel is different and may expose line-voltage wiring.
Identify the Broken Component
- If the plastic knob is cracked, loose, or missing but the shaft beneath it is intact, look for an exact manufacturer-approved replacement.
- If the shaft spins freely, feels burnt, does not click, or disappears into the housing, the internal switch may be damaged.
- If the machine is under warranty, contact the manufacturer before removing any part.
Gather Necessary Tools
| Item | Purpose |
|---|---|
| Exact replacement knob | Ensures the shape, shaft opening, and control markings match |
| Model manual | Confirms whether the knob is intended to be user-replaceable |
| Small screwdriver, only if specified | Removes an external retaining screw without opening the housing |
Follow Replacement Instructions
- Unplug the coffee maker and let it cool.
- Photograph the knob’s original position and markings.
- Pull off or unscrew only the external knob using the manual’s procedure.
- Align and install the exact replacement without forcing it.
- Confirm that the knob turns through its normal range before reconnecting power.
If replacement requires removing the front panel, cutting wires, soldering, or reaching an internal switch, stop and use professional service.
What to Do If an Internal Fuse May Be Blown
Many coffee makers contain a fuse, thermal cutoff, or other protective device. A completely dead machine may be consistent with a failed protective part, but the same symptom can come from several other faults.
Possible Symptoms
- No lights or display
- No response from buttons
- No heating or brewing
- Failure immediately after overheating, a power event, or an electrical smell
These observations do not prove that the fuse is the failed part. A dead outlet, damaged cord, switch failure, loose internal connection, thermal cutoff, or control-board fault can produce the same result.
Have an Internal Fuse Replaced Safely
Do not bypass a fuse or install one with a different current, voltage, temperature, speed, or interruption rating. A fuse may have opened because another component overheated or shorted. Replacing it without finding the original cause can create a fire or shock hazard.
Contact the manufacturer or a qualified appliance-repair technician with the model number, serial number, purchase date, and a description of what happened before the machine stopped working.
Check the Recall, Warranty, and Model Support
Before paying for repair or opening the appliance, find the model label on the bottom, back, or underside of the coffee maker.
- Search the U.S. Consumer Product Safety Commission recall database using the brand and model number.
- Check the purchase date and warranty terms.
- Visit the manufacturer’s support page for the current manual, reset instructions, error-code guidance, and approved parts.
- Do not continue using a recalled machine unless the recall instructions specifically authorize it.
When to Seek Professional Repair Services
Stop home troubleshooting and request qualified help when:
- The GFCI or breaker trips again after one reset.
- The cord, plug, outlet, or coffee maker becomes unusually hot.
- You notice smoke, sparks, melting, discoloration, or a burnt smell.
- Water has entered the electrical base.
- The power switch, heater, thermostat, thermal cutoff, fuse, wiring, or control board may have failed.
- The repair requires removing the housing, soldering, or testing line-voltage circuits.
- The appliance remains dead after the outlet, GFCI, breaker, cord, reset, and external controls have been checked.
A protective fuse or breaker that opens is a warning, not merely an inconvenience. The cause should be identified before the appliance is returned to service.
Ask for a repair estimate and compare it with the machine’s age, warranty coverage, condition, replacement cost, and availability of approved parts.
Tips for Regular Maintenance to Prevent Coffee Maker Issues
Routine maintenance can prevent clogs, scale buildup, leaks, and poor brewing. It cannot prevent every electrical failure, but it can reduce heat and flow problems that place extra strain on the machine.
| Task | Frequency | Purpose |
|---|---|---|
| Rinse or wash removable brew parts | After each use or as the manual directs | Prevents grounds, oils, and residue from blocking flow |
| Descale or run the cleaning cycle | At the manual’s interval, cleaning alert, or recommended brew count | Removes mineral buildup from approved water paths |
| Replace the water filter | At the filter or manufacturer’s stated interval | Maintains water quality and proper flow |
| Inspect the cord and plug externally | Monthly and whenever the machine is moved | Finds cuts, crushing, heat damage, and loose prongs early |
| Empty and dry the machine before storage | Before long-term storage | Reduces stagnant water, leakage, and moisture damage |
Frequently Asked Questions
Can using a surge protector affect my coffee maker’s performance?
A switched-off, damaged, overloaded, or undersized power strip can prevent the machine from working. For diagnosis, use a known-good wall outlet. If an extension cord is necessary, follow the coffee maker’s manual and use one whose electrical rating meets or exceeds the appliance rating.
How often should I clean my coffee maker to prevent issues?
Wash removable brew parts as directed after use. Run the full cleaning or descaling process at the interval in the model manual, when the cleaning light appears, or after the stated number of brew cycles. Hard water may require more frequent descaling.
What should I do if my coffee maker makes strange noises?
A brief pump or heating sound may be normal, but loud buzzing, grinding, popping, or repeated clicking can indicate an empty reservoir, blockage, trapped air, mechanical problem, or electrical fault. Turn the machine off and unplug it if the noise is accompanied by heat, smoke, sparking, a burnt smell, or failure to dispense water.
Is it safe to use a coffee maker that smells burnt?
No. Turn it off and unplug it if doing so is safe. Do not reconnect it until the source of the smell has been identified. Check the plug, cord, outlet, and model recall status, then contact the manufacturer or a qualified technician.
Can age affect the performance of my coffee maker?
Yes. Repeated heating cycles, moisture, scale, and ordinary wear can affect switches, seals, pumps, heaters, controls, and cords. Regular cleaning may reduce flow-related problems, but it cannot correct worn or failed electrical components.
Why does my coffee maker have lights but refuse to brew?
Check the minimum water level, reservoir position, lid, brew basket, pod holder, carafe, and display message. A clog, cleaning alert, overloaded basket, or mineral buildup can also prevent brewing even though the machine still has electrical power.
Should I keep resetting a GFCI or breaker that trips?
No. Reset it once after unplugging the coffee maker. If it trips again when the appliance is connected, leave the coffee maker unplugged and arrange professional inspection. Repeated trips may signal an appliance, outlet, or circuit fault.
Is a coffee maker worth repairing?
Check the warranty and recall status first. Repair may make sense for a newer or higher-value machine with available parts. Replacement may be more practical when the unit is old, heavily corroded, leaking into the base, repeatedly overheating, or expensive to diagnose compared with a new machine.
Conclusion
When a coffee maker will not turn on, begin outside the machine. Test the outlet, check the GFCI and breaker, inspect the cord and plug, and try a brief power reset. If the controls light up but brewing will not start, then check the water supply, lid, removable brew parts, clogs, and cleaning alerts.
Leave the machine unplugged if it repeatedly trips a circuit, leaks into the base, overheats, sparks, smokes, or smells burnt. Internal fuse, switch, wiring, heater, and control-board work should be handled through the manufacturer or a qualified repair technician.
Sources
- U.S. Consumer Product Safety Commission Recalls — current appliance recall and safety-warning checks
- CPSC Electrical Safety Guidance — GFCI protection and household electrical precautions
- Keurig Support: Unresponsive Brewer Controls — model-specific unplug-and-reset guidance
- Hamilton Beach FlexBrew Use and Care Manual — cleaning, low-water, lid, clog, safety, and troubleshooting examples
- Mr. Coffee Cleaning Guidance — manufacturer cleaning-frequency example
- Nespresso Essenza Mini Descaling Guide — model-specific interval, solution, and descaling precautions


