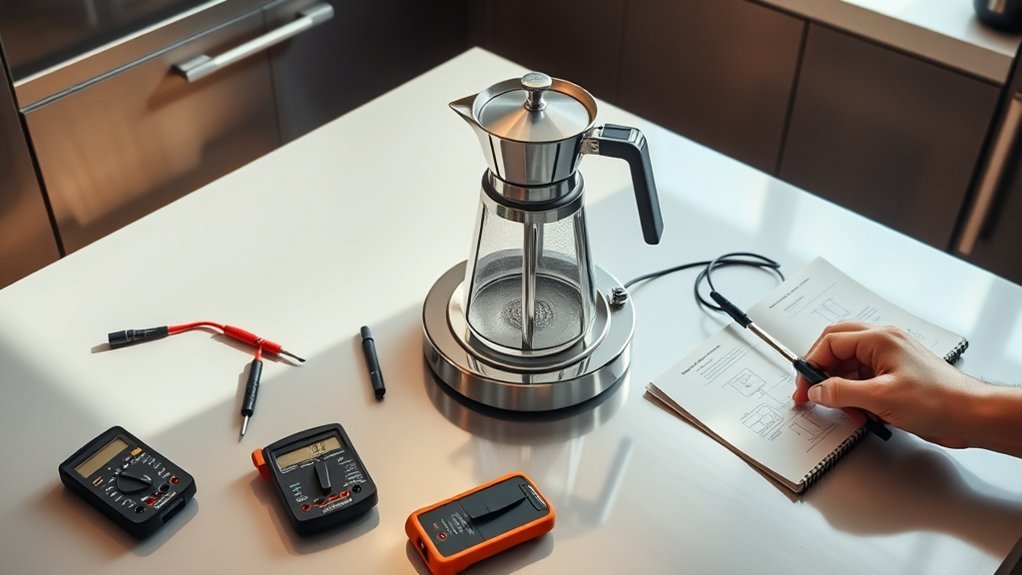
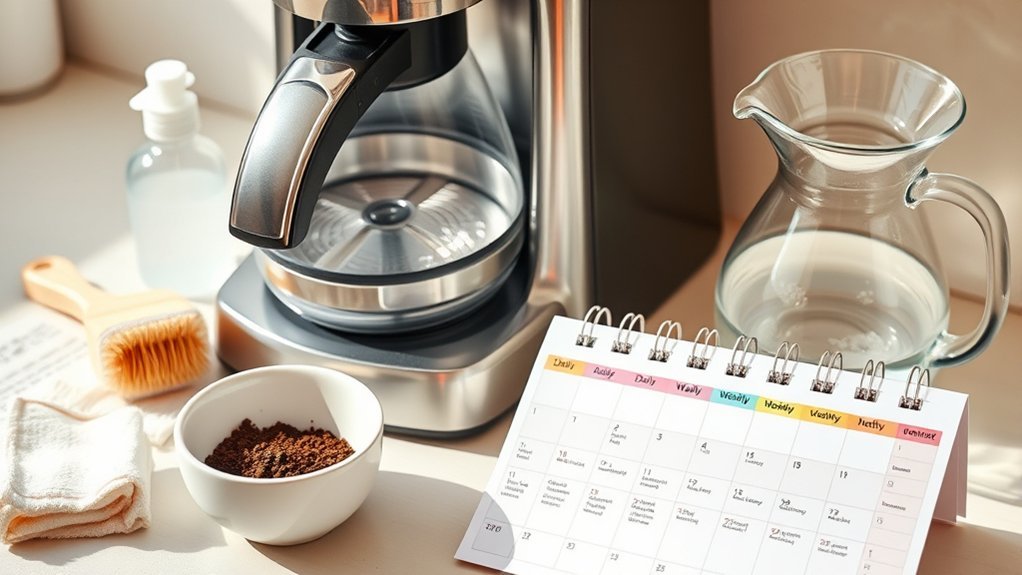
If your coffee maker is producing lukewarm coffee or is not heating water at all, start with the simple causes before assuming an internal part has failed. Power settings, a poorly seated reservoir, mineral scale, blocked water-delivery parts, and auto-off controls can all affect performance. The right fix depends on whether the machine has no power, will not brew, brews slowly, produces cool coffee, or lets hot coffee cool too quickly.
Quick Answer
Check the outlet, controls, water reservoir, removable brew parts, and auto-off settings first. If the brewer runs but the coffee is too cool or the flow is slow, use the model-approved cleaning and descaling procedure. A warming plate keeps a glass carafe warm; it does not normally heat the brew water. Leave internal electrical repairs to qualified service personnel.
Key Takeaways
- Separate the symptom first: no power, no brew, slow brew, lukewarm coffee, and a cold warming plate point to different problems.
- The internal heater or boiler heats brew water. A warming plate only keeps coffee warm in a glass carafe.
- Mineral scale can slow water flow and reduce brewing performance, so use the descaling method listed for your exact model.
- Auto-off timing and restart steps vary widely. Do not assume removing the carafe resets the brewer.
- Do not open the electrical base or probe live parts unless an approved service procedure requires it and you are qualified to perform that work.
At a Glance
| Time Required | 10–30 minutes for basic checks; longer for a complete model-approved descale cycle |
| Difficulty | Easy for external checks and cleaning; professional service for internal electrical faults |
| Tools Needed | Exact model manual, clean cloth, manufacturer-approved descaler, fresh water, and optionally an instant-read thermometer |
| Cost | Usually no cost for basic checks; descaler, replacement parts, and service costs vary by model |
Warning: Unplug the coffee maker and let it cool before cleaning or inspecting it. Stop using it if the cord is frayed, the plug or outlet is scorched, water has entered the electrical base, a breaker or GFCI repeatedly trips, or you smell burning. Check the model on the U.S. Consumer Product Safety Commission coffee maker recall page before attempting a repair.
Before You Start: Identify Your Brewer Type and Model
Coffee makers do not all heat water the same way. Find the full model number on the product label and use the matching manual before cleaning, resetting, descaling, or replacing anything.
- Drip brewer with a glass carafe: Usually has a brew-water heating system plus a separate warming plate under the carafe.
- Drip brewer with a thermal carafe: Usually depends on an insulated carafe instead of an electric warming plate. Preheating the carafe with hot water can reduce initial heat loss when the manual permits it.
- Single-serve or pod brewer: May use reservoir sensors, pumps, needles, valves, and electronic controls that differ from a basic drip machine.
- Espresso or superautomatic machine: May use boilers, thermoblocks, pumps, temperature sensors, and service procedures that are not covered by generic drip-coffee repair steps.
If your manual says the housing contains no user-serviceable parts, limit troubleshooting to the external checks, cleaning steps, resets, and descaling procedures described by the manufacturer.

Power your essentials anywhere with a 999Wh pure sine wave power station delivering up to 1000W continuous with 2000W surge. It supports fast charging via USB-C PD 60W and USB-A QC 18W, plus simultaneous output for multiple devices through AC, USB, wireless, and car/DC ports. Recharge using AC, car, or solar with a built-in MPPT controller and dual cooling fans, while the upgraded battery management system protects against surges, short circuits, and overheating.

Precise Part Replacement: This illuminated rocker switch is a direct replacement for part# 20316.0001, working for Bunn coffee maker warmer plates

1. Fit for Bunn Home Coffee Brewer Models: This rocker switch is a direct replacement for Bunn GR, GRX, BX, B10, and GR10 home brewers. If your Bunn warmer switch is not working or your machine fails to keep coffee hot, this part restores full heating function without needing a new coffee maker
How to Troubleshoot Coffee Maker Heating Issues
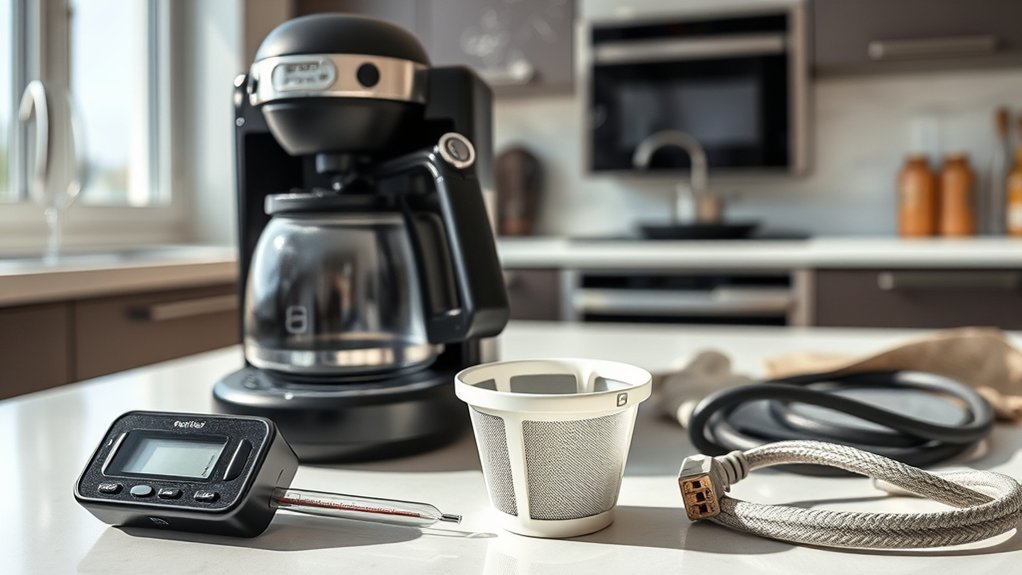
Before taking anything apart, identify exactly what the machine is doing. This helps you avoid replacing the wrong part.
- No lights and no sound: Check the outlet, plug, visible cord condition, power switch, and model-specific startup steps.
- Lights are on, but brewing never starts: Check the reservoir position, minimum water level, lid, brew basket, carafe or drawer position, clock, and error indicators.
- Brewing is slow, noisy, or incomplete: Mineral scale or a clogged removable sprayhead, needle, or outlet is more likely than a warming-plate problem.
- Coffee brews but is lukewarm: Descale first, check any temperature setting, preheat a thermal carafe when appropriate, and compare performance with the model manual.
- Coffee starts hot but cools in a glass carafe: Check the warming-plate control and auto-off timer. This symptom points to the keep-warm system rather than the brew-water heater.
On a traditional drip machine, the water-heating system and the glass-carafe warmer perform different jobs. BUNN support, for example, treats “coffee is cold” and “coffee is not staying hot” as separate troubleshooting problems. Specialty drip brewers commonly operate with brew-water temperatures in the high-190s to low-200s °F, but the temperature measured in the carafe will normally be lower than the temperature of water reaching the coffee bed. See the Specialty Coffee Association’s certified home brewer program for current brewer-performance examples.
Pro Tip: If the manual does not provide a better test, you can run a water-only cycle and measure the liquid in the carafe immediately with an instant-read thermometer. Use this only as a screening check. Carafe temperature is not the same as brew-water temperature at the coffee bed, so compare your result with guidance for the exact model rather than treating one universal number as a pass-or-fail limit.
What Temperature Should a Coffee Maker Reach?
There is no single carafe-temperature number that proves every coffee maker is working correctly. Brew-water temperature, coffee-bed temperature, carafe material, batch size, room temperature, and the time between brewing and measuring can all affect the reading.
The Specialty Coffee Association evaluates certified home brewers for brewing quality and temperature performance, and current certified models commonly operate near the upper-190s to low-200s °F during brewing. That does not mean coffee sitting in the carafe must measure the same temperature. If your machine has a published temperature range or adjustable heat setting, use that model-specific information first.
Steps to Check for Power and Functionality
- Turn the machine off and inspect it. Look for a damaged cord, loose plug, melted plastic, leaks, or a burnt smell. Do not use the brewer if you find any of these signs.
- Test the outlet safely. Plug in a small known-working appliance. If the outlet is dead, reset the kitchen GFCI or circuit breaker once. If it trips again, stop and contact an electrician.
- Use a direct wall outlet. Avoid an overloaded power strip or an unsuitable extension cord.
- Confirm the basic setup. Seat the reservoir, brew basket, lid, carafe, pod holder, or removable drawer correctly. Some machines will not heat or brew when a sensor does not detect a part.
- Check the water level. Fill above the model’s minimum brew amount but below the maximum line. Some brewers will not begin a normal cycle when the water level is too low.
- Review the display. Set the clock if required, follow the manual for error messages, and make sure delay-brew or auto-start has not replaced the immediate brew command.
- Power-cycle the machine. Unplug it for the period recommended by the manufacturer, reconnect it, and follow the startup steps. If no reset time is published, a brief unplugged period may clear some controls, but it is not a universal repair.
Official BUNN troubleshooting begins with similarly basic checks: enough water, correct setup, proper heating status, and clean water-delivery parts. These owner-safe checks should come before internal electrical diagnosis.
Auto Shut-Off Features in Coffee Makers

Auto-off behavior is not the same on every coffee maker. Some single-serve brewers switch off within minutes of the last brew. Some glass-carafe machines use a fixed keep-warm period, while others let you program the shutoff time. Certain Cuisinart models, for example, provide adjustable auto-off settings from 0 to 4 hours. Treat these as model-specific examples, not universal settings.
- Check whether the entire brewer turned off or only the warming plate turned off.
- Use the model-specific power, brew, or carafe control to restart the correct function.
- Review the manual before changing an auto-off setting. Some models allow adjustment or deactivation, while others do not.
- If the machine shuts off during heating, repeatedly loses power, or trips the outlet, stop using it. That is not normal auto-off behavior.
Removing the pot normally activates a pause-and-pour or drip-stop mechanism rather than resetting the machine. Keurig’s K-Duo line, for example, uses model-specific brewer and carafe controls, while Cuisinart offers programmable shutoff on some models. Follow the controls described for your exact coffee maker.
How to Identify and Fix a Faulty Warming Plate
A warming-plate problem is likely only when the machine completes a normal brew and the coffee starts hot but does not stay warm in a glass carafe. A thermal-carafe brewer may not have a warming plate at all.
Testing Warming Plate Functionality
Use these external checks first:
- Confirm that the keep-warm or carafe indicator is on.
- Make sure the glass carafe sits flat and fully contacts the plate.
- Clean dried coffee from the plate after unplugging the machine and allowing it to cool.
- Check whether the programmed auto-off time has expired.
- Compare the coffee temperature immediately after brewing and again after 15–30 minutes.
Do not touch the plate to test it. A working plate can cause a burn, and a failed control can overheat unexpectedly.
Common Signs of Failure
Possible signs include a keep-warm indicator that turns on while the plate remains cold, coffee that cools quickly in a correctly seated glass carafe, visible damage to the plate, or a plate that overheats and scorches coffee. A cold warming plate does not normally explain cool water during the brew cycle because the brew-water heater is a separate part of the system.
Cleaning can remove dried coffee or residue that prevents good contact with the carafe. It cannot repair a failed heating circuit, relay, thermostat, sensor, or control board.
Replacement Options Available
Check the warranty and parts support before replacing anything. Use only parts approved for the exact brand and model. Many household coffee maker manuals state that the electrical base contains no user-serviceable parts. Hamilton Beach, for example, warns owners not to remove the bottom cover of applicable coffee makers and directs internal repairs to authorized service personnel.
For an inexpensive brewer with a sealed base, replacement may be safer and more economical than internal repair. For a premium, repairable, or commercial brewer, contact the manufacturer or an authorized service center.
Testing Your Coffee Maker’s Thermostat and Fuse
The thermostat, thermal cutoff, heater, wiring, relay, and control board are part of the electrical system. Some designs may also include a conventional fuse. There is no universal resistance value that can diagnose these parts across every coffee maker. The correct reading depends on the component, its temperature, the circuit design, and the manufacturer’s service procedure.
Note: A continuity beep only shows that the tested path is electrically continuous under the test conditions. It does not prove that a thermostat opens at the correct temperature, that a heater produces the correct heat output, or that the control board supplies power at the correct time.
Testing Thermostat Continuity
Do not use a generic “0–1Ω means good” rule. Some thermostats are normally closed when cool, while other temperature-control systems use sensors or more complex electronic circuits. Proper testing may require isolating the component and following a model-specific temperature procedure.
If the manufacturer publishes a service manual and you are qualified to work on unplugged appliances, follow it exactly. Otherwise, have an authorized technician test the thermostat. Never probe an energized machine unless an official professional service procedure specifically requires live testing and you have the training and protective equipment to perform it safely.
Inspecting Inline Fuse
A thermal fuse or thermal cutoff is designed to open the electrical circuit when its rated temperature is exceeded. It is normally a one-time safety device. A conventional electrical fuse, when present, serves a different protection function and may respond to excessive current.
If a thermal cutoff has opened, the overheating cause must be found before replacing it. Never bypass or short a safety device, and never substitute a part with a different temperature, voltage, or current rating.
Because many consumer coffee makers are not designed for owner service, an open thermal cutoff or internal fuse is usually a reason to contact authorized service or replace the brewer rather than perform a generic DIY repair.
Fix Gurgling Noises in Your Coffee Maker

Some gurgling and pulsing are normal in drip machines because heated water and steam move through the brewing path. A new, louder, or prolonged gurgle combined with slow brewing, excess steam, or incomplete water delivery often points to mineral scale or a blocked removable outlet.
- Unplug the brewer and let it cool.
- Wash the reservoir, basket, carafe, and removable sprayhead or outlet parts listed in the manual.
- Check removable openings for mineral deposits or coffee residue without enlarging them.
- Run the approved descale cycle, followed by all required fresh-water rinse cycles.
- Confirm that every removable part is seated correctly before brewing again.
Coffee grounds can clog the basket or outlet area, but they should not normally enter a sealed clean-water hose. Official BUNN troubleshooting points to sprayhead and water-path cleaning when brewing becomes slow or incomplete.
A coffee maker that becomes slower and noisier over time often needs model-approved cleaning and descaling before it needs a new heating part.
Disassembling Your Coffee Maker for Effective Cleaning
Routine cleaning should be limited to the removable parts listed in the use-and-care guide. Do not automatically turn the machine upside down, remove rubber plugs, or open the bottom cover. Internal layouts vary, opening the housing may affect warranty coverage, and many models contain no owner-serviceable electrical parts.
Safe cleaning usually includes the following:
- Remove and wash the carafe, lid, filter basket, reusable filter, reservoir, pod holder, or drip tray when the manual says they are removable.
- Use a damp cloth on the exterior and warming plate only after the machine is unplugged and cool.
- Clean a removable sprayhead, needle, or outlet only with the tool and method specified by the manufacturer.
- Keep water and cleaning solution out of the electrical base.
- Reassemble all owner-removable parts in their original positions before reconnecting power.
If cleaning requires access to internal hoses, thermostats, thermal cutoffs, heaters, wiring, relays, or control boards, contact the manufacturer or an authorized repair provider.
Clear Blockages in Your Coffee Maker’s One-Way Valve
Some basic drip coffee makers use a check valve in the water tube. Other designs use pumps, solenoids, tank valves, or electronic sensors. Do not assume every brewer has a loose ball valve that should rattle when the machine is shaken.
Start with the noninvasive fixes:
- Descale the machine using the solution and cycle specified in its manual.
- Clean the removable reservoir outlet, sprayhead, needles, or filter screen.
- Check that removable seals and reservoir valves are seated correctly without forcing them.
- Rinse thoroughly with fresh water after any approved cleaning treatment.
Do not force compressed air through an assembled coffee maker. Excess pressure can damage a valve, disconnect an internal hose, or push debris deeper into the water path. If an internal valve remains blocked after approved cleaning and descaling, arrange service rather than opening a sealed electrical base.
Simple Maintenance Tips to Keep Your Coffee Maker Heating Right
- Follow the model’s descale indicator and schedule. Water hardness, use frequency, and machine design matter more than a universal monthly or quarterly rule.
- Use the recommended water. Filtered or bottled water may be suitable for many machines, but the correct water type depends on the brewer. Some models specifically warn against distilled water, so check the exact manual.
- Wash removable parts regularly. Coffee oils and residue can block the basket, sprayhead, pod needles, outlet, or carafe valve.
- Keep the warming plate clean and dry. Wipe spills only after the machine is unplugged and cool.
- Replace water filters as directed. A filter may improve taste or reduce some impurities, but it does not eliminate the need to descale.
- Do not run the brewer dry. Fill it according to the model’s minimum-water and startup instructions.
- Use the correct manual. Search by the full model number printed on the label rather than relying only on the brand name.
Descaling formulas also vary. Cuisinart currently documents vinegar-and-water procedures for many of its drip machines, but the amount and procedure can vary by model. Other manufacturers may specify a commercial descaling solution or a different cleaning method. Never assume one vinegar ratio or homemade mixture is safe for every coffee maker.
Frequently Asked Questions
Can I use distilled water to prevent mineral buildup?
Only when your model manual permits it. Distilled water contains very little mineral content, but some coffee makers are designed for filtered, bottled, or ordinary drinking water and may specifically warn against distilled water. Follow the instructions for the exact model.
How often should I descale my coffee maker?
Use the interval in the model manual or descale when its indicator appears. Hard water and frequent use can require more frequent descaling. Slow brewing, extra steam, louder operation, or incomplete water delivery can also indicate mineral buildup.
What vinegar solution ratio should I use for descaling?
Use only the ratio and procedure approved for your exact model. Manufacturer instructions differ. Some specify diluted white vinegar, while others recommend a commercial descaling product. Remove water filters first only when the manual tells you to, and complete every required fresh-water rinse cycle.
Are some coffee maker brands more prone to heating issues?
There is not enough reliable evidence to label an entire brand as prone to heating failure. Compare the warranty, parts support, owner manual, recall history, and service options for the exact model instead of relying on broad brand claims.
Is it safe to run a coffee maker without water to test heating?
No. Running a brewer dry can overheat or damage heaters, pumps, seals, or temperature-control parts. Follow the minimum-fill and startup instructions in the manual, especially for machines with an internal hot-water tank.
Is the warming plate the same as the water heater?
Usually not. The internal heater, boiler, or thermoblock heats water for brewing. The external plate under a glass carafe keeps finished coffee warm. A failed plate can make coffee cool after brewing but does not normally cause cold brew water.
Can I replace a coffee maker heating element myself?
Only if the manufacturer specifically provides an owner-service or service-manual procedure for your exact model and you are qualified to perform it. Many household coffee makers have sealed electrical bases and no user-serviceable internal parts. For those machines, use authorized service or replace the brewer instead of attempting a generic heating-element repair.
When should I replace the coffee maker instead of repairing it?
Replace it or seek authorized service when water leaks into the electrical base, the cord or plug is damaged, the outlet repeatedly trips, you smell burning, a safety device has opened, suitable parts are unavailable, the model is recalled, or the manufacturer says the unit is not user-serviceable.
Conclusion
Start with power, setup, water level, controls, removable-part cleaning, and model-approved descaling when a coffee maker is not heating properly. Diagnose the symptom before choosing a fix: a cold warming plate is different from cool brew water, and slow or noisy brewing often points to scale or restricted flow rather than an electrical failure. If safe external checks do not solve the problem, use the warranty or an authorized service provider instead of opening a sealed base or relying on universal electrical readings.
Sources
- Specialty Coffee Association — Certified Home Equipment — current home-brewer performance and temperature examples
- BUNN Speed Brew Support — water, heating, warmer, sprayhead, flow, and mineral-buildup troubleshooting
- Cuisinart Coffee Maker Cleaning Guide — manufacturer cleaning, mineral-buildup, and descaling guidance
- Keurig K-Duo Support — model-specific power, auto-off, cleaning, descaling, and operating guidance
- Hamilton Beach FlexBrew Use and Care — electrical safety and authorized-service guidance
- U.S. Consumer Product Safety Commission — Coffee Maker Recalls — current safety recall checks