When a coffee maker stops working, begin with the simplest and safest checks: confirm that it has power, add enough water, reseat removable parts, and look for clogs, scale, leaks, or an incomplete setup. The right fix depends on whether you have a drip brewer, pod machine, espresso machine, or bean-to-cup model.
Quick Answer
To troubleshoot a coffee maker, check the outlet, cord, controls, water reservoir, filter or pod holder, and removable parts first. Clean any accessible clogs and follow the model’s descaling instructions. Stop using the machine if it leaks near electrical parts, smells burnt, sparks, trips a breaker, or releases steam unexpectedly.
Key Takeaways
- Start with power, water, and setup checks before attempting cleaning or repair.
- Use instructions for your exact model because reset, cleaning, and descaling procedures vary.
- Clean only accessible, removable components unless the manual gives a specific internal-cleaning procedure.
- Treat group-head cleaning, portafilter care, steam-wand cleaning, and backflushing as espresso-specific tasks.
- Do not keep operating a machine with electrical damage, uncontrolled steam, severe leaks, or a safety recall.
At a Glance
| Time Required | About 5–30 minutes for basic checks; longer for a full descaling cycle |
| Difficulty | Easy for external checks and cleaning; professional service may be needed for internal faults |
| Tools Needed | User manual, dry cloth, mild dish soap, soft brush, and any manufacturer-approved cleaning tool or descaler |
| Cost | Usually no cost for basic checks; descaler, filters, replacement seals, or professional repair cost extra |
Warning: Unplug the coffee maker and let it cool before cleaning, removing clogs, or inspecting removable parts. Stop using it if the cord is damaged, the plug becomes unusually hot, the machine sparks, produces a burning smell, trips a breaker, leaks near electrical components, or releases hot liquid or steam unexpectedly. Check the CPSC coffee-maker recall listings using the brand and model number.
Coffee Maker Troubleshooting by Symptom
Identify the exact symptom before taking the machine apart or running repeated brew cycles. The table below shows the safest first checks.
| Symptom | Likely Causes | First Checks |
|---|---|---|
| No power | Outlet, GFCI, loose plug, control setting, damaged cord, or internal electrical fault | Test the outlet, check the plug and cord, confirm the power control, and stop if there is heat or damage |
| Power but no brewing | Empty or misaligned tank, open brew head, missing carafe, blocked water path, or setup error | Add water, reseat all parts, close lids and doors, and check the display for an error |
| Slow or small brew | Scale, clogged needle or sprayhead, blocked filter, or air in the water path | Clean accessible openings and run the approved rinse or descaling procedure |
| Water leaking | Misaligned tank, overfilled reservoir, loose drip tray, cracked part, worn seal, or internal hose problem | Unplug the machine, dry the area, reseat removable parts, and inspect for visible damage |
| Basket overflows | Too much coffee, overly fine grounds, folded filter, blocked outlet, or carafe not positioned correctly | Turn off the brewer, let it cool, correct the filter and dose, and clean the basket outlet |
| Coffee not hot enough | Cold cup or carafe, scale, incorrect mode, warming-plate issue, or heater fault | Preheat the cup, confirm settings, descale when due, and seek service if heating remains weak |
| Flashing light or error | Open lid, missing water, full waste bin, cleaning alert, scale, overheating, or sensor issue | Record the light pattern or code and look it up in the exact model’s manual |
Pro Tip: Photograph the model label, display message, leak location, and control lights before changing anything. This creates a useful record if you need manufacturer or repair support.
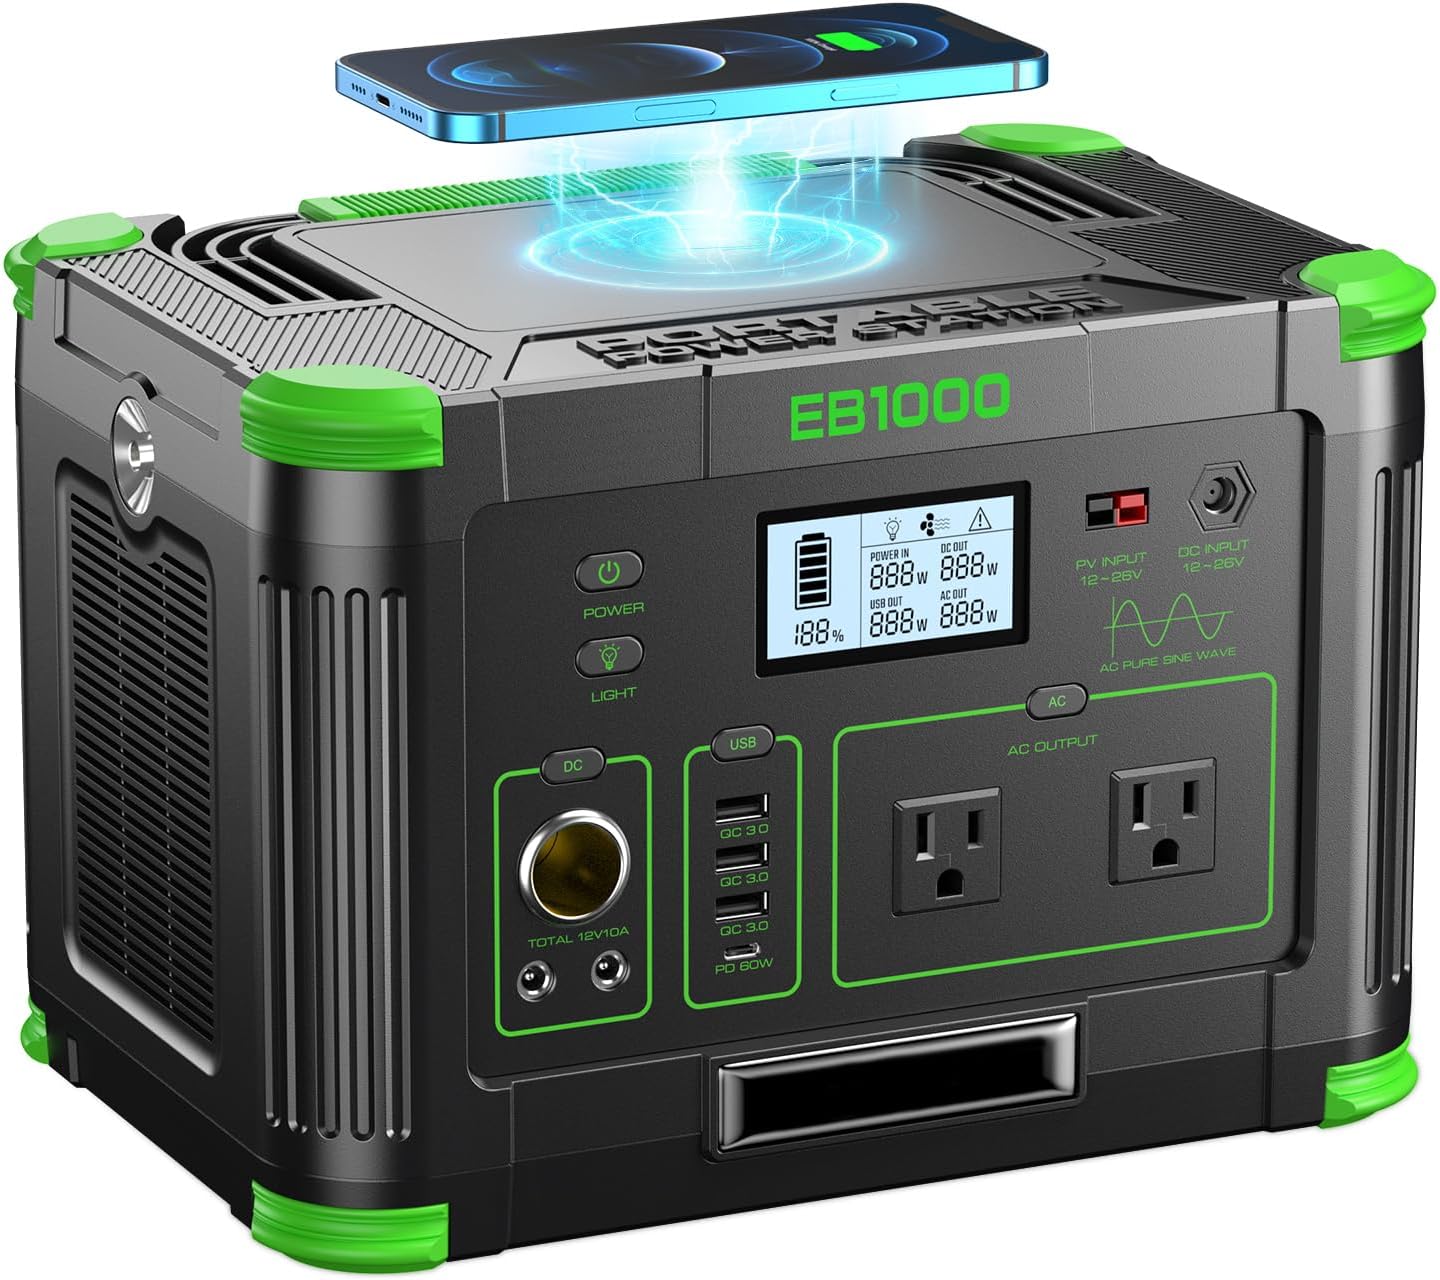
Power your essentials anywhere with a 999Wh pure sine wave power station delivering up to 1000W continuous with 2000W surge. It supports fast charging via USB-C PD 60W and USB-A QC 18W, plus simultaneous output for multiple devices through AC, USB, wireless, and car/DC ports. Recharge using AC, car, or solar with a built-in MPPT controller and dual cooling fans, while the upgraded battery management system protects against surges, short circuits, and overheating.
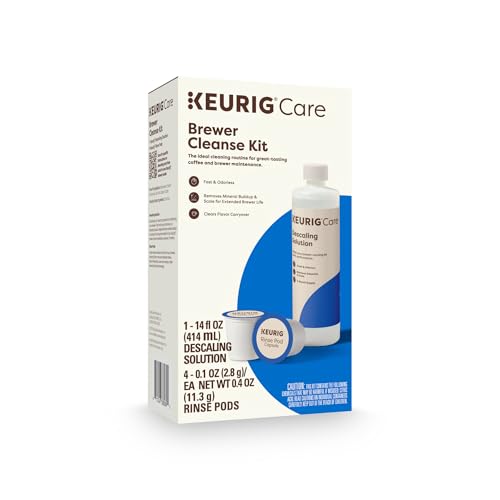
Better tasting beverages: Reduces flavor carry over between brews

RESTORE COFFEE FLAVOR & AROMA: Our universal descaling solution removes bitter mineral buildup and calcium deposits from heating elements. This ensures your Keurig cleaner process restores the original "day one" taste of your favorite pods and espresso capsules
Start With Power Supply Troubleshooting
When your coffee maker will not turn on, rule out an external power problem before assuming the machine has failed.
- Turn the machine off. Make sure your hands and the counter are dry.
- Check the plug. Push it securely into the wall outlet without forcing it.
- Test the outlet. Use another small appliance or lamp that you know works.
- Check a nearby GFCI outlet. Kitchen outlets may share a circuit with a ground-fault interrupter that has tripped. Reset it only when the area is dry and no damaged appliance is connected.
- Check the controls. Confirm that the main power, brew, or start control is engaged. Some machines also require the clock, brew head, carafe, drip tray, or service door to be set correctly.
- Inspect the cord and plug. Do not use the machine if you see cuts, melted insulation, discoloration, loose prongs, or heat damage.
Official Mr. Coffee troubleshooting guidance similarly recommends confirming the brew control, secure plug, and outlet before moving to other causes.
If the outlet works and there is no visible damage, you may try a basic power cycle: turn the machine off, unplug it, wait about one minute, and reconnect it. This may clear a temporary control fault, but it is not the same as a factory reset.
Note: Do not remove the base, open the electrical housing, bypass a safety switch, or replace internal wiring unless you are qualified to service that exact appliance.
Check the Water System
If the coffee maker has power but will not brew, check whether it can detect and move water. Add enough fresh water for the selected brew size, but do not fill above the maximum line.
Verify Water Tank Position
Remove the reservoir if the design allows it. Check that the tank, lid, outlet valve, and connection point are clean. Reinstall the reservoir firmly so it sits flat in its intended position.
A removable tank that is slightly out of position may not open its outlet valve or activate the machine’s water-detection system. Manufacturer troubleshooting for some espresso makers specifically instructs users to confirm that the reservoir is full enough and properly fitted. See the Mr. Coffee espresso support guidance for an example.
Also confirm that the brew head, pod compartment, service door, filter basket, carafe, grounds bin, and drip tray are correctly installed. Many machines will pause or refuse to brew when a safety switch remains open.
Inspect Float and Sensors
Some reservoirs contain a floating magnet or another water-level indicator. If your model has a visible float, make sure it moves freely. Mineral deposits or debris can cause it to stick.
Clean only the accessible area using the method allowed in the manual. Do not scrape sensors with metal tools or pour cleaning chemicals directly onto electronic components.
If an “add water” message remains after the reservoir is filled and reseated, try these steps:
- Remove and reinstall the tank.
- Wipe the tank connection and sensor area with a clean, damp cloth.
- Make sure the float is not trapped upside down or under debris.
- Run the manufacturer’s priming or rinse procedure if one is provided.
- Look up the exact error or light pattern before pressing reset combinations.
Check for Leaks
Unplug the coffee maker before tracing a leak. Dry the counter and machine exterior so you can identify where new water appears.
- Reservoir leak: Look for cracks, an overfilled tank, a loose lid, or a damaged outlet valve.
- Connection leak: Reseat the removable tank and check for debris around its seal.
- Drip-tray overflow: Empty and reinstall the tray.
- Brew-basket overflow: Check the paper filter, coffee dose, grind size, outlet opening, and carafe position.
- Espresso portafilter leak: Remove coffee grounds from the group-head rim, confirm that the basket is not overfilled, and inspect the group gasket for wear.
- Leak from the base: Stop using the machine. Water inside the electrical housing requires professional evaluation.
Do not repeatedly energize a leaking machine to “see where the water goes.” A severe leak can reach the heater, controls, or wiring.
Coffee Maker Turns On but Will Not Brew
A machine that lights up but does not brew usually has an incomplete setup, blocked water path, active maintenance alert, or control error.
- Confirm that there is enough water for the selected serving.
- Close the brew head, lid, or service door completely.
- Reinstall the carafe, filter basket, pod holder, drip tray, grounds bin, or brewing unit as required.
- Remove a damaged or swollen pod and insert a fresh one correctly.
- Check whether the machine is waiting for a cleaning, descaling, priming, or rinse cycle.
- Allow an overheated machine to cool according to its manual.
- Record any code or flashing-light sequence and use the official model guide.
For a drip coffee maker, verify that the carafe is pressing the basket’s pause-and-serve valve correctly. For a pod brewer, check the accessible entrance and exit needles only with the approved cleaning tool. For an espresso machine, confirm that the reservoir is seated and the portafilter is not packed so tightly that water cannot pass through it.
Fix Slow or Partial Brewing
Slow brewing, reduced cup size, or water left in the reservoir commonly points to scale or a partial obstruction.
- Drip brewer: Clean the removable filter basket and accessible sprayhead openings.
- Pod brewer: Remove the pod, unplug the machine, and clean accessible pod needles only as the manual directs.
- Espresso machine: Clean the basket and group-head screen. Use a coarser grind or a smaller dose if water cannot pass through the coffee bed.
- Bean-to-cup machine: Empty the grounds bin, clean the removable brew unit if permitted, and check whether oily beans are sticking in the hopper.
- Any machine: Descale it when its alert or maintenance schedule indicates that scale may be restricting flow.
If the pump runs but no water appears after the reservoir has been empty, the system may need its official priming procedure. Do not run the pump dry for repeated long cycles.
Clean Your Coffee Machine Regularly
Routine cleaning removes coffee oils, loose grounds, milk residue, and other buildup. Descaling is a separate process that targets mineral deposits inside the water path.
Prevent Clogs and Buildup
Use the cleaning tasks that match your machine:
- Drip coffee maker: Wash the carafe, lid, reusable filter, and removable basket. Wipe the warming plate only after it is unplugged and cool.
- Pod or capsule brewer: Empty the drip tray and used-pod container, wash removable parts, and clean accessible needles using the approved tool.
- Espresso machine: Rinse the portafilter and basket, wipe the group-head rim, and purge and wipe the steam wand after milk use.
- Bean-to-cup machine: Empty the drip tray and grounds bin and clean the removable brewing unit according to the manual.
Backflushing is appropriate only for espresso machines designed to support it. Use the required cleaning disc, tablet, and programmed cycle. Do not attempt to backflush a drip brewer, pod machine, or espresso machine that lacks the required valve and manufacturer procedure.
Enhance Coffee Flavor Quality
Old coffee oils can make fresh coffee taste stale, rancid, or bitter. Milk left inside a steam wand or automatic milk system can create odors and unsafe residue.
Wash food-contact parts with mild dish soap when the manual permits it, rinse them thoroughly, and let them dry before reassembly. Never immerse the electrical base, cord, or plug.
Use fresh water and coffee suited to the brewer. If flavor remains poor after cleaning, adjust one brewing variable at a time rather than changing the grind, dose, water amount, and temperature together.
Extend Machine Lifespan
- Empty wet coffee grounds and used pods promptly.
- Do not leave milk sitting in a steam wand, tube, or carafe.
- Replace water filters at the interval stated by the manufacturer.
- Descale according to the alert, water hardness, and model instructions.
- Do not force lids, pod levers, reservoirs, or portafilters into place.
- Replace visibly damaged seals, baskets, carafes, and removable valves with compatible parts.
- Keep vents clear and provide the counter clearance required by the manual.
How to Reset Your Coffee Maker
There is no universal coffee-maker reset. A power cycle may restart the electronic controls, while a factory reset, descaling-alert reset, or error reset usually requires a model-specific button sequence.
Try these steps in order:
- Write down the current error code, light pattern, clock, brew settings, and saved preferences.
- Turn the coffee maker off normally.
- Unplug it for about one minute unless the manual specifies a different period.
- Reconnect it directly to a working wall outlet.
- Set the clock or basic options if the machine requests them.
- Check whether the original symptom remains.
If the display still shows an error, consult the official manual or support page. Do not hold random button combinations because they may start a cleaning mode, alter water-hardness settings, or reset programmed volumes.
Note: Resetting a maintenance light does not remove scale. Complete the required cleaning or descaling procedure before clearing the alert.
Descaling Your Coffee Maker

Descaling dissolves mineral deposits that can restrict water flow, change brewing temperature, increase noise, or reduce the amount of coffee dispensed.
There is no single correct descaling interval. Follow the machine’s alert and manual. Frequency depends on water hardness, usage, filtration, and the design of the brewer. Nespresso’s machine guidance, for example, explains that water hardness and usage affect how often descaling is needed.
General Descaling Process
- Read the instructions for your exact model before adding any product.
- Remove coffee, pods, capsules, and any water filter that the instructions tell you to remove.
- Add the approved descaling solution and the specified amount of water.
- Place a container large enough to catch the full output under the dispenser.
- Start the dedicated descaling program or brew sequence described in the manual.
- Do not interrupt a programmed cycle unless the manufacturer says it is safe to do so.
- Empty and rinse the reservoir, drip tray, carafe, and collection container.
- Run the required clean-water rinse cycles.
- Reinstall or replace the water filter when directed.
- Clear the maintenance alert only after the procedure is complete.
Keurig publishes model-specific descaling instructions, illustrating why the correct button sequence and rinse procedure should come from the manufacturer rather than a generic recipe.
Warning: Do not mix vinegar, descaling solution, bleach, ammonia, or other cleaners. Use vinegar only when the exact model’s instructions permit it, and never drink liquid produced during a cleaning or descaling cycle.
Understanding Coffee Machine Sounds: What Do They Mean?
Coffee makers naturally click, hum, hiss, and gurgle as heaters, pumps, valves, and grinders operate. Diagnose a sound by noting when it occurs and whether water or coffee still flows normally.
- Brief clicking: May be a relay, thermostat, valve, or normal control action. Repeated clicking with no operation requires model-specific troubleshooting.
- Humming with no water: The pump may be trying to prime, the reservoir may be empty or misaligned, or the water path may be blocked.
- Gurgling: Often occurs as water and air move through the system. Excessive gurgling with reduced flow can indicate scale or an air pocket.
- Hissing: May be normal at a steam wand, but uncontrolled hissing from the housing or a closed machine can indicate escaping steam or pressure.
- Grinding without bean movement: Beans may be bridging in the hopper, the chute may be blocked, or a foreign object may be present.
- Rattling or scraping: Stop the grinder and check the manual before inspecting it. Hard foreign material can damage burrs or blades.
- Popping, buzzing, or electrical arcing: Unplug the machine immediately and do not use it again until it has been evaluated.
A sound is most useful as a diagnostic clue when you record when it begins, how long it lasts, and whether the machine still heats, pumps, grinds, or dispenses normally.
Fixing Common Coffee Machine Quality Problems
If the machine completes a cycle but the drink is disappointing, identify whether the problem is strength, extraction, temperature, cleanliness, or filtration.
Weak or Watery Coffee
- Use enough coffee for the amount of water.
- Choose a finer grind when the brewer drains too quickly, but do not grind so finely that the filter clogs.
- Confirm that a pod or capsule has been punctured correctly.
- Check whether the machine is dispensing more water than the selected size.
- Use fresh coffee and store it in a sealed container away from heat and moisture.
Bitter or Burnt Coffee
- Use a slightly coarser grind or a smaller dose if extraction is too slow.
- Clean old coffee oils from the basket, carafe, group head, pod holder, and reusable filter.
- Do not leave brewed coffee cooking on a hot plate for an extended period.
- Check whether the machine needs descaling.
- Make sure the selected strength or temperature setting is appropriate.
Sour or Underdeveloped Coffee
- Try a finer grind when water passes through the coffee too quickly.
- Preheat an espresso machine, portafilter, cup, or thermal carafe as appropriate.
- Use the correct dose and brew volume.
- Allow a machine that has just powered on to finish heating.
Grounds in the Cup
- Check that the paper filter is fully opened and seated inside the basket.
- Do not fill above the basket’s recommended coffee capacity.
- Use a coarser grind if fine particles pass through a reusable mesh filter.
- Replace torn paper filters, damaged reusable filters, or defective pods.
- For espresso, confirm that the basket is clean and properly locked into the portafilter.
Coffee Is Not Hot Enough
Preheat the cup or carafe with hot water, confirm the temperature setting, and allow the machine to finish warming. Scale can reduce heating and flow performance, so descale the machine when due.
If the machine suddenly produces lukewarm water, fails to heat, or repeatedly shuts down during heating, discontinue use and seek service. Internal heaters, thermostats, thermal fuses, and control boards are not suitable for casual repair.
What to Do If Your Coffee Machine Needs Professional Repair
Seek professional or manufacturer support when safe external checks do not solve the problem or when the fault involves internal electricity, heating, pressure, or plumbing.
Stop troubleshooting and request help when:
- The cord, plug, or outlet shows heat or burn damage.
- The machine sparks, shocks you, or repeatedly trips a breaker.
- Water leaks from the base or reaches electrical controls.
- Steam or hot water escapes unpredictably.
- The heater does not switch off.
- The machine displays a persistent fault code after the approved reset procedure.
- An internal pump, boiler, grinder, valve, or control board appears to have failed.
- The product is included in a safety recall.
Before contacting support, gather the brand, complete model number, serial number, purchase date, warranty information, error code, and a concise description of the symptoms. Include photographs or a short video when the support channel permits it.
Check the warranty before opening the appliance or using third-party parts. Unauthorized disassembly can create a safety hazard and may affect coverage. Use an authorized service provider when the manufacturer requires one.
Preventative Maintenance Tips for Longevity
A practical maintenance schedule is more useful than one universal cleaning interval.
After Each Use
- Discard wet grounds, capsules, or pods.
- Rinse the carafe, basket, portafilter, and other removable food-contact parts as appropriate.
- Purge and wipe a steam wand immediately after milk use.
- Empty a full drip tray or grounds bin.
- Wipe spills from the exterior after the machine has cooled.
Regular Cleaning
- Wash removable parts at the interval stated in the manual.
- Clean accessible pod needles, sprayheads, screens, and brewing outlets using approved tools.
- Remove coffee oils from reusable filters and espresso components.
- Clean automatic milk systems using their programmed rinse and cleaning cycles.
- Inspect seals, valves, and removable tanks for wear or cracks.
When the Machine Alerts You
- Complete the required cleaning or descaling cycle.
- Replace the water filter when due.
- Empty the waste container or drip tray.
- Refill and correctly seat the reservoir.
- Look up persistent error lights in the official manual.
Use fresh water and follow the manufacturer’s water-quality recommendations. Filtered water may improve taste and reduce some deposits, but it does not eliminate the need for cleaning or descaling.
Frequently Asked Questions
What should I do if my coffee maker leaks water?
Turn it off, unplug it, and let it cool. Dry the machine and counter, then inspect the reservoir, lid, drip tray, filter basket, carafe position, and removable seals. Do not reconnect a machine that leaks from its base or allows water to reach the cord, plug, heating plate, or controls.
Can I use vinegar instead of a descaling solution?
Use vinegar only when the instructions for your exact model allow it. Some manufacturers permit a diluted vinegar procedure, while others specify a formulated descaler and programmed cycle. Never mix vinegar with another cleaner, and rinse the machine exactly as directed.
How often should I clean my coffee maker?
Rinse or wash frequently used removable parts regularly and clean milk-contact parts after use. Descale according to the machine’s alert and manual. Heavy use and hard water may require more frequent descaling than light use with softer water.
Why does my coffee taste burnt or bitter?
Common causes include an overly fine grind, too much coffee, slow extraction, old coffee oils, stale beans, scale, or coffee left too long on a hot plate. Clean the machine and adjust one brewing variable at a time.
Is it safe to leave my coffee maker plugged in?
Follow the manufacturer’s instructions for normal standby use, but unplug the machine before cleaning or inspection. Unplug it immediately if the cord or plug is damaged, the appliance becomes unusually hot, it smells burnt, sparks, leaks near electrical parts, trips a breaker, or is subject to a stop-use recall.
Why does my coffee maker turn on but not brew?
The reservoir may be empty or misaligned, the brew head or service door may be open, the carafe may be out of position, or the machine may be waiting for cleaning, descaling, priming, or an error reset. Record any light pattern and check the exact model’s manual.
Why is my coffee maker brewing slowly?
Scale, a clogged sprayhead or pod needle, a blocked filter, an overly fine espresso grind, or air in the water path can reduce flow. Clean accessible parts and complete the approved descaling or priming procedure.
Is a coffee maker worth repairing?
Repair is more attractive when the machine is under warranty, has available parts, or needs a simple external component. Replacement may make more sense when an inexpensive machine has major heater, boiler, control-board, or structural damage. Safety recalls should be handled through the stated recall remedy rather than ordinary repair.
Conclusion
Most coffee maker problems can be narrowed down by checking power, water, removable components, cleanliness, and the machine’s display or indicator lights. Work from the simplest external cause to the more complex possibilities, and use instructions written for your exact model.
Routine cleaning and timely descaling can correct many flow and flavor problems, but they cannot repair damaged wiring, heaters, boilers, pumps, or control boards. Stop using the appliance when you notice electrical damage, severe leakage, uncontrolled steam, or a recall, and contact the manufacturer or a qualified repair provider.
Sources
- U.S. Consumer Product Safety Commission — Electrical Safety Guidance — supports stop-use guidance for shocks, repeated breaker trips, and electrical faults.
- U.S. Consumer Product Safety Commission — Coffee Maker and Teapot Recalls — provides current recall information and official remedies.
- Mr. Coffee — Brewer Power and Brewing Troubleshooting — supports outlet, control, water, and brew-head checks.
- Mr. Coffee — Espresso Maker Support — supports reservoir, filter-holder, basket, and brew-head troubleshooting.
- Nespresso — Vertuo Up Machine Assistance — supports model-specific descaling guidance based on usage, alerts, and water hardness.
- Keurig — How to Descale a Coffee Maker — supports using the correct model procedure, solution, and rinse cycle.