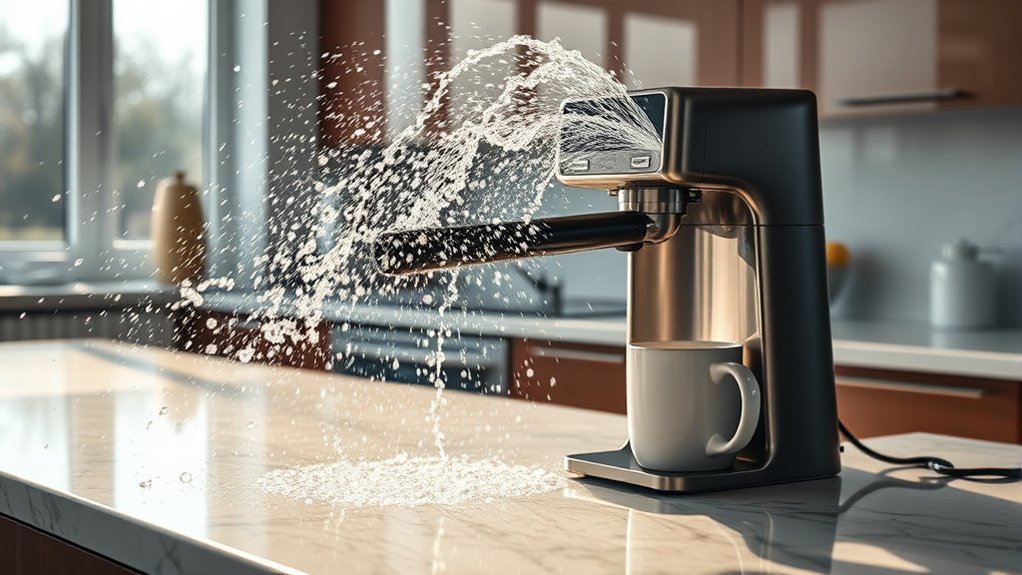
If your coffee maker is spraying water, overflowing the brew basket, or leaking around the carafe, stop the brew and let the machine cool before touching the wet area. Most problems come from a folded or misaligned filter, too many or overly fine grounds, a carafe that is not fully seated, a clogged water outlet, or a reservoir that is overfilled or loose. The checks below apply mainly to household drip, single-serve, and espresso machines, but your model’s manual should always take priority.
Quick Answer
Unplug the coffee maker and let it cool. Then reseat the brew basket and filter, use fewer medium-ground coffee grounds, confirm the carafe or mug is centered, clear accessible buildup, and check that the reservoir is below its maximum line. If hot water still sprays from the housing, stop using the machine.
Key Takeaways
- A crooked, collapsed, doubled, or wrong-size filter can block normal drainage and send water over the basket.
- Too many grounds, very fine grounds, or some decaf and flavored coffees can slow flow enough to cause an overflow.
- On drip machines, the carafe and lid must engage the basket’s drip-stop valve correctly.
- Mineral scale can restrict water channels, but descaling frequency and the correct solution vary by model.
- Do not open the housing or handle a hot, overflowing basket. Persistent spraying from the body of the machine needs manufacturer service or replacement.
At a Glance
| Time Required | 10–30 minutes for basic checks; longer if a descale cycle is needed |
| Difficulty | Easy for external cleaning and setup checks; professional service for internal leaks |
| Tools Needed | Soft cloth, mild dish soap, small soft brush, fresh water, and the model’s manual |
| Cost | Usually $0–$20 for cleaning supplies; more if a reservoir, seal, or machine must be replaced |
Warning: Hot coffee, water, and steam can cause burns. If the brew basket overflows, switch the machine off, unplug it if you can do so without touching water, and let everything cool before removing the basket. Do not immerse the base, open the housing, or continue using a machine that sprays from an electrical seam, control panel, or power-cord area.
Common Causes of Coffee Maker Leaks and Sprays
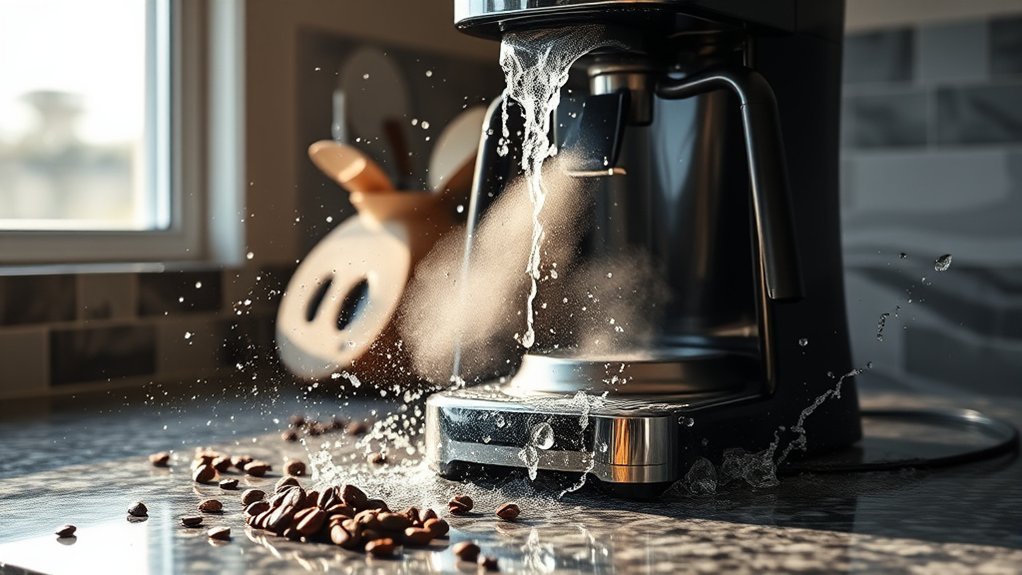
Water rarely sprays “for no reason.” The location and timing of the mess usually point to the cause. A drip coffee maker that spills from the top has a different problem from an espresso machine that releases water into its drip tray after steaming.
- Filter or brew basket is out of position: A paper filter can fold inward, collapse, sit above the basket rim, or block the outlet. A reusable filter or basket may not be fully locked into place.
- Too much coffee or the grind is too fine: Water cannot pass through a packed bed of grounds quickly enough, so it rises and spills. Manufacturer manuals also warn that decaf or flavored coffee may require a smaller dose in some machines.
- Carafe or mug is not seated correctly: Many drip machines use the carafe lid to open a spring-loaded drip-stop valve. If the carafe is missing, off-center, or has the wrong lid, coffee can back up in the basket.
- Spray head, spout, pod needle, or basket outlet is restricted: Coffee residue or mineral scale can redirect water or slow the flow. Clean only the parts your manual identifies as user-serviceable.
- Reservoir is overfilled, loose, or cracked: Water may run down the back or sides before brewing begins. Removable tanks must sit flat and lock into position.
- A removable seal is dirty, twisted, or worn: Grounds or debris around a drip-stop seal can prevent it from closing. Replace a gasket or O-ring only when the manufacturer lists it as a replaceable part or support confirms the repair.
- Internal hose, valve, heater, or pump fault: Water coming from the housing, base, controls, or cord area is not a routine cleaning problem. Stop using the machine and contact the manufacturer.
The most useful clue is where the water first appears: above the basket points to a flow restriction, behind the machine points to the reservoir, and water from the housing points to an internal fault.

Power your essentials anywhere with a 999Wh pure sine wave power station delivering up to 1000W continuous with 2000W surge. It supports fast charging via USB-C PD 60W and USB-A QC 18W, plus simultaneous output for multiple devices through AC, USB, wireless, and car/DC ports. Recharge using AC, car, or solar with a built-in MPPT controller and dual cooling fans, while the upgraded battery management system protects against surges, short circuits, and overheating.
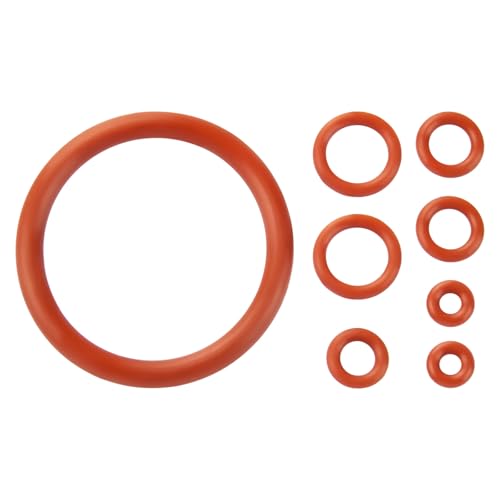
【Ideal Compatibility】8 x silicone for support valve steam valve brewing group outlet valve compatible with Saeco Philips Gaggia coffee machines, include 1 x gasket seal for brew unit, 7 x rubber gaskets for boiler outlet pin.
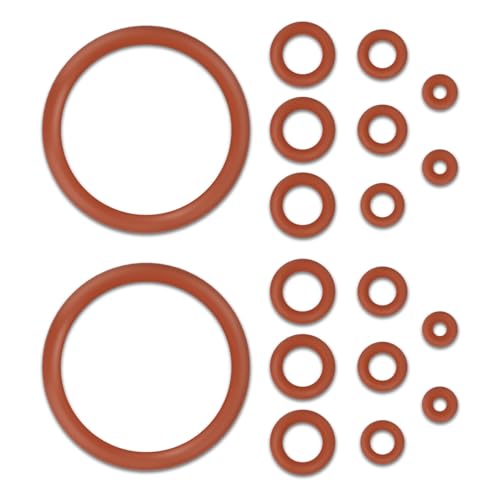
Ideal Set: You will receive 18 pieces of o-rings for Saeco,including 2 x brew unit gaskets and 16 x boiler outlet pin gaskets. Our coffee machine seal gaskets are designed for Philips, Saeco and Gaggia coffee machines.
Inspecting Your Coffee Maker: Key Steps to Take
Start with a cold, unplugged machine. Remove the used grounds, filter, carafe, drip tray, pod holder, and reservoir only if those parts are designed to come out. Keep screws and housing panels in place.
- Find the first wet spot. Dry the exterior, place the machine on a dry counter, and note whether the water begins at the basket, spout, reservoir, drip tray, or body.
- Check the carafe and lid. Make sure the correct carafe is centered and its lid is attached. On a pause-and-serve brewer, confirm the lid reaches the basket valve.
- Check filter placement. Use the size and shape listed in the manual. Open a paper filter fully, keep its sides against the basket, and do not use two paper filters at once.
- Check the coffee dose and grind. Keep grounds below every MAX line. Use the grind recommended for the machine; automatic drip brewers generally need a medium grind rather than espresso-fine coffee.
- Inspect accessible outlets. Look for residue on the showerhead, brew basket outlet, pod holder, or removable needle assembly. Clean with warm soapy water or the manufacturer’s approved method.
- Inspect the reservoir and removable seals. Do not fill above the maximum line. Reseat the tank and look for cracks, warped edges, debris, or a gasket that has rolled out of its groove.
- Check the model and recall status. Find the model number on the rating label, review the manufacturer’s manual, and check the U.S. Consumer Product Safety Commission coffee-maker recall page before paying for a repair.
Note: A small amount of water in an espresso machine’s drip tray can be normal after brewing or steaming because some models automatically purge pressure and heat. Water spraying outside the tray, however, still needs investigation.
Troubleshooting Coffee Maker Leaks and Spraying Issues
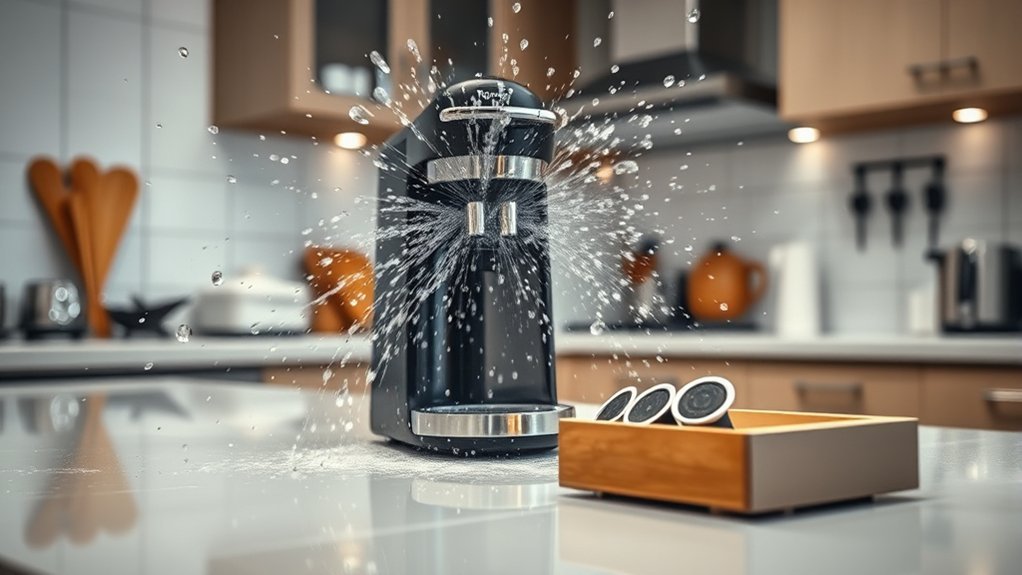
Work through these steps in order. Test after each simple correction so you know which change solved the problem.
- Stop the brew and let the machine cool. Never pull out a basket full of hot water and grounds. Place towels around the appliance only after power is off.
- Reset the serving container. Reinstall the correct carafe and lid, or center the mug under a single-serve outlet. Empty and fully insert the drip tray.
- Reseat the basket and filter. Clean away grounds caught under the basket rim or drip-stop seal. Replace torn, soft, undersized, or misshapen paper filters.
- Brew with a smaller coffee dose. Use medium-ground coffee and reduce the amount slightly if the basket previously overflowed, especially with decaf or flavored grounds. Follow the manual’s scoop or MAX-line guidance rather than a universal ratio.
- Clean removable flow parts. Wash the brew basket, reusable filter, carafe lid, pod funnel, and other approved removable parts. Use a small soft brush for reachable holes. Do not force wire, pins, or sharp tools into tubing or valves unless the manual supplies a specific cleaning tool and procedure.
- Run a water-only test if the manual allows it. Reassemble the machine without coffee or a beverage pod and run the manufacturer’s rinse or cleansing cycle. Watch from a safe distance. Stop immediately if water comes from the body, controls, or cord area.
- Descale if flow is still uneven. Scale can narrow water channels and increase brew time. Use the solution, ratio, and cycle listed for your model; do not assume vinegar is approved.
- Inspect replaceable external parts. A cracked reservoir, damaged carafe lid, warped basket, or manufacturer-listed seal may be replaceable. Do not improvise with glue, tape, or an off-size gasket on a hot-water path.
- Escalate an internal leak. If external checks do not stop the spray, unplug the machine and contact the manufacturer or a qualified appliance technician.
Pro Tip: Change one variable at a time. First reseat the carafe and filter, then test with a smaller dose, then clean, and descale last. This prevents a temporary improvement from hiding the real cause.
Troubleshooting by Coffee Maker Type
Drip Coffee Maker Spraying or Overflowing
Focus on the paper filter, basket seating, coffee dose, grind size, carafe position, and drip-stop valve. Official Hamilton Beach brewer instructions warn that very fine grounds and too much coffee can cause overflow. A Breville Precision Brewer manual also lists a missing carafe, an incorrect coffee-to-water amount, and an obstructed basket seal as possible causes.
Single-Serve Coffee Maker Spraying
Check that the pod or grounds holder is the correct one, the funnel and removable needle holder are locked in place, and the cup is centered. Coffee grounds or cocoa residue can clog reachable outlets. Use the model’s approved needle-cleaning tool or rinse procedure; do not reach into the machine while it is plugged in.
Espresso Machine Spraying or Leaking
Turn the machine off before removing a pressurized portafilter. Check that the basket is not blocked or overfilled, the portafilter is locked correctly, the water tank is fully seated, and the steam wand points into the drip tray or a suitable container. Some water entering the drip tray during an automatic purge is normal on certain models, but water escaping around the group head, tank, or housing may indicate a dirty seal, damaged part, or service issue.
How to Clean and Descale Safely
Cleaning removes coffee oils, loose grounds, and residue from removable parts. Descaling dissolves mineral deposits inside the water path. They solve different problems, and a machine may need one or both.
- Wash removable, dishwasher-safe parts only as directed by the manual. Otherwise, use warm water, mild dish soap, and a nonabrasive cloth or brush.
- Wipe the exterior with a damp cloth after unplugging the machine. Never immerse the base, cord, or plug.
- Use the clean light, brew count, water-hardness setting, or manual schedule to decide when to descale.
- Use a commercial coffee-machine descaler when the manufacturer requires it. Vinegar is acceptable only when the manual or official support page approves it for that model.
- Never mix vinegar, descaling solution, bleach, ammonia, or other cleaners. Rinse the reservoir and run the required fresh-water cycles before brewing coffee again.
Manufacturer instructions differ. Keurig advises descaling many brewers every three to six months or when the descale light appears. Some espresso-machine guidance calls for shorter intervals, while Mr. Coffee uses a brew-count range for some models. Cuisinart and Ninja instructions also vary by series, so the model-specific procedure is more reliable than a single schedule for every coffee maker.
Note: Vinegar ratios are not universal. For example, one official Cuisinart method uses three parts water to one part vinegar, while other machines use different amounts or a branded descaler. Follow the instructions for your exact model.
Effective Maintenance Tips to Prevent Coffee Maker Leaks
Regular care reduces clogs and makes a developing leak easier to spot. Replace parts based on condition and manufacturer guidance, not an arbitrary calendar alone.
| Maintenance Task | Practical Frequency |
|---|---|
| Check filter, basket, carafe, lid, and grounds level | Before every brew |
| Discard grounds and rinse the basket, reusable filter, pod holder, and carafe | After each use or at the interval in the manual |
| Clean the drip tray, reservoir, carafe lid, and accessible water outlet | Weekly to monthly, depending on use |
| Inspect removable O-rings, gaskets, and seals for debris, cracks, flattening, or misalignment | When cleaning and whenever a leak appears; replace only as needed |
| Descale | When the clean light appears or at the model-specific interval, often about every 1–6 months depending on the machine, use, and water |
If your water leaves scale quickly, the machine may need descaling more often. Filtered water can reduce some deposits, but do not use distilled or reverse-osmosis water unless the manufacturer permits it; some machines rely on a certain mineral range for sensing or proper extraction.
When to Seek Professional Help or Consider Replacement
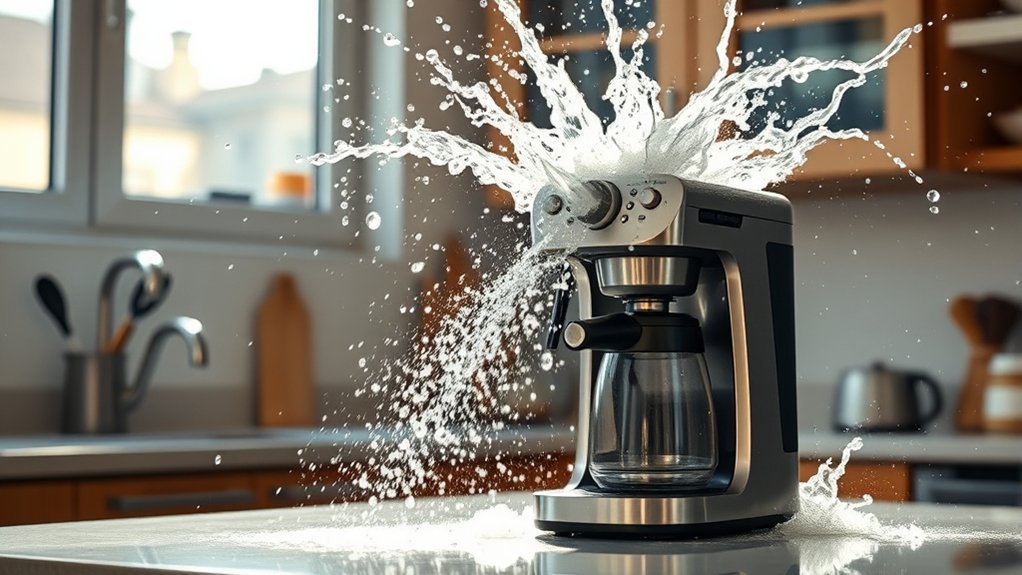
Stop troubleshooting and seek support when the problem is beyond normal external cleaning or setup.
- Water comes from the housing, base, controls, or cord area. This can expose electrical parts and is not a safe home repair.
- Hot water or steam sprays unpredictably. Unplug the machine after it is safe to approach and do not run another test.
- The reservoir, heater, pump, internal hose, or valve appears damaged. Do not open the housing unless you are a qualified technician following the service documentation.
- Leaks persist after the filter, grounds, carafe, removable parts, and approved cleaning cycle have been checked. Contact the manufacturer with the model and serial number.
- The machine is under warranty or recalled. Use the warranty or recall remedy before buying parts or attempting disassembly.
- The repair cost approaches the cost of a suitable replacement. Replacement is often more practical for an older basic brewer, especially when parts are unavailable or there are signs of heat damage.
Check the manufacturer’s support site first. Opening the appliance, using unapproved chemicals, or installing nonapproved parts may void the warranty and can create a burn, shock, or fire risk.
Frequently Asked Questions
Can I use vinegar to clean my coffee maker?
Use vinegar only if the manufacturer approves it for your exact model. Some official instructions allow white vinegar, but the ratio and cycle vary. Other machines call for a commercial descaling product. Never mix vinegar with another cleaner, and complete every fresh-water rinse required by the manual.
How often should I descale my coffee maker?
Follow the clean indicator and model manual. Depending on the machine, water hardness, and use, official guidance ranges from brew-count schedules to intervals of roughly one to six months. Slower brewing, unusual noise, reduced output, or visible scale may mean the machine needs attention sooner.
What types of coffee makers are most prone to spraying?
There is no reliable rule that one broad type is always most prone. Drip brewers commonly overflow at the basket, single-serve machines can spray from a clogged outlet or misfitted holder, and espresso machines can leak around pressurized parts. The location of the water is more useful than the machine category.
Is it safe to run a coffee maker without a filter?
Do not brew loose coffee grounds without the paper or permanent filter required by the machine. However, many models allow a water-only rinse or cleansing brew with no coffee, filter, or beverage pod. Use only the procedure described in the manual because designs differ.
Will hard water cause more spraying issues?
Hard water can leave mineral scale that narrows water channels, slows brewing, or redirects flow, so it can contribute to spraying. It is not the only cause. Check the filter, grounds, carafe, basket, and reservoir before assuming the machine only needs descaling.
Why does my drip coffee maker overflow when I remove the carafe?
Removing the carafe closes the pause-and-serve valve on many brewers. If the carafe stays out too long, coffee continues collecting in the basket and can overflow. Return the correct carafe and lid promptly, and clean the valve if grounds prevent it from moving freely.
What should I do if hot water sprays from the machine housing?
Stop using the coffee maker. Turn it off, unplug it when you can do so without contacting water, and let it cool. Do not open the housing or run another test. Check for a recall, then contact the manufacturer or a qualified appliance technician.
Conclusion
A coffee maker that sprays water usually needs a careful setup check before it needs a repair. Let the machine cool, reseat the carafe, basket, and filter, reduce overly fine or excessive grounds, clean accessible flow parts, and follow the model-specific descaling procedure. If water comes from the housing or the problem continues after these checks, stop using the brewer and seek manufacturer support rather than opening it yourself.
Sources
- Hamilton Beach The Scoop 2-Way Brewer Use and Care Guide — filter seating, coffee dose, grind size, overflow, and cleaning guidance.
- Breville Precision Brewer Instruction Manual — basket overflow, carafe placement, drip-stop seal, and cleaning guidance.
- Keurig Descaling Guidance — scale buildup and the three-to-six-month or indicator-based schedule for many Keurig brewers.
- Cuisinart Coffee Maker Cleaning Guide — model-specific cleaning cycles and an approved vinegar method for applicable machines.
- Ninja DualBrew Cleaning Instructions — official cleaning and descaling guidance for supported Ninja series.
- U.S. Consumer Product Safety Commission Coffee Maker and Teapot Recalls — current safety recalls and consumer remedies.