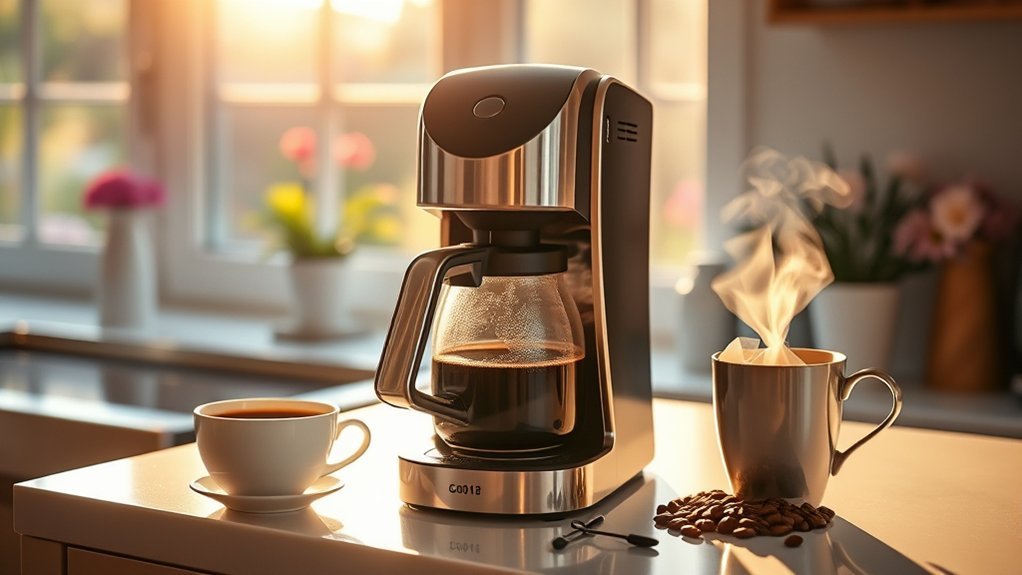
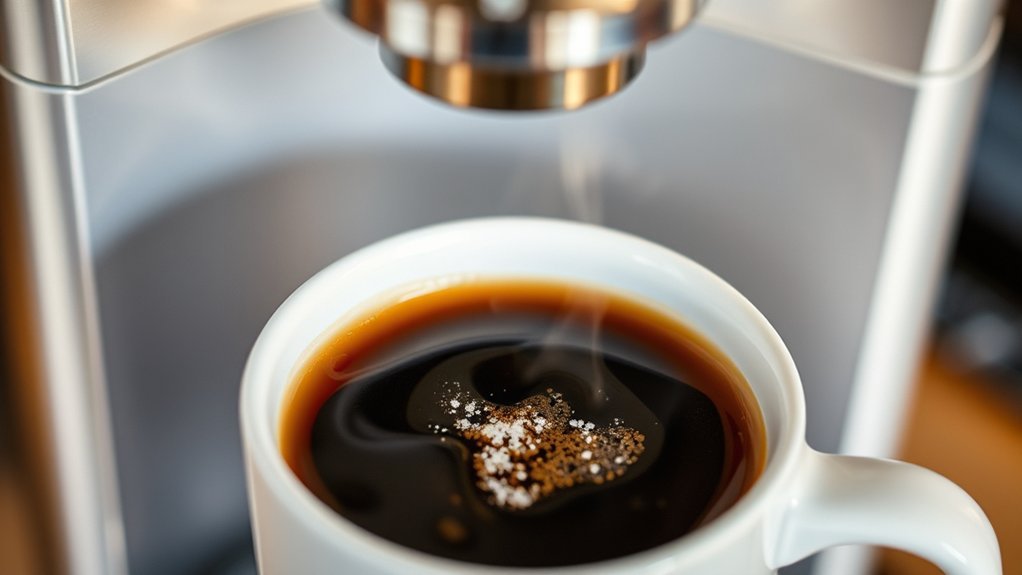
Using a drip coffee maker is simple once you match the filter, coffee dose, water level, and carafe position to your machine. The exact buttons and serving marks vary by model, but the core brewing principle remains consistent: combine clean cold water with medium-ground coffee, start the cycle, allow the water to extract evenly through the bed, and serve the coffee fresh.
Quick Answer
Place the correct filter in the brew basket, add 1 to 2 level tablespoons (approx. 10–11 grams) of medium-ground coffee per 6 fluid ounces of fresh water, fill the reservoir to your desired cup line, and center the carafe on the base plate. Press Brew and wait until dripping stops completely before pouring.
Key Takeaways
- Coffee maker “cups” represent 5 to 6 fluid ounces of water, not a standard 8-ounce measuring cup.
- Use 1 to 2 level tablespoons of medium-ground coffee per 6 fluid ounces of water (a 1:16 to 1:17 brew ratio by weight).
- Match the filter geometry (cone #2/#4 vs. flat-bottom basket) precisely to your brew basket to avoid bypass and overflows.
- Keep water delivery between 195°F and 205°F by keeping heating elements descaled and free of mineral buildup.
- Rinse removable parts after each batch and descale every 1 to 3 months depending on water hardness.
At a Glance
| Time Required | About 5–10 minutes total (prep + brew cycle) |
| Difficulty | Easy / Beginner |
| Tools Needed | Drip coffee maker, matching filter, carafe, digital scale or measuring scoop, burr grinder (optional) |
| Cost | Ground coffee (~$0.25–$0.75 per pot) and disposable paper filter (~$0.02) |
Essential Equipment for Your Drip Coffee Maker
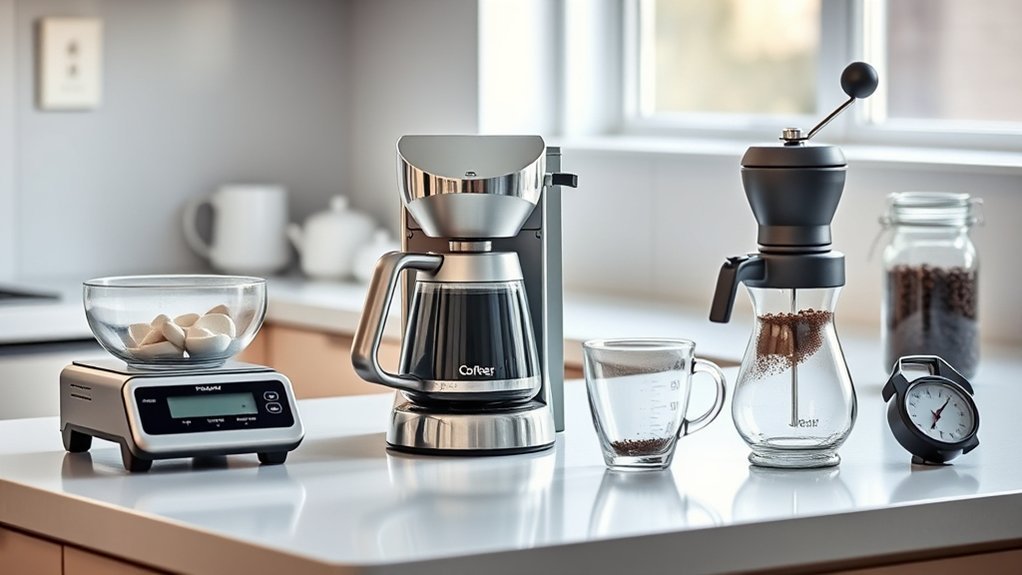
Making high-quality drip coffee does not require commercial gear, but each component must match the specifications of your machine and basket design:
- Automatic drip coffee maker: Ensure the internal reservoir, showerhead spray nozzle, brew basket, and carafe are clean and assembled firmly.
- Matching filter type and size: Use the shape designated by the manufacturer. Standard brewers take flat-bottom (fluted basket) filters (8–12 cup size) or conical filters (standard #2 for 4–6 cup machines, or #4 for 8–12 cup machines). Conical baskets concentrate the water path for smaller batches, while flat-bottom baskets encourage broad horizontal extraction.
- Paper vs. permanent gold-tone filter: Paper filters trap coffee oils and micro-sediment for a crisp, clean cup. Permanent mesh filters allow aromatic oils and microscopic particles to pass through, yielding a heavier mouthfeel and darker body.
- Fresh medium-ground coffee: Grind whole beans immediately prior to brewing whenever possible. Aim for a tactile consistency similar to coarse sea sand or kosher salt.
- Filtered cold water: Coffee is roughly 98% water. Use odor-free, moderate-mineral tap or filtered water to ensure balanced extraction without limescale buildup.
- Measuring tool: A digital kitchen scale measuring in grams ensures precision; standard measuring tablespoons offer a quick everyday alternative.
The National Coffee Association’s drip-coffee guidance recommends using fresh, cold, filtered water and starting within a ratio range of 1 to 2 tablespoons of ground coffee for every 6 fluid ounces of water.
Note: Never insert a paper filter inside a permanent metal mesh filter simultaneously. Doubling filters restricts water drainage, leading to basket overflows and harsh over-extraction.

Power your essentials anywhere with a 999Wh pure sine wave power station delivering up to 1000W continuous with 2000W surge. It supports fast charging via USB-C PD 60W and USB-A QC 18W, plus simultaneous output for multiple devices through AC, USB, wireless, and car/DC ports. Recharge using AC, car, or solar with a built-in MPPT controller and dual cooling fans, while the upgraded battery management system protects against surges, short circuits, and overheating.

SHIPMENT CONTAINS: 200 white basket coffee filters that fit most 8-12 cup basket coffeemakers

SEMI-TRANSPARENT WATER RESERVOIR holds up to 5 cups of water capacity with a level indicator to always ensure you have enough water ready for brewing.
Prepare a New Coffee Maker Before First Use
Before brewing your first pot in a new or long-stored appliance, unpack all internal packaging and tape. Wash the carafe, brew basket, lid, and reusable filter with warm water and mild dish soap. Rinse thoroughly to ensure no detergent film remains.
Run two full water-only brew cycles using plain cold water. This flushes manufacturing oils, dust, and plastic odors out of the internal boiler tubes and showerhead. If your brewer includes an activated charcoal water filter pouch, soak and rinse it under cold tap water for 1 minute before clicking it into the reservoir holder.
Warning: Operate the appliance on a dry, level, heat-stable counter surface. Keep the unit clear of low-hanging cabinets to prevent steam damage, and never immerse the machine’s electrical housing, power cable, or plug in water.
Understand Coffee Maker “Cup” Measurements
A standard culinary measuring cup in the United States equals 8 fluid ounces (237 ml). However, drip coffee maker manufacturers define a single “cup” mark on the reservoir as 5 to 6 fluid ounces (148 to 177 ml)—the historical volume of a traditional ceramic coffee cup.
Because of this difference, filling a 12-cup coffee reservoir produces approximately 60 to 72 fluid ounces of brewed liquid, not 96 fluid ounces. To achieve balanced extraction, base your coffee dose on the specific markings on your machine’s water window or weigh your water in grams (where 1 ml equals 1 gram).
| Reservoir Water Volume | Target Coffee Weight (1:16 Ratio) | Approximate Level Tablespoons |
|---|---|---|
| 2 “Cups” (12 fl oz / 355 ml) | 21–22 g | 3–4 level tbsp |
| 4 “Cups” (24 fl oz / 710 ml) | 42–44 g | 6–8 level tbsp |
| 8 “Cups” (48 fl oz / 1.42 L) | 84–88 g | 12–14 level tbsp |
| 12 “Cups” (72 fl oz / 2.13 L) | 125–130 g | 18–20 level tbsp (verify basket maximum) |
Coffee beans vary in density by roast level. Dark roasts are less dense and occupy more volume per gram, while dense light roasts take up less space. For absolute consistency, measuring by weight eliminates scoop variances.
Step-by-Step Guide to Brewing Drip Coffee
- Inspect and assemble the brewer. Verify that the reservoir, brew basket, silicone drip stop, and carafe are clean and seated securely in their tracks.
- Insert the filter. Place a single paper filter or your reusable gold-tone filter into the basket. For paper cone filters, fold along the crimped seams on the bottom and side to help the paper hug the basket walls without collapsing inward.
- Measure and grind your coffee. Grind fresh coffee to a medium consistency (approx. 500–700 microns). Use 1 to 2 tablespoons per 6 fluid ounces of water, or target a 1:16.5 brew ratio on a digital scale.
- Distribute the coffee grounds evenly. Pour the grounds into the filter and gently shake the basket horizontally to level the dry bed. Do not tamp or press the coffee down; an uncompressed bed allows water to flow evenly without channeling.
- Fill the water reservoir. Pour cold, filtered water into the water chamber up to your desired cup marker. Never exceed the Max Fill line, as excess water can enter overflow safety ports on the rear of the machine.
- Align and set the carafe. Place the empty carafe with its lid securely on the warming plate. Ensure the lid’s center post engages the spring-loaded “pause and serve” valve located on the bottom of the brew basket.
- Select machine settings. If your machine offers options, choose between “Regular” or “Bold” (which extends brew pulse time for deeper extraction) or activate the “1–4 Cup” mode for smaller batches.
- Initiate the brew cycle. Close the top reservoir lid and press the Brew/Power switch. Hot water will begin pulsing through the showerhead within 30 to 60 seconds.
- Allow the cycle to complete. Avoid pulling the carafe during brewing. Wait until the steady stream subsides to an occasional drip. Complete contact time typically ranges from 4 to 6 minutes for optimal extraction.
- Swirl and serve promptly. Gently swirl the brewed coffee in the carafe to blend the initial dense extraction with the lighter tail-end brew. Discard paper filters and spent grounds immediately to prevent lingering odors.
Pro Tip: If your machine does not feature an automated pre-infusion cycle, you can manually bloom fresh grounds: start the cycle for 15 seconds until the bed is soaked, switch the machine off for 30 seconds to allow trapped carbon dioxide to release, and switch it back on to finish brewing.
How to Improve Drip Coffee Flavor
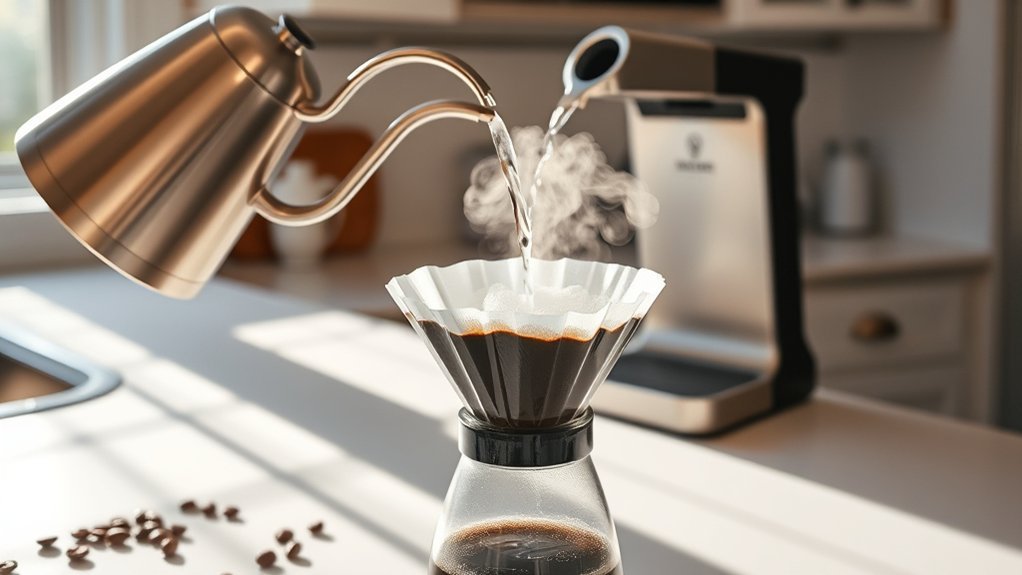
Grind Coffee Close to Brewing
Whole coffee beans retain volatile aromatic compounds inside their cell structure. Once ground, coffee loses a substantial percentage of its aromatics within 20 minutes due to oxidation. Using a quality conical or flat burr grinder produces uniform particles, avoiding the fines and boulders created by blade choppers.
Store whole beans in an airtight, opaque canister at room temperature. Keep them out of refrigerators or freezers, where temperature fluctuations cause condensation that degrades bean surface oils.
Use a Consistent Coffee-to-Water Ratio
Maintaining a stable ratio enables you to diagnose and correct flavor defects with surgical precision:
- If coffee tastes sour, sharp, or salty: The coffee is under-extracted. Use a slightly finer grind setting or increase contact time to pull sweet, balancing sugars.
- If coffee tastes bitter, dry, astringent, or hollow: The coffee is over-extracted. Shift to a coarser grind or reduce your coffee dose slightly.
- If coffee tastes watery and weak: Increase the total dose of coffee grounds without changing the grind size.
- If coffee tastes overwhelmingly heavy: Decrease the coffee dose slightly while maintaining a consistent medium grind.
A repeatable brew ratio and a spotless machine will improve your daily cup more than switching coffee roasters or buying expensive accessories.
Choose Water That Tastes Clean
Water with heavy chlorine, chloramines, or metallic iron will transfer those off-notes directly into your cup. Carbon-filtered tap water or remineralized reverse-osmosis water provides an ideal medium for solvent extraction.
Avoid using 100% distilled or zero-mineral deionized water. Dissolved minerals—primarily calcium and magnesium ions—are chemically required to bind to and extract the flavor compounds from the grounds. Completely pure water results in flat, hollow, and unpleasantly sharp coffee.
Let the Machine Control Temperature and Time
The Specialty Coffee Association (SCA) Certified Home Brewer standards require home machines to achieve a water brew temperature between 195°F and 205°F (90.5°C to 96°C) at the showerhead within the first minute of brewing. Water cooler than 195°F cannot efficiently extract complex sugars, resulting in sour, grassy notes.
If your machine consistently delivers coffee below 180°F, or if cycles take longer than 8 minutes for an 8-cup batch, thick mineral scale is insulating the flash-boiler element, requiring an immediate descaling cycle.
Serve Coffee Without Overheating It
Active hot plates keep the bottom of glass carafes at high temperatures, which scorches organic acids into quinic acid within 15 to 20 minutes, producing a stewed, unpleasantly bitter profile. For optimal flavor, turn off the warming plate and transfer unconsumed coffee directly into a pre-warmed, double-walled stainless steel thermal carafe.
Common Mistakes and How to Avoid Them
| Mistake | Why It Causes Extraction Issues | Better Approach |
|---|---|---|
| Assuming reservoir “cups” equal 8 oz | Causes severe under-dosing and watery, weak coffee. | Dose coffee assuming each reservoir cup line is 5 to 6 fl oz. |
| Using an espresso-fine grind | Clogs paper pores, slows flow, and overflows the basket. | Use a medium grind similar to coarse sand. |
| Failing to fold paper filter seams | The filter collapses during brewing, allowing dry bypass. | Crease bottom and side seams before seating in the basket. |
| Leaving coffee on the hot plate | Evaporates volatile aromatics and creates a scorched flavor. | Pour immediately or store inside an insulated thermal carafe. |
| Reusing paper filters | Traps rancid coffee oils and easily tears under pressure. | Compost or discard paper filters after a single use. |
| Pulling carafe mid-brew continuously | Interrupts water flow and concentrates acids in the first cup. | Allow the full batch to brew and mix before pouring. |
Drip Coffee Maker Troubleshooting
Coffee Tastes Weak or Watery
- Increase the dose: Add 1 to 2 additional tablespoons of ground coffee for the total pot.
- Refine your grind: Shift the burr grinder 1 to 2 notches finer to slow down the flow rate.
- Check for paper collapse: Verify that the paper filter did not fold over during brewing, allowing water to bypass the coffee bed without extracting.
- Use small batch mode: If brewing under 4 cups in a large machine, activate the “1–4 Cup” setting to pulse hot water in slower increments.
Coffee Tastes Bitter or Harsh
- Coarsen the grind: Move to a coarser grind setting to decrease water contact surface area.
- Clean lingering coffee oils: Remove dark, sticky polymerized coffee oils from the basket, spray head, and carafe using warm water and baking soda or coffee equipment cleaner.
- Verify freshness: Replace old, stale dark-roasted grounds with freshly roasted whole beans.
Grounds Are Getting Into the Carafe
- Select the correct filter geometry: Ensure a #4 cone filter is not placed in a flat basket, or vice-versa.
- Reduce dose volume: Do not fill grounds higher than 1 inch below the rim of the filter basket.
- Adjust for permanent mesh: If using a gold-tone mesh screen, eliminate ultra-fine particles (“fines”) by sifting or coarsening your grind setting.
- Center the carafe: Confirm the carafe lid cleanly depresses the basket’s spring-loaded drip-stop valve.
The Brew Basket Overflows
If hot water and coffee spill over the rim of the basket, immediately turn off the power switch and unplug the unit. Allow the hot slurry to cool before handling. Overflows are almost exclusively caused by combining an overly fine espresso grind with a paper filter, using dual filters simultaneously, or failing to seat the carafe directly underneath the basket drip plunger.
The Machine Brews Slowly
When an 8-cup cycle takes longer than 8 to 10 minutes, internal calcium carbonate and magnesium scale have accumulated inside the aluminum or copper heating pipe. Clear the showerhead nozzles with a damp needle, then run a full descaling procedure using an approved descaling agent or commercial citric acid solution.
The Coffee Maker Will Not Start
- Verify that the power outlet is active and GFCI outlets have not tripped.
- Ensure the water reservoir contains water above the minimum internal intake sensor.
- Confirm that the carafe and brew basket are clicked securely into operational position.
- Check that an automated “Auto-On/Delay Brew” timer is not currently engaged instead of immediate manual brew.
- Perform an electronic reset by unplugging the unit for 60 seconds before reconnecting.
Cleaning and Maintenance for Longevity

Machine maintenance requires two distinct procedures: regular surface degreasing to remove stale coffee oils, and internal descaling to eliminate mineral scale.
After Each Use
- Turn off and unplug the appliance; allow all heated elements to cool.
- Remove and discard the used paper filter and grounds into a compost bin.
- Rinse the reusable filter and brew basket under running warm water.
- Wash the glass carafe and lid with warm, soapy water using a non-scratch sponge.
- Wipe any coffee drips off the warming plate with a damp microfiber cloth once it has cooled down completely.
Periodic Deep Cleaning
- Soak the brew basket and carafe in a solution of warm water and sodium percarbonate (or specialized coffee cleaner) once monthly to dissolve rancid oil buildup.
- Wipe the showerhead spray face with a damp cloth to clear blocked water outlets.
- Replace internal reservoir charcoal water filter pods every 60 days or after 60 brew cycles.
- Inspect the carafe glass for hairline cracks, chips, or loose handle bands before each use.
When and How to Descale
Hard municipal water deposits mineral scale inside the heating element, reducing water temperature and restricting flow rates. Descale your machine every 1 to 3 months, or whenever the machine’s “Clean” LED indicator illuminates.
Consult your manual for approved cleaning solutions. Many manufacturers, including Cuisinart’s coffee maker cleaning instructions, outline specific mixtures of white vinegar and water or recommend dedicated commercial citric acid descaling solutions. Other manufacturers, such as those outlined in the Hamilton Beach coffee maker care guides, provide exact reservoir ratios and cycle pauses to dissolve mineral deposits safely without corroding internal boiler gaskets.
Always follow a descaling cycle with 2 to 3 full cycles of clean, cold water to eliminate any residual descaler taste before brewing coffee again.
Frequently Asked Questions
Can I use pre-ground coffee instead of grinding my own?
Yes. Standard supermarket pre-ground coffee is ground to a medium consistency specifically intended for automatic drip coffee makers. Keep the bag tightly sealed in an airtight container to preserve freshness and aroma.
What type of coffee bean is best for drip coffee?
Medium to medium-dark roasts generally deliver the most balanced flavor in automatic drip machines. 100% Arabica beans provide smooth, aromatic flavor profiles, while blends with Robusta offer higher caffeine and a heavier, darker body.
How often should I clean my drip coffee maker?
Rinse the brew basket and carafe with soapy water after every single brew cycle. Perform an internal descaling cycle every 1 to 3 months depending on the mineral hardness of your tap water.
Can I brew tea in a drip coffee maker?
While technically possible by placing loose leaf tea or tea bags in the basket, it is not recommended. Residual coffee oils absorbed into the plastic basket and showerhead will transfer a bitter, roasted taste into the tea. A dedicated electric kettle produces better results.
What should I do if my coffee tastes bitter?
Bitterness indicates over-extraction. Adjust your grinder to a slightly coarser setting, reduce the amount of coffee grounds by 10%, clean all old coffee residue from the basket, and avoid leaving the brewed carafe on the hot warming plate.
Why does my drip coffee taste weak?
Weak coffee results from under-extraction or insufficient grounds. Increase your coffee dose, use a slightly finer grind, ensure the paper filter hasn’t collapsed, and engage your machine’s 1–4 cup or bold setting for smaller batches.
Does a coffee maker’s cup mark equal 8 fluid ounces?
No. In drip coffee maker manufacturing, one “cup” measurement equals 5 to 6 fluid ounces (148–177 ml). A 12-cup carafe holds approximately 60 to 72 fluid ounces of brewed liquid.
Is a paper or permanent coffee filter better?
Paper filters absorb coffee oils (cafestol) and trap fine micro-sediment, producing a crisp, clean cup. Permanent stainless steel or gold-tone mesh filters allow natural coffee oils and fine sediment to pass through, yielding a heavier, fuller-bodied cup with zero paper waste.
Conclusion
Operating a drip coffee maker to its full potential comes down to repeatable fundamentals: use clean, cold water, match your paper or mesh filter to the basket geometry, dose at a consistent 1:16 ratio with a medium grind, and serve the coffee before the hot plate scorches the brew. Regular washing of removable parts alongside periodic descaling will keep your machine brewing at target temperatures between 195°F and 205°F for consistently delicious coffee every morning.
Sources
- National Coffee Association — Drip Coffee Brewing Guidelines — authoritative ratios, cold-water recommendations, and standard brewing variables.
- Specialty Coffee Association — Certified Home Brewer Standards — water delivery temperature (195°F–205°F), extraction benchmarks, and contact time guidelines.
- UC Davis Coffee Center — Research Publications — scientific data on coffee extraction, total dissolved solids (TDS), grind particle distribution, and sensory profiles.
- Cuisinart — How to Clean a Coffee Maker — manufacturer cleaning recommendations, reservoir descaling procedures, and component care.
- Hamilton Beach — Coffee Maker Use and Care Guide — electrical safety, drip valve mechanics, basket sizing, and maintenance cycles.