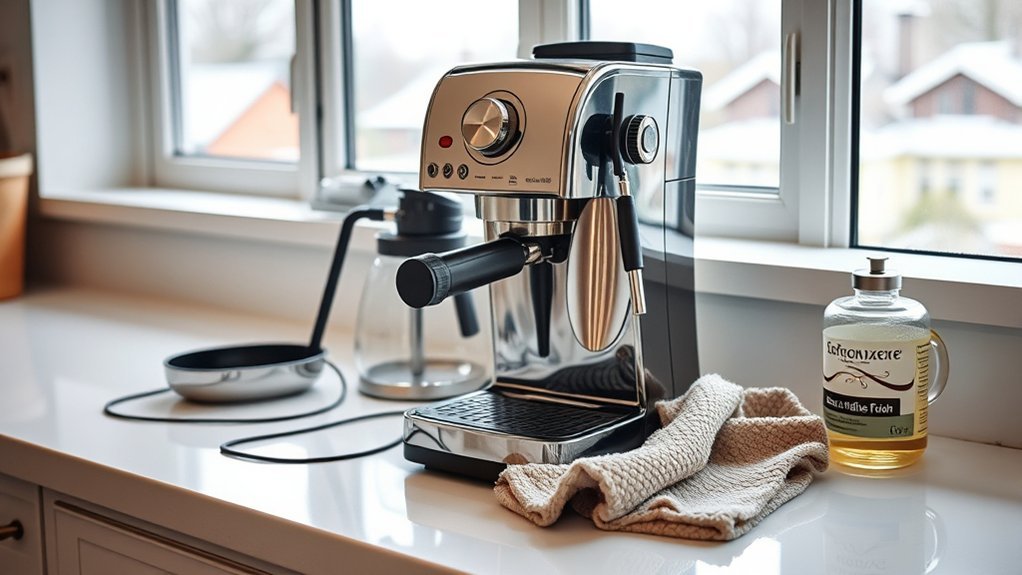
Winterizing a coffee maker is less about repeatedly running it “dry” and more about following the correct emptying procedure for your exact model. Drip brewers, pod machines, and espresso machines retain water in different places. The safest approach is to clean removable parts, drain the water system as the manufacturer directs, dry everything fully, and store the appliance upright in a dry, frost-free location.
Quick Answer
To winterize a coffee maker, remove coffee, pods, filters, and accessible water; clean and dry all removable parts; then use the model’s official drain or system-emptying procedure. Never add antifreeze or force air into the machine. Store it upright in a dry, frost-free place after every part has dried completely.
Key Takeaways
- Check the owner’s manual before trying to empty internal tanks, tubes, boilers, or thermoblocks.
- Treat cleaning, descaling, rinsing, and draining as separate tasks.
- Use a built-in emptying mode when your model has one; ordinary brew cycles may leave water inside.
- Do not use automotive or RV antifreeze, compressed shop air, or unapproved cleaning chemicals.
- Dry removable parts completely and store the machine upright in a dry, frost-free area.
- Allow a cold-stored machine to reach room temperature before reconnecting it to power.
At a Glance
| Time Required | 30–60 minutes of active work, plus several hours or overnight for complete drying |
| Difficulty | Easy for basic drip machines; moderate for pod and espresso machines with model-specific emptying modes |
| Tools Needed | Owner’s manual, sink or large container, mild dish soap, soft brush or sponge, and lint-free cloth |
| Cost | Usually $0–$15; more if manufacturer-approved descaler or a replacement water filter is needed |
Warning: Never add automotive or RV antifreeze to a coffee maker. Do not open the appliance housing, loosen boiler fittings, or direct compressed shop air into water ports. Some emptying procedures release hot water or steam, so follow the exact model instructions and keep your hands clear of the outlet.
Why Winterizing Your Coffee Maker Is Crucial
Water can remain in a coffee maker even after the visible reservoir has been emptied. Depending on the design, small amounts may stay in a hot-water tank, pump, thermoblock, boiler, tubing, valve, drip tray, or milk circuit.
If that water freezes, expansion may crack a fitting, damage a seal, or create a leak. Keurig’s K10 manual, for example, warns that residual condensation can freeze inside the brewer and cause damage. It instructs owners to empty the internal tank and store the brewer upright in a safe, dry, frost-free environment. You can review the procedure in the official Keurig K10 owner’s manual.
Cleaning also matters because coffee residue, milk, and standing water can cause odors and leave soil behind during long storage. The goal is not to dismantle the machine or guess where water may be trapped. The goal is to remove accessible water, clean food-contact parts, and use the manufacturer’s approved emptying process.
A dry reservoir does not always mean the coffee maker’s internal water system is empty.
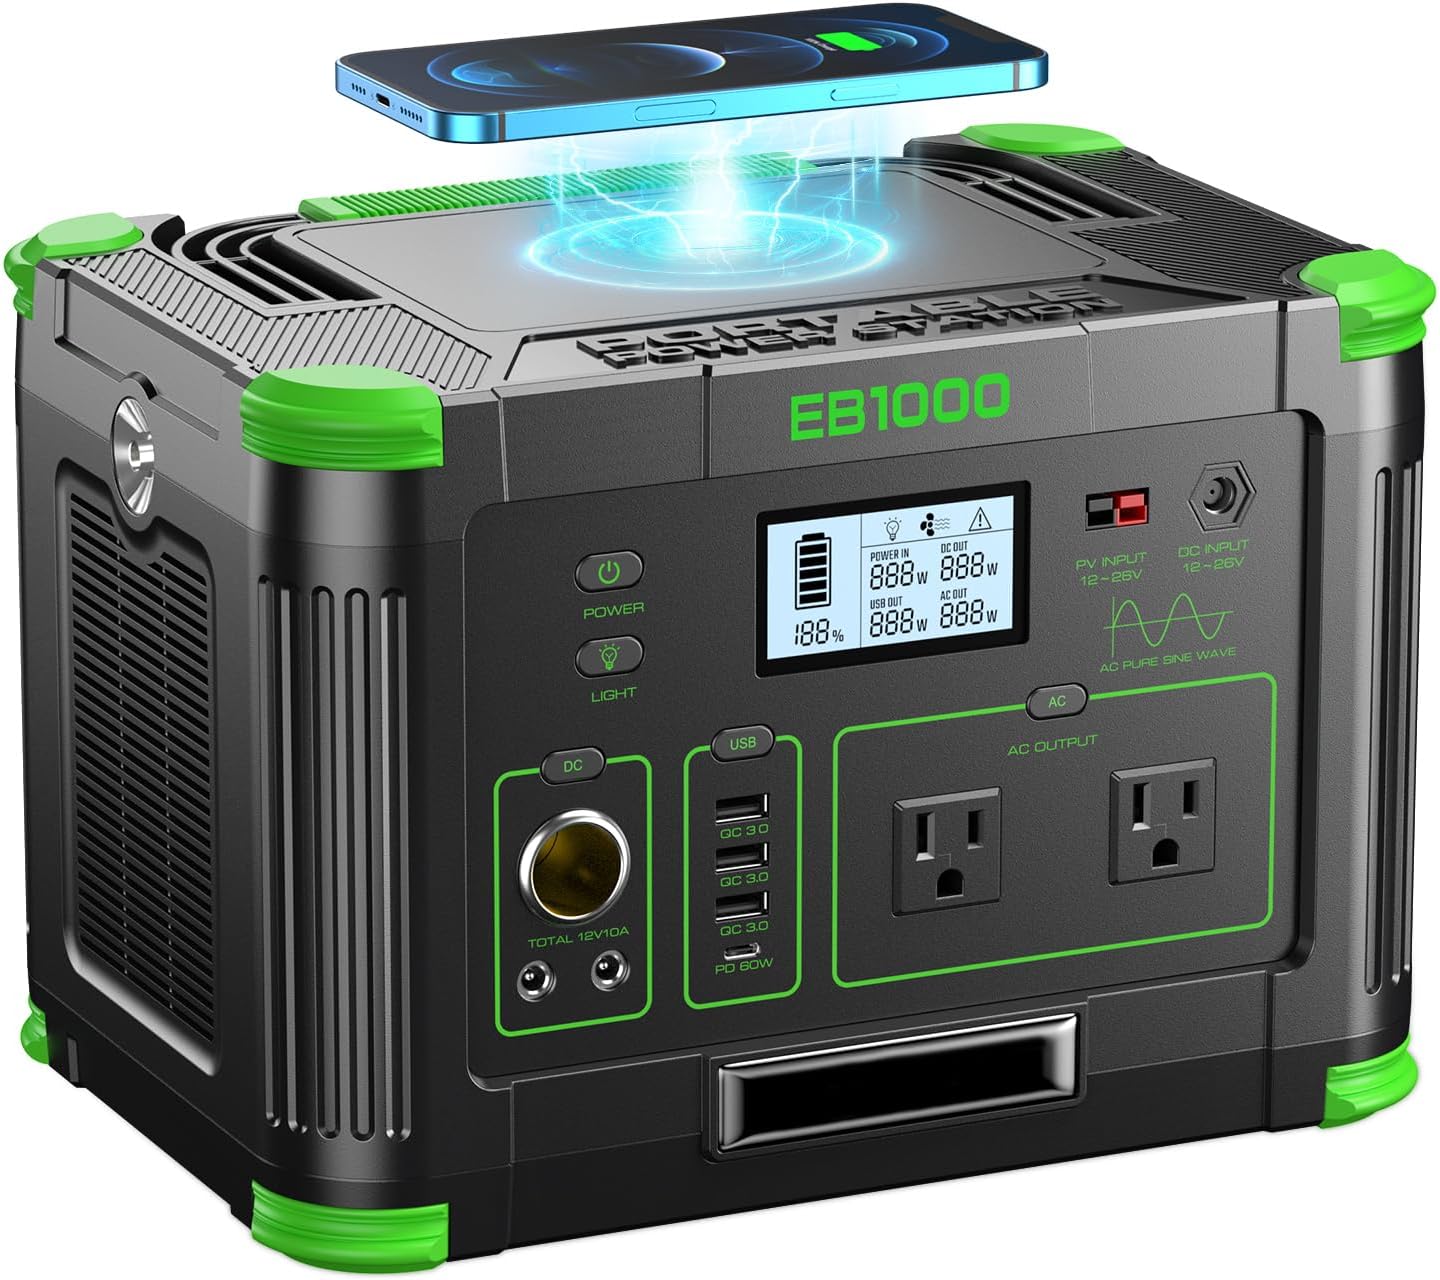
Power your essentials anywhere with a 999Wh pure sine wave power station delivering up to 1000W continuous with 2000W surge. It supports fast charging via USB-C PD 60W and USB-A QC 18W, plus simultaneous output for multiple devices through AC, USB, wireless, and car/DC ports. Recharge using AC, car, or solar with a built-in MPPT controller and dual cooling fans, while the upgraded battery management system protects against surges, short circuits, and overheating.
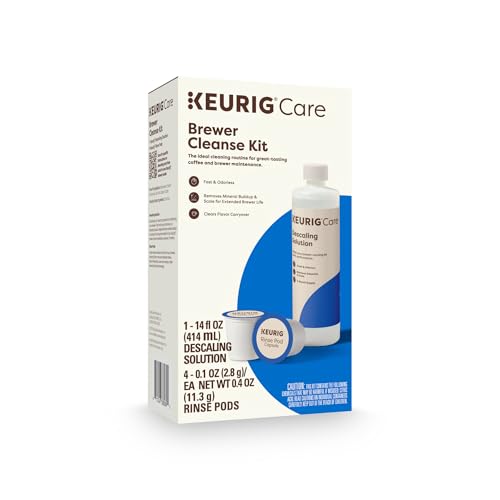
Better tasting beverages: Reduces flavor carry over between brews

RESTORE COFFEE FLAVOR & AROMA: Our universal descaling solution removes bitter mineral buildup and calcium deposits from heating elements. This ensures your Keurig cleaner process restores the original "day one" taste of your favorite pods and espresso capsules
Check Your Model Before You Begin
Find the model number on the bottom, back, or rating label of the appliance. Then locate the matching owner’s manual or manufacturer support page. Search the manual for terms such as storage, long period of non-use, emptying the system, transport, frost protection, or draining.
The correct process depends on the type of coffee maker:
- Standard drip coffee maker: Usually has a removable or accessible reservoir, carafe, filter basket, and warming plate. Many basic models have little retained water after a normal brew, but the manual should still be checked.
- Single-serve pod brewer: May contain a hidden internal hot-water tank or a special emptying sequence. A normal pod-free brew may not drain every chamber.
- Capsule machine: May have a built-in system-emptying mode. Nespresso provides model-specific procedures for storage, repairs, and frost protection through its machine-assistance pages.
- Manual or automatic espresso machine: May retain water in a thermoblock, steam circuit, hot-water outlet, or boiler. Follow the exact menu sequence or control procedure in the manual.
- Plumbed-in or commercial machine: May require the water supply to be isolated and the boiler or lines to be drained by a qualified service technician.
For De’Longhi equipment, use the model number to locate the correct instructions in the company’s official product-manual library.
Note: If the manual does not provide a user-accessible draining procedure, do not improvise by opening the housing or disconnecting tubes. Store the machine in a frost-free location or ask the manufacturer whether professional service is required.
Step-by-Step Guide to Winterizing a Coffee Maker
1. Turn Off and Unplug the Coffee Maker for Cleaning
Switch the coffee maker off and unplug it before removing parts or wiping the appliance. Allow hot surfaces, boilers, warming plates, and steam wands to cool.
If the manufacturer’s internal-emptying procedure later requires electrical power, reconnect the machine only when the manual tells you to do so. Complete that procedure exactly, switch the appliance off, and unplug it again before final drying and storage.
2. Remove Coffee, Pods, Filters, and Milk
Discard used coffee grounds and pods. Remove any paper filter, reusable filter, capsule, or bean residue. Empty and clean the carafe, filter basket, pod bin, drip tray, cup support, milk carafe, and milk tube as applicable.
If the machine has a removable water filter, check the manual. Some filters should be removed before descaling or long storage, while others have model-specific replacement intervals. Do not store a wet, used filter loose inside the reservoir.
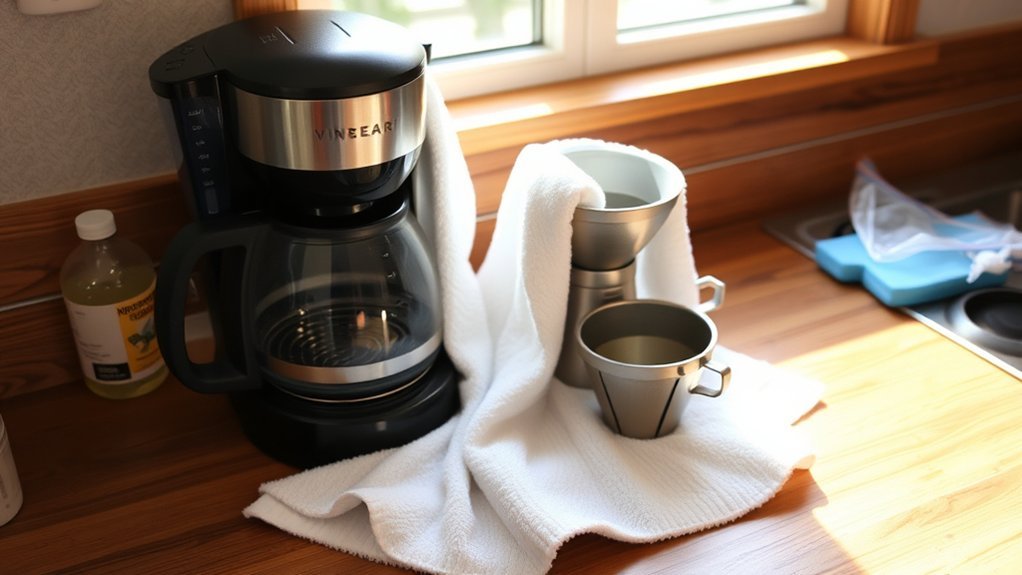
3. Descale Only if It Is Due
Descaling removes mineral deposits; it is not the same as draining a machine for winter. Descale before storage only if the maintenance schedule or warning light indicates that it is due.
Use the solution and dilution stated in the manual. There is no universal vinegar ratio. Some older Keurig instructions specify undiluted white vinegar, while Breville publishes a 1:1 vinegar-and-water option for certain machines. Check the Keurig descaling instructions or the relevant Breville cleaning guidance only if they match your model.
Complete every required fresh-water rinse before moving to the final emptying step. Do not leave vinegar or descaling solution in the water circuit during storage.
4. Empty Accessible Water
Remove the water reservoir when possible and pour out all visible water. Empty the carafe, drip tray, used-capsule bin, milk container, and any removable water or waste container.
Tip removable parts over the sink to release water trapped around valves, lips, handles, and corners. Do not tip the main appliance unless its manual specifically allows it; water can move into electrical areas.
5. Use the Official Emptying or Drain Procedure
Do not assume that repeatedly running a normal brew cycle will empty an internal tank. Use the procedure listed for your machine:
- Basic drip maker: If the manual allows it, complete the final rinse or water-only brew, then empty the reservoir, carafe, and filter basket. Let the machine finish dripping before unplugging it.
- Keurig with an internal tank: Follow the model’s storage instructions. The K10, for example, must be switched off but remain plugged in while the brew button is held to dispense the internal water.
- Nespresso or another capsule machine: Select the model-specific “Emptying the system” procedure. These machines may require a particular button, lever, lock, or menu sequence.
- Espresso machine: Use the approved emptying, transport, or long-storage mode. Do not open boiler fittings or remove internal tubing.
- Plumbed-in machine: Turn off the water supply only as directed. Boiler and line drainage may need professional service.
Place a heat-safe container under the outlet because some procedures dispense hot water or release steam. Never operate the pump longer than the manual permits.
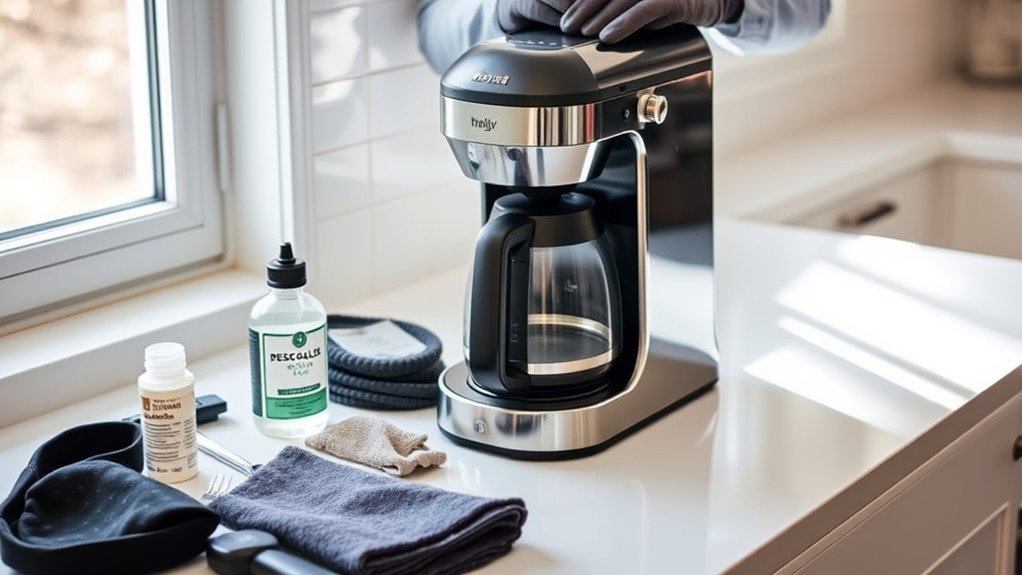
6. Wash Removable Components
Wash removable, washable parts with warm water and mild dish soap. Use a soft sponge or brush to remove coffee oils and residue. Rinse thoroughly so no soap remains.
Do not assume a component is dishwasher-safe. Water tanks, drip trays, lids, pod holders, and milk parts vary by model. Follow the care symbols and cleaning section in the manual.
7. Dry Everything Completely
Shake excess water from removable parts and place them on a clean drying rack or towel. Allow them to air-dry fully, including corners, valves, tube ends, and the underside of lids.
Wipe the machine’s exterior with a slightly damp, lint-free cloth, then dry it. Never immerse the main appliance, cord, or plug.
Pro Tip: Leave the reservoir lid, drip tray, and removable parts loosely positioned while they finish air-drying. Reassemble or pack them only after there is no visible moisture or damp odor.
8. Reassemble Loosely and Store Upright
Once every component is dry, reinstall parts loosely or pack them beside the machine in a labeled bag or small box. Do not force the cord into a tight bend.
Store the appliance upright unless its manual states otherwise. Choose a stable shelf where it cannot be crushed, tipped over, exposed to pests, or subjected to freezing temperatures.
How to Purge Water From Internal Lines
Importance of Water Removal
Internal water removal matters most when the machine will be exposed to freezing temperatures, transported in winter, sent for repair, or left unused for a long period. The correct procedure protects the appliance without requiring you to open its housing.
| Stage | Correct Action | Purpose |
|---|---|---|
| Preparation | Remove coffee, pods, milk, filters, and visible water | Prevents residue and accessible water from remaining during storage |
| Cleaning | Unplug and clean removable components | Reduces coffee oil, milk residue, odors, and soil |
| Internal emptying | Run the manufacturer’s drain or emptying mode | Removes water that ordinary reservoir draining may not reach |
| Final drying | Unplug, empty trays, and air-dry removable parts | Prevents moisture from being sealed into the stored appliance |
Purging Techniques Overview
A correct purge may involve holding a button, selecting a menu command, moving a lever, opening a hot-water function, or allowing the machine to shut itself off after an automated sequence. Those procedures are not interchangeable.
If no water comes out, do not keep running the pump indefinitely. Confirm the controls, reservoir position, and required power state in the manual. If the process still fails, contact the manufacturer rather than forcing air, wire, or tools into an opening.
Equipment Needed for Purging
Most owner-approved procedures require only:
- The exact owner’s manual or official support page
- A heat-safe mug or container large enough to catch discharged water
- A sink
- A clean, lint-free cloth
- A towel or drying rack for removable parts
An espresso machine may also require its normal hot-water or steam attachment. Use only the components supplied or approved for that machine.
Essential Cleaning Tips Before Winter Storage
Clean coffee and milk residue before it has months to dry onto the machine. Focus on food-contact areas that the manufacturer allows you to remove or reach.
- Empty and wash the carafe, filter basket, reusable filter, drip tray, capsule container, and reservoir.
- Clean milk carafes, frothing tubes, and steam-wand exteriors according to the manual.
- Brush loose grounds from the grinder chute or bean area without introducing water into the grinder.
- Wipe the outlet and accessible surfaces with a clean cloth.
- Remove and store a water filter only as its manufacturer directs.
- Complete descaling only when it is due, then perform every required rinse.
Avoid scented cleaners, bleach, abrasive pads, and household chemicals unless the manufacturer specifically approves them for that part. Rinse washable food-contact parts thoroughly.
Choosing the Best Storage Location for Your Coffee Maker
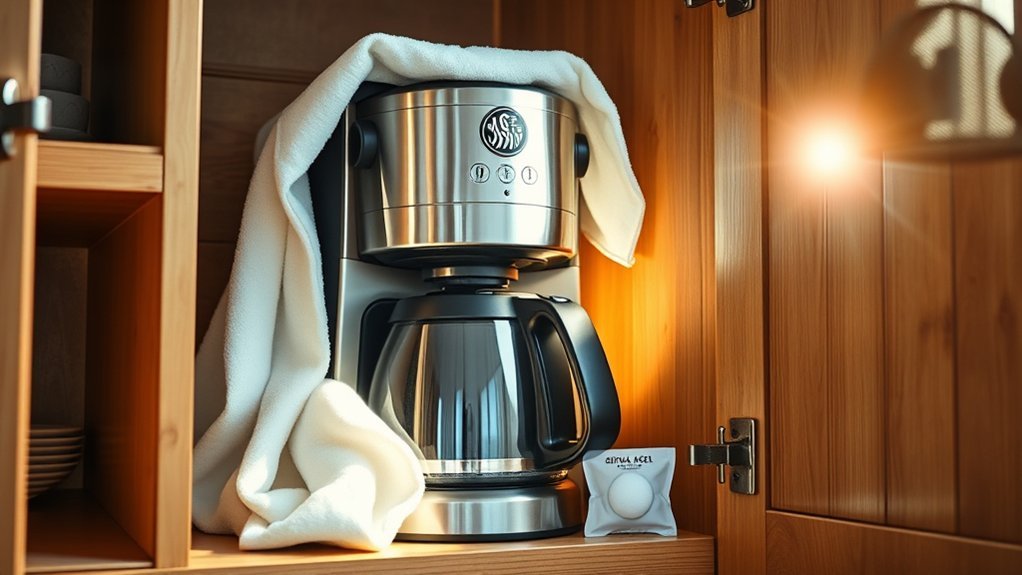
Choose a dry location that remains above freezing. A climate-controlled closet, pantry, cabinet, or heated utility room is usually safer than an unheated shed, seasonal cabin, vehicle, or detached garage.
A garage is acceptable only when it stays dry and frost-free throughout the storage period. Brief daytime warming does not protect a machine if overnight temperatures fall below freezing.
Keep the coffee maker away from floor moisture, plumbing leaks, exterior doors, direct sunlight, heaters, and areas with heavy condensation. A dehumidifier may help in a persistently damp room, but it does not replace frost protection.
Note: Original packaging can protect the appliance from dust and impact, but only after the machine and packaging are completely dry. Do not seal a damp coffee maker inside plastic or a closed box.
Top Mistakes to Avoid While Winterizing Your Coffee Maker
- Assuming every machine drains the same way. Hidden tanks, boilers, and emptying modes vary widely.
- Unplugging the machine and then trying to run a powered cycle. Separate unplugged cleaning from any manual-approved powered emptying step.
- Adding more water after the final drain. Complete rinsing first, then perform the final emptying procedure.
- Using a generic vinegar ratio. Use only the descaler and dilution approved for the exact model.
- Using compressed air. Do not blow shop air into water ports unless the manufacturer expressly requires it.
- Adding RV or automotive antifreeze. Coffee makers are food-contact appliances and must not be treated like recreational-vehicle plumbing.
- Opening the appliance housing or boiler. Internal electrical parts, hot surfaces, stored pressure, and sharp components can cause injury.
- Sealing the machine while damp. Let removable parts dry completely before covering or boxing the appliance.
- Storing the machine on its side. Unless the manual states otherwise, upright storage reduces the chance that residue will move into electrical areas.
Warning: Ethylene glycol, commonly used in automotive antifreeze, can cause severe poisoning if swallowed. The CDC’s medical guidance describes serious nervous-system, heart, lung, and kidney effects. If antifreeze or another unknown chemical entered a coffee maker, do not use it for beverages; contact the manufacturer or a qualified service provider.
How to Protect Your Coffee Maker From Dust and Damage
After the machine is dry, place it on a stable shelf in its normal upright position. Use a clean, breathable dust cover or the dry original packaging to protect it from dust and scratches.
Keep removable components together so nothing is lost. A labeled bag or small open box works well for filter baskets, drip trays, lids, milk tubes, and accessories. Do not place wet parts in the bag.
Coil the power cord loosely and use the built-in cord compartment if the model has one. Do not wrap the cord tightly around the machine or pinch it under the appliance.
Avoid stacking heavy objects on top of the coffee maker. Check the storage area occasionally for roof leaks, plumbing leaks, pests, condensation, or large temperature changes.
How to Inspect Your Coffee Maker After Winter Storage
Move the machine indoors and let it reach room temperature before plugging it in. The required acclimation period varies. The Keurig K10 manual, for example, calls for at least two hours at room temperature after cold storage.
Before connecting power:
- Inspect the cord and plug for cuts, crushed areas, corrosion, or exposed wire.
- Check the reservoir, carafe, hoses, milk parts, drip tray, and housing for cracks or warping.
- Look underneath the machine for dried water marks or evidence of a past leak.
- Check accessible areas for pests, residue, unusual odor, or visible growth.
- Wash and rinse removable food-contact parts again.
- Install a fresh water filter if the previous filter was removed or has expired.
Do not open the housing to inspect the pump, boiler, heating element, or internal wiring. If the exterior is cracked, the cord is damaged, or chemical contamination is suspected, do not power the machine.
How to Get Your Coffee Maker Ready for Spring Use
Once the machine is at room temperature and passes the visual inspection, prepare it for use in this order:
- Reinstall the clean, dry reservoir, drip tray, filter basket, pod holder, milk components, and other removable parts.
- Fill the reservoir with fresh potable water.
- Prime or restart the machine according to the owner’s manual.
- Run the specified cleaning or water-only cycles without coffee or capsules.
- Check around the reservoir, base, outlet, steam wand, and drip tray for leaks.
- Confirm that water flow, heating, and pump sound are normal.
- Discard the rinse water before brewing a drink.
Some manufacturers specify several cleansing brews after storage. Use the number stated for your model rather than assuming one rinse is enough.
Stop using the machine if it trips a breaker, smells burnt, leaks from the housing, makes a harsh or abnormal pump noise, produces no flow after the approved priming procedure, or shows signs of cracked internal plumbing. Contact the manufacturer or an authorized repair provider.
Frequently Asked Questions
Can I store my coffee maker in the garage?
You can store it in a garage only if the space remains dry and frost-free. An unheated garage that drops below freezing is unsuitable because residual water may freeze inside the machine. Keep the appliance off the floor and away from exterior doors, leaks, and condensation.
How often should I winterize my coffee maker?
Winterize it before prolonged non-use, winter transport, repair, or storage anywhere that may freeze. It does not need to be winterized every year when it remains in regular use inside a heated home.
Is it safe to use a coffee maker after winter storage?
Usually, yes, if it was stored dry and frost-free. Let it reach room temperature, inspect the cord and accessible parts, wash removable components, and run the manufacturer’s startup or cleansing cycles. Do not use it if it leaks, smells burnt, has visible damage, or may contain an unknown chemical.
Should I descale the coffee maker before storage?
Descale it if the maintenance schedule, warning light, or manual says descaling is due. Use only the approved solution and dilution. Complete every fresh-water rinse before performing the final emptying procedure.
Can I use compressed air or antifreeze to empty the machine?
No generic coffee-maker procedure requires automotive antifreeze, and it must never enter a food-contact water circuit. Do not use compressed shop air unless the manufacturer explicitly instructs it. Use the machine’s approved drain or emptying mode instead.
Should I leave the water-reservoir lid open during storage?
Leave the lid and removable parts open or loosely positioned while they air-dry. Once fully dry, assemble them as the manual recommends. Do not seal a damp reservoir or wet accessories inside plastic.
What signs mean the coffee maker needs service or replacement?
Seek service for housing leaks, cracked water parts, electrical damage, repeated overheating, a burnt smell, abnormal pump noise, or no water flow after the approved priming procedure. Weak or bitter coffee alone does not prove the machine is worn out; first check the beans, water, filter, cleanliness, grind, and descaling status.
Can I operate a coffee maker in freezing temperatures?
Do not operate a machine that is frozen or still cold from storage. Move it to a dry indoor location and let it reach room temperature for the period stated in its manual. Inspect it for leaks or damage before connecting power.
Conclusion
To winterize a coffee maker safely, remove visible water and residue, clean and dry the removable parts, and use the official emptying procedure for the exact model. Do not rely on repeated brew cycles to drain every machine, and never add antifreeze or force compressed air into the water system.
Store the appliance upright in a dry, frost-free location. When it is time to use it again, let it reach room temperature, inspect it carefully, and complete the manufacturer’s cleansing or startup cycles before brewing coffee.
Sources
- Keurig K10 Owner’s Manual — internal-tank emptying, frost-free storage, upright positioning, and room-temperature acclimation
- Nespresso Vertuo Machine Assistance — model-specific system-emptying procedures for long non-use and repair
- Breville Espresso Machine Cleaning Guide — cleaning and model-dependent descaling guidance
- De’Longhi Product Manuals — official model-specific operation, cleaning, and maintenance instructions
- CDC/ATSDR Medical Management Guidelines for Ethylene Glycol — health risks associated with antifreeze ingestion