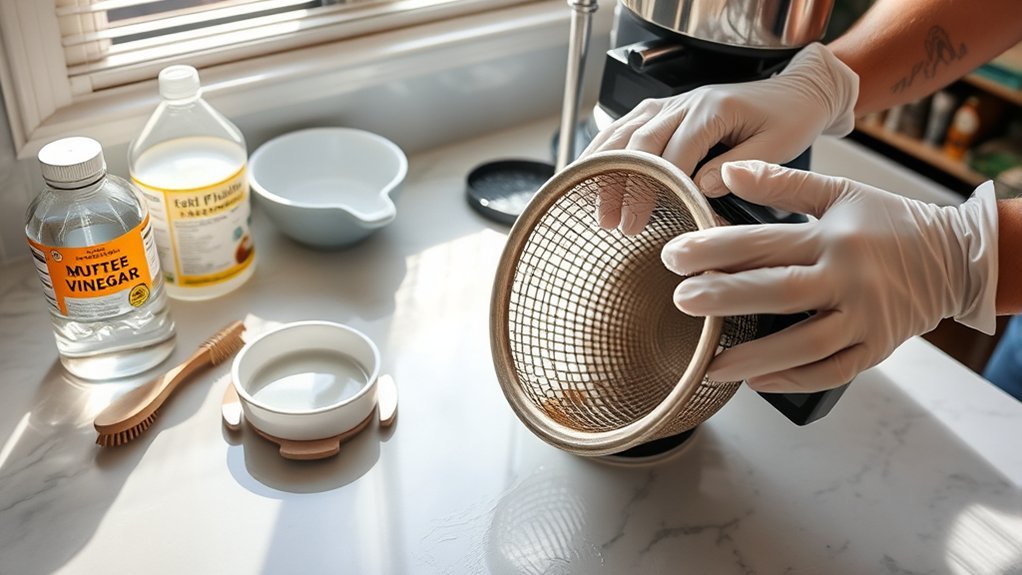
A coffee maker’s brew basket collects fine grounds and coffee oils each time you brew. A quick rinse or wash after use prevents most buildup, while occasional deeper cleaning removes stubborn stains, odors, and residue from seams, mesh, and valves. The safest approach is to unplug the brewer, let it cool, check the care instructions for your exact model, and clean removable parts with mild dish soap and nonabrasive tools.
Quick Answer
Remove the cooled brew basket, discard the filter and grounds, and rinse away loose residue. Wash the basket with warm water, mild dish soap, and a soft sponge or brush. If stubborn residue remains, let the removable basket soak briefly if its care guide allows it, then rinse thoroughly and air-dry before reinstalling.
Key Takeaways
- Turn off and unplug the coffee maker, then let the basket, brew area, and warming plate cool before cleaning.
- Use warm water, mild dish soap, and a soft sponge or nylon brush for coffee grounds and oily residue.
- Use soaking only when residue is stuck and only when the basket’s care instructions allow it.
- Do not assume a removable basket is dishwasher safe; dishwasher rules vary by brand, model, and part.
- Clean reusable mesh gently so you do not puncture, bend, or enlarge its filter openings.
- Cleaning the brew basket does not remove mineral scale from the brewer’s internal water system; descaling is a separate maintenance task.
At a Glance
| Time Required | About 10–20 minutes of cleaning, plus drying time; longer if stubborn residue needs soaking |
| Difficulty | Easy |
| Tools Needed | Soft sponge or cloth, soft toothbrush or small nylon brush, and a drying rack or clean towel |
| Cost | Minimal if you already have basic household cleaning supplies |
Why Regular Brew Basket Cleaning Matters
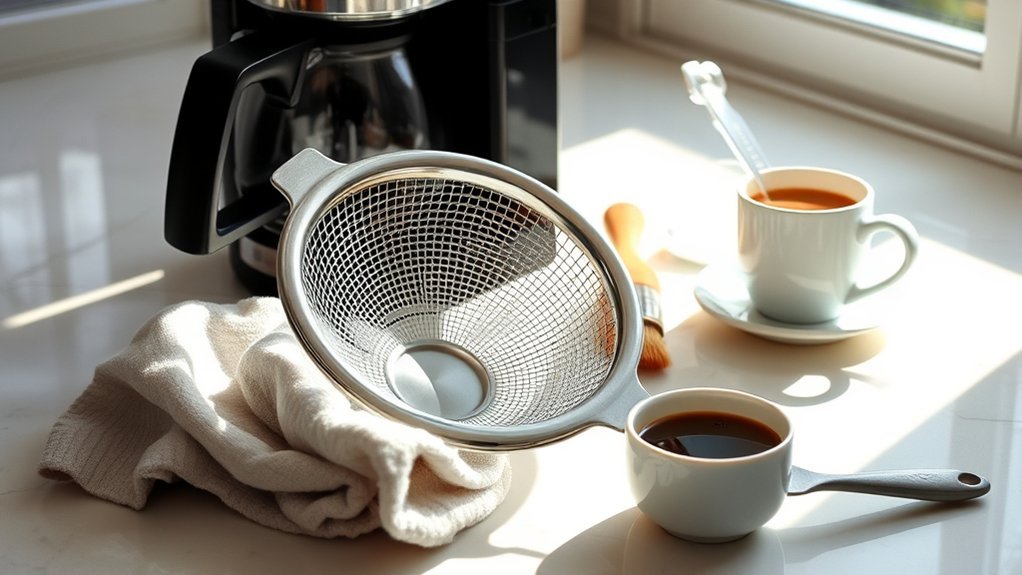
The brew basket holds the filter and ground coffee, so it is exposed to moisture, fine particles, and natural coffee oils during every brewing cycle. If residue remains on the basket or reusable filter, it can contribute to stale or bitter flavors and may restrict small openings in mesh filters or drip-stop mechanisms.
Routine washing also prevents residue from drying into seams and corners. According to Cuisinart’s coffee-maker cleaning guidance, removable carafes and filter baskets can be hand-washed with warm, soapy water. The company treats washing these coffee-contact parts separately from descaling mineral buildup inside the machine.
A clean basket cannot correct every brewing problem. Slow brewing, excessive steaming, unusual noises, or a persistent descale or clean indicator may point to mineral deposits or another problem inside the brewer rather than residue on the basket.

Power your essentials anywhere with a 999Wh pure sine wave power station delivering up to 1000W continuous with 2000W surge. It supports fast charging via USB-C PD 60W and USB-A QC 18W, plus simultaneous output for multiple devices through AC, USB, wireless, and car/DC ports. Recharge using AC, car, or solar with a built-in MPPT controller and dual cooling fans, while the upgraded battery management system protects against surges, short circuits, and overheating.
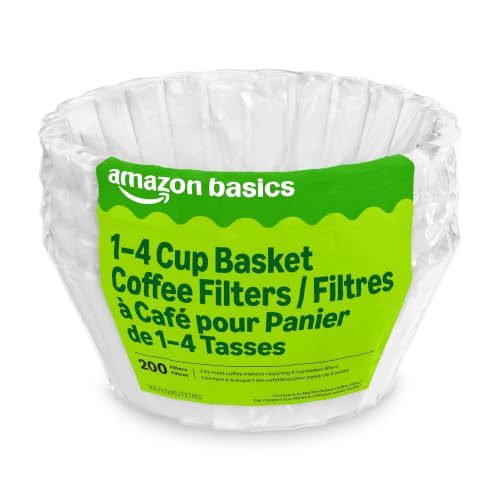
WIDE COMPATIBILITY: Contains 200 white 1-4 cup basket style coffee filters designed to fit most coffee makers requiring 4 cup basket filters

SEMI-TRANSPARENT WATER RESERVOIR holds up to 5 cups of water capacity with a level indicator to always ensure you have enough water ready for brewing.
Brew Basket Cleaning vs. Descaling
These two maintenance jobs solve different problems:
- Brew basket cleaning removes grounds, coffee oils, stains, and residue from the basket, reusable filter, and other accessible coffee-contact surfaces.
- Descaling removes mineral deposits from the reservoir, heater, tubing, and other internal water passages using the procedure approved for the specific machine.
Hard water contains dissolved minerals, especially calcium and magnesium compounds. Mineral buildup can form inside heated appliances such as coffee makers, according to the U.S. Geological Survey.
Note: Washing the brew basket does not descale the brewer. Follow the exact descaling solution, quantity, button sequence, soaking period, and rinse procedure in the manual for your coffee maker.
What You Need for Deep Cleaning Your Brew Basket
Most washable brew baskets require only simple supplies:
- Warm water
- Mild hand-dishwashing soap
- Soft sponge or microfiber cloth
- Soft toothbrush or small nylon cleaning brush
- Baking soda for stubborn stains or odors if the manufacturer permits it on the part
- Clean drying rack or lint-free towel
Avoid steel wool, abrasive scouring powder, knives, metal picks, and stiff wire brushes. They can scratch plastic, damage coatings, distort mesh, enlarge filter openings, or harm a spring-loaded drip-stop valve.
Warning: Turn off and unplug the coffee maker before removing or cleaning parts, and allow the warming plate and brew area to cool. Never immerse the coffee maker body, cord, or plug. Do not mix bleach with vinegar, descaler, ammonia, dish cleaner, or any other cleaning product.
Before Cleaning, Check Your Coffee Maker Model
Care instructions are not universal. Before placing a basket in a sink, soaking it, or loading it into a dishwasher, check the use-and-care guide for your exact coffee maker.
- Confirm that the brew basket is designed to be removed.
- Check whether the basket and permanent filter should be separated before washing.
- Verify whether each part is hand-wash only, top-rack dishwasher safe, or otherwise dishwasher safe.
- Check whether the manufacturer prohibits high-temperature dishwasher settings.
- Look for special instructions for a spring-loaded drip-stop valve, pod holder, grinder chute, shower head, or reusable filter.
Manufacturer instructions show why this check matters. Cuisinart recommends hand-washing its removable filter basket with warm, soapy water. Hamilton Beach states that many of its brew baskets are top-rack dishwasher safe but still tells owners to check the individual Use and Care guide. The Keurig K-Mini Go care guide also labels several removable components as hand-wash only. The manual for your exact model always takes priority over general cleaning advice.
Easy Steps to Deep Clean Your Brew Basket
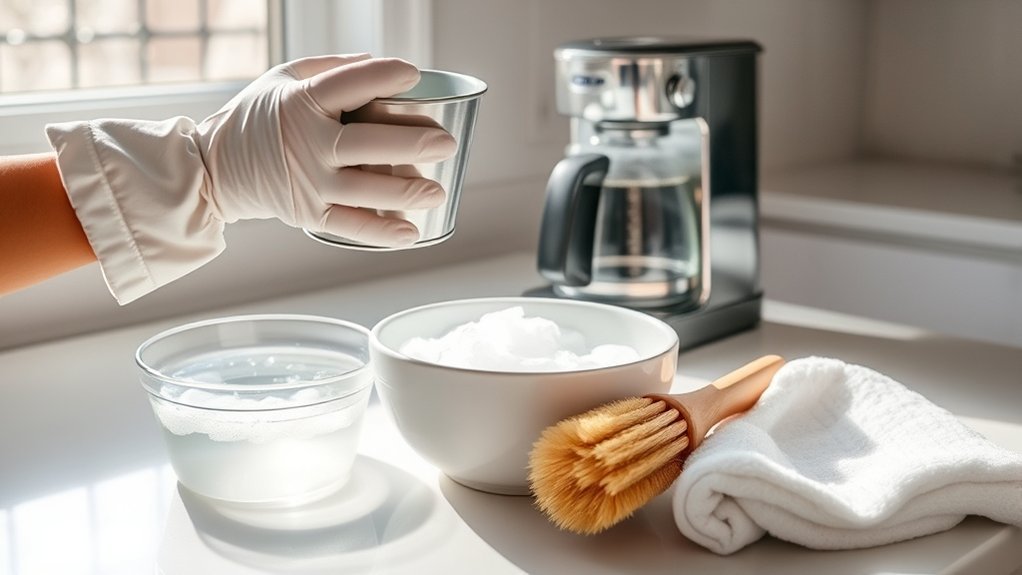
The following process works for many removable drip-coffee baskets when the manufacturer does not provide different instructions.
| Step | Action |
|---|---|
| 1. Power down | Turn off and unplug the machine, then let the brew area cool. |
| 2. Empty the basket | Discard the paper filter and grounds, or empty the permanent filter. |
| 3. Remove washable parts | Detach the brew basket and any removable filter or insert as directed by the manual. |
| 4. Rinse | Use warm running water to flush away loose grounds. |
| 5. Wash or soak if needed | Wash with warm soapy water. If stubborn residue remains and the manual permits soaking, let the removable basket sit briefly until the residue loosens. |
| 6. Scrub gently | Clean the walls, seams, mesh, handle, hinge, and accessible valve surfaces with nonabrasive tools. |
| 7. Rinse thoroughly | Remove all soap, loosened residue, and any approved baking-soda paste. |
| 8. Dry and reinstall | Dry the parts completely, inspect them, and reinstall them correctly. |
1. Turn Off, Unplug, and Cool the Machine
Do not reach into the brew area while the coffee maker is operating or while the warming plate and nearby parts are hot. Unplugging also prevents an accidental brew cycle while the basket or other parts are removed.
2. Discard the Grounds and Remove the Basket
Throw away the paper filter and spent grounds. If the machine uses a reusable filter, empty the grounds into the trash or compost rather than washing a large quantity down the sink. Remove the basket, permanent filter, lid, or adapter only as directed by the manual.
3. Rinse Away Loose Grounds
Hold a removable basket under warm running water and rinse both sides. Pay attention to small drain openings and the lower outlet, where fine coffee particles can collect.
4. Wash or Soak Stubborn Coffee Residue
Wash the removable basket in warm water with a small amount of mild dish soap. If ordinary washing does not release dried grounds or oily film and the manufacturer permits soaking, let the basket sit briefly in the soapy water before scrubbing again. Avoid long or overnight soaking unless the care guide specifically allows it.
5. Scrub the Basket and Filter
Use a soft sponge on broad surfaces and a soft toothbrush or nylon brush around seams, mesh, handles, hinges, and accessible parts of the drip-stop mechanism. Do not force a spring-loaded valve or push a knife, needle, metal pick, or other sharp object through filter openings.
If your machine has a shower head or sprayer above the basket, treat it as a separate brewer component. Wipe or clean it only while the machine is unplugged and cool and only according to the manufacturer’s directions.
6. Rinse and Inspect
Rinse every washable surface with clean water until no soap, foam, baking soda, or loosened grounds remain. Hold a reusable mesh filter toward a light source to look for blocked openings. Inspect the basket for cracks, warping, rust, loose hinges, or a damaged valve.
7. Dry and Reassemble
Place the parts on a clean drying rack or lint-free towel and let them dry completely. Reinstall the permanent filter, basket, lid, or adapter in the correct position. Make sure the basket seats fully and any moving mechanism works normally before brewing again.
Pro Tip: Clean or rinse the basket soon after brewing once it has cooled. Fresh grounds and coffee oils are generally easier to remove before they dry into seams, mesh, or the basket outlet.
What If the Brew Basket Is Not Removable?
Do not pull, pry, or twist a basket that the manufacturer does not describe as removable. Unplug the coffee maker, allow it to cool, and remove only the filter and other parts designed to come out.
For a fixed basket, first brush or wipe away loose grounds. Then use a soft cloth or sponge that is damp rather than dripping wet to clean accessible surfaces with a small amount of mild soapy water if the manual allows it. Follow with a separate clean damp cloth to remove soap residue.
Keep water away from controls, electrical openings, wiring, hinges that lead into the machine, and other areas that are not designed to be washed. Never pour cleaning water directly into a fixed basket unless the manufacturer specifically instructs you to do so.
How to Remove Stains, Odors, and Clogs
Brown or Oily Film
Wash the basket with warm water, dish soap, and a soft sponge. If discoloration remains, a thin paste of baking soda and water can help on compatible removable surfaces. Rub gently and rinse thoroughly. Do not use baking soda on delicate coatings, finishes, or other surfaces unless the manufacturer permits it.
Lingering Coffee Odor
Repeat the warm, soapy-water wash and clean seams, mesh, handles, and outlets that may still hold coffee residue. If the odor returns quickly, inspect other coffee-contact parts such as the permanent filter, carafe lid, grinder chute, pod adapter, or removable insert rather than assuming the basket is the only source.
Basket Drains Slowly or Overflows
Check the basket outlet, reusable-filter mesh, and accessible drip-stop valve for compacted grounds. Clean them with warm water and a soft brush. Also confirm that:
- The paper filter is the correct shape and size and has not folded over.
- The permanent filter is not being used together with a paper filter unless the manufacturer allows that setup.
- The coffee grind is not excessively fine for the brewer.
- The basket has not been filled above its recommended coffee capacity.
- The basket is fully seated and the drip-stop valve opens correctly when the carafe is in place.
- The brewer does not also need internal descaling.
Stop using the brewer if the basket is cracked, warped, no longer locks or seats correctly, or continues to overflow after proper cleaning and setup. Replace a damaged basket with a part approved for the exact coffee-maker model.
Reusable Mesh Filter Stays Clogged
Rinse both sides of the filter so loose grounds can leave the openings instead of being pushed deeper into them. Use a soft toothbrush or nylon brush on the mesh with light pressure. Hold the cleaned filter toward a light to check for blocked areas.
Do not use pins, knives, wire brushes, or other sharp objects to enlarge clogged mesh openings. If the mesh remains permanently blocked, torn, distorted, or separated from its frame, replace the filter with the correct compatible part.
White or Chalky Film
A white or chalky deposit is more likely to involve mineral residue than coffee oil. If it appears only on a removable basket, follow the manual’s approved cleaning method for that part. If brewing has slowed, scale appears in the reservoir, or the brewer displays a descaling alert, use the manufacturer’s full descaling procedure instead of simply soaking the basket in vinegar.
Tips for Ongoing Brew Basket Maintenance
- Discard grounds and rinse the removable basket after each brewing session once the parts are cool.
- Wash coffee-contact parts regularly with warm, soapy water according to the model’s care guide.
- Clean reusable mesh filters on both sides so fine grounds do not dry inside their openings.
- Rinse thoroughly so soap residue does not affect the next brew.
- Allow washable removable parts to dry before closing the brewer for storage.
- Wipe the basket compartment with a damp cloth only after the machine is unplugged and cool.
- Clean splashed coffee around the basket area before it dries into hinges or seams.
- Descale separately when the maintenance indicator appears or when the manufacturer’s schedule calls for it.
Do not rely on one fixed calendar for every coffee maker. Brewing frequency, coffee type, reusable-filter design, water hardness, dishwasher compatibility, and the manufacturer’s maintenance instructions all affect how often different parts should be cleaned.
Signs Your Coffee Maker or Brew Basket Needs a Deep Clean
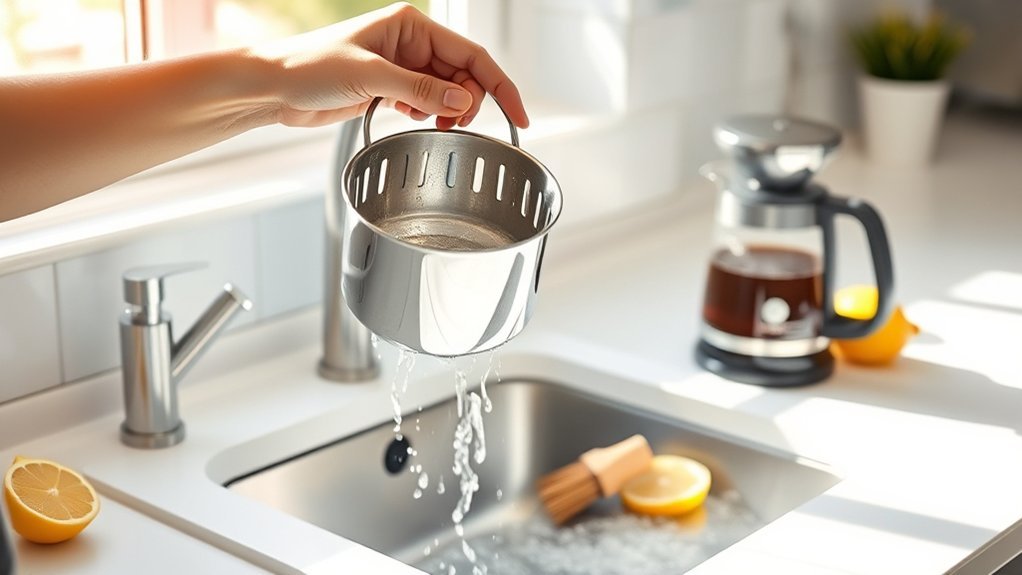
Inspect the basket, reusable filter, and brewer when you notice any of the following:
- Visible grounds stuck in seams, mesh, or the basket outlet
- A brown, sticky, or oily coating
- Stale, sour, or persistent coffee odors after routine washing
- Coffee draining unusually slowly from the basket
- Grounds overflowing into the carafe
- A drip-stop valve that sticks or leaks
- A reusable filter with visibly clogged mesh
- White or chalky mineral deposits
- Longer brew times, excessive steaming, unusual sounds, or a descaling alert
- A stale flavor that continues even when you use fresh coffee and clean water
The first several signs may involve the basket or reusable filter. White mineral residue, a descaling light, or slow water delivery through the machine may require inspection and descaling of the whole brewer according to its manual.
How Often Should You Clean the Brew Basket?
| Maintenance | Practical Timing |
|---|---|
| Discard grounds and rinse | After each brewing session once the removable parts are cool |
| Wash with dish soap | Regularly or as directed by the model manual; frequent brewers may need more frequent washing |
| Detail cleaning or optional soak | When oily film, dried grounds, stains, odors, or restricted drainage remain after routine washing |
| Inspect reusable mesh and valves | Whenever drainage slows, grounds enter the carafe, or visible buildup appears |
| Internal descaling | Follow the manufacturer’s interval, maintenance indicator, and water-hardness guidance |
Frequently Asked Questions
Can I use vinegar instead of soap to clean the brew basket?
Vinegar is not a direct substitute for dish soap when you are removing oily coffee residue. Use mild dish soap and gentle scrubbing for routine basket cleaning. Use vinegar or another descaling product only when the manufacturer permits it for the surface or when you are following the brewer’s approved mineral-removal procedure.
How often should I deep clean my brew basket?
Rinse the removable basket after brewing and wash it regularly according to your model’s care guide. Give it a more detailed cleaning when you see oily film, dried grounds, stains, odors, clogged mesh, or restricted drainage. Internal descaling follows a separate schedule.
Is it safe to put the brew basket in the dishwasher?
Only when the manual for your exact coffee maker says the basket is dishwasher safe. Some manufacturers allow particular brew baskets on the top rack, while other parts or models require hand-washing. Follow any restrictions on dishwasher position, detergent, or high-temperature sanitizing cycles.
What should I do if the brew basket still smells after cleaning?
Wash it again with warm water and dish soap, paying close attention to seams, mesh, handles, and the basket outlet. If the manual permits it, use a gentle baking-soda paste on compatible stained surfaces. Also inspect the permanent filter, lid, carafe, grinder chute, or adapter because trapped residue elsewhere may be causing the odor.
Does hard water affect my coffee maker’s performance?
Yes. Hard water contains dissolved minerals that can form scale inside heated water passages. Mineral buildup may slow brewing or trigger maintenance alerts. Cleaning the brew basket does not remove scale from the internal water system, so descale the machine according to its manual.
Why is my brew basket draining slowly or overflowing?
Fine grounds may be blocking the basket outlet, reusable filter, or drip-stop valve. A folded or incorrect paper filter, overly fine grind, too much coffee, an improperly seated basket, a damaged valve, or internal mineral scale can also restrict normal flow.
Can I use bleach or an abrasive cleaner on the basket?
Do not use bleach, harsh abrasive powder, steel wool, or another strong chemical cleaner unless the coffee maker manufacturer specifically approves it for that part. Abrasive tools can damage plastic, coatings, and mesh. Never mix bleach with vinegar, descaler, ammonia, or any other cleaner.
Should I run a water-only cycle after cleaning the basket?
A water-only cycle is generally unnecessary after ordinary hand-washing when the removable basket has been rinsed thoroughly and no cleaner entered the brewer’s water system. Run a cleansing or water-only cycle when your manual requires it, when you cleaned other brewer components, or when any cleaning-product odor remains.
How do I clean a brew basket that does not come out?
Unplug the brewer and let it cool. Remove only parts designed to come out, brush away loose grounds, and wipe the fixed basket with a soft damp cloth or sponge according to the manual. Do not flood the basket, pour cleaning solution into electrical areas, or pry the basket loose.
Sources
- Cuisinart: How to Clean a Coffee Maker — supports warm, soapy hand-washing of removable filter baskets and distinguishes routine washing from mineral removal.
- U.S. Geological Survey: Hardness of Water — explains calcium and magnesium hardness and mineral buildup in coffee makers.
- Hamilton Beach: Coffee Maker Cleaning FAQs — shows that dishwasher compatibility can be model- and part-specific and directs owners to individual Use and Care guides.
- Keurig K-Mini Go Use and Care Guide — provides a manufacturer example of removable coffee-maker parts that require hand-washing and separate descaling maintenance.
- CDC: Cleaning and Disinfecting With Bleach — supports the warning never to mix bleach with other cleaners or disinfectants.
Conclusion
Deep cleaning a coffee maker’s brew basket is straightforward when you match the method to the residue and follow the instructions for your exact machine. Use warm water, mild dish soap, and soft tools for coffee oils and grounds, clean mesh and outlets carefully when flow becomes restricted, and reserve vinegar or descaling products for manufacturer-approved mineral removal. Regular rinsing, thorough drying, gentle detail cleaning, and timely replacement of damaged parts help protect both coffee flavor and dependable brewing.