Baby food storage containers should be cleaned after every use, but they do not all need to be sanitized after every meal. The right routine depends on your baby’s age and health, the container material, and the manufacturer’s care instructions. The steps below show how to wash, sanitize, air-dry, and store reusable containers safely.
Quick Answer
Wash baby food storage containers after every use with dish soap and clean water. For extra germ removal, use a manufacturer-approved method: a dishwasher with hot water and heated drying, boiling for five minutes, steam, or the CDC bleach method. Daily sanitizing matters most for young, premature, sick, or immunocompromised babies.
Key Takeaways
- Clean containers, lids, seals, and removable parts after every use; rinsing alone is not enough.
- Sanitize only with a method allowed by the container manufacturer.
- Daily sanitizing is especially important for babies younger than 2 months, babies born prematurely, and babies with weakened immune systems.
- A dishwasher with hot water and heated drying or a sanitizing setting may complete both the cleaning and sanitizing steps.
- Air-dry every part completely before reassembly and storage.
At a Glance
| Time Required | About 10–20 minutes, plus complete air-drying time |
| Difficulty | Easy |
| Tools Needed | Dish soap, clean basin, dedicated brush, clean tongs, and an approved dishwasher, pot, steamer, or unscented bleach |
| Cost | Low; most methods use common kitchen supplies |
Note: “Sterilize” is the term many parents search for, but household boiling, steaming, dishwashing, and diluted-bleach methods are more accurately described as sanitizing. The FDA explains that complete medical-grade sterilization is not normally achieved at home, even when washable feeding equipment is boiled.
Why Cleaning and Sanitizing Baby Food Containers Matters
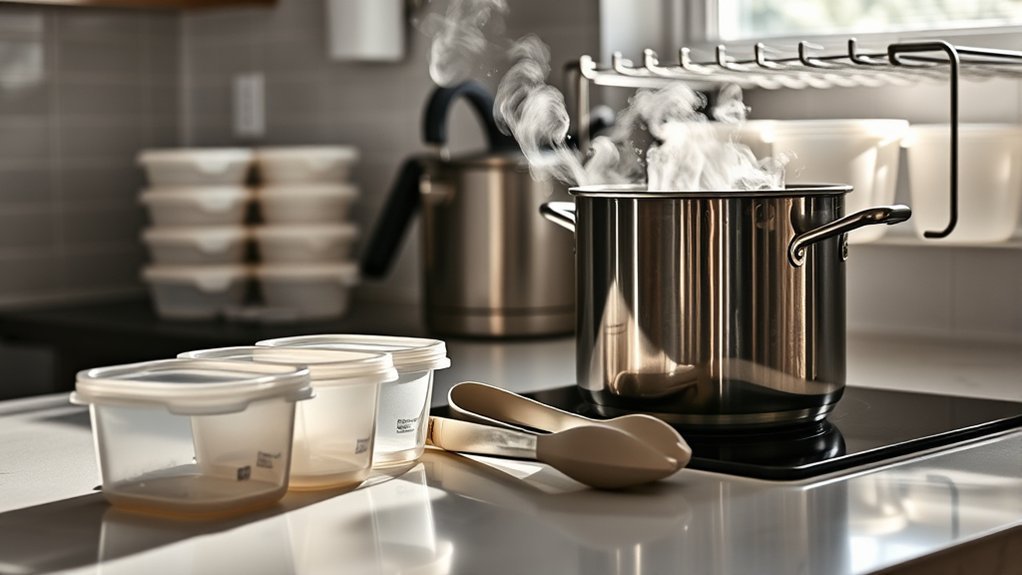
Food left around lid grooves, silicone seals, corners, or measurement marks can make a container difficult to clean. Washing removes food residue and other soil. Sanitizing is a separate step that provides additional germ reduction after the container has already been washed and rinsed.
Clean every reusable container after each use. Take apart removable lids, gaskets, valves, and inserts so that soapy water can reach every food-contact surface. Rinsing a used container without scrubbing it is not an adequate replacement for washing.
According to the CDC’s guidance for infant feeding items, daily sanitizing may not be necessary for an older, healthy baby when items are carefully cleaned after each use. Additional daily sanitizing is especially important when a baby:
- Is younger than 2 months
- Was born prematurely
- Has a weakened immune system because of illness or medical treatment
Clean containers after every use. Add a daily sanitizing step when your baby’s age or health places them at greater risk from germs.
Note: Ask your pediatrician whether you need a stricter routine when your baby is currently ill, has a medical condition, or has been given individual feeding-equipment instructions.

Power your essentials anywhere with a 999Wh pure sine wave power station delivering up to 1000W continuous with 2000W surge. It supports fast charging via USB-C PD 60W and USB-A QC 18W, plus simultaneous output for multiple devices through AC, USB, wireless, and car/DC ports. Recharge using AC, car, or solar with a built-in MPPT controller and dual cooling fans, while the upgraded battery management system protects against surges, short circuits, and overheating.

2oz x 10 Baby Food Storage Cubes - Prepare, apportion and freeze exact food portions for your baby in advance. To use, simply pop the frozen food cube out from the KeaBabies Prep Silicone Baby Food Freezer Tray in seconds.

𝗦𝗔𝗙𝗘, 𝗣𝗟𝗔𝗦𝗧𝗜𝗖-𝗙𝗥𝗘𝗘 𝗙𝗢𝗢𝗗 𝗣𝗥𝗘𝗣: Enjoy the perfect contamination-free alternative to plastic baby food jars! Haakaa’s non-toxic 100% food-grade silicone containers are the perfect option for safe, healthy storage and meal prep.
Effective Methods for Sanitizing Baby Food Storage Containers
Always wash and rinse containers before sanitizing them. Check the container’s instructions before using heat, a dishwasher, or bleach. A method that is safe for one glass, silicone, or plastic product may warp, weaken, or crack another.
Dishwasher Method
If every part is dishwasher-safe, disassemble the container and rinse away loose food. Secure small seals and removable pieces in a closed-top dishwasher basket or mesh bag so they cannot fall into the filter.
Run a cycle with hot water and heated drying or use the machine’s sanitizing setting. The CDC states that a separate sanitizing step is not necessary when feeding items are washed this way. Wash your hands before unloading the clean parts. If anything remains wet, allow it to air-dry completely before storage.
Boiling Method
- Confirm that the container, lid, gasket, and other parts are safe to boil.
- Disassemble the container and place the parts in a pot.
- Cover every part completely with water.
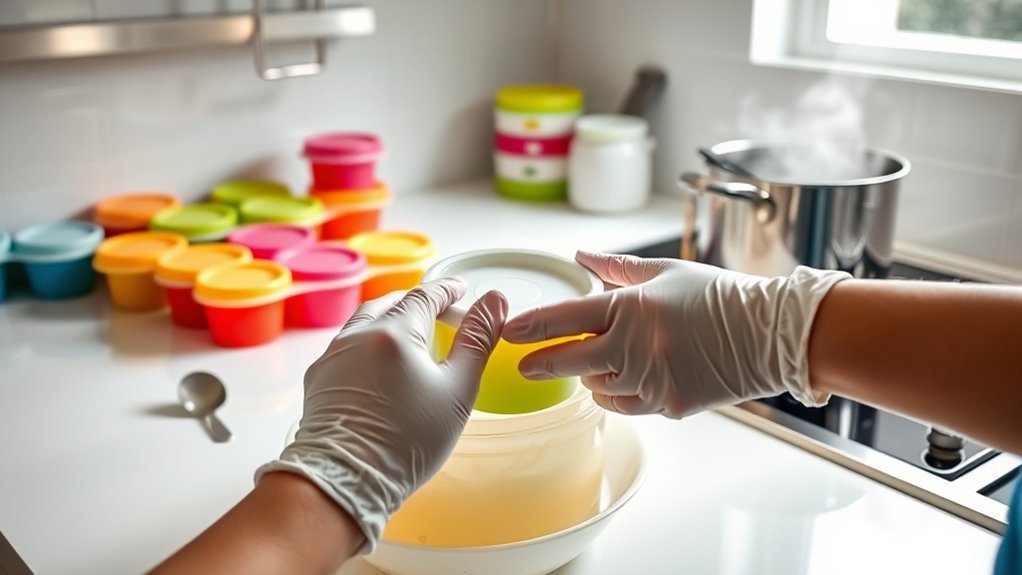
- Bring the water to a boil and continue boiling for five minutes.
- Remove the parts carefully with clean tongs.
- Place them on a clean, unused paper towel or dedicated drying rack and allow them to air-dry.
Warning: Do not boil plastic, silicone, glass, lids, or seals unless the manufacturer confirms that they can withstand boiling. Avoid sudden temperature changes with glass because thermal shock may cause cracking or breakage.
Steam Method
Place clean, disassembled, steam-safe parts in a microwave or plug-in steam system. Follow the steamer’s directions for water volume, arrangement, cycle length, cooling, and drying. Do not seal a container during steaming unless the product instructions specifically direct you to do so.
Diluted-Bleach Method
The CDC lists diluted bleach as an option when you cannot use a suitable dishwasher, boiling, or steam. Use this method only when the container manufacturer allows it.
- Wash and rinse the disassembled container first.
- In a clean basin, mix 2 teaspoons of unscented household bleach with 1 gallon, or 16 cups, of clean water.
- Submerge every part completely and remove trapped air bubbles.
- Keep the parts in the solution for at least two minutes.
- Remove them with clean hands or clean tongs.
- Do not rinse the sanitized parts. Rinsing can place germs back onto them.
- Allow all parts to air-dry completely in a clean area protected from dirt and dust.
Warning: Never mix bleach with ammonia-containing products or any other cleaner. Use bleach in a ventilated area, follow the product label, and keep bleach and prepared solutions out of children’s reach. The EPA warns that unsafe chemical mixtures can produce toxic fumes.
Best Practices for Air-Drying Sanitized Baby Food Containers
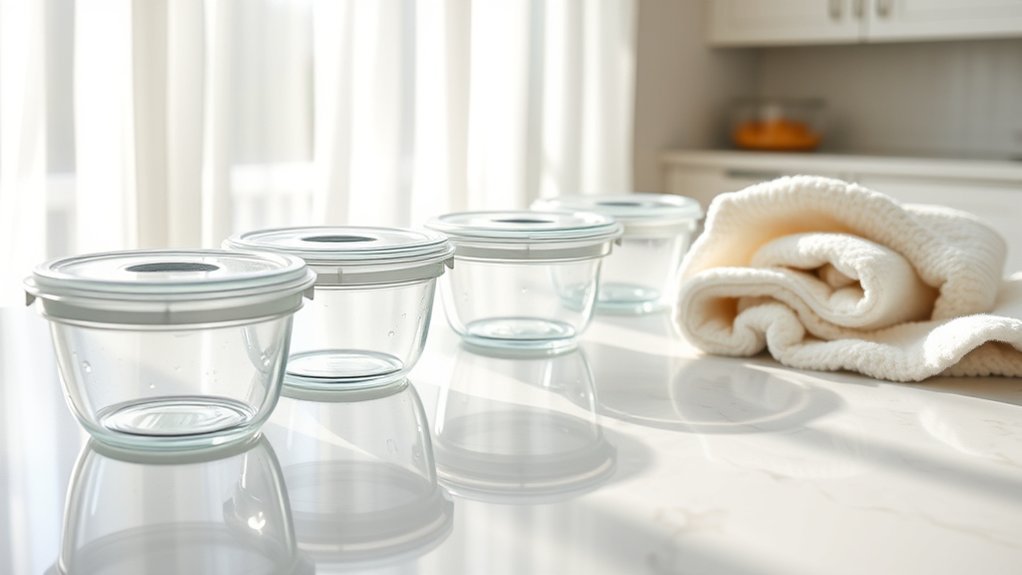
Complete air-drying is part of the cleaning process. Moisture trapped under a lid or gasket can support mold or germ growth during storage.
| Air-Drying Step | Best Practice |
|---|---|
| Choose a clean surface | Use a clean, unused paper towel or a dedicated drying rack protected from dirt and dust. |
| Position the parts | Place containers upside down on a rack when needed for drainage, while keeping openings exposed to airflow. |
| Avoid towel drying | Do not rub or pat the parts dry with a used dish towel because it can transfer germs. |
| Maintain the rack | Wash, sanitize when appropriate, and completely dry the rack so it does not trap moisture or residue. |
| Store the containers | Reassemble and store parts only when every surface, groove, and seal is fully dry. |
If you use a drying rack, reserve it for your baby’s feeding equipment when practical. Clean the rack regularly and more often when your baby is younger than 2 months, was born prematurely, or has a weakened immune system.
Step-by-Step Cleaning Guide for Baby Food Storage Containers
- Wash your hands. Use soap and water before handling used containers or clean parts.
- Discard leftover food. Do not return food that has contacted a used spoon or your baby’s mouth to a clean storage container.
- Take the container apart. Remove the lid, gasket, valve, divider, or other detachable component.
- Rinse away loose food. Hold the parts under running water, but do not leave them sitting directly in the sink.
- Wash in a clean basin. Fill a basin used for feeding items with hot water and dish soap. Scrub all surfaces with a clean, dedicated brush, paying attention to corners, threads, lid channels, and seals.
- Rinse thoroughly. Use running water or fresh water in a separate clean basin to remove loosened residue and soap.
- Sanitize when needed. Use an approved dishwasher cycle, five-minute boil, steam system, or CDC bleach method.
- Air-dry completely. Keep the parts apart until no moisture remains.
- Reassemble with clean hands. Avoid touching the inside surfaces that will contact food.
- Store in a protected place. Use a clean cabinet, drawer, or closed container intended for clean feeding supplies.
Pro Tip: Keep a small wash basin and brush for baby feeding items only. The CDC advises against washing feeding items directly in the sink because the sink can contain germs that may contaminate cleaned parts.
When Sanitizing Is Most Important
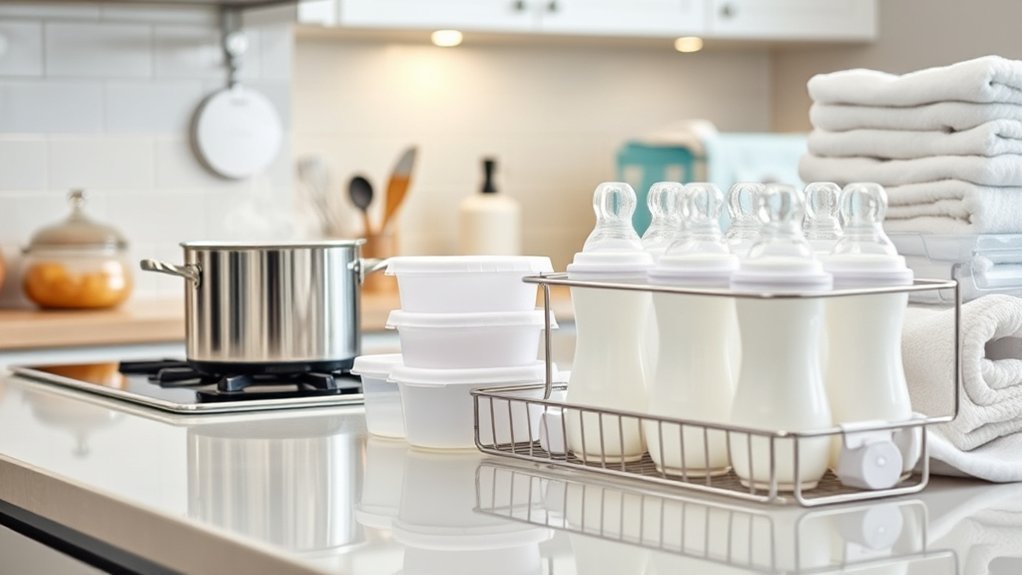
Cleaning is required after every use. The need for a separate sanitizing step depends on the situation.
Sanitize containers at least daily for extra protection when your baby is younger than 2 months, was born prematurely, or has a weakened immune system. Sanitizing may also be appropriate when your baby is sick, when equipment has touched an unclean surface, or when safe cleaning conditions were uncertain.
For an older, healthy baby, careful cleaning after every use may be enough. If you use a dishwasher with hot water and heated drying or a sanitizing setting, you generally do not need to boil, steam, or bleach-sanitize the same items afterward.
Before first use, follow the product instructions. Some manufacturers call for washing only, while others recommend an initial boiling or steam cycle.
Note: A sanitized container is not permanently germ-free. Touching the inside, dropping a lid, leaving a container uncovered, or storing it while damp can contaminate it again. Rewash any part when you are unsure whether it stayed clean.
Check the Container Material Before Using Heat
Baby food containers may combine several materials, and each part can have different care limits. A glass base may tolerate boiling while its plastic lid, printed label, valve, or silicone gasket does not.
- Plastic: Look for dishwasher, steam, and boiling instructions. Heat can warp products that are not designed for high temperatures.
- Silicone: Many silicone products tolerate heat, but fillers, seals, printed markings, and attached pieces may have different limits.
- Glass: Use only heat-safe glass and avoid sudden temperature changes. Do not transfer cold or frozen glass directly into boiling water.
- Lids and gaskets: Remove them when possible so food and water cannot remain trapped underneath.
- Reusable pouches: Open every closure and clean around spouts, seams, and corners. Replace a pouch that cannot be fully inspected or cleaned.
Replace containers or parts that are cracked, badly warped, peeling, permanently sticky, or unable to close correctly. A damaged seal or deep crevice can make complete cleaning difficult.
Troubleshooting Stains, Odors, Mold, and Residue
Food Stains
Tomato, carrot, beet, and berry foods can discolor plastic or silicone. Wash the container with dish soap and warm water, allow it to soak if the manufacturer permits, and scrub it with a nonabrasive brush. A cosmetic stain does not automatically mean the container is dirty, but replace the item if the surface is damaged or cannot be inspected properly.
Lingering Odors
Take the container apart and wash every part separately. Food and moisture often remain beneath removable seals or inside lid channels. Air-dry the parts fully before checking the odor again. Replace a container if a strong smell remains despite proper cleaning or if the material is degrading.
Cloudy Film or Water Spots
Cloudiness may come from detergent residue or minerals in the water. Rewash the item, rinse it thoroughly, and allow it to air-dry. Do not use an abrasive pad that can scratch a plastic food-contact surface.
Mold
Do not simply wipe visible mold away and return the container to use. Disassemble and inspect the entire item. Replace a gasket, pouch, lid, or container when mold is embedded in a porous area, trapped in an inaccessible seam, or cannot be removed completely.
Vinegar
Vinegar may be used for some household cleaning tasks, but it should not replace a manufacturer-approved dishwasher, boiling, steam, or CDC bleach method when a sanitizing step is needed.
Frequently Asked Questions
How often should I sanitize baby food storage containers?
Clean them after every use. Sanitize them at least daily when your baby is younger than 2 months, was born prematurely, or has a weakened immune system. Daily sanitizing may not be necessary for an older, healthy baby when each item is washed carefully after use.
Can I use bleach to sanitize baby food containers?
Yes, when the manufacturer permits it. After washing, soak the parts for at least two minutes in a solution of 2 teaspoons of unscented bleach per gallon of clean water. Remove them with clean hands or tongs, do not rinse, and allow them to air-dry completely.
Is vinegar enough to sanitize baby food containers?
Do not rely on vinegar as a replacement for an approved sanitizing method. Use a dishwasher with hot water and heated drying, boiling, steam, or the CDC diluted-bleach method when sanitizing is needed.
Are some containers unsafe to boil or steam?
Yes. Plastic, silicone, glass, lids, gaskets, and printed parts can have different heat limits. Use boiling or steam only when the manufacturer specifically allows that method for every part being sanitized.
What should I do if a container has food stains?
Wash it with warm water and dish soap, soak it if permitted, and use a nonabrasive brush. A surface stain may be cosmetic, but replace the container if it is cracked, deeply scratched, sticky, warped, moldy, or impossible to clean completely.
How long do sanitized containers remain germ-free?
There is no guaranteed 24-hour germ-free period. Once completely dry, store the containers in a clean, protected place. Rewash any item that is touched inside, dropped, exposed to dirt, or stored while damp.
Is a dishwasher enough to sanitize the containers?
Yes, if the parts are dishwasher-safe and the machine uses hot water with a heated drying cycle or sanitizing setting. Under those conditions, the CDC says a separate boiling, steaming, or bleach step is not necessary.
Should I sanitize new baby food containers before first use?
Wash new containers before using them. Then follow the manufacturer’s instructions, which may recommend a dishwasher, boiling, or steam cycle before first use. Do not assume every lid, seal, or container is safe for high heat.
Sources
- CDC: How to Clean, Sanitize, and Store Infant Feeding Items — cleaning frequency, dishwasher use, boiling, steam, bleach dilution, drying, and protected storage.
- CDC: How to Clean Infant Feeding Items During Emergencies — cleaning containers used for baby food, safe-water procedures, rack positioning, and sanitizing methods.
- FDA: Cleaning a Breast Pump — limits of home sterilization, washing after use, manufacturer instructions, and safe air-drying.
- EPA: Bleach and Chemical-Mixing Safety — ventilation and the danger of mixing chlorine bleach with ammonia-containing cleaners.
Conclusion
Safe container care starts with thorough cleaning after every use. Add a sanitizing step when your baby’s age, health, or exposure risk calls for extra protection, and choose only a method approved for the container material. Whether you use a dishwasher, boiling water, steam, or diluted bleach, finish by air-drying every part completely and storing it in a clean, protected place.