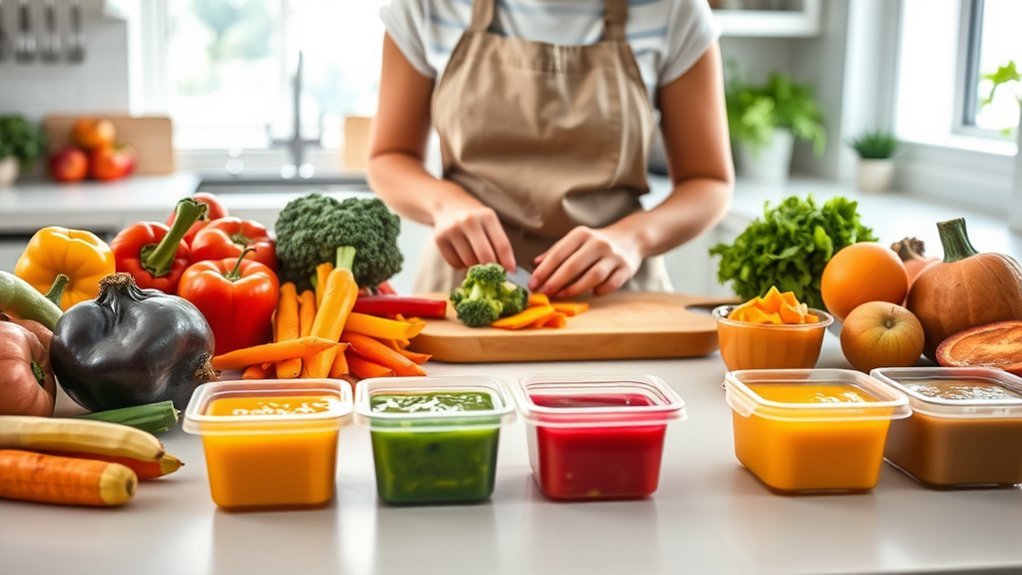
Meal prepping baby food for the week can save time, reduce waste, and make it easier to offer different foods and textures. The safest approach is to cook a few simple ingredients in one session, refrigerate only the portions your baby will eat within the next one to two days, and freeze the rest in clearly labeled containers.
Quick Answer
To meal prep baby food for the week, choose three or four baby-safe foods, cook them until soft, adjust each texture to your baby’s skills, and divide them into small portions. Refrigerate a one- to two-day supply, freeze the remaining portions, label everything, and thaw only what you need.
Key Takeaways
- Begin complementary foods when your baby is developmentally ready, usually at about six months.
- Include iron-rich foods, vegetables, fruits, grains, healthy fats, and suitable proteins instead of relying only on fruit purees.
- A blender or baby food maker is optional; a fork, potato masher, food mill, or immersion blender can also work.
- Keep only a short supply in the refrigerator and freeze the rest in dated, single-meal portions.
- Prepare foods in a shape and texture that match your baby’s eating skills, and supervise every meal.
- Discard food left in the serving dish or touched by a used spoon because saliva can introduce bacteria.
At a Glance
| Time Required | About 60–90 minutes for three or four basic foods |
| Difficulty | Easy, with careful food-safety steps |
| Tools Needed | Knife, cutting board, pot or steamer, fork or blender, freezer-safe containers, labels, and food thermometer when cooking meat or eggs |
| Cost | Varies with ingredients; no specialized appliance is required |
Note: This guide provides general food-preparation information, not individualized medical advice. Ask your pediatrician or feeding specialist for guidance if your baby was born prematurely, has poor growth, has trouble swallowing, has severe eczema, or has a known or suspected food allergy.
Why Meal Prep Is Helpful for Baby Food
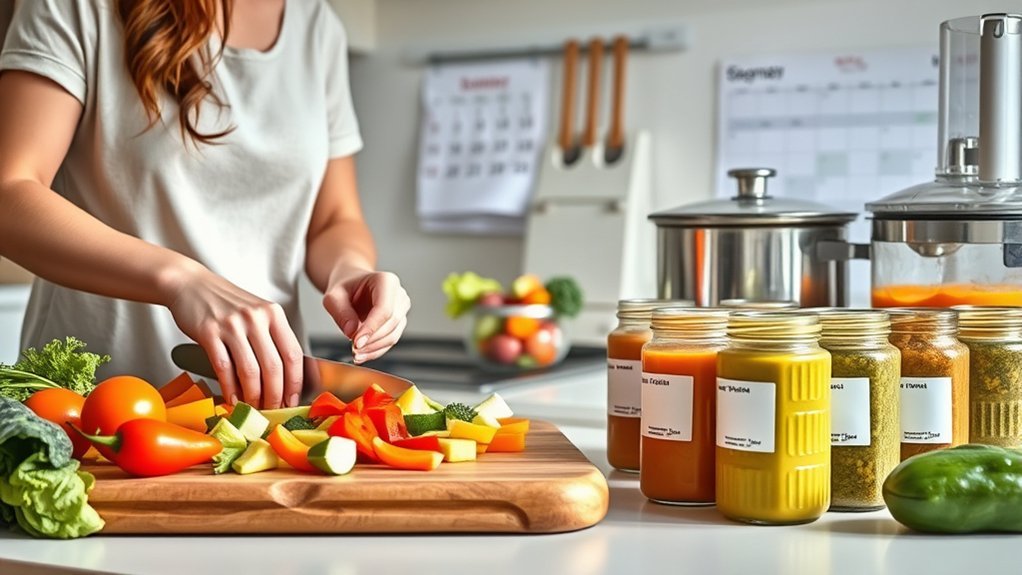
Meal prepping can reduce the number of separate cooking sessions you need during the week. It also lets you prepare ingredients without added salt or sugar and adjust each portion to your baby’s current eating skills.
A simple batch system does not require preparing seven complete meals in advance. You can cook several basic foods, freeze them separately, and combine familiar ingredients at serving time. This gives you more variety without making a new recipe every day.
Offering different food groups and developmentally appropriate textures may help your baby become familiar with a wider range of foods. It does not guarantee that a child will never become selective, so continue offering foods without pressure and follow your baby’s hunger and fullness signals.
For a simple weekly system, keep only the next one to two days of homemade baby food in the refrigerator and freeze the remaining portions.

Power your essentials anywhere with a 999Wh pure sine wave power station delivering up to 1000W continuous with 2000W surge. It supports fast charging via USB-C PD 60W and USB-A QC 18W, plus simultaneous output for multiple devices through AC, USB, wireless, and car/DC ports. Recharge using AC, car, or solar with a built-in MPPT controller and dual cooling fans, while the upgraded battery management system protects against surges, short circuits, and overheating.

❤️【Health and Safe】:We can promise these baby food storage containers are made of perfect quality food grade silicone ,which means it's absolutely reliable to store your baby's food.At the same time,lid keeps frozen baby food fresh longer.

Effortless Meal Preparation: Streamline your baby's nutrition with our 3 Pack Silicone Freezer Tray. Batch prepare baby food, purees, breastmilk, and more for efficient and convenient meal planning.
Before You Start: Confirm Your Baby Is Ready
According to the Centers for Disease Control and Prevention, most babies can begin complementary foods at about six months. Introducing food before four months is not recommended.
Common readiness signs include:
- Sitting upright alone or with support
- Controlling the head and neck
- Opening the mouth when food is offered
- Swallowing food instead of pushing it back out
- Reaching for food or bringing objects to the mouth
Complementary food is added alongside breast milk or iron-fortified infant formula. It should not be treated as a homemade replacement for breast milk or commercial infant formula.
Warning: Never give honey to a child younger than 12 months. Avoid unpasteurized milk, juice, yogurt, and cheese. Do not serve hard, round, sticky, or poorly cut foods that could block the airway. Seat your baby upright and supervise the entire meal.
Choosing the Right Ingredients for Your Baby’s Diet
Choose foods from several groups instead of preparing only fruit and vegetable purees. The CDC recommends offering a variety of vegetables, fruits, proteins, grains, healthy fats, and pasteurized dairy foods without added sugar when they are appropriate for the child.
Nutrient-Dense First Foods
Useful foods for a batch-prep rotation include:
- Iron-rich foods: Pureed or finely minced meat, lentils, beans, eggs, tofu, and iron-fortified infant cereal can help add iron and other nutrients.
- Vegetables: Sweet potatoes, carrots, peas, squash, broccoli, spinach, and beets can be cooked until soft and mashed or blended.
- Fruits: Avocado, banana, pear, peach, apple, berries, and melon can add different flavors and textures.
- Whole grains: Oat, barley, multigrain cereal, soft pasta, and well-cooked grains can provide variety.
- Healthy fats: Avocado and smooth, safely thinned nut or seed butters can add energy and fat after the ingredient has been introduced safely.
- Pasteurized dairy: Plain, unsweetened yogurt and suitable cheeses may be offered before 12 months, although cow’s milk should not replace breast milk or formula as a drink before the first birthday.
Chicken provides protein and nutrients such as iron and zinc. Avocado supplies fat and energy. Oats and other grains can add texture and variety. No single food guarantees a particular developmental outcome, so focus on the overall pattern.
Seasonal Produce Selection
Seasonal produce can be a practical choice when it is readily available, tastes good, or costs less. In fall, you might use sweet potatoes, squash, pears, carrots, and apples. Spring options may include peas, strawberries, asparagus tips, and leafy greens.
Fresh, frozen, and suitable canned produce can all be used. Organic produce is optional. Wash fresh produce under running water, remove damaged areas, and peel or cook foods when needed for a safe texture.
Farmers’ markets may offer local ingredients, but local food is not automatically safer, cheaper, or more nutritious. Choose produce that is fresh, undamaged, and handled hygienically.
Foods to Avoid or Modify
- Honey: Do not offer it before 12 months because of the risk of infant botulism.
- Unpasteurized foods: Avoid raw milk and unpasteurized juice, yogurt, or cheese.
- Added sugar: Choose plain yogurt, unsweetened fruit, and other foods without added sweeteners.
- High-sodium foods: Use no-salt-added or low-sodium canned foods and avoid adding salt to the baby’s portion.
- High-mercury fish: Avoid fish listed by public-health agencies as high in mercury.
- Choking hazards: Do not serve whole nuts, spoonfuls of thick nut butter, popcorn, whole grapes, hard raw apple or carrot pieces, sausages cut into rounds, or large chunks of meat or cheese.
If you serve infant cereal, rotate oat, barley, multigrain, and rice varieties. The FDA advises dietary and grain variety rather than using rice cereal as the only cereal.
Equipment and Grocery List
Basic Kitchen Equipment
- A clean cutting board and knife
- A saucepan, steamer basket, oven, or pressure cooker
- A fork, potato masher, food mill, immersion blender, or countertop blender
- A food thermometer for meat, poultry, fish, and egg dishes
- Small freezer-safe containers or a covered freezer tray
- Freezer bags or larger airtight containers for frozen portions
- Waterproof labels or masking tape and a permanent marker
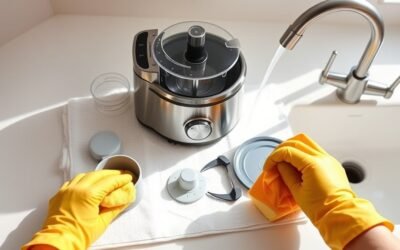
A combined baby food prep machine can steam and blend ingredients, but it is not required. Use whichever clean tools let you produce a texture your baby can manage.
Simple Weekly Grocery Framework
For one prep session, choose a manageable set of foods:
- One iron-rich protein, such as chicken, lentils, beans, tofu, egg, or fortified infant cereal
- Two vegetables, such as sweet potato and peas
- One or two fruits, such as pear and banana
- One grain, such as oat or barley cereal
- One fat or pasteurized dairy option, such as avocado or plain yogurt
Choose foods your baby has already tolerated when making mixed recipes. Keep a newly introduced ingredient separate so it is easier to identify the cause of a possible reaction.
Step-by-Step Guide to Preparing Baby Food
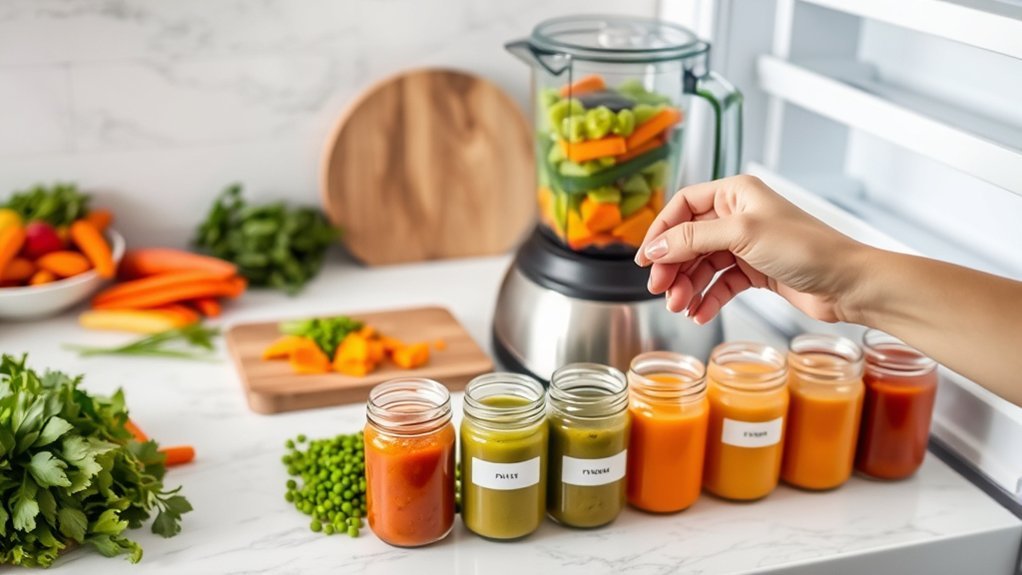
- Plan the week: Select three or four base foods and check that you have enough freezer containers and labels.
- Clean the workspace: Wash your hands, utensils, cutting boards, containers, and preparation surfaces. Keep raw meat, seafood, poultry, and eggs away from ready-to-eat produce.
- Wash and prepare ingredients: Rinse produce, remove seeds and pits, trim damaged areas, and remove bones, skin, and excess fat from meat or fish.
- Cook until safe and soft: Steam, roast, simmer, or boil foods until they are fully cooked and easy to mash. Use a thermometer when cooking meat, poultry, fish, or egg dishes.
- Adjust the texture: Mash, mince, puree, or cut the food according to your baby’s skills. Add a little water, breast milk, or correctly prepared formula at serving time when a thinner texture is needed.
- Cool promptly: Divide hot food into small, shallow portions so it cools quickly. Refrigerate or freeze perishable food within two hours rather than leaving it on the counter until it reaches room temperature.
- Portion and label: Mark each container with the food, preparation date, and any common allergen it contains.
- Store strategically: Keep only the next one or two days of food in the refrigerator and freeze the rest.
Pro Tip: Freeze basic foods separately rather than making a week of identical mixed purees. You can combine familiar cubes at serving time to create different meals without another full cooking session.
Sample Weekly Baby Food Meal Prep Plan
This sample is a mix-and-match framework, not a required feeding schedule. The number and size of meals depend on your baby’s age, appetite, milk intake, and pediatric guidance. All combinations assume each ingredient has already been introduced and tolerated.
- Day 1: Oat cereal with pear; sweet potato with chicken
- Day 2: Plain yogurt with banana; peas with lentils
- Day 3: Barley cereal with peach; carrot with turkey or tofu
- Day 4: Well-cooked egg with avocado; sweet potato with beans
- Day 5: Oat cereal with apple; peas with chicken
- Day 6: Plain yogurt with pear; carrot with lentils
- Day 7: A soft, unsalted version of the family meal or remaining labeled freezer portions
New common allergens, such as egg, dairy, wheat, sesame, fish, or safely thinned peanut butter, should be introduced individually rather than hidden in a complex mixed meal. Once tolerated, they can become part of the regular rotation.
Adjusting Texture as Your Baby Develops
- Early eating skills: Smooth purees, strained food, or very soft mashed food may be easiest.
- Developing skills: Gradually offer thicker mashes, soft lumps, and finely minced foods.
- Ready for self-feeding: Offer soft pieces that are appropriately shaped and easy to squash between your fingers.
Do not rely only on age labels or commercial “stages.” Follow your baby’s ability to sit, reach, bite, move food in the mouth, and swallow safely.
How to Safely Store and Freeze Homemade Baby Food
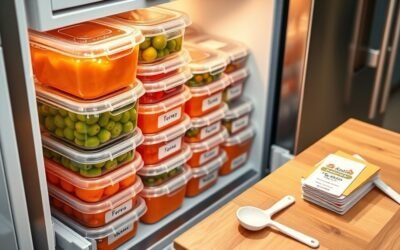
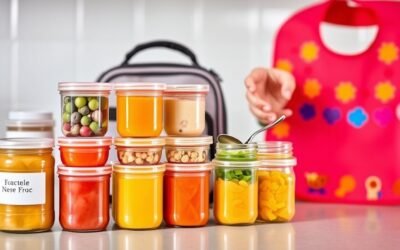
Use clean, airtight, freezer-safe containers. Label each portion with its contents and preparation date, and place older portions at the front so they are used first.
The federal FoodSafety.gov storage chart lists different times for different foods. When a dish contains several ingredients, follow the shortest applicable storage time.
| Food Type | Refrigerator | Freezer |
| General homemade baby food | 1–2 days | 1–2 months |
| Strained meat or egg | 1 day | 1–2 months |
| Meat and vegetable mixture | 1–2 days | 1–2 months |
The FDA also provides a general upper limit of three months for frozen homemade baby food. Using food within one to two months is a simple conservative system, especially for mixed meals. Discard any unused portion once it reaches three months.
How to Freeze Portions
- Transfer food into clean freezer trays or small containers.
- Cover the tray tightly before freezing.
- After the portions are solid, move them to a labeled freezer bag or airtight container.
- Remove as much excess air as practical to reduce freezer burn.
- Use the oldest dated portions first.
If you freeze food in a small jar or rigid container, use one labeled freezer-safe and leave room for the food to expand.
How to Thaw and Reheat Baby Food
- Thaw frozen portions in the refrigerator, not on the kitchen counter.
- You may also warm a frozen portion directly in a saucepan when practical.
- Transfer food out of a jar before microwaving it.
- Stir microwaved food thoroughly, let it stand, and test several areas before feeding.
- Serve food lukewarm rather than hot.
- Use the stovetop rather than a microwave for baby-food meat or egg dishes because these foods can overheat and splatter.
- Do not repeatedly warm and cool the same portion.
Warning: Spoon a small serving into a separate bowl before feeding. Discard anything left in that bowl. Do not return saliva-exposed food to the refrigerator or freezer.
Engaging Serving Ideas for Baby Food
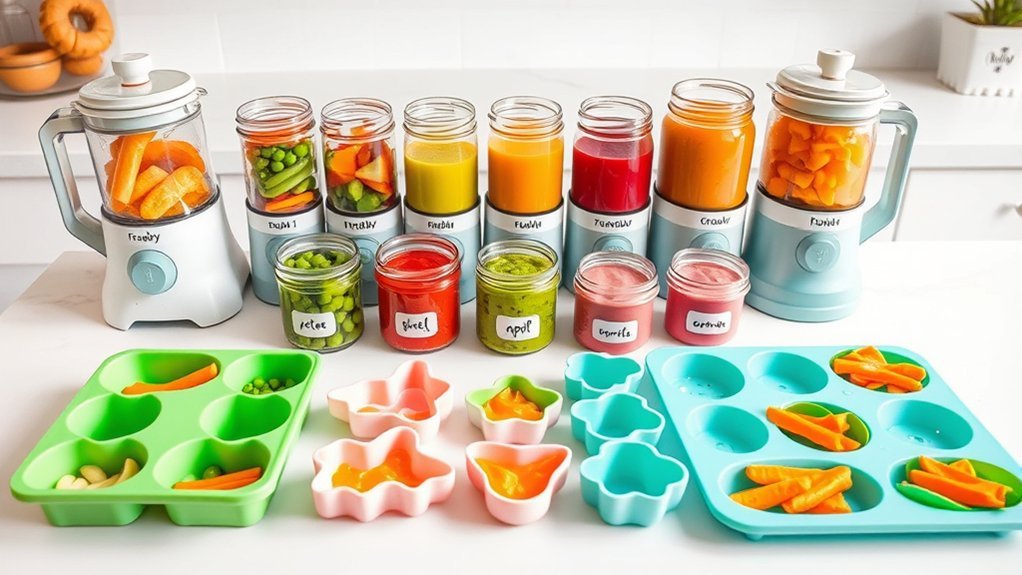
Once the food is prepared and stored safely, vary how you present familiar ingredients. The goal is to support eating skills and exploration, not to persuade your baby to finish a set portion.
- Use a suction bowl or plate: A stable dish with a raised edge may make scooping easier and reduce spills.
- Offer safe finger foods: When your baby is ready, try very soft avocado, ripe pear, cooked vegetable strips, or other pieces prepared to the right shape and texture.
- Combine familiar colors: Pair foods such as peas and sweet potato or yogurt and berries after each ingredient has been introduced safely.
- Use simple themes: A “vegetable tasting” or “family-food day” can help you rotate ingredients without creating complicated recipes.
- Let your baby explore: Touching, smelling, smearing, and dropping food are normal parts of learning to eat.
Always place your baby upright in a secure high chair or another suitable feeding seat. Avoid feeding while the child is lying down, walking, crawling, riding in a stroller, or traveling in a car.
Essential Tips for Introducing New Foods and Allergens
Introduce one new single-ingredient food at a time when your baby is beginning solids. The CDC recommends waiting three to five days between new foods at first so you can more easily notice a possible reaction.
Do not delay common allergens solely because they are allergens. Once your baby is ready for solids, foods such as well-cooked egg, dairy, wheat, sesame, fish, soy, and safely thinned nut butter can be introduced in developmentally appropriate forms.
The American Academy of Pediatrics advises parents of babies with severe eczema, egg allergy, or another high-risk history to discuss peanut introduction with the child’s clinician.
Keep a simple record containing:
- The food and ingredients offered
- The date and time
- The amount tasted
- Any skin, breathing, stomach, or behavior changes
- Whether the food was tolerated and offered again
Warning: Stop offering a suspected food and contact your pediatrician if your baby develops hives, swelling, repeated vomiting, diarrhea, or another concerning symptom. Call emergency services immediately for trouble breathing, throat or tongue swelling, severe weakness, fainting, or another sign of anaphylaxis.
How to Maintain Variety in Your Baby’s Meals
Variety matters across the full week, but you do not need to reach a fixed number of colors at every meal. Repetition is also useful because babies often need more than one exposure to become familiar with a food.
- Rotate food groups: Include vegetables, fruits, grains, proteins, healthy fats, and suitable pasteurized dairy foods.
- Progress the texture: Move from smooth food to thicker mashes, soft lumps, minced foods, and safe finger foods as your baby’s skills develop.
- Change one component: Keep a familiar base and add a different tolerated fruit, vegetable, or protein.
- Adapt family meals: Remove the baby’s portion before adding excess salt, sugar, hot sauce, or hard garnishes.
- Follow appetite cues: Offer food without forcing bites or requiring the bowl to be emptied.
Common Meal-Prep Problems and Solutions
The Food Is Too Thick
Stir in a small amount of water, breast milk, or correctly prepared formula immediately before serving. Add liquid gradually so the food does not become too thin.
The Food Is Too Thin
Mix in a thicker familiar food, such as mashed sweet potato, avocado, beans, or prepared infant oatmeal. Do not add dry cereal directly unless it has been prepared as directed.
The Food Separated After Freezing
Separation is common in homemade purees. Stir the thawed food thoroughly and check its smell, temperature, and condition before serving.
The Food Has Freezer Burn
Freezer burn mainly affects quality and texture. For baby food, discard portions that are badly dried out, poorly sealed, unlabeled, or of uncertain age.
My Baby Refuses a Prepared Food
Do not force the food. Offer a small amount again on another day, serve it beside a familiar food, or change the texture. Contact your pediatrician if refusal is persistent, feeding appears painful, or your baby coughs, chokes, or struggles to swallow.
Frequently Asked Questions
Can I mix different fruits and vegetables in one puree?
Yes. You can combine foods such as pear and carrot or banana and avocado after your baby has tolerated each ingredient separately. Keep a newly introduced food separate so it is easier to identify the cause of a reaction.
How long can homemade baby food stay in the refrigerator?
Use most homemade baby food within one to two days. FoodSafety.gov lists a one-day refrigerator limit for strained meat and egg foods. When ingredients have different limits, follow the shortest one.
Is frozen homemade baby food safe after three months?
Discard general homemade baby food once it reaches three months in the freezer. A one- to two-month rotation is more conservative and usually gives better texture and flavor. Throw out any portion that is unlabeled or has an uncertain storage history.
What kitchen equipment do I need for baby food meal prep?
You need basic cooking tools, clean storage containers, and a way to mash or blend food. A fork, potato masher, food mill, immersion blender, standard blender, or baby food machine can all work. Use a food thermometer when cooking meat, poultry, fish, or egg dishes.
Can I use canned fruits or vegetables?
Yes. Choose fruit packed without added sugar or heavy syrup and vegetables labeled low sodium or no salt added. Drain the food, rinse suitable vegetables when helpful, and mash or cut it to a developmentally appropriate texture.
Can I keep a full week of baby food in the refrigerator?
No. Refrigerate only the portions your baby will use within the safe one- to two-day window. Freeze the remaining portions and thaw them as needed.
Can I save food left in my baby’s bowl?
No. Saliva from the spoon or your baby’s mouth can contaminate the remaining food. Place a small amount in the serving bowl and discard anything left after the meal.
Should I mix a new allergen into a batch recipe?
Introduce a new allergen separately in a safe form rather than adding it to a large mixed batch. Once your baby tolerates it, you can include it in future meals. Ask your pediatrician first if your baby has severe eczema, an egg allergy, or another high-risk history.
Conclusion
A safe weekly baby food routine starts with a small, realistic batch. Choose several foods from different groups, cook them safely, match the texture to your baby’s skills, and label each portion. Keep only a short supply in the refrigerator, freeze the rest, and discard anything exposed to saliva. As your baby develops, continue adding new flavors, textures, and safely introduced allergens without forcing a fixed amount at each meal.
Sources
- CDC: When, What, and How to Introduce Solid Foods — readiness, first foods, allergens, and texture guidance
- CDC: Choking Hazards — safe preparation, seating, supervision, and high-risk foods
- CDC: Foods and Drinks to Avoid or Limit — honey, added sugar, sodium, pasteurization, and beverage guidance
- FoodSafety.gov: Children Under Five — preparation, refrigerator and freezer storage, and microwave safety
- FDA: Once Baby Arrives — freezing, saliva contamination, reheating, honey, and pasteurization
- American Academy of Pediatrics: Introducing Common Food Allergens — allergen timing, high-risk infants, and safe forms