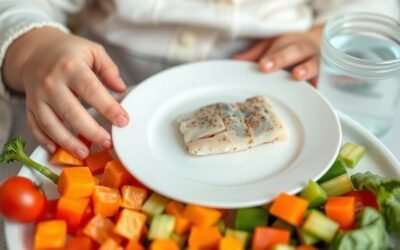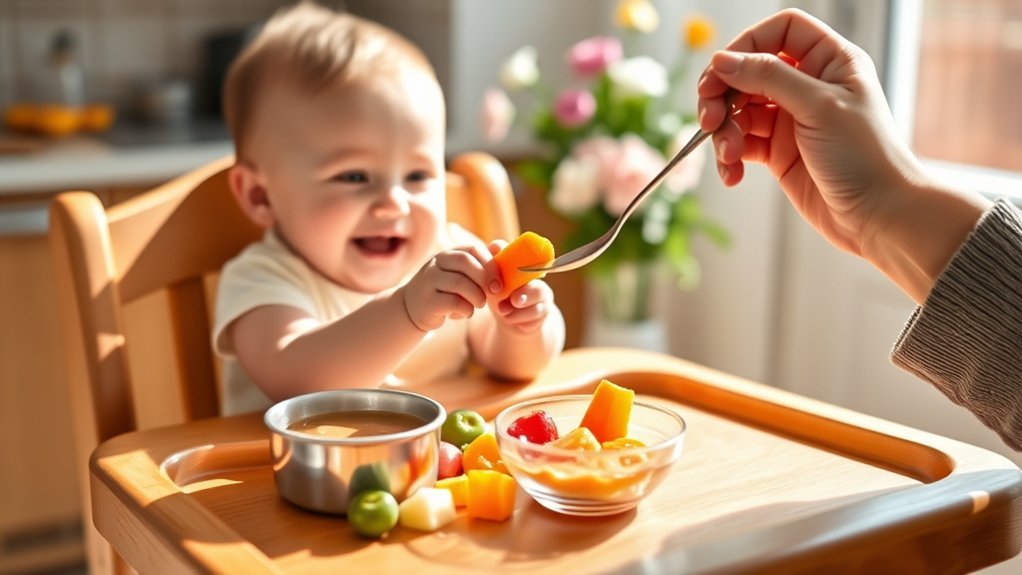
Moving from purees to finger foods is a gradual skill-building process, not a race tied to an exact birthday. Most babies can begin complementary foods at about 6 months when they can sit with support, control their head and neck, bring objects to their mouth, and swallow food instead of pushing it out. Follow your baby’s abilities, keep textures soft, and make safety the priority.
Quick Answer
Start the move from purees to finger foods at about 6 months, once your baby shows developmental readiness. Progress from smooth foods to thicker, mashed, lumpy, and soft graspable pieces as skills improve. Keep your baby seated upright, supervise every bite, and continue breast milk or formula as the main nutrition through 12 months.
Key Takeaways
- Use readiness signs—not age alone—to decide when to start and when to advance textures.
- Move gradually from smooth purees to thicker mashed foods, soft lumps, and developmentally appropriate finger foods.
- Offer soft foods that can be mashed easily with a fork or between your fingers, and change the shape as your baby’s grasp develops.
- Include iron-rich foods, varied produce, healthy fats, and common allergens in safe forms.
- Prevent choking by seating your baby upright, removing distractions, preparing food safely, and supervising continuously.
At a Glance
| Time Required | A gradual transition over several weeks or months |
| Difficulty | Moderate; pace depends on your baby’s feeding skills |
| Tools Needed | Supportive high chair, bib, baby spoon, open cup or training cup, and a fork for softness checks |
| Cost | Low to moderate; many safe first foods are regular family foods prepared without added salt or sugar |
Note: This guide provides general feeding information. Ask your child’s pediatrician for individualized advice if your baby was born prematurely, has poor growth, a developmental condition, severe eczema, a known food allergy, or a history of coughing or choking during feeds.
Understanding When to Start Introducing Finger Foods
The Centers for Disease Control and Prevention says most children can begin foods other than breast milk or infant formula at about 6 months. Introducing solids before 4 months is not recommended.
Age is only one part of the decision. Your baby should also show several developmental readiness signs:
- Sits upright alone or with support and can remain stable during the meal.
- Controls the head and neck without persistent slumping.
- Opens the mouth when food is offered and shows interest in eating.
- Brings hands, toys, or food toward the mouth.
- Swallows food instead of consistently pushing it back out with the tongue.
- Can grasp larger pieces of food or a loaded spoon and bring them toward the mouth.
Reaching for your plate is useful information, but it is not enough by itself. Stable positioning, head control, swallowing ability, and coordinated hand-to-mouth movement matter more than a single behavior.
The safest time to advance texture is when your baby can manage the current texture comfortably and shows the motor skills needed for the next one.

Power your essentials anywhere with a 999Wh pure sine wave power station delivering up to 1000W continuous with 2000W surge. It supports fast charging via USB-C PD 60W and USB-A QC 18W, plus simultaneous output for multiple devices through AC, USB, wireless, and car/DC ports. Recharge using AC, car, or solar with a built-in MPPT controller and dual cooling fans, while the upgraded battery management system protects against surges, short circuits, and overheating.
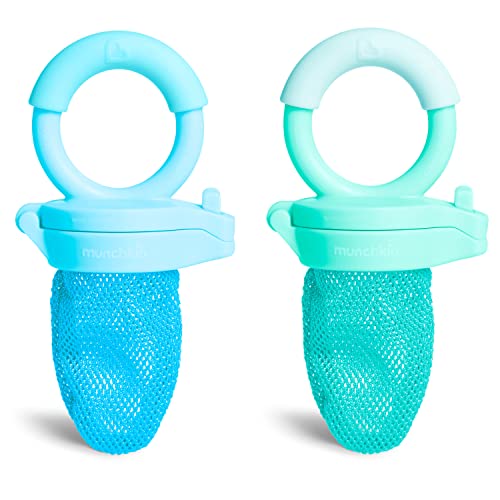
Feeder helps reduce the risk of choking— only small pieces of digestible food get through

Tiny holes let just enough food through for baby to safely self-feed
How to Gradually Transition From Purees to Finger Foods
You do not need to stop purees all at once. A mixed approach lets your baby practice chewing, grasping, and self-feeding while still eating familiar spoon-fed foods. The exact pace varies, so treat age ranges as general guideposts rather than deadlines.
Step 1: Make Familiar Purees Thicker
Begin with foods your baby already accepts. Use less liquid so the puree stays on the spoon instead of running off. Examples include thicker oatmeal, mashed banana, mashed beans, yogurt without added sugar, or vegetable puree with a soft mashed texture.
Offer a preloaded spoon for your baby to hold while you use a second spoon as needed. This supports self-feeding without forcing an abrupt change.
Step 2: Add Soft Lumps and Mashed Textures
As your baby handles thicker foods, mash them less thoroughly. Leave small, soft lumps that flatten easily with the tongue or gums. Mashed avocado, fork-mashed sweet potato, soft scrambled egg, cottage cheese, and well-cooked lentils are practical options.
Some coughing, gagging, or spitting may happen while a baby learns a new texture. Pause and reassess if the food seems too firm, too dry, or difficult to move around the mouth.
Step 3: Offer Soft, Graspable Finger Foods
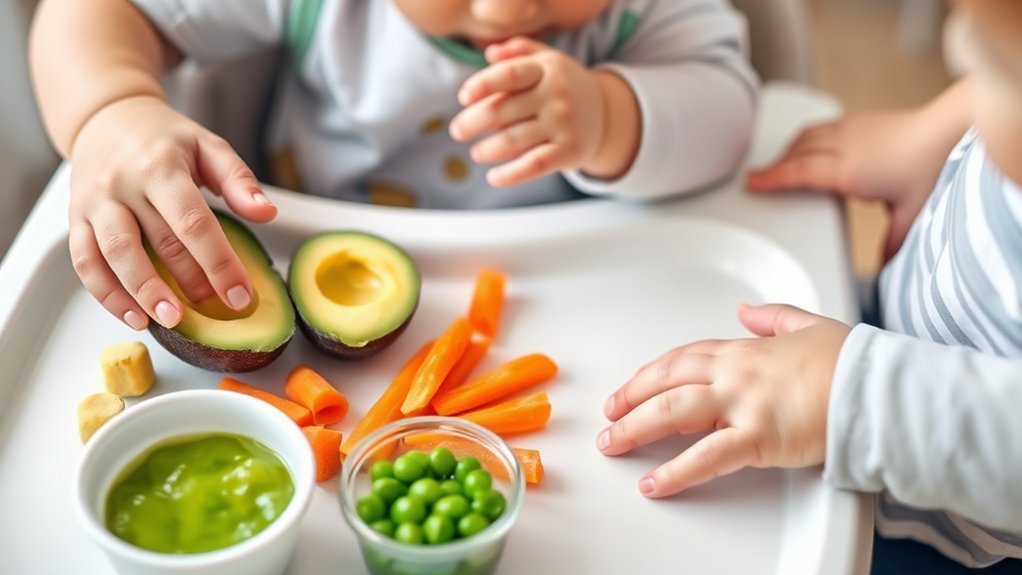
When your baby can reach, grasp, and bring food to the mouth, add soft finger foods. For an early whole-hand grasp, pieces are often easier to manage when they are long enough to extend beyond the fist. Examples include a soft avocado wedge, a ripe banana spear, a tender sweet potato wedge, an omelet strip, or a very soft broccoli floret with a handle-like stem.
Use a fork or finger test before serving: the food should mash with gentle pressure. Remove hard skins, pits, bones, seeds, and tough or stringy parts.
Step 4: Advance Size and Shape With Feeding Skills
As the pincer grasp develops, your baby may begin picking up small, soft pieces between the thumb and forefinger. At that stage, you can offer finely chopped tender foods, small flakes of fish with every bone removed, soft pasta pieces, diced ripe fruit, and pea-sized pieces of well-cooked vegetables.
Do not increase firmness simply because your baby can pick up smaller food. Texture must remain easy to chew and swallow.
Step 5: Encourage Self-Feeding Skills
Let your baby touch, squeeze, smell, lick, and taste food. These actions are part of learning. Model chewing during family meals, offer one or two manageable pieces at a time, and allow enough time for the meal without rushing.
Repeated exposure can help a baby become familiar with a food. Avoid pressure, praise for “cleaning the plate,” or putting food into the mouth when your baby turns away.
A Practical Texture Progression
| Feeding Stage | Texture to Try | Examples |
|---|---|---|
| Beginning solids | Smooth, mashed, pureed, or strained | Smooth oatmeal, pureed beans, mashed fruit |
| Managing smooth foods well | Thicker mashed foods and soft lumps | Fork-mashed potato, lumpy oatmeal, soft egg |
| Grasping and bringing food to mouth | Soft strips, wedges, and florets | Avocado wedge, banana spear, broccoli floret |
| Developing a pincer grasp | Small, soft, finely chopped pieces | Tender pasta, diced ripe pear, shredded chicken |
Pro Tip: For slippery foods such as avocado or banana, leave part of the peel on as a handle or lightly coat the surface with finely ground, iron-fortified infant cereal. Avoid whole seeds or coarse crumbs that may be hard to manage.
Balancing Purees and Finger Foods During the Transition
Purees and finger foods can share the same meal. You might offer oatmeal on a spoon, a soft fruit wedge for self-feeding, and a mashed protein such as beans or egg. There is no need to alternate every bite or follow a strict ratio.
From 6 to 12 months, breast milk and/or infant formula should remain the main source of nutrition while solid foods gradually take a larger role. Start with small portions and follow hunger and fullness cues. Your baby may lean forward, open the mouth, or reach for more when hungry. Turning away, closing the mouth, slowing down, or pushing food aside can signal fullness.
Build meals around variety rather than volume. Aim to include:
- Iron-rich foods: meat, poultry, fish with bones removed, eggs, beans, lentils, tofu, and iron-fortified infant cereal.
- Fruits and vegetables: cooked or ripe enough to mash easily.
- Healthy fats: avocado, full-fat plain yogurt, olive oil mixed into food, or smooth nut butter thinned to a safe consistency.
- Energy and texture practice: soft grains, pasta, potato, and age-appropriate pieces of family foods prepared without excess salt or added sugar.
Best First Finger Foods for Your Baby
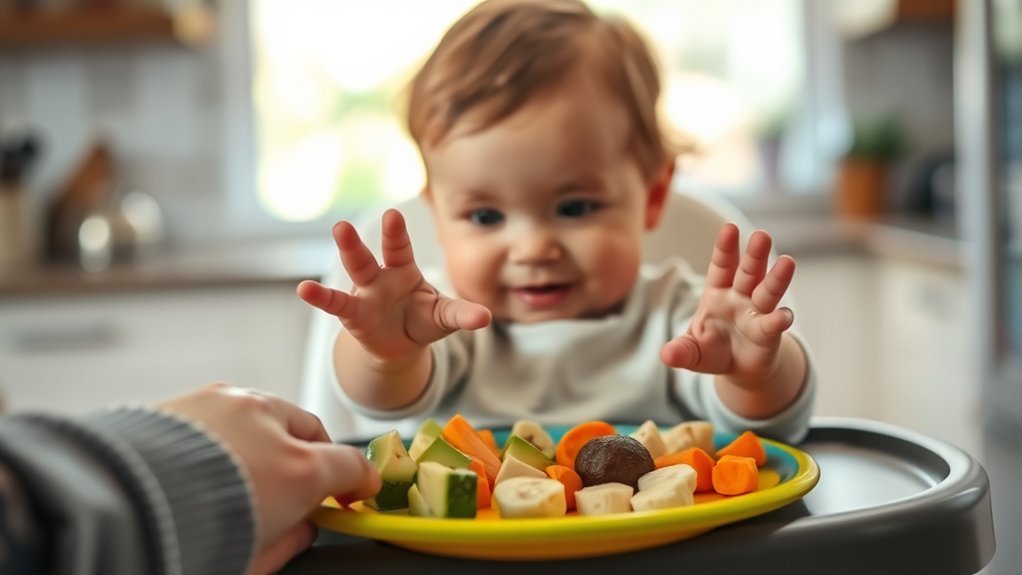
Choose foods that are soft, moist, and easy to grasp. The preparation matters as much as the food itself.
| Food | Safe Preparation | Nutritional Value |
|---|---|---|
| Ripe avocado | Mash or offer a soft wedge that squashes easily | Healthy fats, fiber, vitamin E |
| Sweet potato | Steam or roast until very soft; serve mashed or as a tender wedge | Beta-carotene, fiber, carbohydrate |
| Egg | Cook fully; serve mashed, scrambled into soft curds, or as an omelet strip | Protein, fat, choline, iron |
| Banana or ripe pear | Mash, offer a soft spear, or dice finely once the pincer grasp develops | Fiber, potassium, vitamin C |
| Carrot or broccoli | Cook until easily mashed; never serve raw hard pieces to a baby | Fiber, carotenoids, vitamin C |
| Beans, lentils, tofu, meat, or fish | Mash beans; offer soft tofu strips; shred tender meat; flake fish and remove every bone | Protein, iron, zinc, and other minerals |
Introducing Common Allergens Safely
Potentially allergenic foods can be introduced when your baby begins other complementary foods, provided the food is prepared in a developmentally safe form. Common allergens include egg, peanut, tree nuts, milk, wheat, soy, fish, shellfish, and sesame.
- Introduce a new allergen at home when your baby is healthy and you can observe them.
- Start with a small amount in a safe texture, such as fully cooked egg or smooth peanut butter thinned with warm water, breast milk, formula, or puree.
- Never give whole nuts, nut pieces, or a thick spoonful of nut butter; these are choking hazards.
- Once tolerated, keep the food in the regular rotation unless your clinician advises otherwise.
- If your baby has severe eczema, egg allergy, or both, ask a healthcare professional about peanut introduction. The FDA’s infant peanut guidance emphasizes medical input for these higher-risk babies.
Warning: Stop feeding and seek emergency help for trouble breathing, wheezing, swelling of the lips or tongue, repeated vomiting with other symptoms, sudden limpness, or widespread hives with breathing or circulation symptoms. Follow any allergy action plan your child’s clinician has provided.
Tips for Encouraging Self-Feeding and Independence
- Use a stable setup: Seat your baby upright in a supportive high chair with the head centered and the body secure.
- Offer a manageable variety: Place one or two soft pieces on the tray instead of a large pile that may feel overwhelming.
- Model eating: Sit together when possible and show chewing, biting, spoon use, and drinking from a cup.
- Share control: You choose what, when, and where food is offered; your baby decides whether and how much to eat.
- Expect mess: Touching and dropping food helps babies learn about texture, grip, and cause and effect.
- Stay neutral: Avoid pressure, bargaining, distraction feeding, or forcing another bite after your baby signals fullness.
How Can You Tell If Your Baby Is Ready for Finger Foods?
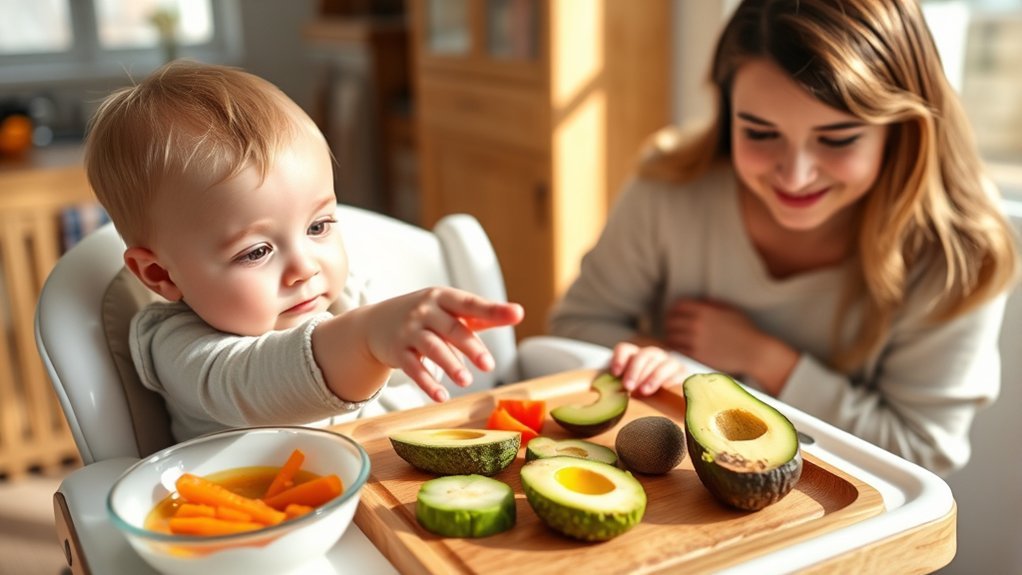
Before offering finger foods, check the whole skill set rather than relying on appetite or age alone.
Physical Signs of Readiness
- Your baby sits upright with good head and neck control.
- Your baby can reach, grasp, and bring objects toward the mouth.
- Your baby can hold a larger piece of food or a preloaded spoon.
- Your baby swallows smooth or mashed foods without consistently pushing them out.
- Your baby stays alert and engaged during the meal.
Feeding-Skill Signs
Chewing motions, tongue movement, and interest in self-feeding are encouraging signs. However, finishing purees quickly or seeming hungry after a meal does not prove that a baby can safely manage finger foods. Offer more breast milk, formula, or food according to hunger cues while you assess positioning and oral skills.
If your baby repeatedly coughs, chokes, develops a wet or gurgly sound during feeds, or cannot progress beyond one texture, pause and contact the pediatrician. A feeding evaluation by a speech-language pathologist, occupational therapist, or dietitian may be appropriate.
Overcoming Baby’s Resistance to Finger Foods
Turning away from a new texture is common. It may reflect unfamiliarity, fatigue, teething discomfort, a portion that is too large, or a texture that is too dry or firm. Try these strategies:
- Pair familiar and new foods: Serve a trusted puree beside one soft finger food.
- Change one feature at a time: Thicken a familiar puree before changing both flavor and texture.
- Keep portions small: One or two pieces reduce waste and visual overload.
- Let your baby explore: Touching, licking, and smelling count as progress even when little is swallowed.
- Try again another day: Acceptance often takes repeated, pressure-free exposure.
- End calmly: Stop when your baby turns away, closes the mouth, becomes upset, or loses interest.
Contact your pediatrician if refusal is persistent, your baby seems distressed by most textures, meals regularly last a very long time, intake drops, or growth is a concern.
How to Keep Your Baby Safe: Gagging vs. Choking
Gagging is a protective reflex that helps move food forward and away from the airway. Choking happens when the airway is partly or fully blocked. The difference matters because the response is not the same.
| Gagging | Choking |
|---|---|
| Usually noisy; may include coughing, retching, or gagging sounds | May be silent or include weak, ineffective sounds |
| Baby can usually breathe, cough, or cry | Baby cannot breathe, cough effectively, cry, or make normal sounds |
| Face may turn red; tongue may push forward | Skin may become pale or bluish; baby may look panicked, limp, or unconscious |
| Often clears as the baby coughs or moves food forward | Requires immediate action |
Warning: If your baby cannot breathe, cry, or cough effectively, call 911 and begin age-appropriate choking first aid if you are trained. Do not perform a blind finger sweep, which can push food deeper. Take an infant CPR and first-aid course before or soon after starting solids.
Foods to Avoid or Modify
The CDC’s choking-hazard guidance stresses that shape, size, hardness, and stickiness all affect risk. Avoid or safely modify:
- Whole grapes, cherries, berries, and cherry tomatoes; cut soft versions into small pieces.
- Hot dog, sausage, or string-cheese rounds; avoid for babies or cut lengthwise and then into short, thin pieces when developmentally appropriate.
- Whole nuts, seeds, popcorn, hard candy, marshmallows, and chewing gum.
- Raw carrot sticks, hard apple chunks, and other firm raw produce.
- Thick spoonfuls of peanut butter or other sticky nut or seed butters.
- Large chunks of meat or cheese, fish with bones, and foods with pits or hard skins.
Safe Mealtime Setup
- Keep your baby seated upright in a high chair or another safe feeding seat.
- Do not feed while your baby is lying down, crawling, walking, riding in a stroller, or traveling in a moving car.
- Keep meals calm and free from toys, screens, and rushing.
- Stay within arm’s reach and watch continuously. Supervision does not make a choking hazard safe.
- Make sure every caregiver knows the food-preparation rules and emergency plan.
Other Foods and Drinks to Avoid or Limit
In addition to choking hazards, several foods and drinks are not suitable for babies:
- Honey before 12 months: Honey can cause infant botulism. Do not add it to food, formula, water, or a pacifier.
- Cow’s milk as a main drink before 12 months: Yogurt and cheese can be offered earlier, but breast milk or infant formula should remain the main milk drink.
- Unpasteurized foods and drinks: Avoid unpasteurized milk, juice, cheese, and other products because of infection risk.
- Added sugar and excess sodium: Choose plain foods and check labels on packaged products.
- High-mercury fish: Choose lower-mercury options appropriate for young children.
See the CDC’s current list of foods and drinks to avoid or limit for more detail.
How to Clean Baby Feeding Utensils
Wash hands before handling clean feeding items. Dishwasher-safe spoons, cups, bowls, and removable high-chair tray parts can go through a hot-water dishwasher cycle. When washing by hand, use hot, soapy water, rinse thoroughly, and let items air-dry on a clean surface.
Inspect silicone and plastic items for cracks, tears, trapped food, or damaged surfaces. Follow the manufacturer’s instructions for sanitizing. The CDC advises extra sanitizing precautions for babies younger than 2 months, babies born prematurely, and babies with weakened immune systems.
Resources and Support for Successful Feeding Transitions
Reliable support can make the transition less stressful:
- CDC Infant and Toddler Nutrition: Read current guidance on readiness, textures, food preparation, hunger and fullness cues, and choking prevention.
- American Academy of Pediatrics: Use HealthyChildren.org for pediatric guidance on baby-led feeding, choking hazards, allergies, and child development.
- Your child’s healthcare team: Ask the pediatrician or a registered dietitian about growth, nutrients, allergies, or medical conditions.
- Feeding specialists: A speech-language pathologist or occupational therapist with pediatric feeding experience can assess chewing, swallowing, positioning, sensory responses, and oral-motor skills.
- Infant CPR and first aid: Take a hands-on course from a recognized provider and make sure regular caregivers are trained.
Frequently Asked Questions
Can my baby have finger foods before one year old?
Yes. Many babies can begin soft finger foods at about 6 months once they show developmental readiness. The food must match the baby’s grasping, chewing, and swallowing skills, and an adult must supervise continuously.
Does my baby need teeth to eat finger foods?
No. Babies can mash many soft foods with their gums. Choose foods that flatten easily with gentle pressure and avoid hard, raw, round, sticky, or tough foods.
What are signs of a food allergy in babies?
Possible signs include hives, swelling, vomiting, diarrhea, coughing, wheezing, trouble swallowing, or unusual limpness. Trouble breathing, swelling of the lips or tongue, collapse, or symptoms affecting more than one body system can be an emergency. Call 911 and follow your child’s allergy plan.
How can I clean baby feeding utensils effectively?
Use a dishwasher with hot water and heated drying when the items are dishwasher-safe, or wash them thoroughly with hot, soapy water and allow them to air-dry. Follow manufacturer instructions for sanitizing and replace cracked or damaged items.
What if my baby refuses finger foods altogether?
Keep offering small amounts without pressure, pair new textures with familiar foods, and let your baby touch and explore. Speak with the pediatrician if refusal persists, your baby is distressed by textures, or growth and intake are concerns.
How often should I offer finger foods?
Begin with a small opportunity once a day when your baby is alert, then offer varied textures more often as skills and interest grow. Keep breast milk or formula as the main nutrition through 12 months and follow hunger and fullness cues rather than forcing a set amount.
Do I have to choose between purees and baby-led weaning?
No. You can combine spoon-fed mashed foods, preloaded spoons, and safe finger foods. What matters most is responsive feeding, varied textures, nutrient-rich choices, safe preparation, upright seating, and close supervision.
Conclusion
Shifting from purees to finger foods works best when you follow your baby’s skills instead of a rigid calendar. Begin with safe positioning and familiar foods, then increase thickness, lumps, and self-feeding opportunities little by little. Keep meals calm, offer nutrient-rich variety, respect fullness cues, and treat choking prevention as a daily routine. Mess is temporary; the goal is steady, safe practice that builds confidence.
Sources
- CDC: When, What, and How to Introduce Solid Foods — readiness signs, timing, allergens, and food preparation.
- CDC: Tastes and Textures — gradual texture progression and feeding-skill development.
- CDC: Choking Hazards — safe seating, supervision, preparation, and high-risk foods.
- CDC: Foods and Drinks to Avoid or Limit — honey, sodium, added sugar, and other restrictions.
- American Academy of Pediatrics: Choking Prevention — choking signs, hazards, and prevention.
- CDC: Clean, Sanitize, and Store Infant Feeding Items — washing, air-drying, and sanitizing guidance.