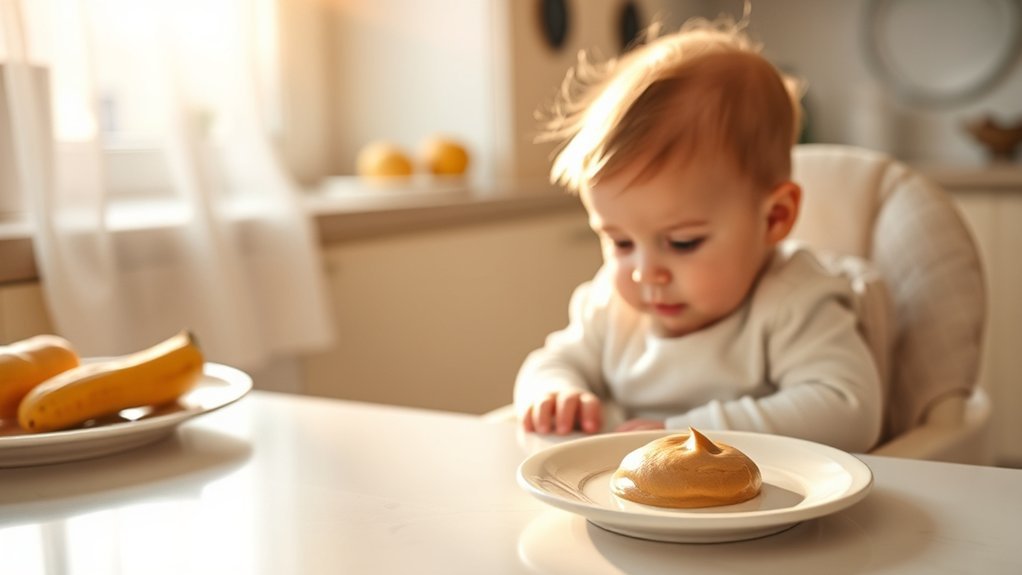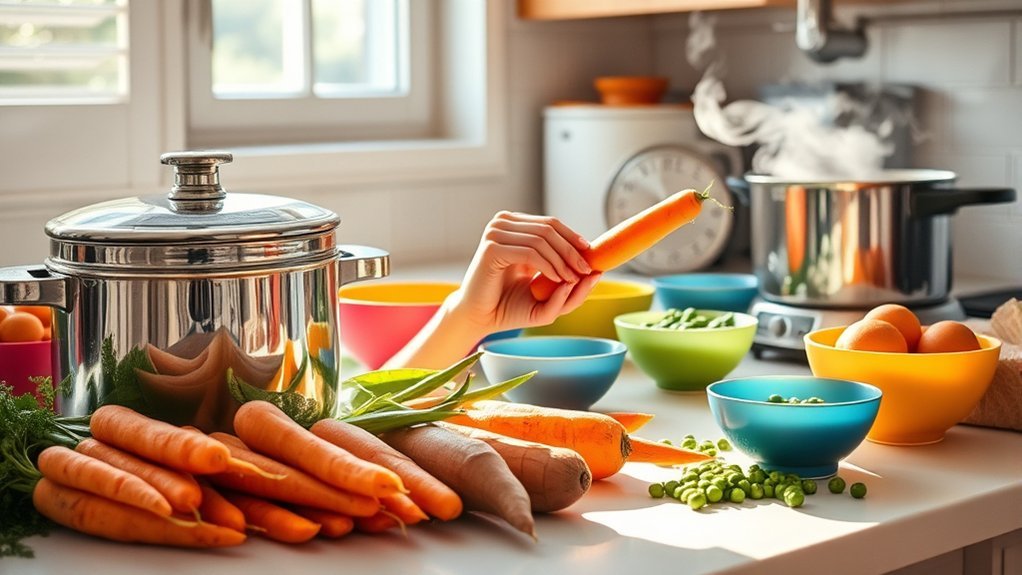
Making homemade baby food can be simple, flexible, and budget-friendly when you focus on safe handling, age-appropriate textures, and nutrient-rich ingredients. Start solids only when your baby is developmentally ready—usually around 6 months—and continue breast milk or iron-fortified infant formula as the main source of nutrition during the first year.
Quick Answer
To make homemade baby food, wash your hands and equipment, cook ingredients until soft, then mash or blend them to a texture your baby can safely manage. Begin with small portions, include iron-rich foods, introduce allergens carefully, and refrigerate or freeze leftovers promptly in clean, labeled containers.
Key Takeaways
- Most babies are ready for complementary foods at about 6 months, but developmental signs matter more than the calendar alone.
- Clean hands, utensils, surfaces, produce, and blender parts carefully to reduce foodborne illness risk.
- Offer iron- and zinc-rich foods regularly instead of relying only on fruit and vegetable purees.
- Move from smooth purees to thicker, mashed, lumpy, and finely chopped textures as your baby’s skills develop.
- Refrigerate homemade baby food for 1 to 2 days, freeze small portions, and discard food contaminated by a used spoon.
At a Glance
| Time Required | About 20 to 60 minutes, depending on the ingredients and batch size |
| Difficulty | Easy, with extra care required for hygiene, cooking temperatures, allergens, and texture |
| Tools Needed | Knife, cutting board, saucepan or steamer, fork or blender, bowls, spoon, storage containers, and food thermometer for meat |
| Cost | Low; mainly the cost of ingredients if you already own basic kitchen tools |
Note: This guide provides general educational information. Ask your pediatrician for individualized advice if your baby was born prematurely, has feeding or swallowing problems, has poor growth, or has severe eczema or a known food allergy.
Signs Your Baby Is Ready for Solid Foods
The Centers for Disease Control and Prevention recommends starting foods other than breast milk or infant formula at about 6 months and not before 4 months. Your baby should show several developmental readiness signs:
- Sits upright alone or with support and has steady head and neck control.
- Opens their mouth when food is offered.
- Swallows food instead of pushing it back out with the tongue.
- Brings objects to the mouth and can move food toward the back of the tongue.
- Shows interest in food while remaining alert and able to sit safely for feeding.
Fussiness, waking more often, reaching a certain weight, or having a strong rooting reflex are not reliable readiness tests by themselves. Continue breast milk or iron-fortified formula while solids are introduced.
Warning: Always seat your baby upright and supervise every bite. Gagging can occur while learning new textures, but choking is usually silent and requires immediate action. Learn infant choking first aid from a qualified course before solids begin.

Power your essentials anywhere with a 999Wh pure sine wave power station delivering up to 1000W continuous with 2000W surge. It supports fast charging via USB-C PD 60W and USB-A QC 18W, plus simultaneous output for multiple devices through AC, USB, wireless, and car/DC ports. Recharge using AC, car, or solar with a built-in MPPT controller and dual cooling fans, while the upgraded battery management system protects against surges, short circuits, and overheating.

Make fresh, delicious food with wholesome ingredients. You control exactly what goes in - no hidden stabilizers, preservatives, or flavor enhancers necessary.

【4-in-1 Baby Food Maker】Multifunctional baby food processor with steamer. You can steam cooks, blends, defrosts and reheats healthy food, which satisfy the needs of daily infant feeding. This baby food steamer is suitable for all vegetable, fish, fruit and meats.The unique steam circulation system locks in nutrients, flavors and vitamins, ensuring your baby benefits from delicious and healthy homemade food.
Essential First Steps for Making Homemade Baby Food
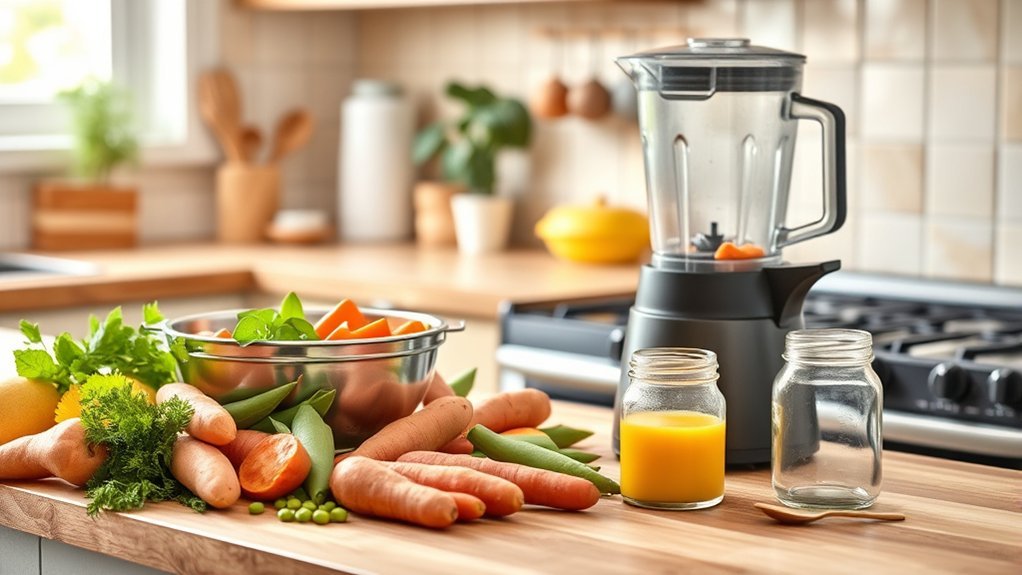
Making homemade baby food starts with cleanliness, safe ingredients, and a plan for serving or storage. Wash your hands with soap and water before handling food. Clean counters, cutting boards, knives, bowls, spoons, blender parts, and storage containers with hot soapy water, then rinse well.
Rinse produce under running water. Scrub firm produce, remove damaged areas, and peel when the skin is tough or difficult to blend. Remove hard pits, large seeds, stems, bones, skin, and excess fat before serving. Keep raw meat, poultry, seafood, and eggs separate from ready-to-eat foods.
Simple single-ingredient foods can help you identify a reaction when your baby is new to solids. However, banana and avocado are not required first foods, and there is no medically required order for most babies. Include soft foods from several groups, such as meat, beans, lentils, egg, iron-fortified cereal, vegetables, fruit, yogurt without added sugar, and healthy fats.
Pro Tip: Make a small test portion before preparing a large batch. This reduces waste if your baby dislikes the flavor or needs a different texture.
Essential Tools for Preparing Baby Food
You do not need a dedicated baby-food machine. A few basic kitchen tools can handle most recipes safely:
- A sharp knife and stable cutting board for trimming and chopping.
- A saucepan, steamer basket, baking dish, or microwave-safe dish for cooking.
- A fork, potato masher, food mill, blender, or immersion blender for adjusting texture.
- Clean bowls and spoons for mixing and serving.
- A food thermometer for meat, poultry, fish, and egg dishes.
- Small airtight containers, silicone freezer trays, or freezer-safe bags for storage.
- Labels or freezer tape for the food name and preparation date.
The safest tool is the one you can take apart and clean completely—especially around blender blades, seals, lids, and food-processor crevices.
Step-by-Step Guide to Preparing and Cooking Baby Food
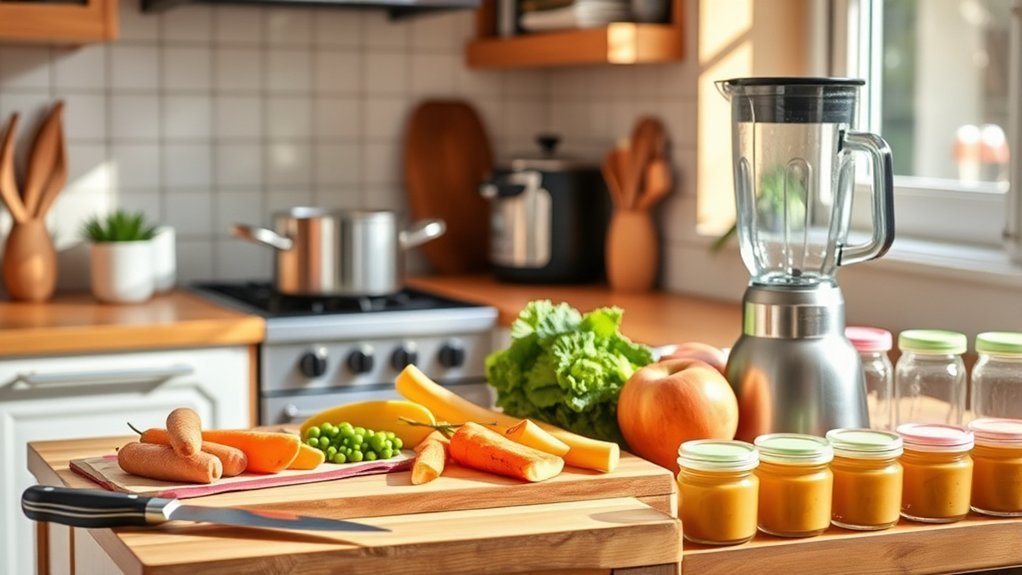
The basic method is to clean, cook, soften, blend or mash, cool, serve, and store. Adjust the texture to your baby’s current eating skills rather than making every batch completely smooth.
Set Up Essential Tools and Equipment
Gather everything before you begin: a clean knife and cutting board, a cooking pan or steamer, a fork or blender, a clean serving bowl, a spoon, storage containers, and any liquid needed to thin the food. Preparing the work area first reduces cross-contamination and keeps hot food from sitting out while you search for equipment.
Follow Safe Food Preparation Steps
- Wash your hands and clean the work surface, utensils, and equipment.
- Rinse produce and remove pits, large seeds, tough peels, stems, bones, skin, and excess fat as needed.
- Use separate cutting boards or thoroughly wash the board and knife after contact with raw meat, poultry, seafood, or eggs.
- Cut ingredients into even pieces so they cook at the same rate.
- Cook until the food is soft enough to mash easily with a fork.
- Cool the food briefly before blending, especially when using a sealed blender jar.
Choose a Safe Cooking Method
- Steaming: Softens vegetables and fruit without leaving them waterlogged. Add a little cooking liquid during blending if needed.
- Boiling or simmering: Works well for potatoes, carrots, beans, lentils, grains, and tougher produce. Use only enough liquid to cook the food, then drain or reserve some liquid for blending.
- Baking or roasting: Useful for sweet potatoes, squash, apples, pears, meat, poultry, and fish. Avoid heavy browning, added salt, and sugary glazes.
- Microwaving: Suitable for small portions of produce in a microwave-safe dish. Stir well, let the food stand, and check for hot spots before serving. Do not microwave baby food in a jar.
- Poaching or simmering protein foods: Helps keep meat, poultry, and fish moist enough to puree or finely shred.
Use a food thermometer rather than color or texture alone. The USDA safe minimum temperature chart lists 165°F for poultry and leftovers, 160°F for ground meat and egg dishes, and 145°F with the required rest time for whole cuts of beef, pork, veal, and lamb. Remove every bone before blending or serving.
Blend or Mash to the Right Texture
For a new eater, mash or puree food until smooth and easy to swallow. Thin it with a small amount of water, breast milk, or correctly prepared infant formula. Add liquid gradually so the puree does not become watery.
As your baby’s skills improve, offer thicker purees, mashed foods with soft lumps, finely chopped foods, and soft finger foods. The CDC’s texture guidance emphasizes variety because different textures support chewing and fine-motor development.
Serve Small Portions and Follow Feeding Cues
Start with 1 to 2 teaspoons and offer more if your baby remains interested. Let your baby set the pace. Signs of hunger may include leaning toward the spoon or opening the mouth; signs of fullness may include turning away, closing the mouth, slowing down, or pushing food away. Do not pressure your baby to finish a portion.
Put only the serving amount in the feeding bowl. Use a separate clean spoon to take more from the storage container so saliva does not contaminate the remaining food.
How to Store and Freeze Your Baby Food Like a Pro
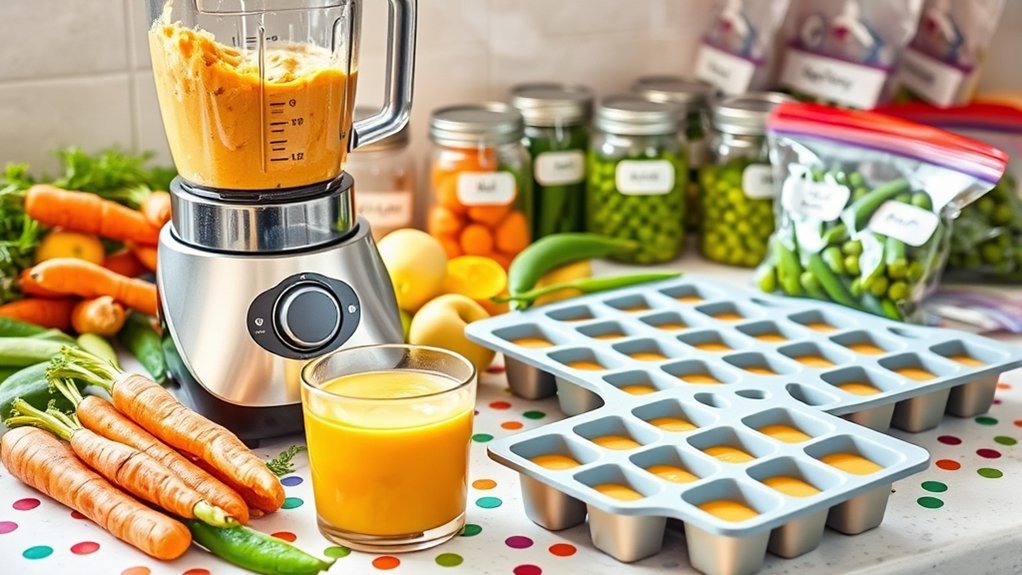
Cool prepared food promptly and place it in shallow, covered containers. Label each container with the food and preparation date. Keep the refrigerator at 40°F or below and the freezer at 0°F or below.
| Food or Storage Method | Recommended Storage |
|---|---|
| General homemade baby food | 1 to 2 days refrigerated; use frozen portions within 1 to 2 months for best quality and discard by 3 months |
| Pureed meat or egg | 1 day refrigerated; 1 to 2 months frozen |
| Meat-and-vegetable mixtures | 1 to 2 days refrigerated; 1 to 2 months frozen |
| Food left at room temperature | Discard after 2 hours, or sooner in very hot conditions |
| Food touched by a used feeding spoon | Discard after the meal; do not return it to storage |
The FDA’s baby-food safety guidance recommends freezing puree in covered trays, transferring frozen cubes to dated airtight containers, and discarding unused frozen homemade food after three months.
Thaw only the portion you need in the refrigerator. You may also warm a portion in a saucepan or microwave-safe dish. If microwaving, stir thoroughly, let it stand, and test several spots. Food should feel lukewarm before it reaches your baby’s mouth. Do not refreeze thawed baby food.
Warning: A refrigerator temperature of 40°F or below keeps food cold; it is not a reheating target. Never serve directly from a hot pan or microwave without stirring and checking the temperature.
Top Nutrient-Rich Foods for Your Baby’s First Meals
Fruit and vegetable purees can be part of a healthy diet, but they should not crowd out iron-, zinc-, protein-, and fat-rich foods. The CDC recommends iron-containing foods once solids begin at about 6 months.
- Meat, poultry, fish, and egg: Cook thoroughly, remove bones and skin, then puree, mash, mince, or shred to a safe texture.
- Beans, lentils, and tofu: Cook until very soft. Mash smoothly and pair plant iron sources with vitamin C-rich foods such as broccoli, berries, tomato, or sweet potato.
- Iron-fortified infant cereal: Mix with breast milk, formula, or water. Rotate oat, barley, multigrain, and other fortified cereals instead of serving only rice cereal.
- Avocado: Provides a soft texture and unsaturated fat. Mash it alone or combine it with another tolerated food.
- Sweet potato, squash, peas, carrots, and broccoli: Cook until fork-soft, then adjust the texture.
- Banana, pear, peach, berries, and apple: Mash soft fruit or cook firm fruit. Remove hard seeds, pits, stems, and choking hazards.
- Plain full-fat yogurt: Choose pasteurized yogurt without added sugar once dairy is being introduced. Cow’s milk may be used as an ingredient, but it should not replace breast milk or formula as a drink before 12 months.
Spinach can be included after cooking and pureeing, but it should not be treated as the baby’s main iron source because plant-based iron is absorbed less efficiently than heme iron. A varied diet is more useful than relying on any one “superfood.”
How to Flavor and Adjust Baby Food for Your Baby’s Taste
Babies do not need bland food. You can offer mild herbs, spices, and flavor combinations without adding salt, sugar, honey, or hot sauce. Introduce new combinations gradually so you can identify reactions and learn which textures your baby manages comfortably.
Combine Sweet and Tart
Pairing a familiar sweet food with a tart food can soften a strong flavor without adding sugar. Try banana with plain berry puree, apple with unsweetened yogurt, or sweet potato with a small amount of tomato. Avoid acidic combinations if they irritate the skin around your baby’s mouth.
Use Breast Milk or Formula
Breast milk or correctly prepared infant formula can thin a puree and add a familiar flavor. Add a small amount just before serving and mix thoroughly. Never dilute formula beyond the manufacturer’s directions, and do not refreeze a puree made with previously frozen and thawed breast milk.
Experiment With Flavor Combinations
- Blend avocado with sweet potato for a creamy texture.
- Mix peas with potato or unsweetened yogurt after each ingredient has been tolerated.
- Add a pinch of cinnamon to apple or pear.
- Use mild herbs such as basil, dill, oregano, or parsley in savory purees.
- Add a small spoonful of plain pasteurized yogurt for creaminess if dairy has been introduced safely.
- Watch your baby’s reactions and adjust flavor, thickness, and lumpiness over time.
How to Introduce Common Food Allergens Safely
Potential allergens such as cooked egg, peanut, dairy, wheat, soy, sesame, fish, and shellfish can be introduced when other complementary foods begin. Offer one new allergen at a time in a small, age-appropriate amount while your baby is healthy and you can observe them.
Use safe forms: thin smooth peanut butter with warm water, breast milk, formula, or puree; never offer whole nuts or a thick spoonful of nut butter. Cook egg fully. Remove bones and shells from fish or shellfish and puree or finely mince the food.
If the food is tolerated, continue offering it regularly as part of the diet. If your baby has severe eczema, an egg allergy, or a previous reaction, talk with your pediatrician before introducing peanut or other allergens.
Warning: Stop feeding and call 911 for trouble breathing or swallowing, wheezing, sudden swelling of the lips or tongue, bluish or pale color, faintness, or symptoms affecting more than one body system. Give prescribed epinephrine immediately when your child’s emergency plan calls for it; antihistamines do not replace epinephrine for anaphylaxis. See the American Academy of Pediatrics anaphylaxis guidance.
Foods and Preparation Methods to Avoid
The CDC lists several foods and drinks to avoid or limit for infants and young children:
- Honey before 12 months: This includes honey in cooked foods because of infant botulism risk.
- Cow’s milk as a drink before 12 months: Continue breast milk or iron-fortified infant formula. Pasteurized yogurt and cheese can be offered earlier if tolerated.
- Unpasteurized foods and drinks: Avoid raw milk, unpasteurized juice, and products made from them.
- Added sugar and high-sodium foods: Babies have limited room for foods that do not provide needed nutrients.
- High-mercury fish: Avoid shark, swordfish, king mackerel, marlin, orange roughy, Gulf of Mexico tilefish, and bigeye tuna.
- Raw or undercooked animal foods: Cook meat, poultry, seafood, and eggs to safe temperatures.
- Choking hazards: Avoid whole nuts, popcorn, hard raw apple or carrot, whole grapes or berries, round hot-dog slices, chunks of meat or cheese, spoonfuls of thick nut butter, and foods with bones or pits.
- Heavily fried or highly processed foods: These may contain excess salt, added sugar, or textures that are difficult for a new eater to manage.
Review the CDC choking-hazard list whenever you move to finger foods. Cut round foods lengthwise and then into small pieces, cook hard produce until soft, and keep your baby seated and supervised.
Frequently Asked Questions
Can I mix different fruits and vegetables together?
Yes. Once your baby has tolerated each ingredient separately, you can combine foods such as banana and avocado, apple and carrot, or sweet potato and peas. Keep the texture appropriate for your baby and avoid added sugar or salt.
How can I tell if my baby dislikes a food?
Turning away, closing the mouth, pushing the spoon away, or repeatedly spitting out the food may mean your baby is full, unsure of the texture, or not ready for that flavor. Do not force the food. Offer it again on another day; acceptance may take repeated, low-pressure exposure.
What should I do if my baby has an allergic reaction?
Stop feeding the suspected food. Call 911 for breathing trouble, wheezing, swelling of the lips or tongue, trouble swallowing, pale or bluish color, faintness, or a rapidly worsening reaction. Use prescribed epinephrine immediately according to your child’s emergency plan. Contact your pediatrician promptly for milder symptoms such as isolated hives or vomiting.
When can I introduce spices or herbs to baby food?
You can use small amounts of mild herbs and spices once your baby is ready for solids. Cinnamon, basil, dill, oregano, parsley, cumin, and mild garlic can add flavor. Avoid honey before 12 months, added salt, added sugar, hot peppers, and seasoning blends high in sodium.
How do I know if the puree is the right consistency?
A new eater may do best with a smooth puree that slides off the spoon slowly. As feeding skills develop, make the food thicker, then mashed with soft lumps, finely chopped, or soft enough to pick up. The correct texture is one your baby can manage while sitting upright without coughing, choking, or becoming distressed.
How much homemade baby food should I serve?
Begin with about 1 to 2 teaspoons and offer more when your baby shows hunger cues. Appetite varies by day and feeding. Breast milk or formula remains important during the first year, so focus on responsive feeding rather than making your baby finish a set amount.
Is homemade baby food healthier than store-bought food?
Not automatically. Homemade food offers control over ingredients, texture, and variety, while commercial baby food can be convenient and safely packaged. Either can fit a healthy diet. Choose nutrient-rich options without unnecessary added sugar or sodium, and follow storage directions carefully.
Can I add broth to thin baby food?
Water, breast milk, or correctly prepared infant formula are usually better choices. Many packaged broths are high in sodium. If you use broth, choose a pasteurized no-salt-added product, check the label, and use only a small amount.
Conclusion
Homemade baby food does not have to be complicated. Begin when your baby is developmentally ready, keep preparation areas and tools clean, cook ingredients safely, and match each texture to your baby’s current skills. Include iron- and zinc-rich foods, introduce common allergens in safe forms, and avoid honey, unpasteurized products, excess salt, added sugar, and choking hazards.
Prepare small portions, follow your baby’s hunger and fullness cues, and store leftovers promptly. A mix of homemade and commercial foods is also perfectly reasonable. The best approach is the one that is safe, nutritious, practical, and sustainable for your family.
Sources
- CDC: When, What, and How to Introduce Solid Foods — readiness signs, first foods, allergens, textures, and preparation.
- CDC: Choking Hazards — foods and shapes that require modification or avoidance.
- CDC: Foods and Drinks to Avoid or Limit — honey, sodium, sugar, unpasteurized foods, cow’s milk, and high-mercury fish.
- CDC: Iron — iron-rich foods and pairing plant iron with vitamin C.
- FDA: Once Baby Arrives—Food Safety — cleaning, storage, freezing, microwaving, and contaminated leftovers.
- USDA FSIS: Safe Minimum Internal Temperature Chart — cooking temperatures for meat, poultry, fish, eggs, and leftovers.