Regular maintenance can help your coffee maker keep brewing reliably by preventing avoidable buildup, clogs, stale residue, and water-flow problems. The safest routine is specific to the machine: wash removable food-contact parts after use, keep wet areas from staying damp, and descale only with the product, interval, and procedure approved in your owner’s manual.
Quick Answer
To extend your coffee maker’s lifespan, remove wet grounds promptly, wash the carafe and brew basket after use, keep milk parts especially clean, and let removable parts dry. Descale when your manual, brew count, water hardness, or machine indicator calls for it. Use approved cleaners, rinse fully, and address leaks or electrical problems immediately.
Key Takeaways
- Wash the carafe, lid, reusable filter, and brew basket after each use unless your manual gives different instructions.
- Cleaning removes coffee oils and food residue; descaling removes mineral deposits. They are separate maintenance jobs.
- Do not use a universal vinegar ratio or descaling schedule. Check whether your specific machine allows vinegar and follow its measured procedure.
- Water hardness is more useful than a simple TDS reading when you are trying to understand limescale risk.
- Water-filter schedules and capabilities vary. A taste filter does not necessarily soften water or remove lead.
- Unplug and cool the machine before heavy cleaning, never immerse its electrical base, and never mix cleaning chemicals.
- Stop using the appliance if it has a damaged cord, electrical odor, internal leak, sparks, smoke, or water entering the base.
At a Glance
| Time Required | About 5–10 minutes after use; a full descaling program may take roughly 30–90 minutes depending on the machine |
| Difficulty | Easy, provided the owner’s manual is followed |
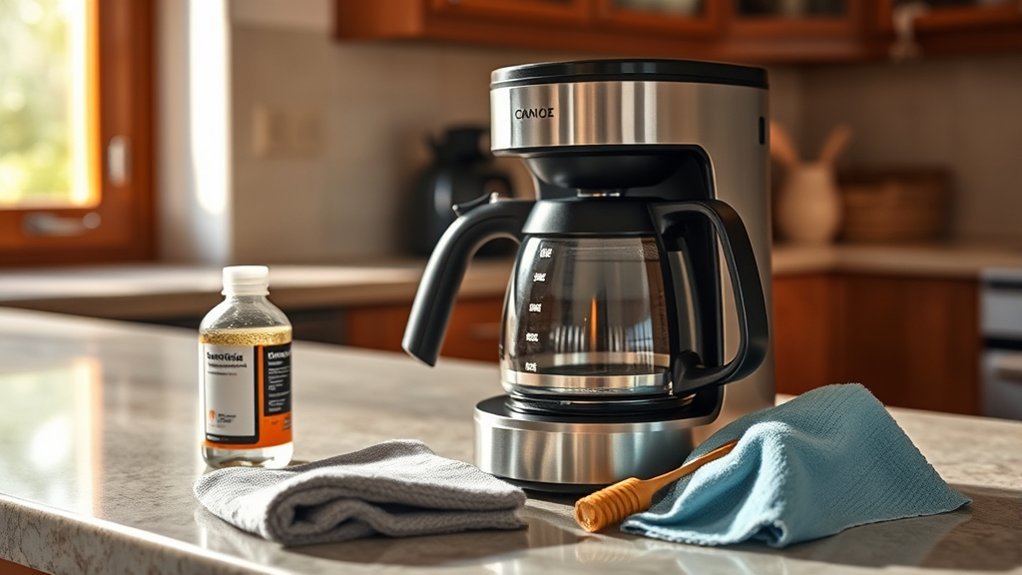
| Tools Needed | Mild dish soap, soft cloth, nonabrasive brush or sponge, fresh water, and the approved descaler or cleaning product |
| Cost | Variable; routine washing may require only soap and water, while replacement filters and proprietary descalers depend on the model |
The Importance of Regular Cleaning for Your Coffee Maker
Routine cleaning protects two areas that affect every cup: the surfaces that touch coffee and the internal path that carries water. Coffee oils can turn stale on a carafe, basket, reusable filter, pod holder, portafilter, or group head. Mineral deposits can gradually restrict water flow and interfere with normal brewing performance.
These problems require different treatments. Warm water and mild dish soap remove grounds, oils, and ordinary residue from washable parts. A descaling cycle uses an acidic or manufacturer-formulated solution to dissolve mineral scale inside approved water passages.
Cleaning cannot guarantee that a machine will last a certain number of years. It can, however, help prevent avoidable clogs, odors, slow brewing, poor-tasting coffee, and residue-related failures. Routine care also gives you a chance to notice cracked parts, worn seals, damaged cords, or leaks before the problem becomes more serious.
Note: The owner’s manual takes priority over any general cleaning guide. It determines which parts are removable or dishwasher-safe, which cleaner is approved, how often maintenance is required, and how a cleaning or descale indicator is reset.

Power your essentials anywhere with a 999Wh pure sine wave power station delivering up to 1000W continuous with 2000W surge. It supports fast charging via USB-C PD 60W and USB-A QC 18W, plus simultaneous output for multiple devices through AC, USB, wireless, and car/DC ports. Recharge using AC, car, or solar with a built-in MPPT controller and dual cooling fans, while the upgraded battery management system protects against surges, short circuits, and overheating.
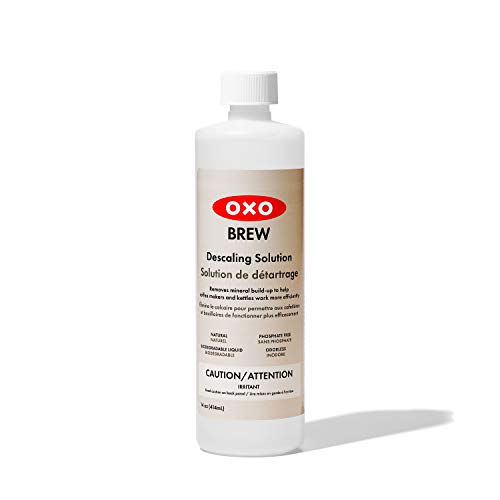
Helps keep your coffee makers and kettles working efficiently and using less energy

INCLUDES: 4 Keurig Rinse Pods, 1 Descale Solution, and 2 Water Filter Cartridge Refills
Coffee Maker Maintenance Schedule
The right frequency depends on your machine, water hardness, brew volume, filter system, and whether the appliance handles milk. Use the schedule below as a practical starting point, then adjust it to your manual and the machine’s cleaning indicators.
After Each Use
- Discard wet grounds or the used pod.
- Rinse or wash the carafe, lid, filter basket, reusable filter, portafilter, or removable pod holder as applicable.
- Empty the drip tray before it overflows.
- Wipe coffee splashes from accessible surfaces with a damp cloth.
- Purge and wipe a steam wand immediately after heating milk.
- Leave washable parts open or separated until they are fully dry.
Weekly Maintenance
- Wash removable reservoirs and drip trays if the manual permits.
- Wipe the showerhead, pod area, group-head screen, and surrounding surfaces without forcing water into electrical openings.
- Inspect the carafe, seals, basket, reservoir valve, and power cord for damage.
- Clean the grinder chute or bean hopper according to the grinder instructions.
- Check for trapped grounds around pod needles or basket valves.
Periodic Maintenance
- Run the machine’s cleaning or descaling program when its indicator appears or the manual’s time or brew-count interval is reached.
- Replace the water filter according to the exact filter and brewer instructions.
- Deep-clean stained carafes and permanent filters with an approved nonabrasive method.
- Inspect replaceable seals, screens, milk tubes, and removable brew components on espresso or automatic machines.
Manufacturer schedules show why one universal interval does not work. Cuisinart’s general guidance discusses descaling every one to three months depending on water hardness. Current Keurig support gives a three-month interval for several newer models, while some older Keurig guides use three to six months. Mr. Coffee recommends cleaning certain brewers after roughly 40–80 brews. Your exact model’s indicator and instructions should override a general calendar.
Maintenance intervals can be measured in months, brew counts, water hardness, or an automatic alert. That variation is why your machine’s own instructions are more reliable than a universal cleaning schedule.
Daily and Weekly Cleaning Routines for Your Coffee Maker
A basic routine should remove residue without scratching finishes, soaking electrical parts, or pushing debris farther into the machine.
- Turn off the machine. Unplug it and allow the hot plate, boiler, water, and metal parts to cool before heavy cleaning.
- Remove used coffee. Discard grounds, paper filters, or pods so moisture and residue do not remain in the brew area.
- Separate removable parts. Take out the carafe, lid, basket, reusable filter, drip tray, pod holder, or reservoir only if the manual identifies them as removable.
- Wash food-contact parts. Use warm water, mild dish soap, and a soft sponge. Do not assume a part is dishwasher-safe unless the manual says so.
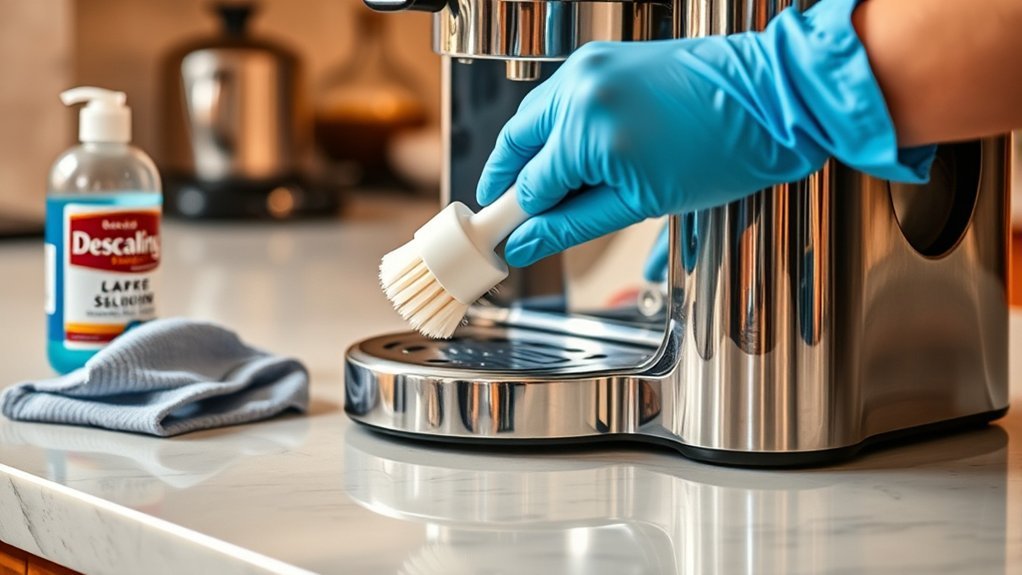
- Clean tight areas. Use a soft brush or damp cloth around accessible screens, basket hinges, pod holders, and showerheads. Never insert a metal object into a needle or opening unless the manufacturer supplies or specifies the tool.
- Wipe the body. Use a damp cloth on the exterior and control area. Do not spray cleaner directly onto buttons, seams, vents, or electrical openings.
- Dry everything. Let all removable parts dry fully before reassembly to limit stale odors and trapped moisture.
- Run a plain-water rinse when appropriate. Use the machine’s rinse function or a water-only cycle if the manual recommends it after cleaning.
Pro Tip: Keep a small soft brush and microfiber cloth beside the machine. Removing fresh grounds and splashes takes less effort than scrubbing dried coffee residue later.
How to Properly Descale Your Coffee Machine
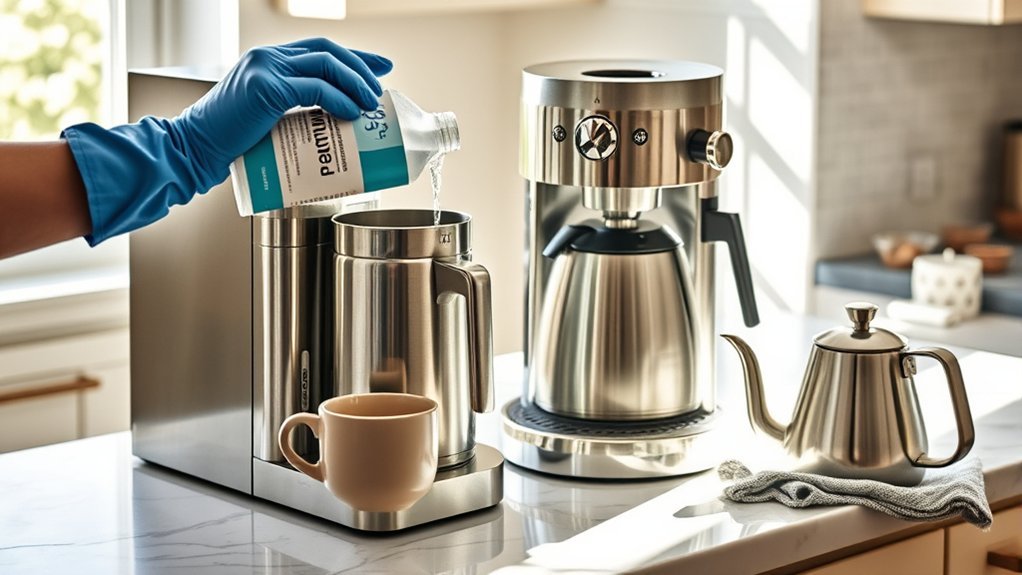
Descaling removes calcium and other mineral deposits from the water path. It is different from washing the carafe or brew basket, and it should not automatically be performed every week.
General Descaling Steps
- Read the model instructions. Confirm the approved product, mixture, volume, cycle, soaking time, filter-removal step, and rinse requirement.
- Prepare the machine. Remove coffee, pods, and disposable filters. Empty the drip tray and carafe. Remove a charcoal or softening filter if the manual requires it.
- Add the measured solution. Use a manufacturer-approved descaler. Use white vinegar only when your manual expressly allows it, and follow the specified ratio rather than guessing.
- Position a container. Use a carafe or heat-safe container large enough to hold the required output.
- Start the designated cycle. Select the cleaning or descaling program. Do not interrupt, pause, or unplug the machine unless its instructions tell you to do so.
- Discard the used solution. Do not reuse it.
- Rinse the reservoir. Wash or rinse it as directed and refill it with fresh water.
- Complete every rinse cycle. One machine may require one rinse, while another may require several full reservoirs.
- Reinstall the correct filter. Replace or reinstall it only after descaling and rinsing are complete.
- Reset the indicator. Follow the machine’s button sequence or allow its full program to finish. Simply running liquid through some brewers does not clear the alert.
Warning: Never mix vinegar, citric acid, or commercial descaler with bleach, chlorine cleaner, ammonia, or another cleaning chemical. CDC guidance warns against mixing household bleach with other cleaners or disinfectants because dangerous vapors can be released. Do not immerse the electrical base, and stop using the machine if liquid enters its housing.
Signs That Descaling May Be Needed
- The machine displays a clean or descale alert.
- Brewing takes longer than normal.
- The stream is weaker, uneven, or interrupted.
- The brewer makes unusual pumping sounds.
- The brewed volume is lower even though the reservoir level was correct.
- Visible white or chalky deposits appear around water-contact areas.
These symptoms can also be caused by clogged needles, trapped grounds, a misaligned reservoir, a failing pump, or another defect. If the approved cleaning process does not restore normal operation, move to troubleshooting rather than repeatedly running acid through the machine.
How to Ensure Your Water Quality for Better Coffee
Start with cold water that is safe to drink and has no objectionable odor or taste. Do not use hot tap water to fill the reservoir. The coffee maker is designed to heat the water itself.
Filtered Water Benefits
A suitable filter may improve coffee flavor by reducing chlorine taste, odor, sediment, or another specified substance. However, filters do not all perform the same job. A basic activated-carbon filter may improve taste without removing much scale-forming hardness, while a certified lead-reduction filter targets a health contaminant and must be installed, used, and replaced correctly.
If your machine develops scale quickly, check your local water-hardness information and the brewer manual. The appropriate response may be more frequent descaling, a manufacturer-approved softening cartridge, or a water-treatment system designed for hardness. Do not assume that every bottled or filtered water product is low in minerals.
Some manufacturers also advise against distilled, demineralized, reverse-osmosis, or highly purified water for particular machines because it may affect taste or machine operation. Requirements differ, so use the type of water specified for your brewer rather than choosing solely by the label on the bottle.
Water Hardness vs. TDS
Water hardness and total dissolved solids are related concepts, but they are not interchangeable. Hardness mainly reflects scale-forming minerals such as calcium and magnesium. TDS is a broader measure of dissolved material.
A handheld TDS meter typically estimates dissolved solids from electrical conductivity. It cannot tell you how much of the reading is calcium, magnesium, sodium, or another substance, and a low TDS number does not prove that water is free of a specific contaminant. If your coffee maker uses water hardness to set its maintenance interval, use the manufacturer’s recommended hardness strip or another appropriate hardness test rather than relying on TDS alone.
Testing Water Quality
A handheld TDS meter can be useful for comparing water samples or watching for a large change in dissolved-ion concentration, but it is not a drinking-water safety test.
Begin with your water utility’s current Consumer Confidence Report when you use a public water supply. If you use a private well or suspect a specific contaminant, contact the appropriate local authority or a certified laboratory. For lead concerns, the U.S. Environmental Protection Agency advises using cold water, proper testing, and a filter certified for lead reduction when filtration is needed, then replacing the cartridge on schedule.
The Specialty Coffee Association’s standards program includes technical standards for brewing equipment and recognizes the importance of controlled brewing conditions. For routine home maintenance, however, you do not need to chase one universal TDS or pH number. Safe drinking water, acceptable taste, suitable hardness, and compliance with the machine manual are more practical priorities.
Maintenance by Coffee Maker Type
Unless your appliance is specifically designed to handle another liquid, treat its water reservoir and internal water path as water-only components. Do not pour milk, creamer, syrup, cocoa, loose coffee, baking soda, or another beverage ingredient into a standard reservoir.
Drip Coffee Makers
- Wash the carafe, lid, basket, and reusable filter after brewing.
- Wipe the showerhead and area beneath the basket when cool.
- Do not pour loose baking soda, grounds, or undissolved powder into the internal water path.
- Check the pause-and-serve valve for residue if coffee drips when the carafe is removed or the basket overflows.
- Keep the warming plate clean and dry, but do not scrape it with abrasive tools.
Single-Serve Pod Brewers
- Remove used pods promptly and empty the drip tray.
- Wash the removable pod holder and funnel as directed.
- Use only the manufacturer’s approved needle-cleaning tool or procedure.
- Do not place fingers inside the pod chamber because entry and exit needles may be sharp.
- Complete the full descaling and rinse sequence so the alert can reset correctly.
Espresso and Bean-to-Cup Machines
- Knock out the puck and rinse the portafilter and basket after use.
- Flush or brush the group head as the manual directs.
- Backflush only machines designed for backflushing and only with an approved detergent.
- Empty and clean the drip tray and grounds container frequently.
- Clean removable brew groups, grinder chutes, and hoppers according to the manufacturer’s schedule.
- Never put water into a grinder or wash burrs unless the grinder instructions specifically allow it.
Milk Systems and Steam Wands
- Purge a steam wand before and immediately after steaming when your machine’s instructions call for it.
- Wipe the wand while residue is still fresh, taking care around hot metal and steam.
- Refrigerate or discard unused milk rather than leaving it in a room-temperature container.
- Disassemble and wash milk tubes, frothers, and carafes at the interval stated in the manual.
- Run the machine’s milk-cleaning program when prompted.
Top Mistakes That Harm Your Coffee Maker’s Performance
- Using a weekly vinegar cycle without checking the manual: Acid cleaning may be too frequent or incompatible with the prescribed process.
- Confusing cleaning with descaling: Descaler does not replace washing oily carafes, baskets, portafilters, drip trays, or milk parts.
- Leaving wet grounds or pods in the machine: Moist residue produces stale odors and can block small openings.
- Reassembling wet parts: Trapped moisture contributes to odors and makes residue harder to detect.
- Putting non-water liquids in a standard reservoir: Milk, syrup, cocoa, or other beverage ingredients can foul internal tubing and are inappropriate unless the appliance is expressly designed for them.
- Using abrasive pads or harsh cleaners: These may scratch coatings, cloud plastic, or damage seals.
- Skipping rinse cycles: Cleaner left in the water path can affect taste and may trigger recurring alerts.
- Assuming every filter softens water: A taste filter may not substantially reduce scale-forming hardness.
- Overfilling the basket or using an unsuitable grind: This can slow drainage and cause the basket to overflow, especially when a permanent filter is used.
- Ignoring a damaged cord or leak: Continuing to operate an electrically powered appliance with these symptoms creates an avoidable safety risk.
- Opening a sealed electrical base: Internal repairs should be handled by an authorized technician unless the appliance was designed for user service.
Recommended Products for Effective Coffee Maker Maintenance
You do not need a large cleaning kit. Choose tools and solutions that match the machine rather than buying a generic product for every task.
Essential Cleaning Solutions
- Mild dish soap: For washable carafes, lids, baskets, drip trays, and other removable food-contact parts.
- Manufacturer-approved descaler: The safest default for internal mineral removal when the machine calls for descaling.
- White vinegar: Use only when the manual permits it and gives a measured procedure.
- Approved espresso detergent: For backflushing or cleaning coffee oils from compatible espresso components.
- Approved milk-system cleaner: For automatic tubes or carafes when the machine requires a dedicated cleaning product.
Baking soda can help clean or deodorize some removable carafes when it is fully rinsed away. Do not run baking soda through internal tubing unless the manufacturer specifically instructs you to do so.
Recommended Maintenance Tools
- A soft microfiber cloth
- A nonabrasive sponge
- A small nylon cleaning brush
- The machine’s supplied needle or milk-tube tool
- A heat-safe container large enough for the descaling output
- Correct replacement water filters and seals for the exact model
- Water-hardness test strips when the manufacturer uses hardness to set the maintenance interval
A separate thermometer is not essential for most automatic coffee makers. It is useful mainly when diagnosing temperature performance or dialing in a manual brewing process.
Troubleshooting Common Maintenance Problems
The Coffee Maker Still Brews Slowly
Check for an incomplete descaling cycle, a blocked pod needle, trapped grounds, a clogged permanent filter, or a reservoir that is not fully seated. Run only the approved procedure. Repeated acid cycles can be counterproductive when the real problem is a pump, valve, sensor, or electrical fault.
The Descale Light Stays On
Many machines clear the alert only after the entire programmed cycle and required rinses are completed. Check whether the reservoir must be refilled, a button must be held, or the brewer must remain powered through the final stage. Use the exact reset procedure for the model.
Coffee Tastes Like Cleaner or Vinegar
Discard the beverage and run the required fresh-water rinse cycles. Wash the carafe and removable reservoir separately when permitted. Continue rinsing only as the instructions allow; do not try to neutralize an acidic cleaner with another chemical.
The Coffee Maker Smells Bad
Remove old grounds or pods, wash the basket, carafe, removable reservoir, drip tray, and reusable filter as applicable, then let the parts dry completely. Inspect accessible valves, milk tubes, and grounds bins. If the smell is electrical, burning, or accompanied by smoke, unplug the machine and stop using it.
The Coffee Maker Leaks
Make sure the reservoir, carafe lid, brew basket, drip tray, and seals are seated correctly. Check for cracks and overfilling. A few drops from condensation are different from water entering the electrical base. Unplug the machine and seek service if the source is internal or near wiring.
The Brew Basket Overflows
Use the recommended filter type, avoid overfilling the basket, and choose a grind suitable for the brewer. Clean the basket outlet and pause-and-serve valve. Make sure the carafe and lid are positioned correctly so the valve can open.
When to Call a Pro for Coffee Maker Repairs
Stop troubleshooting and contact the manufacturer or an authorized repair provider when you notice:
- A damaged, frayed, or unusually hot power cord
- A burning smell, sparks, smoke, or repeated breaker trips
- Water leaking into or beneath the electrical housing
- A cracked boiler, pressurized component, or steam-control failure
- Repeated error codes after the prescribed reset
- No heating, uncontrolled heating, or failure to shut off
- Grinding, rattling, or pumping noises that continue after cleaning
- A persistent loss of pressure or flow in an espresso machine
Do not open a sealed appliance merely to see what is wrong. Internal capacitors, heating components, sharp parts, steam pressure, and live wiring may remain hazardous.
Before approving a repair, compare the estimate with the machine’s age, warranty, replacement-part availability, and replacement cost. A cracked carafe or removable gasket may be economical to replace. A leaking boiler or failed control board in a low-cost brewer may not be.
How to Store a Coffee Maker Between Uses
- Unplug the machine and let it cool.
- Remove grounds, pods, beans, milk, and disposable filters.
- Wash and dry every removable part.
- Empty the reservoir, drip tray, internal waste bin, and carafe.
- Follow the manual’s draining or storage procedure if the machine has an internal tank or boiler.
- Leave the reservoir lid or brew area slightly open until remaining accessible moisture has evaporated.
- Store the clean machine upright in a dry, frost-free location with the cord loosely secured. Residual internal water can freeze in some machines if they are stored below freezing.
After long storage, inspect the cord, seals, reservoir, and interior for damage or odor. If the brewer has been kept in a cold location, allow it to return to room temperature as instructed by the manufacturer. Run the manual’s rinse or startup procedure before brewing coffee.
Frequently Asked Questions
How often should I replace the coffee maker’s water filter?
Use the schedule printed in the brewer or filter instructions. Some Cuisinart charcoal-filter guidance uses 60 days or 60 uses, but other machines and filter types use different intervals. Replace a filter sooner if its instructions require it or if it reaches its rated capacity.
Can I use tap water instead of filtered water?
Yes, if your cold tap water is safe to drink, tastes acceptable, and meets the machine’s requirements. Filtered water may improve flavor or address a specific contaminant, but not every filter reduces hardness. Check local water information and the brewer manual.
What should I do if my coffee maker smells bad?
Discard old grounds or pods, wash all removable food-contact parts, empty and clean the drip tray, and let everything dry. Follow the approved cleaning cycle if the odor comes from the water path. Unplug the machine immediately if the smell is electrical or burning.
Is it safe to use bleach for cleaning my coffee maker?
Do not put bleach into the reservoir or internal water path unless the appliance manufacturer explicitly provides a procedure, which is uncommon for home brewers. Never mix bleach with vinegar, citric acid, descaler, ammonia, or another cleaner. Use the approved product and rinse exactly as directed.
How do I know when my coffee maker needs repair?
Seek repair when approved cleaning does not correct slow flow, low pressure, repeated errors, leaks, abnormal noises, or heating problems. Stop using the machine immediately for a damaged cord, electrical odor, smoke, sparks, or water entering the base.
Can I use vinegar to descale every coffee maker?
No. Some manufacturers allow vinegar and provide an exact ratio, while others direct owners to a formulated descaling product or a specific program. Check the model manual before putting vinegar into the reservoir.
Why is the descale light still on after cleaning?
The brewer may not have completed its programmed cycle, required rinses, or reset sequence. Refill the reservoir if prompted and follow the model-specific steps from beginning to end. Do not repeatedly add descaler simply because the light remains on.
Can the wrong coffee grind damage my machine?
An unsuitable grind usually affects flow and extraction rather than directly damaging a drip brewer. Grounds that are too fine, an overfilled basket, or an incorrect filter can slow drainage and cause overflow. Espresso machines may require a grind adjustment to prevent choking or channeling.
Should I leave the coffee maker lid open after use?
After the machine is off, cool, and emptied as appropriate, leaving a removable reservoir lid or brew area slightly open can help accessible moisture evaporate. Let washable parts dry fully before reassembly, then close the machine to keep out dust. Follow any different storage instructions in the manual.
Can I use distilled water in a coffee maker?
It depends on the machine. Some manufacturers advise against distilled, demineralized, or highly purified water because it can affect taste or how a particular brewer operates. Check the water requirements for your exact model instead of assuming distilled water is always the best choice.
Conclusion
The best coffee maker maintenance plan is simple, regular, and specific to the machine. Wash removable food-contact parts before residue dries, keep milk components especially clean, remove wet grounds promptly, and let washable parts dry between uses. Treat descaling as a separate task and perform it when the manual, indicator, water hardness, or brew count calls for it.
Avoid universal vinegar formulas, harsh or mixed cleaning chemicals, non-water liquids in a standard reservoir, and assumptions about water filters or TDS readings. Complete every required rinse and reset step, inspect the machine for leaks and wear, and stop using it when an electrical or pressurized component appears unsafe. These habits reduce avoidable clogs, odors, overflow, scale-related problems, and premature service issues.
Sources
- Cuisinart: How to Clean a Coffee Maker — Supports washing removable parts, unplugging before heavy cleaning, water-filter care, vinegar guidance for compatible Cuisinart models, and hardness-dependent descaling.
- Keurig Support: Descaling Guidance — Supports model-specific descaling intervals, descale indicators, and completion of the prescribed program.
- Mr. Coffee: How to Clean Your Coffee Maker — Supports a brew-count-based cleaning interval for certain brewers.
- U.S. Environmental Protection Agency: Lead in Drinking Water — Supports cold-water use, certified lead-reduction filtration, correct cartridge replacement, and appropriate testing.
- Specialty Coffee Association: Coffee Standards — Supports the role of formal brewing-equipment standards and controlled brewing conditions in coffee quality and consistency.
- Centers for Disease Control and Prevention: Cleaning and Disinfecting With Bleach — Supports the warning never to mix bleach with other cleaners or disinfectants.