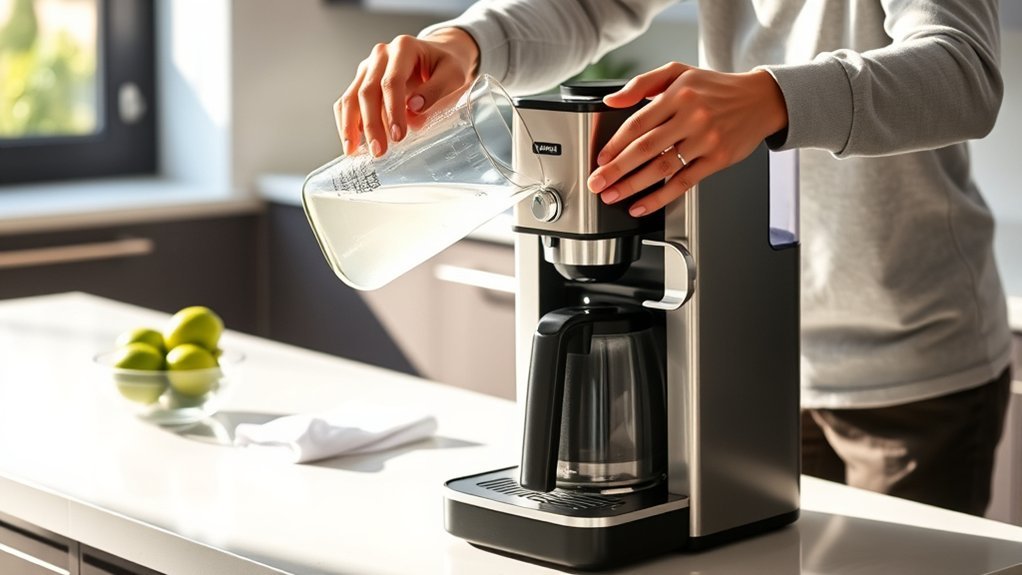
A coffee maker water reservoir holds the water your machine uses for brewing. Keeping it clean helps prevent stale odors, visible residue, and mineral deposits, but reservoir washing is not the same as descaling the machine. The safest routine is to follow your model’s manual for cleaning frequency, dishwasher use, water type, filter care, and approved descaling products.
Quick Answer
Clean a coffee maker water reservoir by washing it with warm water, mild dish soap, and a soft nonabrasive cloth or sponge when the manual permits. Rinse thoroughly to remove soap residue and let it air-dry. Wash the reservoir separately from descaling the internal heating lines, and never use boiling water or unapproved cleaners on plastic tanks.
Key Takeaways
- Wash the reservoir and descale the machine as separate maintenance tasks. Reservoir cleaning removes surface film; descaling dissolves mineral scale from internal plumbing.
- Do not assume vinegar, dishwashers, or distilled water are safe for every machine. Always verify with your model-specific manual.
- Never pour boiling water into a plastic reservoir, as heat can warp the tank and ruin base seals.
- Inspect the bottom spring valve and rubber O-ring seal regularly to prevent countertop leaks.
- Replace the reservoir only when it is cracked, leaking, warped, or unable to seal—not on a set calendar timeframe.
At a Glance
| Time Required | 5–10 minutes for routine washing; 20–45 minutes for a full machine descaling cycle |
| Difficulty | Easy |
| Tools Needed | Fresh water, mild liquid dish soap, soft microfiber cloth or nonabrasive sponge, soft bottle brush; OEM descaler when descaling is due |
| Cost | Under $5 for routine supplies; $10–$25 for manufacturer descaling kits |
Warning: Turn the coffee maker off, unplug it, and let all heating components cool completely before cleaning. Never submerge the main brewer body in water. Do not put plastic reservoirs into a dishwasher or expose them to boiling water unless your specific user manual explicitly permits it.
How to Clean Your Coffee Maker Water Reservoir Effectively

The safest cleaning routine depends on whether your reservoir is removable or built into the machine body. For instance, the official Keurig K-Express Essentials Gen2 guide instructs users to hand-wash the reservoir with warm, soapy water and notes that the tank and lid are not dishwasher-safe. Similarly, Breville manuals advise cleaning the water tank with gentle dishwashing liquid and warm water. Following model-specific advice prevents scratched plastics, compromised valve seals, and voided warranties.

Power your essentials anywhere with a 999Wh pure sine wave power station delivering up to 1000W continuous with 2000W surge. It supports fast charging via USB-C PD 60W and USB-A QC 18W, plus simultaneous output for multiple devices through AC, USB, wireless, and car/DC ports. Recharge using AC, car, or solar with a built-in MPPT controller and dual cooling fans, while the upgraded battery management system protects against surges, short circuits, and overheating.

Descales your coffee maker, fighting hard water deposits and mineral buildup for a better tasting brew

12 FILTERS = UP TO 2 YEARS SUPPLY – Each charcoal filter lasts about 2 months, giving you long-lasting performance and better value for your daily coffee routine.
Cleaning a Removable Water Reservoir
- Consult your manual: Verify whether the tank is hand-wash only, if it has a built-in filter holder, and whether specific cleaning products are prohibited.
- Unplug the brewer: Disconnect power and allow the appliance to cool down completely.
- Remove the tank and water filter: Lift the reservoir off the base. If your tank contains an in-reservoir charcoal or resin filter cartridge, detach and set it aside; soap must never touch the filter cartridge.
- Empty and pre-rinse: Dump any standing water and rinse the reservoir with lukewarm tap water to dislodge loose debris.
- Wash with mild soap: Apply mild liquid dish soap to a soft sponge or microfiber cloth. Clean all interior walls, the outer surface, and the lid. Use warm—never boiling—water.
- Clean the base valve and seal: Gently wipe around the spring-loaded release valve and rubber O-ring at the bottom of the tank. Do not push rigid tools into the valve assembly.
- Rinse thoroughly: Rinse repeatedly with clean water until every trace of soap scent and suds is gone.
- Air-dry: Place the reservoir upside down on a clean dish rack or mat. Avoid drying the interior with a standard kitchen towel, as cloth fibers and lint can stick to damp plastic and clog internal needles.
- Reinstall and refill: Reseat the tank firmly on the brewer base, reinsert the water filter if used, and fill with fresh water.
Cleaning a Built-In or Non-Removable Reservoir
Never pour soapy water into a non-removable reservoir, as rinsing suds out of internal lines is nearly impossible without running dozens of cycles. For fixed tanks:
- Unplug the coffee maker.
- Wipe all accessible internal walls using a soft cloth lightly dampened with warm water.
- Use a clean, damp microfiber cloth to remove any loosened residue.
- Leave the reservoir lid open to allow the chamber to air-dry completely.
- Run a plain-water brew cycle before preparing coffee to flush any dislodged dust from the internal lines.
Pro Tip: If your removable reservoir has tight corners or deep channels, use a flexible silicone bottle brush. Silicone bristles effectively dislodge slippery biofilm without creating microscopic scratches where bacteria and minerals can anchor.
Why You Should Clean Your Reservoir Regularly
Water sitting in a warm, lit kitchen environment creates an ideal setting for biofilm formation and mineral accumulation. Regular reservoir care directly protects both the appliance mechanics and the sensory quality of your coffee.
While moisture promotes microbial activity, scientific findings should be cited accurately. A 2015 Scientific Reports study on coffee-machine bacteriomes identified diverse bacterial communities in the drip trays and coffee-waste leach of pod machines, rather than in the clean cold-water tank. This research highlights the necessity of regular appliance hygiene without making unsubstantiated claims that fresh-water tanks inherently harbor dangerous pathogens.
Consistent reservoir cleaning provides four distinct benefits:
- Biofilm and Algae Prevention: Frequent washing prevents slick biological films and green algae growth, especially in transparent tanks exposed to ambient sunlight.
- Pure Coffee Flavor: Removing stagnant water and residue ensures the subtle aromatic notes of your coffee are not tainted by stale or musty water.
- Component Longevity: Keeping the tank base clean prevents scale and debris from jamming the spring valve or degrading the rubber O-ring seal.
- Early Damage Detection: Washing the tank allows you to spot hairline cracks, plastic hazing, scale buildup, or sticking water-level floats before mechanical failures occur.
Best Cleaning Solutions for Coffee Maker Reservoirs
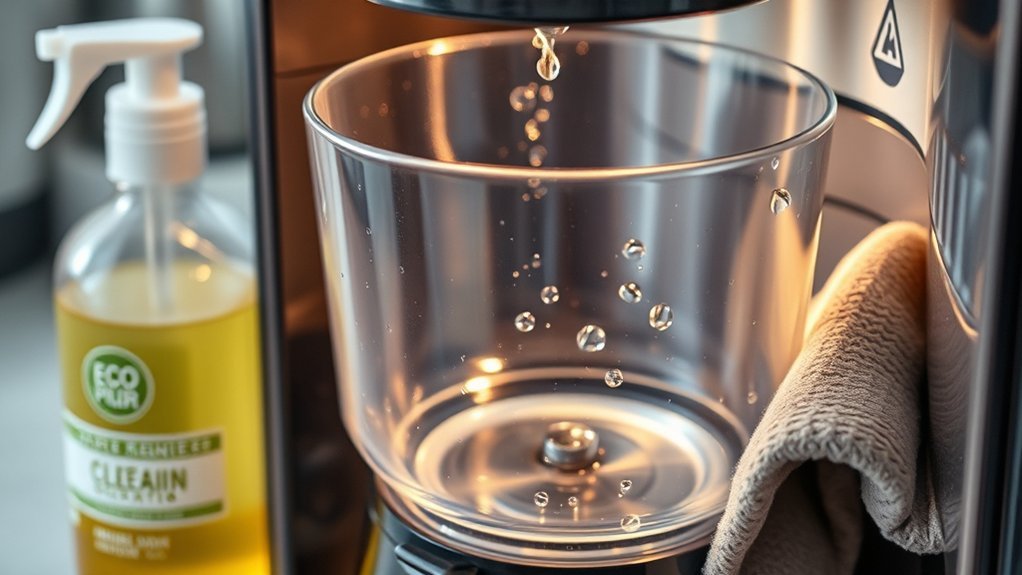
Selecting the proper cleaning agent depends on whether you are removing daily surface residues, eliminating organic odors, or stripping internal mineral scale.
| Maintenance Task | Recommended Solution | Usage Instructions & Precautions |
|---|---|---|
| Routine Surface Washing | Warm water + mild dish soap | Use non-concentrated soap and a soft sponge; rinse thoroughly to prevent soapy residue. |
| Internal Limescale Removal | Commercial OEM descaling solution | Follow exact manufacturer dilution ratios; run through the brew cycle, not for static tank soaking. |
| Vinegar Descaling | White vinegar + water (OEM approved only) | Only use when explicitly permitted. Follow specified ratios and run multiple clean-water flushes. |
| Odor & Light Mineral Film | Baking soda paste or dilute citric acid | Gently wipe surfaces with a soft cloth to neutralize odors; avoid scrubbing vigorously on soft acrylics. |
For example, Cuisinart’s official cleaning guide outlines specific vinegar-to-water ratios for descaling its drip coffee makers based on local water hardness. Conversely, brands like Breville and Keurig often specify citric acid-based descalers to protect internal silicone seals and aluminum boilers. Always prioritize your specific manual over generic home remedies.
Tips for Preventing Build-Up and Maintaining Reservoir Hygiene
Maintaining a clean water reservoir requires simple preventative habits rather than harsh chemical interventions.
- Empty and refresh water daily: Do not leave water sitting in the tank for days. The Breville Barista Pro manual emphasizes replacing standing water daily with fresh, cold tap water before brewing.
- Shield from direct sunlight: If your coffee maker sits near a sunny kitchen window, the combination of light and room-temperature water can trigger green algae growth inside clear tanks. Position the machine in a shaded area.
- Use the correct water type: Filtered tap water is ideal for most machines. Avoid using 100% distilled or demineralized water unless explicitly required, as sensors in many modern brewers need mineral ions to detect water levels, and pure distilled water can extract bitter compounds from coffee grounds.
- Replace water filters promptly: Built-in charcoal or resin filters lose their effectiveness over time and can become collection points for trapped particles. Replace cartridges every 2–3 months as directed.
- Descale proactively: Address limescale as soon as your machine’s alert triggers or flow rates drop, preventing mineral particles from flaking into the reservoir base.
- Dry thoroughly before storage: If taking your machine out of service for vacations or moving, empty the reservoir, wash it, and let it dry completely with the lid open.
Note: Replacing an in-tank water filter cartridge is regular maintenance, not an indicator that the tank itself must be discarded. Reservoirs are durable components meant to last the lifetime of the brewer unless physically damaged.
How to Recognize When Your Reservoir Needs Cleaning

Inspect your water tank each time you refill it. Visual and sensory cues are more reliable indicators for cleaning than strict calendar schedules.
Visible Residue Buildup
Look for these physical warning signs:
- Chalky white scale: Mineral deposits settling along the waterline or coating the outlet port at the bottom.
- Slick interior walls: A clear, slippery bacterial biofilm that forms on wet surfaces over time.
- Green or dark discoloration: Algae or particle accumulation along seams, corners, or behind the water filter bracket.
- Cloudy plastic: Microscopic scale build-up making clear acrylic or tritan plastic look hazy.
If visible discoloration persists after thorough hand-washing with dish soap and warm water, soak the tank in a mild citric acid solution or replace the reservoir if the plastic has become permanently etched or degraded.
Unpleasant Coffee Taste
Off-flavors in your coffee can stem from several machine areas:
- Stale or musty taste: Typically caused by stagnant water left in the tank for multiple days or biofilm on reservoir walls.
- Sour or bitter taste: Often the result of rancid coffee oils in the brew basket, shower screen, or carafe.
- Metallic or astringent taste: Caused by heavy mineral scaling inside the heating element.
- Chemical or soapy taste: Leftover residue from improper rinsing after a cleaning or descaling cycle.
Isolate the issue by tasting fresh water dispensed directly through a clean cycle without coffee. If the water tastes off, wash the reservoir and run several fresh-water flushing cycles.
Common Issues With Coffee Maker Reservoirs and How to Fix Them
Most water reservoir problems involve seating, valve mechanics, or mineral buildup. Use this troubleshooting guide to resolve issues safely before considering part replacement.
| Symptom | Probable Cause | Practical Fix |
|---|---|---|
| Water leaks onto countertop | Misaligned tank, degraded base O-ring, trapped debris in spring valve, or cracked plastic | Inspect the rubber O-ring at the base. Clean around the spring-loaded plunger to clear debris. If the plastic is cracked, replace the reservoir. |
| Brewer indicates “Add Water” when full | Stuck magnetic float sensor, mineral scale around float track, or tank not fully seated | Ensure the tank is firmly seated. Gently tap or clean the magnetic float inside the tank column to ensure it moves freely. |
| Slow water flow or partial brew | Clogged exit mesh, internal limescale, or airlock in the intake valve | Clean the base filter screen with a soft brush. Run an OEM-approved descaling cycle to clear internal heating blocks. |
| Water left in tank after brewing | Normal baseline reservoir reserve, or machine timed out due to scale | Check if your model maintains a minimum water reserve by design. If output volume was lower than selected, descale the unit. |
Coffee Maker Reservoir Care: Cleaning vs. Descaling
To keep your coffee maker operating reliably, keep these two distinct procedures separate:
- Reservoir Cleaning: Focuses strictly on surface hygiene. It removes physical dust, biofilm, oils, and surface grime from the cold-water tank using warm water, mild soap, and nonabrasive tools.
- Descaling: Focuses on internal appliance plumbing. It dissolves hard calcium carbonate and magnesium scale deposits inside the boiler, pumps, and delivery needles using a specialized acid solution run through active brew cycles.
According to Breville’s maintenance documentation, typical home espresso and drip machines benefit from reservoir washing every 2 to 3 weeks, while full descaling is required every 1 to 3 months depending on usage and municipal water hardness.
Frequently Asked Questions
Can I use distilled water in my coffee maker reservoir?
Not universally. Many manufacturers, including Keurig and Breville, advise against using 100% distilled or demineralized water. Distilled water lacks minerals necessary for water-level sensors to operate and can lead to over-extraction and flat flavor. Follow your specific user manual regarding recommended water types.
How often should I replace my coffee maker reservoir?
There is no standard replacement schedule for water reservoirs. Tanks should only be replaced if they are cracked, warped from heat, leaking from the base valve, permanently clouded, or no longer seating correctly. Water filter cartridges inside the tank, however, should be replaced every 2 to 3 months.
Are replacement water reservoirs interchangeable between brands?
No. Water reservoirs are custom-molded to fit exact machine chassis. Valve geometries, magnetic float heights, latch tabs, and volume capacities differ significantly even between different models within the same brand. Always order replacement tanks using your brewer’s exact model number.
What materials are coffee maker reservoirs usually made from?
Most modern reservoirs are made from BPA-free plastics such as SAN (styrene acrylonitrile), Tritan copolyester, or polypropylene. Because these materials can warp under high temperatures, avoid boiling water and never place them on the bottom rack of a dishwasher unless approved by the manufacturer.
Can a dirty or damaged reservoir affect coffee taste?
Yes. Stagnant water, algae, or bacterial biofilm in the reservoir will directly impart musty or stale flavors to the brew. However, bitter or sour flavors are more commonly caused by old coffee oil buildup in the brew basket or heavy mineral scaling in the heating blocks.
Is vinegar safe for cleaning every water reservoir?
While white vinegar is commonly used for descaling certain drip coffee makers, it is not recommended for static soaking in all plastic reservoirs. Vinegar can degrade specific rubber O-rings over time and leave lingering odors that require multiple flushes to remove. Mild dish soap is safer for routine reservoir washing.
Should I empty the water reservoir every day?
Yes, refreshing the water daily is best practice. Emptying standing water prevents biofilm formation and ensures your coffee is brewed using fully oxygenated, fresh water for optimal flavor extraction.
Can I put my coffee maker water reservoir in the dishwasher?
Only if your user manual specifically states that the water tank is dishwasher-safe (typically top-rack only). Dishwasher heating elements can warp plastic tanks, ruin rubber valve gaskets, and cloud clear acrylics. When in doubt, hand-wash with warm water and mild soap.
Conclusion
Maintaining your coffee maker water reservoir is straightforward once routine surface washing is separated from internal machine descaling. Clean the reservoir every few weeks using warm water, mild liquid dish soap, and a nonabrasive cloth. Never expose plastic tanks to boiling water or unapproved dishwasher cycles, and make a habit of refreshing the water daily. These simple steps protect your machine’s seals, keep your coffee tasting vibrant, and extend the operating life of your brewer.
Sources
- Keurig K-Express Essentials Gen2 Use & Care Guide — specifications on reservoir hand-washing, water guidance, and descaling cycles.
- Cuisinart: How to Clean a Coffee Maker — routine reservoir maintenance, water filter replacement schedules, and vinegar descaling guidelines.
- Breville: Cleaning & Maintenance — recommended cleaning intervals and preventive appliance care.
- Breville Barista Pro Instruction Manual — water tank care, daily water refresh guidance, and distilled water precautions.
- Scientific Reports: The coffee-machine bacteriome — research detailing microbial dynamics in coffee machine drip trays and waste systems.