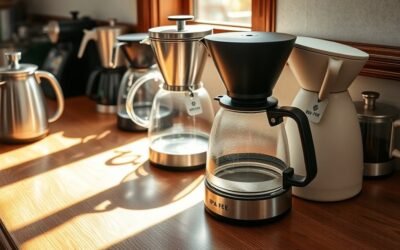
Replacing a coffee maker water filter is usually a quick job, but the correct cartridge, preparation time, holder orientation, and replacement schedule depend on the brand and model. The five-minute soak and 60-second rinse steps below match Keurig’s two-piece reservoir filter system; owners of other coffee makers should follow their model manual when the instructions differ.
Quick Answer
Confirm the cartridge fits your coffee maker, soak and rinse it as the manufacturer directs, clean the reusable holder, place the cartridge in the correct half of the holder, close the assembly, and press it into the reservoir until secure. Replace it on the schedule in your manual.
Key Takeaways
- Check the coffee maker model and filter-holder style before opening the new cartridge.
- For a Keurig two-piece holder, soak the cartridge for five minutes, rinse it for 60 seconds, and place it in the upper holder before snapping on the lower holder.
- Do not assume one replacement interval fits every brand; Keurig and Cuisinart use similar but not identical usage guidance.
- A reservoir filter can improve taste and odor, but it does not make unsafe water safe or replace descaling.
- Replace disposable charcoal cartridges rather than trying to wash and reuse them.
At a Glance
| Time Required | About 7–10 minutes, including soaking and rinsing |
| Difficulty | Easy |
| Tools Needed | Cup or small bowl, sink, clean towel, compatible cartridge, and existing filter holder |
| Cost | Varies by brand and pack size; no special tools are normally required |
Confirm the Filter Type and Model Compatibility
Start with the model number on the coffee maker’s label, usually found on the base, back, or underside. Compare that number with the cartridge package or the manufacturer’s compatibility list. Do not rely on appearance alone because similar charcoal cartridges and holder handles can have different dimensions.
The installation method in this guide is designed around a Keurig-style reservoir filter with an upper holder, lower holder, and replaceable charcoal cartridge. Keurig states that its current cartridge refills work with specified K-Cup and Keurig 2.0 filter handles and are not compatible with every brewer. Other brands, including Cuisinart, use their own holders and model lists.
Note: If your brewer has no removable reservoir filter holder, do not force a cartridge into the tank. Check the owner’s manual to confirm whether the model supports a water filter.
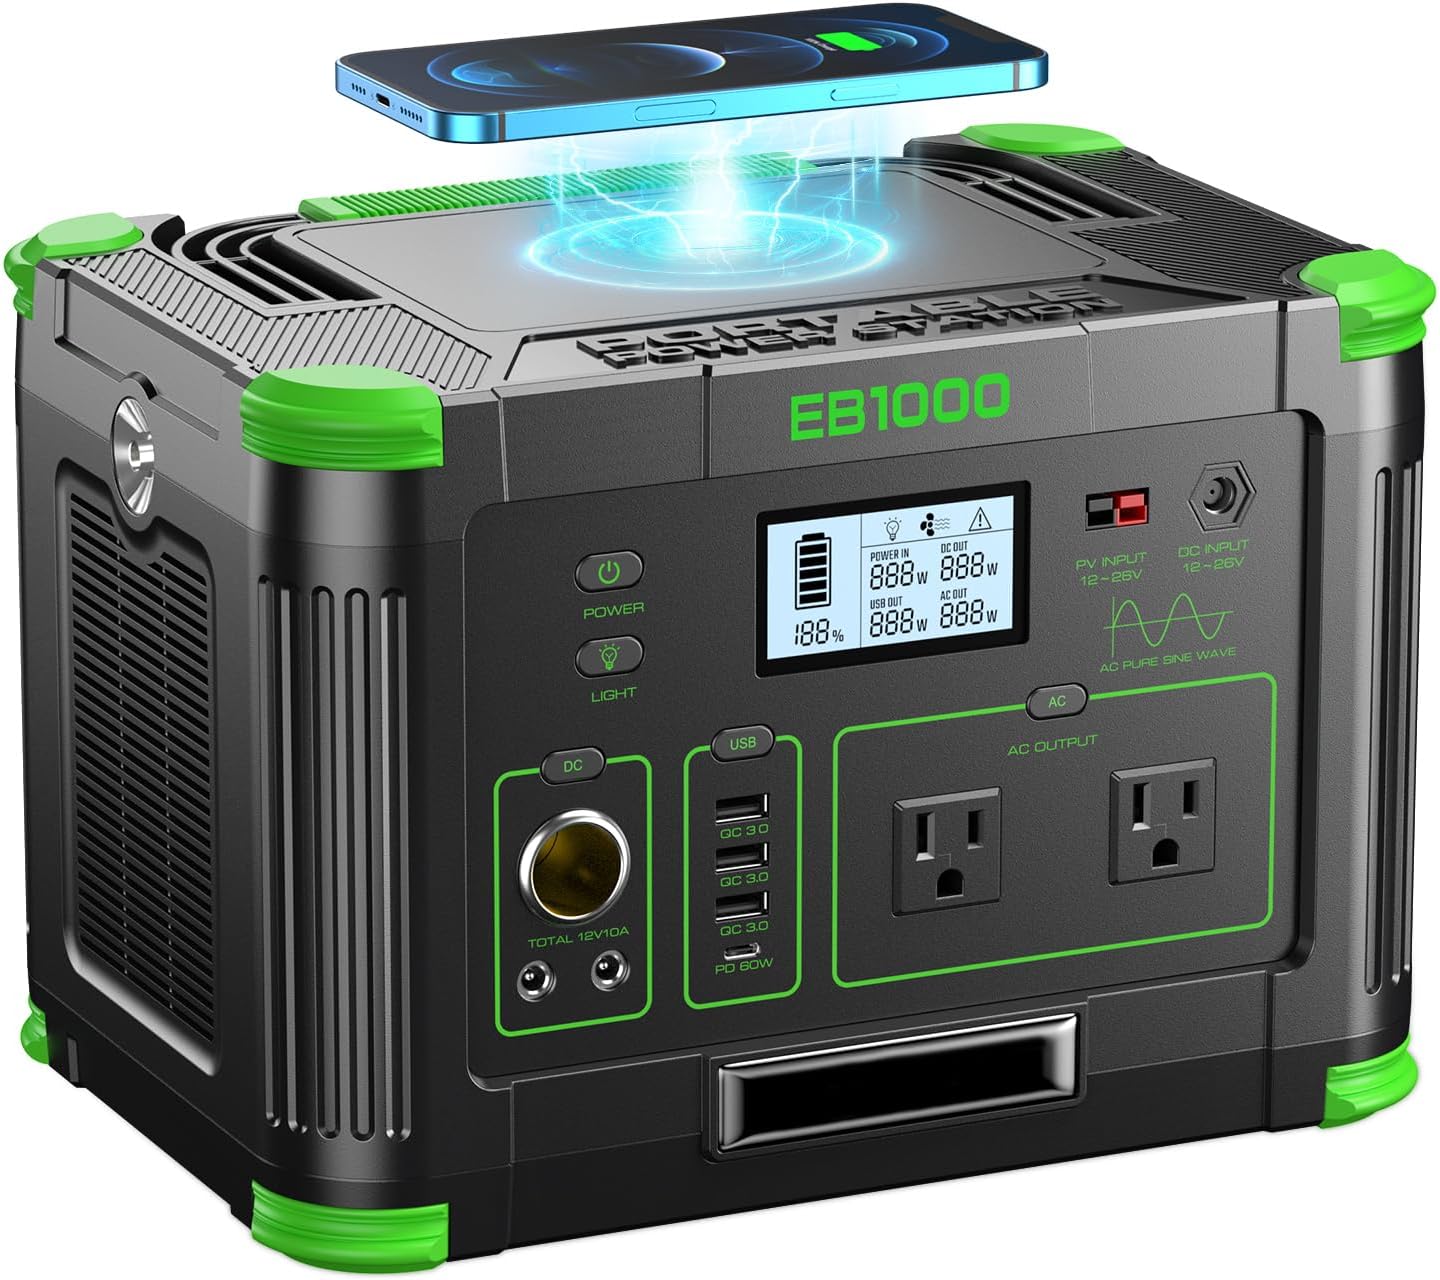
Power your essentials anywhere with a 999Wh pure sine wave power station delivering up to 1000W continuous with 2000W surge. It supports fast charging via USB-C PD 60W and USB-A QC 18W, plus simultaneous output for multiple devices through AC, USB, wireless, and car/DC ports. Recharge using AC, car, or solar with a built-in MPPT controller and dual cooling fans, while the upgraded battery management system protects against surges, short circuits, and overheating.

ENJOY THE DELICIOUS TASTE AND AROMA OF BREWED COFFEE - Removes chlorine, odors, calcium, and other water impurities prior to brewing so you can fully enjoy the delicious taste and aroma of brewed coffee. Replace every 30 days, or more often if you have hard water for best results.

Great tasting beverages start with great tasting water
Why Replacing Your Water Filter Matters
Many coffee maker cartridges use activated carbon to reduce chlorine taste, odor, and other aesthetic issues that can affect the flavor of brewed coffee. The exact reduction claims depend on the filter and its certification, so treat the package and manufacturer documentation as the source of truth.
An old cartridge can become less effective after its rated service period. Regular replacement also gives you a chance to rinse the reusable holder and inspect it for cracks, residue, or a loose latch.
A coffee maker filter is not the same as a whole-house treatment system, purifier, or water softener. NSF explains that filters certified under NSF/ANSI 42 address aesthetic issues such as chlorine, taste, and odor, while other standards cover specific health-related contaminants. No filter should be assumed to remove every possible contaminant.
Warning: Use water that is already safe to drink. A coffee maker reservoir cartridge does not make water safe during a boil-water advisory and does not replace treatment required for a private well or contaminated supply.
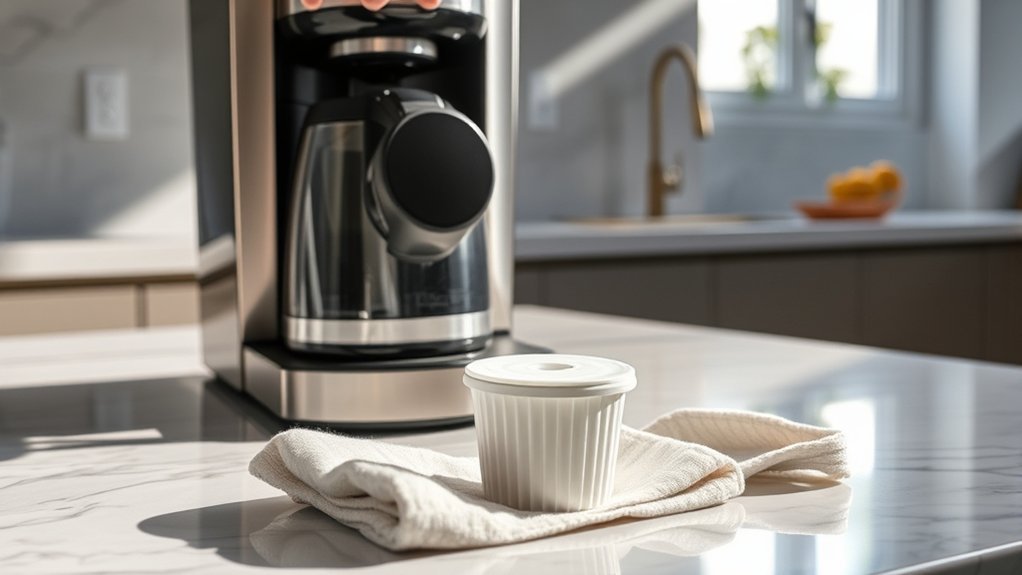
Gather Your Supplies for Filter Replacement
Prepare everything before opening the holder so the small parts stay clean and easy to find.
Required Supplies Overview
- A replacement water filter cartridge confirmed for your model
- The coffee maker’s existing upper and lower filter holders or filter handle
- A cup or small bowl filled with cool, clean water
- Access to a sink with cool running water
- A clean towel for the counter and wet parts
- Your owner’s manual or the manufacturer’s online instructions
Importance of Quality Parts
Use a cartridge that matches the holder and model. An original-equipment cartridge is the simplest compatibility choice, but a third-party cartridge may also work when its packaging clearly lists your model and the holder closes without force. Do not trim, compress, or modify a cartridge to make it fit.
Organize Your Workspace Efficiently
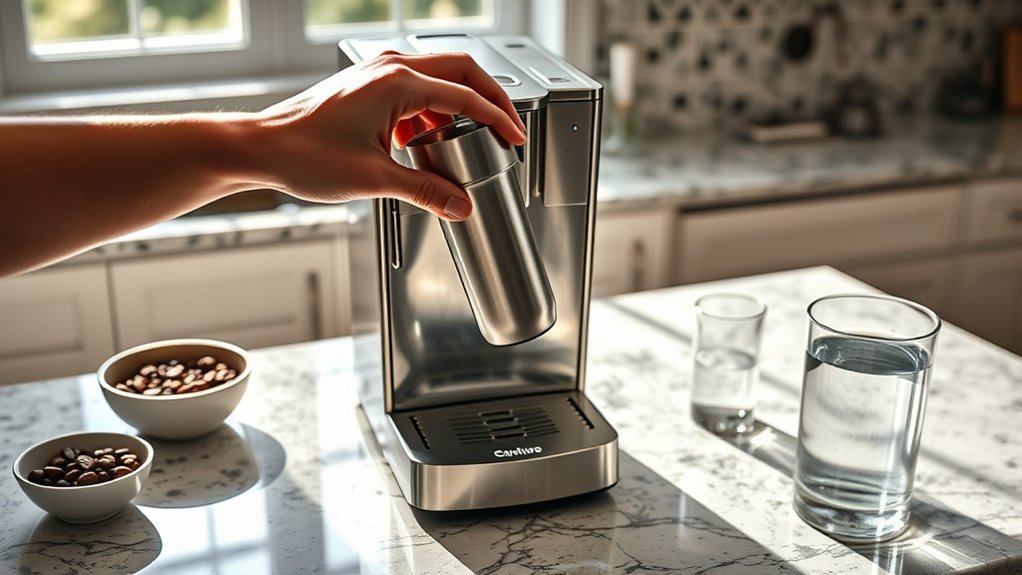
Work on a clean, flat surface near the sink. Keep the reusable holder away from coffee grounds, dish residue, and cleaning chemicals. Power off and unplug the coffee maker, let it cool, and remove or empty the reservoir if that makes the holder easier to reach.
Soak and Rinse Your Water Filter Cartridge
Preparation removes loose carbon dust and helps the cartridge become fully wet before installation. Follow the time printed on the cartridge package or in your manual because preparation steps vary by brand.
Importance of Soaking the Cartridge
For the Keurig two-piece water filter assembly, the official instructions call for soaking the cartridge in water for five minutes. Do not use hot water, soap, vinegar, or descaling solution on a new charcoal cartridge unless the manufacturer specifically directs it.
Proper Rinsing Techniques
After soaking a Keurig cartridge, rinse it under cool running water for 60 seconds. Hold it gently so water reaches all sides, but do not squeeze, scrub, or puncture the filter material.
| Step | Action for a Keurig-Style Cartridge |
|---|---|
| 1 | Soak the new cartridge in cool, clean water for five minutes. |
| 2 | Rinse the cartridge under cool running water for 60 seconds. |
| 3 | Wash the stainless-steel mesh on the lower holder with water. |
| 4 | Install the cartridge without twisting or forcing it. |
Pro Tip: Set a timer for both the soak and rinse. Guessing often leads to a rushed rinse and visible carbon specks in the reservoir.
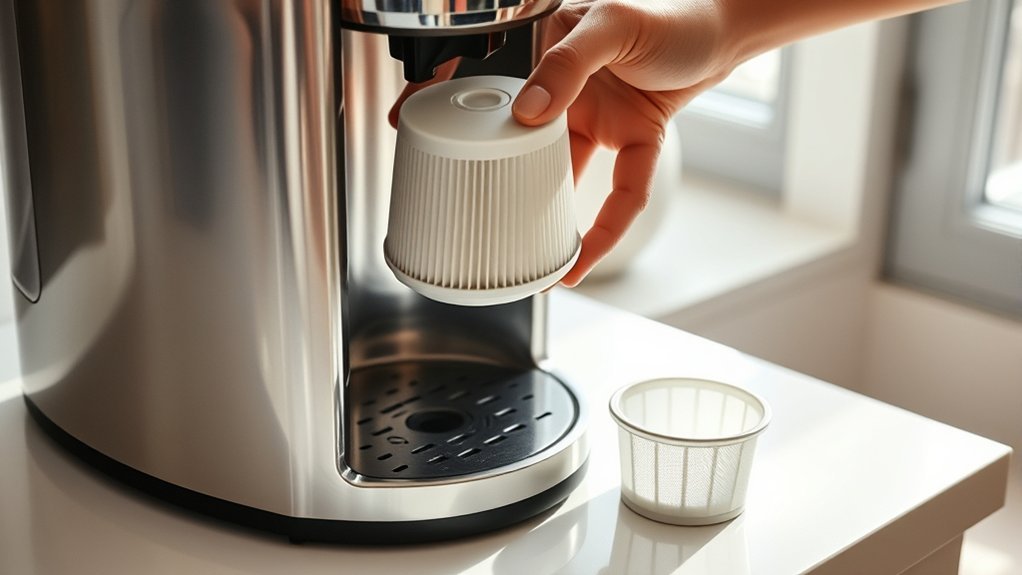
Step-by-Step Filter Installation
- Turn off and unplug the coffee maker. Let the brewer cool before reaching into the reservoir.
- Remove the old assembly. Lift the filter handle straight up from the reservoir. Open the holder and discard the used cartridge.
- Rinse the reusable holder. Wash the lower holder’s stainless-steel mesh and rinse the upper holder with clean water. Do not use abrasive cleaners.
- Prepare the new cartridge. For a Keurig cartridge, soak it for five minutes and rinse it for 60 seconds. Follow different timing when your manufacturer specifies it.
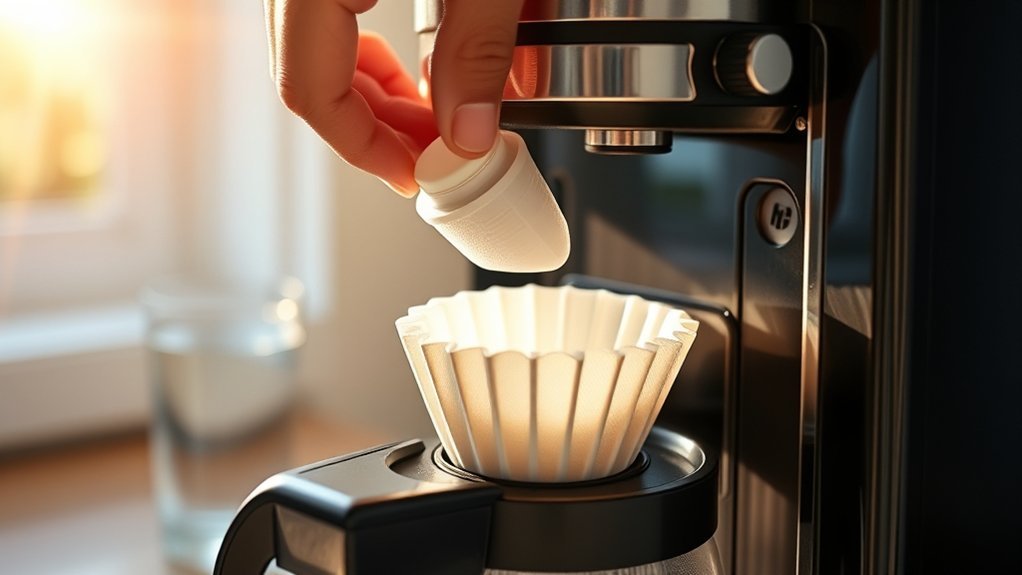
- Install the cartridge in the correct half. On the Keurig two-piece assembly, place the rinsed cartridge into the upper filter holder.
- Close the holder. Snap the lower filter holder onto the upper holder until the latch is fully seated. The halves should close without a gap or excessive force.
- Set the reminder. If the handle has a replacement-date dial, set it for two months ahead or for the interval in your model instructions.
- Reinstall the assembly. Place it in the reservoir and push straight down until it locks securely in place. Refill the reservoir with fresh drinking water.
Inspect the assembly before brewing. It should sit firmly, the holder should remain closed, and the reservoir should seat normally. If your manual calls for a water-only rinse cycle after installation, complete that cycle and discard the water before making coffee.
Correct orientation matters: on a Keurig two-piece holder, the cartridge goes into the upper holder before the lower holder snaps on.
Common Installation Mistakes to Avoid
- Using a cartridge that only looks similar: confirm the model list and holder type.
- Reversing the holder halves: the Keurig cartridge belongs in the upper holder, not the lower holder.
- Skipping the soak or rinse: follow the preparation time for your brand to reduce loose carbon dust.
- Washing a disposable cartridge with soap: soap can remain in the filter media and affect taste.
- Forcing the latch: a holder that will not close may contain the wrong cartridge or a misaligned filter.
- Assuming the filter replaces descaling: mineral scale forms inside water-contact parts and still requires the maintenance process in the owner’s manual.
- Using the same cartridge indefinitely: replace it by time, usage, or the brewer’s reminder—whichever comes first.
Troubleshooting After Filter Replacement
The Filter Holder Will Not Close
Remove the cartridge and check its orientation, size, and packaging. Make sure no part of the filter material is caught in the latch. Never cut the cartridge or force the holder shut.
The Assembly Will Not Lock in the Reservoir
Confirm that you have the correct tall, short, side-reservoir, or rear-reservoir handle for the brewer. Align the base with the reservoir mount and press straight down. If it still will not lock, compare the holder part number with the model manual.
You See Black Specks or Notice an Odd Taste
Remove the cartridge, soak and rinse it again using cool water, and rinse the holder and reservoir. Do not brew until soap, packaging debris, or visible loose carbon has been cleared. Replace the cartridge if the taste remains unusual.
Brewing Is Still Slow
A new reservoir filter may not solve scale buildup inside the brewer. Check the descale indicator and follow the model-specific descaling procedure. Remove the water filter before descaling when the manual directs you to do so.
Essential Maintenance Tips for Your Coffee Maker Filter
- Write the installation date on the cartridge package or set the holder’s reminder dial.
- Rinse the reusable holder each time you replace the disposable cartridge.
- Inspect the holder for a broken latch, cracked plastic, or damaged mesh.
- Keep spare cartridges sealed in a clean, dry place.
- Follow the brewer’s separate cleaning and descaling schedule; do not use a new cartridge as a substitute for descaling.
- Remove the reservoir filter before a descale cycle when your manual requires it, then reinstall it after the fresh-water rinse is complete.
Water Filter Replacement vs. Descaling
| Maintenance Task | What It Addresses | What to Do |
|---|---|---|
| Replace the reservoir filter | Chlorine taste, odor, and other claims listed for that cartridge | Install a compatible new cartridge on the manufacturer’s schedule |
| Descale the coffee maker | Mineral deposits inside the heating and water-flow system | Run the exact descale procedure for the model |
| Clean removable parts | Coffee oils, grounds, splashes, and surface residue | Wash parts only as allowed in the owner’s manual |
How Often Should You Replace Your Water Filter?
Use the interval stated by the filter and coffee maker manufacturer. Time and usage both matter, and hard water or heavy use may shorten the recommended service period.
| Brand or Situation | Published Guidance |
|---|---|
| Keurig reservoir cartridge | Every two months or after 60 tank refills, whichever comes first |
| Cuisinart charcoal water filter | Every 60 days or after 60 uses; Cuisinart advises changing it more often with hard water |
| Another brand or filter type | Follow the cartridge package and the exact coffee maker manual |
| Early replacement signs | Persistent off taste or odor, a damaged cartridge, a broken holder, or a manufacturer filter alert |
Frequently Asked Questions
Can I use a different brand of water filter?
Yes, but only when the replacement cartridge clearly lists your coffee maker model or holder as compatible. The holder must close and lock without trimming or forcing the cartridge. When compatibility is uncertain, use the manufacturer’s listed replacement part.
What happens if I forget to replace the filter?
The cartridge may become less effective after its service period, so chlorine taste, odor, or other issues covered by the filter may return. Replace the cartridge, rinse the holder, and continue the coffee maker’s separate cleaning and descaling routine.
How do I know when to replace the filter?
Use the manufacturer’s time or usage limit, the brewer’s filter alert, or the date dial on the holder. Replace it sooner if the cartridge is damaged or the filtered water develops a persistent off taste or odor.
Can I clean the water filter instead of replacing it?
Clean and reuse the plastic holder, but replace a disposable charcoal cartridge at the end of its service period. Rinsing an old cartridge does not restore its rated filtration capacity.
Is it safe to use tap water for soaking?
Use cool water that is safe to drink. If your tap water is under a boil-water advisory or is otherwise unsafe, do not rely on the coffee maker cartridge to treat it; use an approved safe water source and follow local guidance.
Do all coffee makers use a reservoir water filter?
No. Some coffee makers include a charcoal filter holder, some offer one as an accessory, and others have no compatible reservoir filter. Check the model manual before buying a cartridge.
Does a water filter eliminate the need to descale?
No. A reservoir cartridge and descaling serve different purposes. Replace the cartridge on its schedule and descale the brewer when the manual or descale alert directs you to do so.
Why are there black specks after installing a new filter?
They are often loose carbon particles from a charcoal cartridge. Remove the filter, repeat the soak and rinse steps, and rinse the holder and reservoir. Replace the cartridge if particles or an unusual taste continue.
Conclusion
A successful coffee maker water filter replacement starts with model compatibility and ends with a holder that is closed, locked, and installed securely. For a Keurig two-piece system, remember the correct sequence: soak for five minutes, rinse for 60 seconds, place the cartridge in the upper holder, attach the lower holder, set the reminder, and press the assembly into the reservoir. Keep replacing the cartridge and descaling the brewer as separate maintenance tasks.
Sources
- Keurig Water Filter Instructions — five-minute soak, 60-second rinse, holder orientation, date dial, installation, and replacement interval.
- Keurig Water Filter Cartridge Refills — current replacement schedule and compatibility information.
- Keurig Cleaning and Descaling Guidance — separate descaling maintenance for internal water-contact parts.
- Cuisinart Charcoal Water Filter — replacement timing, hard-water note, and model compatibility.
- NSF Standards for Water Treatment Systems — what NSF/ANSI 42 and other drinking-water filter standards cover.