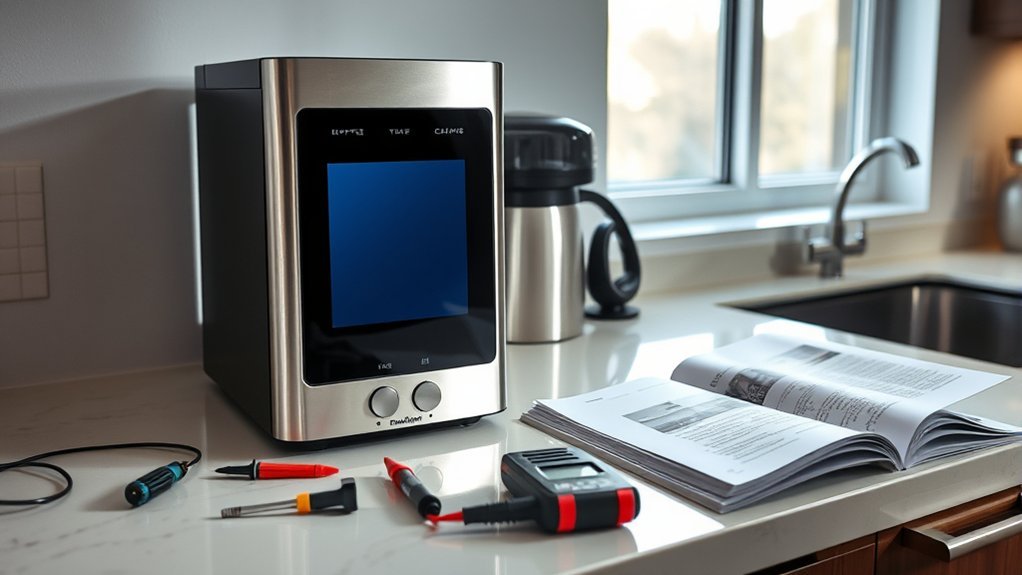
A blank, dim, flickering, frozen, or distorted coffee maker display can come from a power interruption, a setting that needs to be restored, moisture near the controls, or a failed display or control component. Start with checks that do not require opening the housing. The correct troubleshooting path depends on the exact brand and model.
Quick Answer
Confirm the outlet works, inspect the cord and plug, power-cycle the coffee maker, and restore any clock, brightness, sleep, or lock settings listed in its manual. Stop using the machine if you find moisture, scorching, cord damage, sparks, or repeated breaker trips. Do not open the housing unless the manufacturer specifically permits user service.
Key Takeaways
- A blank display does not automatically mean the screen failed. First rule out the outlet, breaker or GFCI, cord, plug, power switch, and a recent outage or surge.
- Use the exact model number to find the correct manual, reset procedure, warranty terms, error-code guidance, and recall information.
- A coffee maker that still brews with a blank display has a different fault pattern from one that is completely dead.
- Internal connectors and display boards vary by model. Do not treat a particular connector color, screw location, or disassembly sequence as universal.
- Do not power the machine with its housing open, and stop using it after liquid intrusion, scorching, sparking, unusual heat, or repeated electrical trips.
- Contact the manufacturer or a qualified appliance technician when safe external checks do not restore normal operation.
At a Glance
| Time Required | About 10–20 minutes for basic external checks |
| Difficulty | Easy for outlet, reset, settings, and exterior inspection; advanced for internal diagnosis |
| Tools Needed | Exact model manual, a known-good small appliance for outlet testing, and a soft dry cloth |
| Cost | Usually $0 for external checks; professional diagnosis and replacement parts vary by model |
Warning: Unplug the coffee maker and let it cool before cleaning, inspecting, or moving it. Do not use a machine with a damaged cord or plug, liquid inside the housing, a burning smell, visible scorching, sparks, unusual heat, or repeated breaker or GFCI trips. Some manufacturer manuals explicitly state that no user-serviceable parts are inside and that the housing must not be opened.
Identifying Common Coffee Maker Display Problems
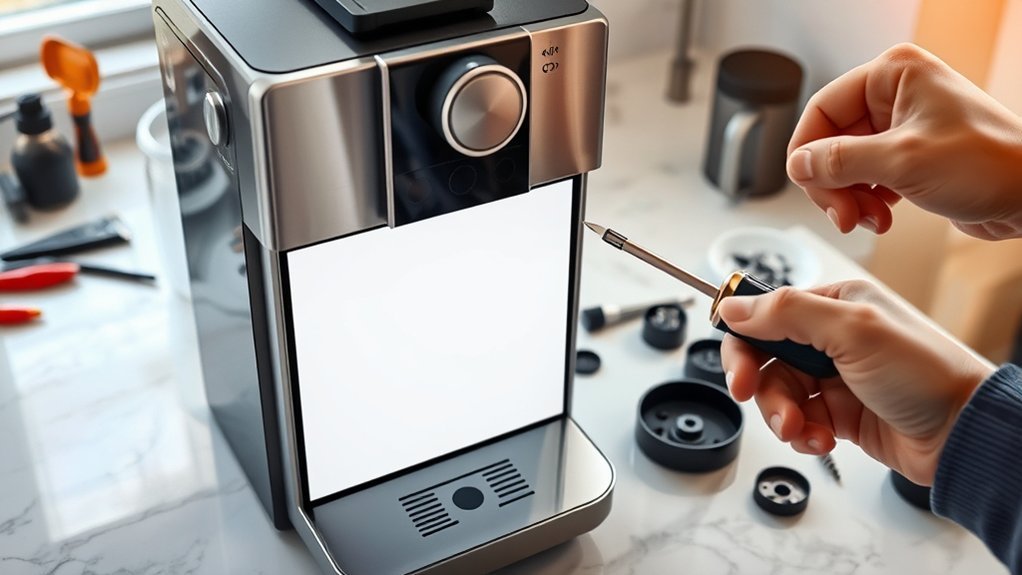
Start by noting exactly what the display is doing. A completely blank panel, flickering screen, frozen touchscreen, missing LCD segments, unreadable backlight, and an error message can point to different checks.
| Symptom | Likely Areas to Check | Best First Step |
|---|---|---|
| Display blank and machine completely dead | Outlet, breaker or GFCI, cord, plug, power switch, internal power supply | Test the outlet and power-cycle the machine |
| Machine brews but display is blank | Brightness or sleep setting, display panel, display connection, control board | Check model-specific display settings and support guidance |
| Display flickers or fades | Intermittent power, moisture, aging backlight, internal connection, control board | Stop if moisture is present; otherwise test the outlet and power-cycle the machine |
| Touchscreen is visible but frozen | Control lock, software state, moisture, touch panel, control board | Check lock settings, power-cycle using the manual, and keep the panel dry |
| Some digits or segments are missing | LCD panel, display cable, solder joint, control board | Document the symptom and contact service if a reset does not help |
| Display fails only after the machine heats up | Heat-sensitive electronic fault, loose connection, display board, control board | Stop using unattended-brew features and arrange service if the fault repeats |
| Error code or flashing indicator | Model-specific sensor, lid, water, cleaning, temperature, or control issue | Look up the exact code in the model manual |
A display symptom alone cannot prove that a connector is loose. A connection fault is one possibility on some models, but a failed display, damaged control board, moisture, or a power problem can produce similar symptoms.

Power your essentials anywhere with a 999Wh pure sine wave power station delivering up to 1000W continuous with 2000W surge. It supports fast charging via USB-C PD 60W and USB-A QC 18W, plus simultaneous output for multiple devices through AC, USB, wireless, and car/DC ports. Recharge using AC, car, or solar with a built-in MPPT controller and dual cooling fans, while the upgraded battery management system protects against surges, short circuits, and overheating.

Package includes: You will get 6 pack french press replacement filter screens, sufficient quantity to meet your daily filter replacements.

Mr coffee replacement parts Using high-quality stainless steel springs and food grade high-temperature resistant silicone sealing rings, it is durable, wear-resistant, and ensures long-lasting sealing. It is a high-quality substitute for original accessories.
Check the Model, Manual, Warranty, and Recalls First
Find the model number on the rating label, usually on the bottom or back of the machine. Use that exact number when searching the manufacturer’s support site. Similar-looking models may use different reset steps, fasteners, control boards, display assemblies, and safety instructions.
- Read the troubleshooting and safety sections in the model’s manual.
- Check whether the machine is still under warranty before removing any panel or screw.
- Search the U.S. Consumer Product Safety Commission coffee maker recall listings by brand and model.
- Follow the official recall remedy instead of attempting an unrelated repair. For example, Kidisle model KC101B was recalled on June 11, 2026 because the coffeemaker could become clogged and unexpectedly release hot liquid or steam.
Note: If your coffee maker is recalled, follow the exact CPSC and manufacturer remedy. Do not resell an unrepaired recalled product; CPSC states that selling or offering a recalled consumer product for sale is unlawful. The recall notice may require an immediate stop-use, refund, repair, replacement, or destruction procedure.
Test the Power Source and Reset the Coffee Maker
Check the Power Supply Connection
- Turn the coffee maker off and unplug it.
- Inspect the plug and the full visible length of the cord. Stop if you find cuts, exposed wire, melting, discoloration, a loose plug blade, or a hot-plastic smell.
- Test the wall outlet with a small known-good appliance. If the outlet is dead, check the breaker and any nearby GFCI reset button.
- Plug the coffee maker into the type of outlet required by its manual. Avoid an overloaded power strip or an unsuitable extension cord.
- Confirm that the machine’s main power switch or power button is in the correct position.
Manufacturer troubleshooting commonly begins with basic power checks. Keurig’s support pages include a dedicated “My Brewer Isn’t Powering On” troubleshooting path, while Hamilton Beach documentation for its FlexBrew line lists an unplugged unit, power outage, and power surge among reasons a machine may not turn on.
Power-Cycle and Reset the Settings
- With the machine off, unplug it and follow any waiting period or reset sequence specified in the exact model manual.
- If the manual gives no special sequence, reconnect the machine after a brief power cycle and press the normal power button once.
- If the display returns but the time flashes or the brew schedule is gone, reset the clock and programmed settings. Some programmable coffee makers require the clock to be reset after an outage.
- Check the manual for brightness, sleep, screen-lock, control-lock, or factory-reset options. Do not use a button sequence intended for a different model.
If the Display Failed After a Power Outage or Surge
A power interruption can erase the clock or programmed brew time, while a surge can leave the machine unresponsive. Perform the approved power-cycle, restore the clock and brew schedule, and test the outlet. If the display remains dead or the machine repeatedly trips electrical protection after a surge, stop troubleshooting and arrange service.
Pro Tip: Before resetting anything, take a clear photo of the screen, indicator lights, model label, and any error code. Also note when the fault occurs—at startup, during heating, after brewing, or after an outage. This information can help manufacturer support identify the correct troubleshooting path.
How to Check for Display Screen Damage
With the machine unplugged and cool, inspect only the exterior of the display and control panel.
- Look for cracks, impact marks, missing segments, discoloration, or a separated display lens.
- Check for condensation, droplets, coffee residue, or staining around buttons and screen edges.
- Wipe the exterior with a soft cloth that is only slightly damp, then dry it. Never spray cleaner directly onto the panel.
- Do not press hard on an LCD or use a sharp object to test an unresponsive touchscreen.
If liquid entered through the display, buttons, seams, or vents, leave the machine unplugged and contact the manufacturer or a qualified technician. Using it before the inside has been inspected can create shock, fire, or further component damage.
How to Identify a Possible Internal Display Connection Fault
A loose or damaged display connection may cause an intermittent, dim, blank, or distorted screen on some designs, but those symptoms are not conclusive. Confirming an internal connection problem requires model-specific service information or professional diagnosis.
Do not assume every coffee maker has the same connector type, color, location, locking tab, cable, or access method. If the user manual says there are no user-serviceable parts inside, stop after the external checks and use authorized or qualified service.
A blank display can resemble a loose cable fault, but it can also come from the screen itself, the control board, the internal power supply, moisture, or another electrical problem. Diagnose the exact model—not just the symptom.
When Coffee Maker Disassembly Is Actually Appropriate
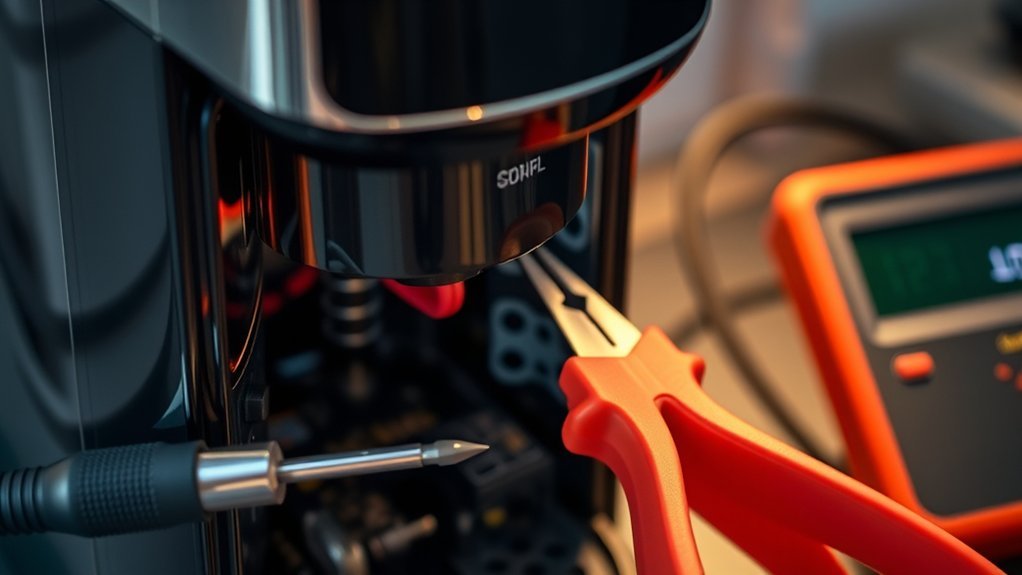
Disassemble a coffee maker only when the manufacturer’s documentation specifically permits the procedure or when the work is being performed by a qualified appliance technician. Many household coffee maker manuals warn against removing the cover or bottom because electrical and heated components are inside.
- Verify the exact model. Obtain the correct service information and confirm whether opening the housing affects the warranty.
- Disconnect and cool the machine. Turn it off, unplug it, empty removable water and coffee parts, and allow hot surfaces to cool.
- Prepare a dry work area. Keep water, metal jewelry, and loose hardware away from the appliance.
- Document the assembly. If service documentation authorizes access, photograph panels, cable routing, screw locations, and connector orientation before anything is moved.
- Use only the specified tools and fasteners. Do not assume a model uses a particular number of Phillips screws, hidden tabs, or an internal plate.
- Never energize an open appliance. Live internal testing belongs to trained service personnel using appropriate procedures and equipment.
- Stop when anything is unclear. Burn marks, corrosion, wet components, swollen parts, damaged insulation, or unfamiliar wiring require professional diagnosis.
If Service Documentation Identifies a Display Connector

Some coffee makers use a plug or ribbon connection between the display assembly and the main control board. Its color and design are not universal. Only inspect or reconnect it when the exact manufacturer or service documentation identifies that connector and permits the procedure, or when the work is performed by a qualified technician.
- Confirm the connector name and location in the correct service information.
- Keep the machine unplugged, cool, and fully dry.
- Inspect the connector housing, latch, contacts, and cable for scorching, corrosion, bent contacts, or damaged insulation.
- Align an approved connector exactly as documented. Never force it, twist it, or push on the wires.
- Make sure any locking tab is fully engaged.
- Route the cable exactly as specified so it cannot touch a hot part or become pinched during reassembly.
If a connector or board is discolored, wet, corroded, cracked, or loose because its latch has broken, do not repeatedly push it back into place. The damaged component should be professionally repaired or replaced.
Tips for Minimizing Coffee Maker Display Damage During Reassembly
When manufacturer-approved or professional service has opened the appliance, reassembly errors can pinch wires, crack plastic tabs, stress the display, or leave the enclosure unsafe. Follow the model’s documented sequence.
Handle With Care
| Action | Recommendation |
|---|---|
| Handle Components | Use gentle pressure and hold connectors by their housings, not their wires |
| Reattach Top Piece | Align tabs before pressing; stop if a panel does not sit flush |
| Check Connections | Confirm only documented connectors are fully seated and locked |
| Route Wires | Keep wires out of screw holes, panel edges, heaters, and moving parts |
| Install Fasteners | Return each screw to its documented location without overtightening |
Use Proper Tools
Use the driver type and size specified for the model. A poorly fitting screwdriver can strip a fastener or slip into a circuit board. Do not substitute a knife for a proper opening tool, and do not use a metal tool around internal electrical parts unless the approved service procedure specifically calls for it.
Before restoring power, verify that every cover, shield, tab, seal, and fastener is in its correct position. Never test the machine with loose panels or exposed wiring.
Testing Your Coffee Maker Display
After safe external troubleshooting—or after a qualified repair and complete reassembly—test the machine in a controlled sequence.
Confirm the Machine Is Fully Reassembled
If a qualified technician serviced an internal display connection, confirm that the housing is closed, no wire is pinched, and all required screws and shields are installed before plugging the coffee maker in. Never reach into the machine or adjust an internal connector while it is energized.
Perform a Safe Function Test
- Place the coffee maker upright on a dry, stable counter.
- Keep the area around the plug and controls dry.
- Plug it into the tested outlet and turn it on normally.
- Check whether the display is steady, readable, and responsive.
- Reset the time and programmed brew settings if needed.
- Run only the basic test or water-only cycle described in the manual.
- Unplug it immediately if you notice smoke, sparks, a burning smell, unusual heat, leaking into the base, or a tripped breaker or GFCI.
What Different Display Behaviors Can Mean
Blank or Flashing Screen After a Power Outage
A power interruption may clear the clock or programmed brew time. Power-cycle the machine according to its manual, then reset the clock. If the entire coffee maker remains dead, return to the outlet, breaker, GFCI, cord, plug, and power-switch checks.
Dim or Flickering Display
Check for a brightness setting, sleep mode, unstable outlet, or moisture near the panel. An aging display or internal electrical connection can also cause intermittent symptoms. If tapping the machine, moving the cord, or flexing the housing changes the display, stop using it and arrange service rather than trying to reproduce the fault.
Distorted Screen or Missing Segments
Persistent missing LCD segments or distortion can require diagnosis of the display panel, cable, solder connection, or control board. A reset can rule out a temporary control-state problem, but it cannot repair a physically damaged display.
Screen Works but Buttons Do Not
Check for a control lock, wet or sticky buttons, and model-specific button sequences. Clean only the exterior as directed by the manufacturer. If the controls remain unresponsive, discontinue automatic or unattended brewing until the machine is repaired.
Touchscreen Is Visible but Frozen
A visible but unresponsive touchscreen may be locked, temporarily stalled, wet, or failing electronically. Check the manual for a control-lock or restart procedure and keep the panel dry. Do not repeatedly press hard on the screen. If the same freeze returns after an approved reset, contact support.
Display Fails After the Machine Warms Up
If the screen works when the machine is cold but fades, flickers, freezes, or shuts off as the appliance heats, stop unattended use. A repeatable temperature-related fault may involve the display electronics, a connection, power supply, or control board and should be professionally diagnosed.
How to Keep Your Coffee Maker Display Working
- Keep the control panel dry and wipe spills promptly with the machine unplugged.
- Do not spray cleaner directly on the screen or buttons.
- Keep the coffee maker away from a sink edge, heavy steam, and direct heat.
- Use the outlet and cord arrangement required by the manual.
- Clean and descale on the schedule for the exact model. Maintenance intervals vary, so follow the clean or descale indicator when the manufacturer provides one.
- Do not routinely open the housing to “tighten” connectors. Internal inspection is not normal preventive maintenance for most consumer coffee makers.
Knowing When to Call a Professional for Coffee Maker Display Issues
Contact the manufacturer, an authorized service center, or a qualified appliance technician when:
- the outlet works but the display and machine remain dead after the approved reset;
- the screen repeatedly flickers, fades, freezes, or loses segments;
- the display failed after a spill, leak, drop, surge, or other power event;
- the fault appears only after the appliance heats up;
- the cord, plug, housing, or control panel is damaged;
- the machine smells hot, shows scorching, sparks, or trips electrical protection;
- an error code returns after the manual’s troubleshooting steps;
- the unit is under warranty; or
- the manual states that there are no user-serviceable parts inside.
Before contacting support, have the model and serial number, purchase date, warranty status, exact error message, and photos or video of the display behavior ready. Ask about diagnostic cost, part availability, warranty coverage, and whether the display is sold separately from the control board.
Replacement may make more sense when the required board or display is unavailable, the total repair cost approaches the price of a comparable new machine, or the appliance also has leaks, heating faults, cord damage, or multiple electrical problems.
Frequently Asked Questions
Can I use my coffee maker without the display?
Only if the manufacturer confirms that your model can be operated safely without the display and no warning signs are present. Do not rely on memorized button presses when the screen normally shows error messages, water status, temperature, brew size, or automatic-brew settings.
Why does my coffee maker still brew when the display is blank?
If brewing and indicator lights still work, the machine is receiving power, so the problem may be limited to a display setting, the display assembly, its connection, or the control electronics that drive it. Check brightness, sleep, and lock settings first, then use model-specific service guidance if the screen remains blank.
Can descaling fix a blank or flickering display?
Usually not. Descaling addresses mineral buildup in the water path, not a failed screen or electrical display fault. Descale when the manual or an on-screen clean/descale message calls for it, but do not expect descaling to repair a physically blank, damaged, or flickering display unless the model’s documentation specifically links the message to maintenance.
What tools do I need for coffee maker disassembly?
Safe external checks usually require no tools beyond the model manual, a known-good appliance for testing the outlet, and a soft cloth. Internal work requires the exact service procedure and proper tools. If the manual says not to open the housing, leave disassembly to authorized or qualified service personnel.
How often should I perform maintenance on my coffee maker?
Follow the schedule in the exact model manual. Removable parts may need frequent cleaning, while descaling may depend on a clean light, water hardness, brew speed, or a manufacturer interval. A single three-to-six-month rule does not fit every coffee maker.
Are there common signs of a failing coffee maker display?
Common signs include persistent flickering, a dim or blank screen, missing segments, distorted characters, a frozen touchscreen, or a display that changes when the housing or cord moves. These symptoms can also come from power or control-board faults, so they are clues rather than a final diagnosis.
Is it safe to repair my coffee maker myself?
External checks such as testing the outlet, inspecting the cord, resetting the machine, and cleaning the outside panel are generally appropriate when the manual allows them. Opening the housing is different. Some manufacturers explicitly state that no user-serviceable parts are inside because of fire and electric-shock risks.
Why is the clock flashing after the power came back on?
Some programmable models lose the time or brew schedule during a power outage. Reset the clock and automatic-brew settings using the model-specific controls. If the whole unit has no power, test the outlet and perform the manufacturer-approved power-cycle first.
Should I repair or replace a coffee maker with a dead display?
Check warranty coverage, parts availability, total repair cost, and whether the machine has other faults. Repair is more attractive when the manufacturer offers the needed display or control module at a reasonable total cost. Replacement is often more practical when the board is unavailable, repair cost approaches a new machine, or the unit also has leaks, heating faults, or cord damage.
Conclusion
When a coffee maker display stops working, start with the outlet, cord, power switch, power-cycle, clock, and model-specific display settings. A machine that brews with a blank screen should be treated differently from one that has no power at all. Treat moisture, scorching, repeated electrical trips, heat-related failures, and internal connector work as safety issues rather than quick DIY shortcuts. If safe external checks do not restore the display, use manufacturer support, qualified service, or replacement as appropriate.
Sources
- Keurig K-Duo Support — supports using manufacturer-specific troubleshooting for power and brewer problems.
- Keurig K-2500 Use & Care Guide — supports unplugging before cleaning or service, damaged-cord precautions, electrical safety, and the warning that there are no user-serviceable parts inside.
- Hamilton Beach 2-Way FlexBrew Use & Care Guide — supports power-outage and power-surge troubleshooting, clock reset guidance, electrical warnings, and the instruction not to remove the bottom cover.
- U.S. Consumer Product Safety Commission: Coffee Maker and Teapot Recalls — supports checking the exact brand and model for an active safety recall.
- CPSC Kidisle Coffee Maker Recall, June 11, 2026 — supports the KC101B recall example, hazard, and stop-use/refund remedy.
- CPSC: Stopping the Online Sale of Recalled Products — supports the rule that recalled consumer products may not lawfully be offered for sale.