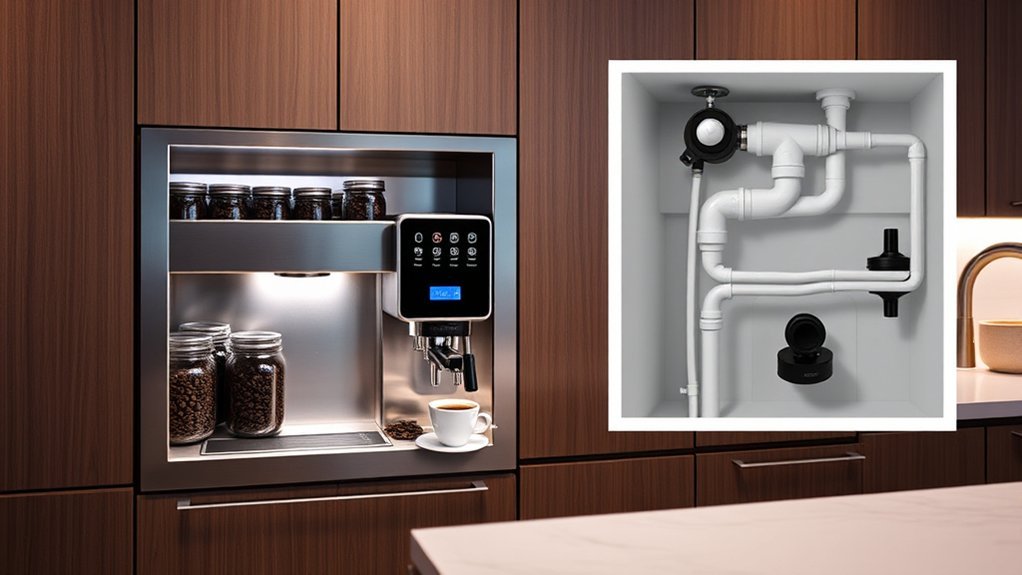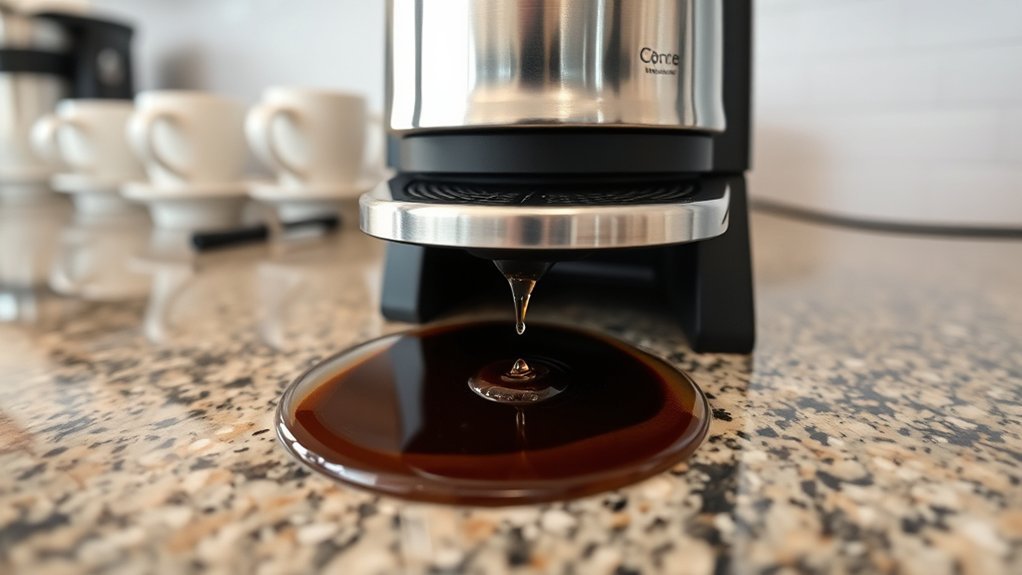
A coffee maker leaking from the bottom may have a poorly seated water reservoir, an overflowing brew basket, a full drip tray, a damaged tank valve, or a degraded internal hose. The safest way to identify the source is to unplug the machine, dry it completely, and trace where fresh liquid first appears.
Quick Answer
Turn off and unplug a coffee maker that is leaking from its base. After it cools, check the reservoir, carafe, brew basket, filter, and drip tray. A leak that continues while the machine is sitting idle usually points to a tank, reservoir valve, gasket, or internal water-line problem that needs service.
Key Takeaways
- Stop using the machine immediately if water reaches the power cord, plug, internal wiring, or electrical base.
- Clear water beneath an idle machine indicates a reservoir crack, degraded outlet valve O-ring, or gravity-fed tube leak.
- Coffee-colored liquid appearing during a cycle points to brew basket overflow, filter collapse, or a misaligned carafe lid.
- Descaling removes mineral blockages that cause pressure backups, but it cannot fix cracked tanks, split hoses, or worn seals.
- Never apply generic silicone, glue, or epoxy to hot-water paths, and avoid opening sealed electrical bases.
At a Glance
| Time Required | 15–45 minutes, plus drying time |
| Difficulty | Easy for exterior checks; professional service for internal leaks |
| Tools Needed | Dry towels, flashlight, mild dish soap, clean water, and the model manual |
| Cost | Usually $0–$25 for cleaning or user-replaceable seals; professional repair costs vary |
Warning: Switch off and unplug the coffee maker before touching, inspecting, or moving it. Allow all heating elements to cool completely. Never operate a machine if water is entering the base housing, touching the power cord, producing a burning odor, or causing circuit breakers to trip.
Common Causes of Coffee Maker Leaks
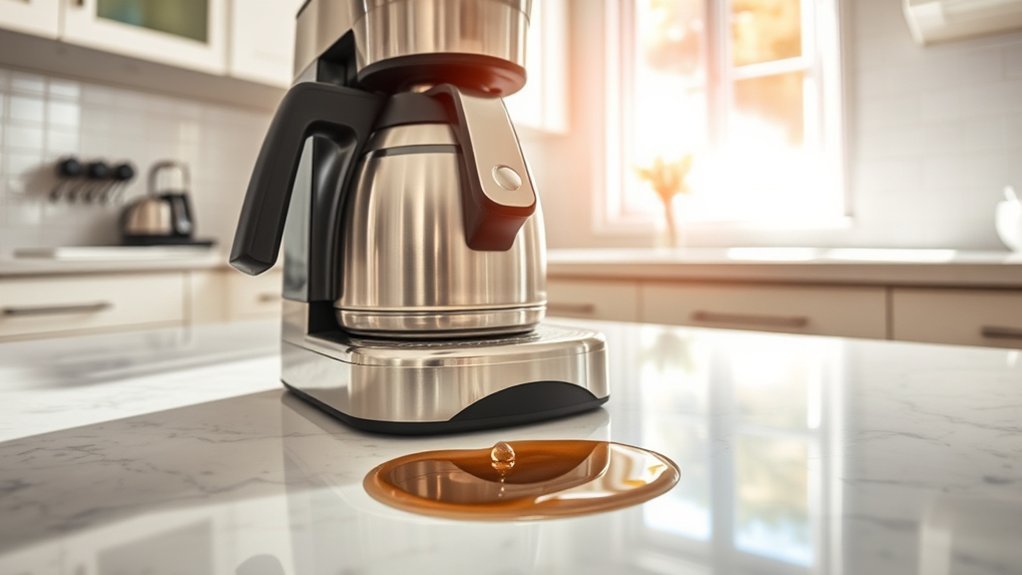
A puddle beneath a coffee brewer does not necessarily mean the leak originated in the base plate. Liquid frequently runs down the exterior housing, back panel, or carafe neck and pools underneath the footprint. Thoroughly drying the appliance before troubleshooting allows you to spot the initial drip rather than the resulting puddle.
The primary causes of coffee maker leaks include:
- Reservoir and valve defects: A removable tank may be unseated, overfilled, cracked, or resting on a degraded rubber check-valve O-ring.
- Worn gaskets and seals: Gaskets beneath water reservoirs can dry out, collect loose grounds, stiffen over time, or fail to seal against the machine base.
- Carafe and pause-valve misalignment: A misaligned carafe or damaged lid mechanism may fail to actuate the brew basket’s spring-loaded drip-stop valve.
- Brew basket overflow: Excessive coffee grounds, an improper grind size (too fine), a collapsed paper filter, or scale buildup can cause coffee to back up and overflow the rim.
- Full or tilted drip tray: On espresso and pod machines, automatic rinse cycles and internal pressure-relief valves fill the drip tray quickly.
- Mineral restrictions: Heavy limescale restricts flow through heating blocks, creating backpressure that forces hot water out of tubing junctions.
- Internal component failure: Split silicone tubing, loose crimp clamps, cracked heating boilers, or failed pump fittings can release water directly into the lower housing.
The first new drop tells you more than the puddle: dry the machine completely, observe when the leak begins, and trace the liquid upward.

Power your essentials anywhere with a 999Wh pure sine wave power station delivering up to 1000W continuous with 2000W surge. It supports fast charging via USB-C PD 60W and USB-A QC 18W, plus simultaneous output for multiple devices through AC, USB, wireless, and car/DC ports. Recharge using AC, car, or solar with a built-in MPPT controller and dual cooling fans, while the upgraded battery management system protects against surges, short circuits, and overheating.

Replacement Upper Needle Seal, for Most K-eurig Coffee Models 4 Pack Upper Needle Seal Silicone Rubber Gasket
![Replacement Needle Seal Silicone Rubber Gasket for Most Keurig Coffee Makers, BPA-free and Food Grade Silicone [2 Packs]](https://m.media-amazon.com/images/I/31lA55eZ1XL._SL500_.jpg)
Compatible with Most Keurig Coffee Makers
Identify the Leak by Timing and Liquid Type
Before ordering replacement parts or disassembling removable components, observe whether the leaking fluid is clear water or brewed coffee, as well as the exact stage of operation when it appears.
| What You Observe | Most Likely Area to Check |
|---|---|
| Clear water appears while machine is off and idle | Reservoir hairline crack, reservoir base spring valve, receiver gasket, or gravity-fed intake line |
| Clear water appears only during heating or brewing | Internal silicone hose, thermal heating block fitting, water pump seal, spray head blockage, or overfill vent |
| Coffee-colored liquid runs down the housing | Collapsed filter, excessive fine grounds, clogged brew basket drip-stop valve, or carafe lid misalignment |
| Water pools under or behind the drip tray | Full, unseated, or cracked drip tray, or an internal overpressure release discharge tube |
| A few drops appear around the base after brewing | Normal exterior steam condensation or minor carafe pour spillage; constant pooling indicates a leak |
How to Inspect a Leaking Coffee Maker Safely
- Unplug and cool the machine: Disconnect power at the wall outlet. Remove the carafe, used pods, and brew basket, allowing hot components to cool.
- Dry the entire unit: Wipe down the counter, undercarriage, water reservoir seat, brew basket cavity, and exterior seams using dry paper towels.
- Examine exterior pathways: Use a flashlight to inspect the rear and side seams for dry watermarks or mineral trails that indicate where liquid escaped above.
- Inspect removable parts: Check the reservoir, brew basket, carafe, and drip tray for hairline fractures, deformed plastic tabs, torn O-rings, or built-up scale.
- Locate the model label: Check the rating sticker on the machine’s rear or exterior base to verify the exact model number before checking warranty policies or parts diagrams.
- Perform static cold tests first: Only conduct tests involving water when the electrical base and power cord are completely dry and disconnected from power.
Note: Routine home troubleshooting should never involve removing the bottom panel of an appliance. Internal heating elements, thermal fuses, pumps, and high-voltage wiring are not designed for DIY servicing.
Test the Water Reservoir and Outlet Valve
Removable water reservoirs are a frequent source of cold, clear water leaks. The spring-loaded valve and rubber seal at the base of the tank can be tested safely without plugging in the brewer.
- Remove the empty reservoir and inspect the plastic body, corners, and handle anchor points under direct light for hairline stress cracks.
- Examine the bottom spring valve and rubber O-ring gasket. Clear away any trapped coffee grounds, scale particles, or mold.
- Fill the reservoir with water over a sink and place it on a dry towel on your counter, completely detached from the machine.
- Let it stand for 10–15 minutes. If water drips from the bottom valve or seams, the reservoir is cracked or the spring-loaded check valve has failed.
- If the detached tank remains completely dry, inspect the receiver port on the coffee maker base. Ensure the mating gasket is clean, seated flat, and supple.
- Reinsert the reservoir firmly into the coffee maker base, ensuring it clicks or locks level without wobbling.
If leaks only occur after the reservoir is docked onto the brewer base, the issue is likely a degraded receiver gasket or an internal intake tube beneath the dock. Stop testing if water migrates toward the electrical base.
Pro Tip: Place a clean sheet of dry paper towel directly under the reservoir dock before clicking the tank into position. The first damp mark will pinpoint whether the seal or a side seam is leaking before water spreads.
Check the Carafe, Brew Basket, and Filter
When the fluid collecting under the appliance is dark or smells like brewed coffee, the issue is located along the brewing extraction path rather than the cold water supply.
- Carafe placement: The carafe must sit centered and level on the warming plate to maintain upward pressure against the basket’s drip-stop valve.
- Lid alignment: Inspect the carafe lid. If the lid is missing, cracked, or tilted, it cannot engage the spring-loaded valve to let coffee drain into the pot.
- Carafe integrity: Check glass carafes for hairline cracks around the spout and handle band. For thermal stainless steel carafes, inspect the bottom weld seam and pour spout seal.
- Filter positioning: Ensure paper filters are sized accurately and opened fully against the basket wall. A folded, crumpled, or double filter will cause coffee to back up and overflow.
- Coffee grind and dosage: Using too much ground coffee or using a very fine espresso grind in a standard drip basket slows drainage and leads to basket flooding.
- Clean the drip-stop valve: Soak and wash the removable brew basket in warm soapy water, pressing the bottom spring valve repeatedly to flush out trapped grounds and oils.
- Max fill lines: Never add more water to the tank than the maximum capacity line indicated on the carafe and reservoir.
Empty, Clean, and Reseat the Drip Tray
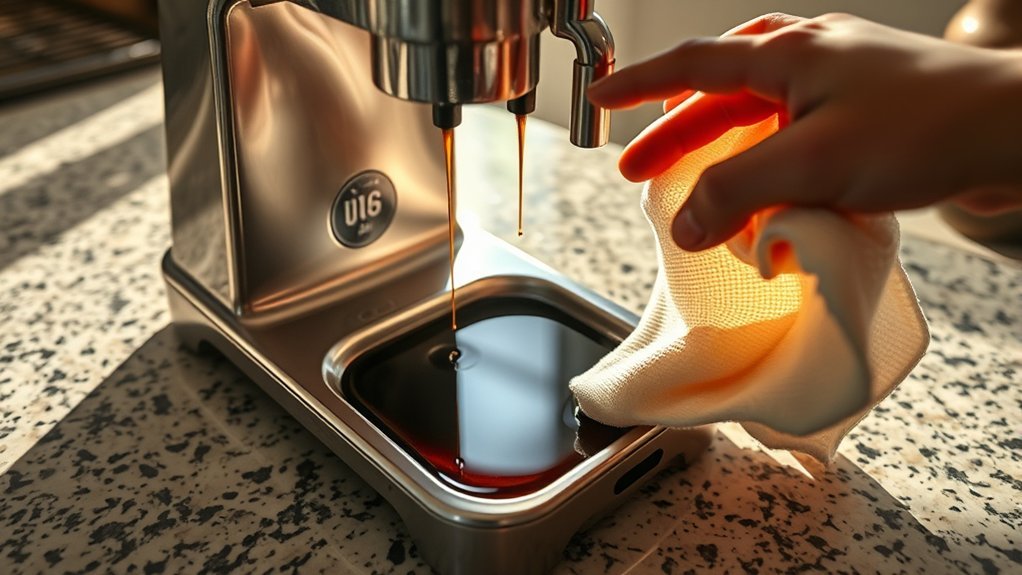
Single-serve pod machines, espresso makers, and bean-to-cup units routinely discharge rinse cycles, steam purge condensation, and overpressure relief water directly into the drip tray compartment. An overflowing, cracked, or unseated tray frequently creates the appearance of an internal base leak.
- Turn off and unplug the appliance, allowing hot components to cool.
- Slide out the drip tray and its metal cover plate.
- Empty all accumulated wastewater and wash the tray components in warm, soapy water.
- Inspect the tray for stress cracks, warped plastic, or sticky coffee residue around the float indicator.
- Completely dry the tray and the internal recessed floor of the machine where the tray sits.
- Slide the tray back in until it sits fully flush and level against the chassis.
If clear water continues pooling beneath the drip tray area while the tray itself is dry and undamaged, water is escaping from an internal solenoid valve or pressure-relief tube inside the machine housing.
How to Fix Brew Basket Overflow
When a brew basket overflows, hot coffee travels down the front panel, behind the warming plate, or along interior housing walls before pooling beneath the machine.
- Immediately switch off the machine, unplug it, and wait for steam to dissipate.
- Carefully remove and discard the flooded filter and coffee grounds.
- Rinse the brew basket thoroughly under running water, manually exercising the spring-loaded plunger valve at the bottom until it moves freely.
- Inspect the basket housing to confirm it latches securely into the brewer frame without sagging.
- Insert a single fresh filter, pressing the seams flat against the basket contours.
- Measure coffee grounds using standard drip brewer ratios (typically 1 to 2 level tablespoons per 6 oz of water) and avoid overfilling.
- Use a medium drip grind; avoid powdery espresso grinds unless operating a dedicated espresso appliance.
- Verify that the carafe lid presses the basket valve open when placed on the warming plate.
- Avoid exceeding the maximum reservoir capacity during setup.
If the brew basket fails to drain quickly during a water-only test cycle (with no coffee or filter installed), heavy mineral scale is clogging the outlet path or internal tubes. Perform a model-approved descaling routine to restore normal flow.
Descale Only for Mineral-Related Flow Problems
Tap water contains dissolved calcium and magnesium minerals. When heated inside a coffee maker, these minerals precipitate out and form hard limescale along heating elements and narrow fluid paths. This buildup restricts water movement, increases internal line pressure, slows extraction, and causes backpressure overflows. The U.S. Geological Survey explains how heated hard water forms scale in coffee makers and other equipment.
Descaling procedures vary widely by brand. Certain manufacturers recommend diluted white vinegar solutions, while others strictly require specialized citric acid or sulfamic acid descaling formulas to protect internal seals and sensors. For example, Cuisinart provides water-hardness-specific maintenance and descaling instructions on its official coffee-maker cleaning page.
Note: Never assume household vinegar is safe for all machines. Always consult your model manual before introducing vinegar, citric acid, or cleaning tablets, as acidic cleaners can degrade certain silicone seals and aluminum boilers.
Checking Hoses and Connections
Select brewers utilize external water supply lines, removable milk frothing tubes, or quick-disconnect fittings that can be inspected without opening the internal casing. Only check parts that the manufacturer identifies as user-accessible.
| Connection Type | Safe Inspection & Maintenance Action |
|---|---|
| Removable reservoir base port | Clean debris, inspect the silicone O-ring for tears or hardening, and reseat the tank levelly. |
| External milk frother / water feed tube | Check for pinhole splits, loose friction fittings, and milk residue clogs per manual guidelines. |
| Internal silicone tubing & pump clamps | Stop using the appliance immediately; contact the manufacturer or a certified repair center. |
Do not attempt to tighten hidden internal hose clamps, pierce clogged internal lines with wire, or power on a partially disassembled unit. Internal leaks require professional diagnostic evaluation or replacement.
What User Reports Can and Cannot Tell You
Online forums and owner communities can be helpful for finding shared quirks, such as a delicate reservoir valve or a finicky drip-tray float. However, anecdotal feedback regarding one unit does not mean every model from that brand shares the same defect.
When researching recurring leak issues online, verify your exact model number and prioritize authoritative sources:
- The official manufacturer owner’s manual and troubleshooting index
- Factory authorized replacement-parts diagrams and service bulletins
- Official warranty terms and customer service portals
- Government safety recall registries
- Diagnostic guides that match the specific timing and liquid color of your leak
Always check the U.S. Consumer Product Safety Commission’s coffee-maker recall database and the manufacturer’s support site before paying for out-of-warranty repairs.
When to Repair or Replace Your Coffee Maker
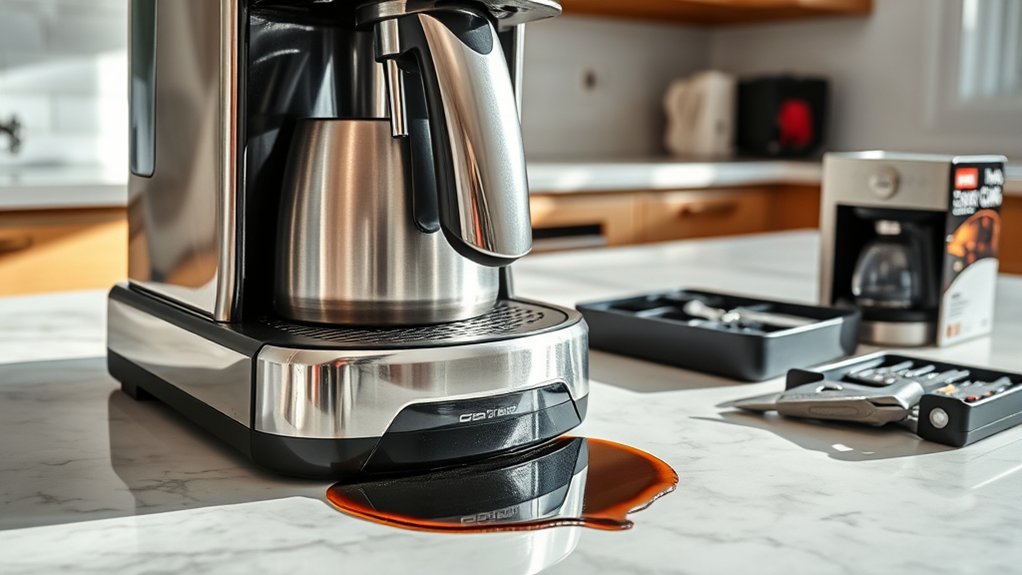
Deciding whether to repair or replace a leaking coffee maker depends on the root cause of the leak, product warranty coverage, parts availability, and potential electrical exposure.
| Repair Is Practical & Cost-Effective | Replacement Is Recommended for Safety |
|---|---|
| Leak is caused by an external part: reservoir, carafe, lid, basket, or user-replaceable seal. | Water has reached the power cord, control board, switches, heating element, or wiring harness. |
| The appliance is covered under an active manufacturer warranty or extended replacement plan. | The unit emits burning odors, sparks, overheats, trips circuit breakers, or shows internal corrosion. |
| OEM replacement parts are readily available and intended for tool-free home installation. | The internal aluminum boiler, pressure pump, or sealed water channel is cracked. |
| Professional technician repair cost is significantly lower than purchasing a new equivalent model. | The machine is an inexpensive entry-level unit with multiple failing plastic or electronic components. |
When preparing a warranty claim, photograph the model identification label, the exact leak location, and the water trail. Retain your original purchase receipt and contact the manufacturer before shipping any equipment.
What Not to Do With a Leaking Coffee Maker
- Do not keep running cycles to see if it clears up: Continuous operation forces moisture deeper into electrical components and heating circuitry.
- Do not submerge the machine body: Only wash removable carafes, baskets, and reservoirs specified as washable in the manual.
- Do not flip a wet machine upside down: Inverting a wet brewer allows residual base water to flow into sensitive microcontrollers, switches, and displays.
- Do not use generic silicone, epoxy, tape, or glue: Standard consumer adhesives release toxic volatile compounds when exposed to hot water and will fail under brew temperatures.
- Do not bypass safety interlocks: Never disable thermal fuses, lid switches, or pressure-relief valves.
- Do not open the electrical base while connected to power: High-voltage components present severe electrical shock hazards.
Prevent Future Coffee Maker Leaks
- Adhere to maximum fill lines: Never overfill the reservoir past its marked limit.
- Seat components gently: Never force the reservoir, brew basket, or drip tray into place; rough handling damages fragile alignment tabs and seals.
- Wash removable parts frequently: Clean away spent grounds and coffee oils that keep drip-stop valves and O-ring gaskets from sealing.
- Descale on a regular schedule: Descale every 1 to 3 months depending on local water hardness and brewing volume.
- Routinely inspect glass and seals: Check the carafe rim and reservoir base O-ring periodically for early signs of wear or cracking.
- Empty drip trays daily: Keep drip trays clean and clear, particularly on machines featuring automated startup rinse cycles.
- Maintain a level countertop surface: Ensure the coffee maker rests on a flat, stable surface so internal float sensors and gravity-fed drains operate properly.
- Register your appliance: Register your brewer with the manufacturer upon purchase to receive critical safety notices, warranty coverage, and recall updates.
What Happens If You Ignore Coffee Maker Maintenance?
Neglecting mineral scale, spent grounds buildup, and small recurring drips can quickly transform a minor external leak into a complete appliance failure. A restricted brew basket will eventually overflow scalding coffee across your counter. A clogged reservoir valve will continue leaking while the machine rests idle. Water entering the chassis corrodes internal terminals, damages warming elements, and creates short-circuit hazards.
Unemptied drip trays also create stagnant water reservoirs prone to mold, bacterial growth, and foul odors. While routine cleaning cannot prevent mechanical wear, consistent maintenance helps you catch a worn O-ring, loose carafe lid, or mineral blockage before it causes property damage.
Frequently Asked Questions
Can I temporarily use a coffee maker that is leaking?
No. Switch it off, unplug it, and let it cool. Do not use it again until you have confirmed that the leak came from a harmless external spill or corrected the faulty component. Stop immediately if water has entered the electrical base or reached the cord, plug, controls, or warming-plate underside.
What sealant is safe for a coffee maker?
Do not apply a generic sealant inside the reservoir, hot-water path, heater area, valve, or pump. A product described as food safe may not be approved for that temperature, pressure, material, or appliance. Use a manufacturer-approved gasket, reservoir, tube, or service procedure instead.
How often should I clean and descale my coffee maker?
Wash removable food-contact parts as directed by the manual and descale at the interval listed for your model. The correct schedule depends on brew frequency, water hardness, filters, and scale buildup. Slow brewing, unusual noise, or a cleaning indicator may signal that descaling is due.
Can hard water make a coffee maker leak?
Hard water can leave mineral scale that restricts water flow and contributes to backups, slow drainage, or abnormal pressure. However, descaling will not fix a cracked reservoir, failed gasket, split hose, loose fitting, or damaged pump seal.
Why does my coffee maker leak only while brewing?
A brewing-only leak commonly points to the active water or coffee path. Check the brew basket, filter, carafe lid, pause valve, spray area, reservoir fill level, and visible water trail. If clear water emerges from inside the base only when the pump or heater runs, stop using the machine and arrange service.
Are certain coffee maker brands more likely to leak?
Leak causes and defect reports are model-specific. Individual reviews do not prove that an entire brand is unreliable. Search the exact model number on the manufacturer’s support site and in the CPSC recall database before drawing a conclusion.
Should I turn the coffee maker upside down to drain it?
No. Turning the appliance upside down can move water into its display, switches, wiring, heating parts, or other areas that were previously dry. Unplug it, remove only approved removable parts, wipe the exterior, and follow the manufacturer’s drying or service instructions.
Conclusion
When a coffee maker leaks from the bottom, unplug it first and determine whether the liquid is clear water or brewed coffee. Next, observe whether the leak appears while the machine is idle, during active brewing, or following a heating cycle. Reservoir seating issues, dirty check valves, a misaligned carafe lid, filter basket overflow, and full drip trays are safe, straightforward home checks. If the leak originates inside the electrical base housing, or if you notice burning odors, electrical trips, or damaged internal components, discontinue use and contact the manufacturer for warranty service or replace the appliance.
Sources
- U.S. Consumer Product Safety Commission — Coffee Makers and Teapots — official safety warnings and product recall databases.
- U.S. Geological Survey — Hardness of Water — scientific explanation of mineral scale formation in heating appliances.
- Cuisinart — How to Clean a Coffee Maker — official manufacturer cleaning and water-hardness descaling protocols.
- Cuisinart Coffee Maker Manuals — model-specific operating, parts, and maintenance instructions.
- Mr. Coffee — Coffee Maker Cleaning Guidance — drip brewer care guidelines and routine cleaning schedules.
- Keurig Support — official support resources for single-serve reservoir seals, maintenance, and diagnostics.