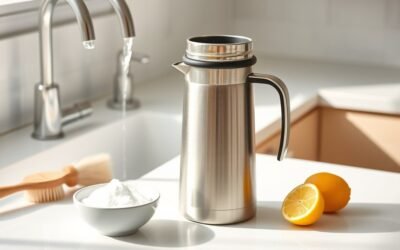
A coffee maker that suddenly takes longer than usual often has restricted water flow. Mineral scale, a clogged filter basket, too-fine coffee grounds, excess coffee, or a poorly seated part can all slow the cycle. Start with the accessible parts and a water-only test before assuming an internal component has failed.
Quick Answer
To fix a coffee maker that brews slowly, clean the basket and reusable filter, check the grind and coffee dose, confirm the reservoir and carafe are seated correctly, and run a water-only cycle. If plain water also moves slowly, descale the machine exactly as its manufacturer instructs.
Key Takeaways
- Run a water-only cycle to learn whether the slowdown comes from the coffee and filter or from the machine’s water path.
- Use the filter, grind size, and maximum coffee dose listed in your model’s manual.
- Mineral scale is a common cause of reduced flow, especially where water is hard.
- Follow the manufacturer’s descaling liquid, ratio, cycle, and rinsing directions rather than using a universal vinegar recipe.
- Do not remove the housing, screws, hoses, rubber plugs, or electrical parts unless the manufacturer provides an owner-service procedure.
At a Glance
| Time Required | 10–20 minutes for basic checks; 30–60 minutes if descaling is needed |
| Difficulty | Easy for removable-part cleaning and descaling |
| Tools Needed | Soft cloth, soft brush, dish soap, clean water, carafe, and the approved descaler |
| Cost | Usually $0–$15, depending on the descaling product |
Warning: Turn off and unplug the coffee maker before cleaning removable parts. Let hot parts cool, keep the base, cord, and plug out of water, and never open the housing while the machine is connected to power. Stop using a unit that leaks near electrical parts, smells burnt, sparks, trips a breaker, or has a damaged cord.
Quick Fixes for a Coffee Maker Brewing Slowly

Work through these checks in order. Many slow-brewing problems can be corrected without opening the machine or touching internal hoses.
- Check whether the selected mode is normally slow. Strong, bold, iced, pre-infusion, and specialty settings may intentionally pause or extend contact time. Compare the cycle with the normal setting and check the manual before treating it as a fault.
- Run a water-only test. Remove the coffee and disposable filter, fill the reservoir with fresh water, position the empty carafe or cup, and run a normal cycle. Do not do this if your manual requires a filter holder or pod component to remain installed.
- Clean the removable basket and filter. Once the machine is unplugged and cool, wash the brew basket, reusable filter, carafe lid, and other approved removable parts with warm water, dish soap, and a soft brush. Clear visible holes without enlarging them.
- Check the grind and dose. Use coffee ground for your brewing method. A drip brewer normally needs a medium drip grind, while espresso requires a much finer but carefully adjusted grind. Do not exceed the basket’s stated capacity.
- Check part alignment. Seat the reservoir, filter basket, pod holder, carafe, and lid fully. A carafe that does not open the basket’s drip-stop valve can slow the flow and may cause an overflow.
- Descale if plain water is also slow. Use the exact solution, quantity, mode, dwell time, and rinse sequence listed in the manual.
Pro Tip: Time one normal water-only cycle and write down the result. After cleaning or descaling, repeat the same cycle with the same water volume. This gives you a better comparison than judging the speed by memory.

Power your essentials anywhere with a 999Wh pure sine wave power station delivering up to 1000W continuous with 2000W surge. It supports fast charging via USB-C PD 60W and USB-A QC 18W, plus simultaneous output for multiple devices through AC, USB, wireless, and car/DC ports. Recharge using AC, car, or solar with a built-in MPPT controller and dual cooling fans, while the upgraded battery management system protects against surges, short circuits, and overheating.
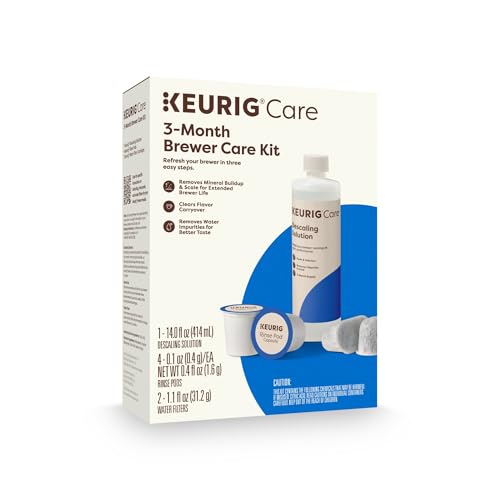
INCLUDES: 4 Keurig Rinse Pods, 1 Descale Solution, and 2 Water Filter Cartridge Refills

RESTORE COFFEE FLAVOR & AROMA: Our universal descaling solution removes bitter mineral buildup and calcium deposits from heating elements. This ensures your Keurig cleaner process restores the original "day one" taste of your favorite pods and espresso capsules
Common Causes of Slow Coffee-Maker Flow
Mineral Scale Inside the Water Path
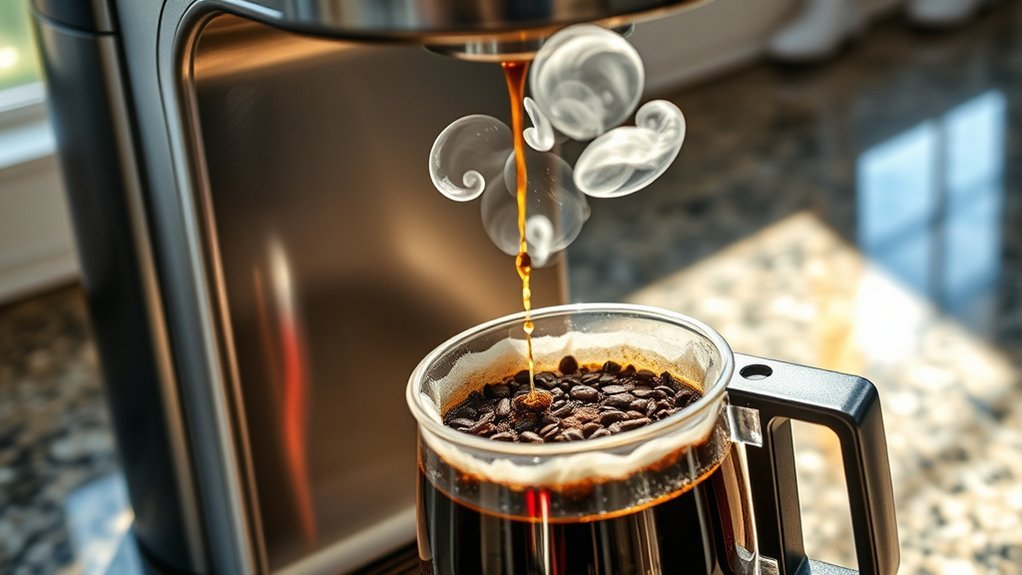
Water containing calcium and magnesium can leave mineral deposits when it is heated. The U.S. Geological Survey explains that hard water can create scale in plumbing and water-heating equipment. Inside a coffee maker, this buildup may narrow water passages, reduce heating efficiency, and make the machine gurgle or brew slowly.
Scale is especially likely when the machine has gradually slowed over several weeks or months, the descale light is on, or a water-only cycle also takes too long.
A Clogged Basket, Reusable Filter, or Showerhead
Fine coffee particles and oils can block the small openings in a reusable filter, basket outlet, showerhead, pod holder, or coffee chute. Wash only the parts your manual identifies as removable. Use a soft brush rather than a knife, drill bit, or other tool that could enlarge an opening.
If your brewer uses a paper filter, make sure it is fully opened and is the correct size. Do not place a paper filter inside a reusable mesh filter unless the manufacturer specifically allows that combination.
Coffee That Is Too Fine or a Basket That Is Too Full
Finer particles create more resistance to water. Breville’s drip-brewer instructions note that coffee ground too finely can restrict flow, clog the basket, or cause an overflow, while grounds that are too coarse allow water through too quickly and can taste weak. Use the recommended grind rather than making a large adjustment all at once.
Too much coffee can cause a similar slowdown. Level the grounds gently, but do not pack or tamp them in a standard drip basket. Espresso is different: its grind, dose, distribution, and tamp all control flow and must be adjusted together.
A Reservoir, Water Filter, or Float That Is Not Seated Correctly
On machines with removable reservoirs, lift the tank out and reinstall it firmly after checking for debris around the outlet seal. Make sure any replaceable water filter is installed in the correct direction and has been replaced on schedule. A stuck water-level float may also produce incorrect readings on some models.
Do not force a reservoir into place. A torn seal, cracked tank, or damaged outlet should be replaced with the correct manufacturer part.
A Closed Drip-Stop or Misaligned Carafe
Many drip machines have a spring-loaded stop below the basket so you can briefly remove the carafe. The carafe lid normally presses this valve open. If the carafe is not fully seated, coffee may collect in the basket instead of draining normally.
Turn the machine off if the basket begins filling too high. Let it cool before removing the basket because trapped water and grounds may still be hot.
A Pod or Capsule Restriction
Single-serve brewers may slow down when coffee debris blocks an entrance or exit needle. Use only the cleaning tool and procedure supplied or approved for your exact model. Unplug the brewer first if the manual instructs you to handle a needle, because the points can be sharp.
An Espresso Grind or Dose Problem
For espresso, slow drops from the portafilter often mean the grind is too fine, the basket contains too much coffee, the puck is tamped too firmly, or the filter holes are blocked. Breville’s espresso troubleshooting guidance also identifies scale and pressure restrictions as possible causes.
Note: A coarser grind may increase flow, but that does not automatically improve the coffee. Adjust one small step at a time so you do not trade a slow brew for weak, under-extracted coffee.
Safe Steps to Clean and Descale Your Coffee Maker
Use this general sequence only for normal owner maintenance. Your model’s manual takes priority whenever its directions differ.
1. Turn Off, Unplug, and Cool the Machine
Switch the coffee maker off, unplug it, and wait until the basket, carafe, pod holder, warming plate, and water have cooled. Never immerse the base or allow cleaning liquid to enter electrical openings.
2. Wash Approved Removable Parts
Discard the used grounds and paper filter. Wash the removable basket, reusable filter, carafe, lid, drip tray, and reservoir only as directed by the manufacturer. Some parts are dishwasher-safe, while others can warp, discolor, or lose seals in a dishwasher.
Use warm soapy water, a soft cloth, or a soft brush. Avoid steel wool, abrasive pads, and sharp objects.
3. Inspect Accessible Openings
Look for visible grounds or residue in the basket outlet, reusable filter mesh, showerhead, grinder chute, pod holder, and reservoir connection. Clean only areas designed for user access.
Do not turn the machine upside down, remove its base, pull out rubber plugs, disconnect hoses, or remove screws as a general troubleshooting step.
4. Run a Water-Only Cycle
Reassemble the required parts, fill the reservoir with the type of water recommended in the manual, place the carafe or cup correctly, and run a normal cycle without coffee. If the flow is now normal, the original restriction was probably in the grounds, filter, basket, pod, or alignment.
5. Descale According to the Manual
Descaling methods are not interchangeable:
- Keurig publishes model-specific descaling and Descale Mode instructions, often using its descaling solution.
- Cuisinart describes automatic and manual cleaning procedures and permits a stated vinegar dilution for applicable machines.
- Hamilton Beach provides vinegar-based cleaning steps for certain brewers, including pauses and rinse cycles.
Remove a charcoal water filter before descaling when the manual tells you to do so. Never mix vinegar or descaler with bleach, ammonia, dish soap, or another cleaning chemical.
6. Complete Every Fresh-Water Rinse
Empty and rinse the reservoir and carafe after the descaling cycle. Run the full number of fresh-water cycles required by the manufacturer. Continue only if the water runs clear and no cleaning odor remains.
7. Test the Brew Speed Again
Repeat the same water-only test with the same volume and setting. If the speed returns to normal, brew and discard the first cup if your manual recommends doing so. If the machine remains slow, move to manufacturer support rather than repeating strong descaling mixtures.
What About the Coffee Maker’s One-Way Valve?
Some coffee makers contain an internal one-way valve, also called a check valve, that helps water move in the intended direction. A stuck valve can restrict flow in a machine that uses that design. Other machines rely on pumps, solenoids, thermal systems, or different valve arrangements.
The valve is not normally a universal maintenance point. Its location, material, orientation, and safe test procedure depend on the exact model. Opening the housing to reach it can expose electrical parts, disturb hot-water seals, create a leak, or affect warranty coverage.
If accessible cleaning and a correct descaling cycle do not restore flow, contact the manufacturer with the model number. Ask whether the unit has a serviceable check valve, pump, heating tube, flow meter, or thermostat and whether repair is economical.
Warning: Do not blow compressed air into an assembled coffee maker unless the manufacturer gives an exact procedure. Excess pressure can move debris deeper into the system or damage tubing, seals, sensors, and valves.
How Often Should You Clean Your Coffee Maker?
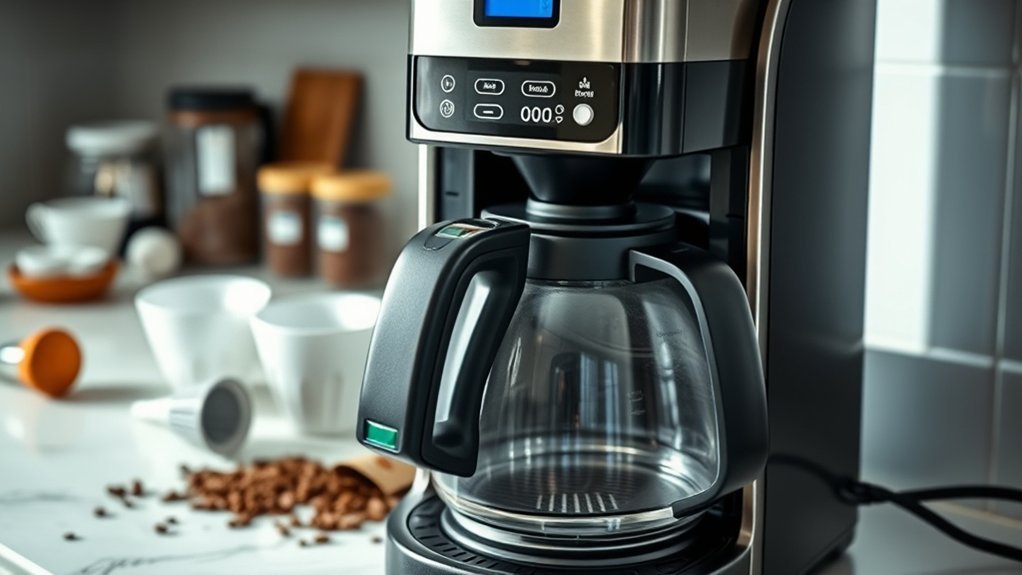
There is no single schedule for every coffee maker. Use the maintenance section of your manual, the descale indicator, your brewing frequency, and your water hardness.
- After each use: Discard grounds and the paper filter, rinse the carafe, and clean spilled coffee.
- Every few uses or weekly: Wash the removable basket, reusable filter, carafe lid, drip tray, and other frequently soiled parts.
- As directed: Replace charcoal or reservoir filters at the manufacturer’s stated interval.
- When indicated or scheduled: Run the full descaling procedure. Depending on the brand and model, published intervals may range from monthly maintenance to every few months or every three to six months.
- Immediately: Clean or descale when a previously normal machine becomes slow, changes sound, delivers less water, displays a cleaning alert, or leaves visible mineral residue.
Hard water may require more frequent descaling. A suitable water filter can reduce some sediment or minerals, but it does not eliminate the need for maintenance unless the manufacturer states otherwise.
When to Stop Troubleshooting and Request Service
Contact the manufacturer or a qualified appliance technician when:
- A correct cleaning and descaling cycle does not improve a slow water-only test.
- The machine repeatedly stops, overheats, or fails to heat.
- Water leaks from the base or near the cord, controls, or electrical housing.
- The pump makes a harsh grinding or buzzing sound while the reservoir is full and seated.
- The cord, plug, reservoir outlet, seals, or housing are damaged.
- The coffee maker trips a breaker, produces smoke, sparks, or smells like hot wiring.
Have the model number, purchase date, error message, water type, and maintenance history ready. Those details help support staff identify whether the likely cause is a pump, valve, heater, sensor, control board, or replaceable seal.
Frequently Asked Questions
Can I use baking soda instead of vinegar for descaling?
Baking soda is useful for some surface stains and carafe cleaning, but it is not a direct substitute for an acidic scale remover. Use the descaler or vinegar procedure named in your coffee maker’s manual. Rinse thoroughly after any approved cleaning treatment.
What type of vinegar is best for cleaning a coffee maker?
Use plain white vinegar only when the manufacturer permits vinegar. Follow the stated dilution rather than guessing. Avoid flavored, cleaning-strength, balsamic, or apple cider vinegar because their concentration, color, odor, or residue may not suit the machine.
How do I know if my coffee maker needs descaling?
Common signs include a descale or clean alert, a gradual increase in brew time, gurgling, reduced output, cooler coffee, visible white deposits, or slow flow during a water-only cycle. These symptoms can have other causes, so clean the basket and check part alignment too.
Does the type of coffee grounds affect brewing speed?
Yes. Grounds that are too fine can resist water flow, clog a filter, or cause a basket to fill too high. Grounds that are too coarse usually let water pass too quickly and may produce weak coffee. Use the grind recommended for your brewing method.
Can hard water damage my coffee maker?
Hard water can leave scale that restricts flow and reduces heating efficiency. It may shorten the useful life of parts if deposits are allowed to build up. Follow the manufacturer’s descaling schedule and use an approved water filter when recommended.
Why should I run a water-only cycle?
A water-only cycle removes the coffee dose, grind, and paper filter from the test. If water flows normally, the restriction was likely in the coffee, filter, basket, pod, or alignment. If plain water remains slow, scale or an internal water-system fault is more likely.
Why is my coffee maker still slow after descaling?
The basket, filter, pod needle, drip-stop, reservoir outlet, or grinder chute may still be blocked. The descaling procedure may also have been incomplete. If a second procedure is not recommended in the manual, contact support because the pump, heater, sensor, or internal valve may need service.
How long should a coffee maker take to brew?
There is no universal time because batch size, heater power, pre-infusion, strength mode, and machine design differ. Compare the same volume and setting with the machine’s earlier performance or with the range listed in its manual. A sudden, repeatable slowdown is more meaningful than one long cycle.
Conclusion
When a coffee maker starts brewing slowly, begin with the simple, safe causes: a clogged basket, incorrect filter, overly fine grind, excess coffee, misaligned carafe, or poorly seated reservoir. A water-only test can quickly show whether the restriction is on the coffee side or inside the water path.
If plain water also moves slowly, follow the exact descaling procedure for your model and complete every rinse cycle. Do not open the housing or remove internal hoses as routine maintenance. Persistent slow flow, electrical symptoms, leaks, or overheating call for manufacturer support or qualified repair.
Sources
- Keurig — How to Descale Your Coffee Maker — model-specific descaling modes, solution use, and rinse guidance
- Cuisinart — How to Clean Your Coffee Maker — removable-part cleaning, water-filter care, and manual descaling guidance
- Hamilton Beach — How to Clean Your Coffee Maker — cleaning cycles, vinegar procedures for applicable models, and rinsing
- U.S. Geological Survey — Hardness of Water — calcium, magnesium, and mineral-scale formation
- Breville Grind Control Instruction Manual — grind size, basket restrictions, cleaning, safety, and mineral buildup
- Breville — Espresso Machine Problems and Fixes — slow espresso flow, grind, dose, pressure, and descaling