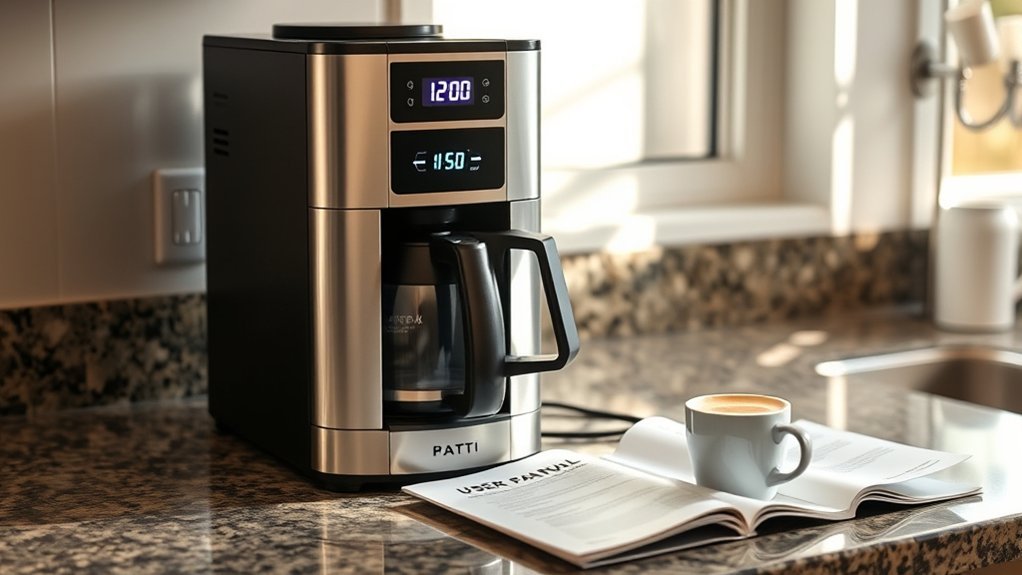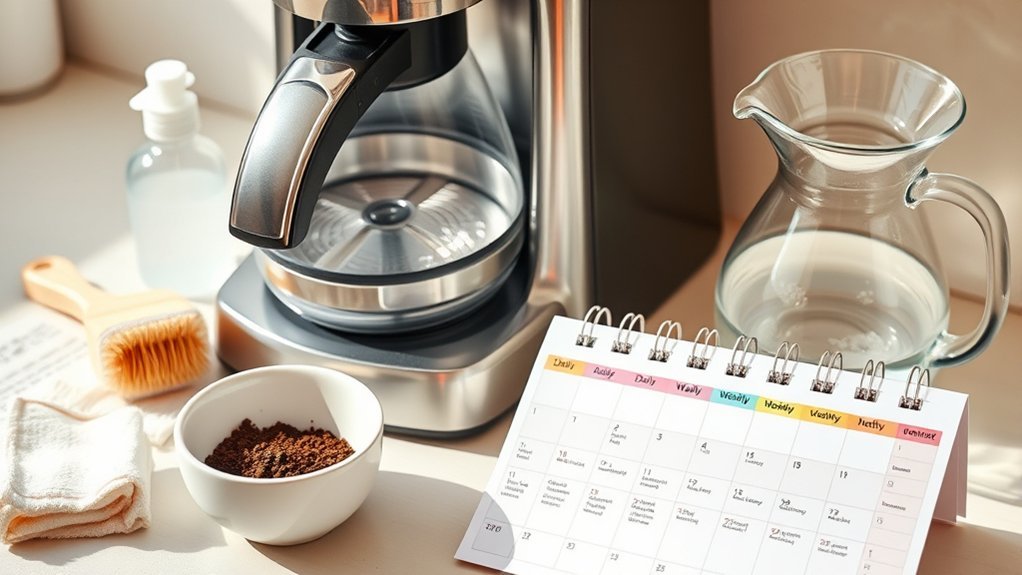
A good coffee maker cleaning checklist has three layers: quick care after brewing, regular cleaning of removable parts, and deeper maintenance when your machine or water conditions require it. The exact schedule is not the same for every brewer. Drip machines, pod brewers, espresso machines, and super-automatic models all have different cleaning and descaling requirements, so your owner’s manual should always take priority over a generic timetable.
Quick Answer
Clean coffee-contact parts such as the carafe, filter basket, portafilter, drip tray, and milk wand after use or daily. Give removable parts regular deeper cleaning, and descale only when your machine’s instructions, maintenance alert, water hardness, and usage indicate that it is due. Never assume one cleaner or schedule fits every coffee maker.
Key Takeaways
- After use or daily: discard grounds, rinse or wash approved coffee-contact parts, empty the drip tray as needed, and wipe spills from the machine.
- After steaming milk: wipe and purge the steam wand promptly so milk residue does not dry inside or around the tip.
- Regularly: deep-clean removable parts, reservoirs, grinders, brew groups, or other compatible components according to the owner’s manual.
- Descale when due: use the machine’s alert, water hardness, usage, and manufacturer schedule rather than assuming every brewer needs monthly descaling.
- Use approved cleaners only: vinegar is permitted by some manufacturers and prohibited by others, so there is no universal descaling recipe.
At a Glance
| Time Required | Usually a few minutes for routine after-use care; deeper cleaning and descaling take longer and vary by model. |
| Difficulty | Easy for routine care; moderate for model-specific descaling, espresso cleaning cycles, or grinder maintenance. |
| Tools Needed | Soft cloth, mild dish soap, soft brush, and any manufacturer-approved cleaner, tablet, filter, or descaler your model requires. |
| Cost | Low for routine washing; additional cost varies if your machine requires descaler, cleaning tablets, water filters, brushes, or replacement seals. |
Warning: Before deep cleaning, unplug the machine when the manufacturer’s instructions call for it and allow hot parts to cool. Never immerse the powered base. Do not circulate bleach, baking soda, vinegar, detergent, or descaler through the internal water system unless the instructions for your exact model specifically permit that product and procedure.
Coffee Maker Cleaning Checklist by Frequency
Use this schedule as a reminder, not as a replacement for your owner’s manual. The safest interval is always the one specified for your exact brewer, especially for descaling, backflushing, cleaning tablets, water filters, grinders, and removable brew groups.

Power your essentials anywhere with a 999Wh pure sine wave power station delivering up to 1000W continuous with 2000W surge. It supports fast charging via USB-C PD 60W and USB-A QC 18W, plus simultaneous output for multiple devices through AC, USB, wireless, and car/DC ports. Recharge using AC, car, or solar with a built-in MPPT controller and dual cooling fans, while the upgraded battery management system protects against surges, short circuits, and overheating.
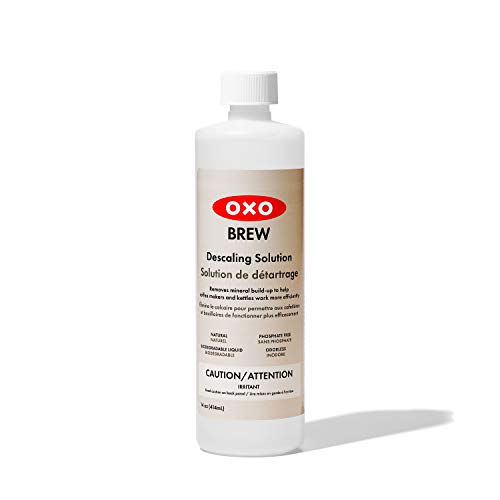
Helps keep your coffee makers and kettles working efficiently and using less energy

INCLUDES: 4 Keurig Rinse Pods, 1 Descale Solution, and 2 Water Filter Cartridge Refills
Before You Start Cleaning
- Identify the exact model. Two machines from the same brand can have different descaling chemicals, filter schedules, and cleaning programs.
- Check power and cool-down instructions. Unplug the appliance for deeper manual cleaning when its instructions require it, and allow hot plates, group heads, steam wands, and other heated parts to cool.
- Confirm which parts are washable. Do not assume a reservoir, brew group, grinder component, carafe lid, or drip tray is dishwasher-safe.
- Confirm the approved cleaner. Use only the detergent, cleaning tablet, descaler, vinegar procedure, or other product allowed for that machine and component.
| Frequency | Typical Tasks | Important Model-Specific Notes |
|---|---|---|
| After each brew | Discard grounds or capsules; rinse approved baskets, filters, portafilters, or carafes. | Follow the care instructions for coated, insulated, glass, or dishwasher-safe parts. |
| After milk drinks | Wipe and purge a steam wand or run the machine’s milk-system cleaning procedure. | Automatic milk carafes and tubes may require different rinsing or disassembly steps. |
| Daily or as needed | Empty the drip tray and grounds container, wipe the exterior, and remove visible residue. | High-use machines may need these tasks more than once per day. |
| Weekly or regularly | Deep-clean removable components and inspect reservoirs, brew areas, grinders, and milk parts. | Backflush, soak, wash, or rinse only where the manufacturer permits it. |
| At the specified interval | Replace water filters, run cleaning-tablet programs, or service removable brew components. | Intervals vary by model, filter type, drink volume, and water conditions. |
| When descaling is due | Run the complete approved descaling and rinse procedure. | Use the machine’s alert, water-hardness setting, usage guidance, or owner’s manual rather than a universal calendar. |
What Happens If You Don’t Clean Your Coffee Maker?
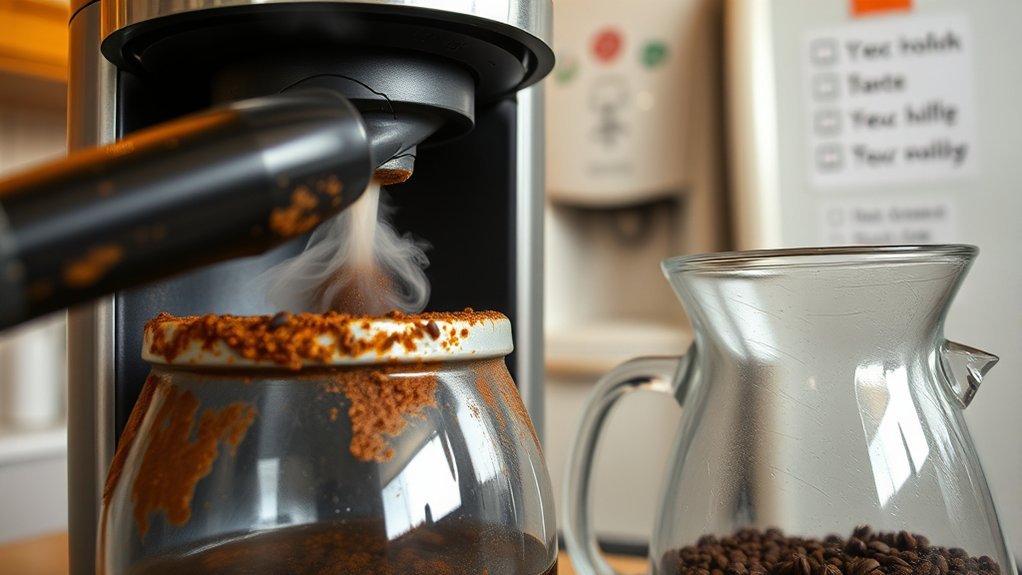
If you neglect your coffee maker, the first problem you may notice is a decline in flavor. Coffee oils and fine particles can collect on baskets, carafes, portafilters, brew groups, and other coffee-contact surfaces. As residue builds up, it can affect the taste and aroma of fresh coffee.
Mineral scale is a separate problem. Calcium and other minerals in water can accumulate inside heating and water-delivery components. Keurig notes that scale can hinder brewer performance over time, which is why compatible machines need periodic descaling. The required interval varies with the machine and water conditions.
Hygiene matters too. NSF reports that coffee maker reservoirs were among household items found to contain bacteria or yeast and mold in its household germ research. That finding does not mean every reservoir is contaminated, but it is a good reason to clean damp removable parts instead of focusing only on the carafe.
Espresso machines have another trouble spot: milk systems. Dried milk on or inside a steam wand can obstruct the opening and make steaming less consistent. Wiping and purging the wand immediately after use is much easier than removing hardened residue later.
Over time, neglected residue, scale, clogged passages, and worn seals can also contribute to poor flow, leaks, inconsistent brewing, or service problems.
Cleaning removes coffee, milk, oils, and dirt; descaling removes mineral deposits. A machine may need one even when it does not yet need the other.
Daily Cleaning Tasks for Your Coffee Maker
Daily coffee maker maintenance is mostly about removing fresh residue before it dries or turns stale. You do not need to perform a full descale every day.
Start by discarding used grounds or capsules. Rinse or wash removable coffee-contact parts such as the filter basket and carafe according to the manufacturer’s care instructions. Wipe splashes from the exterior with a soft damp cloth.
If your brewer has a removable water reservoir, keep it clean and do not leave old coffee grounds or standing spills around it.
Essential Daily Tasks
- Discard grounds promptly. Empty the filter, portafilter puck, or grounds container after brewing rather than leaving damp coffee in the machine.
- Clean coffee-contact parts. Rinse or wash the carafe, reusable filter, filter basket, or portafilter using the method approved for those parts.
- Empty the drip tray when needed. Standing coffee and water can create odors and may eventually overflow.
- Wipe the exterior. Use a damp, non-abrasive cloth rather than spraying cleaner directly into controls, vents, or openings.
- Clean milk equipment immediately. Breville recommends wiping and purging the steam wand after milk texturing to remove remaining milk.
- Rinse pod systems when appropriate. A water-only rinse can reduce flavor carryover on machines whose instructions support it, particularly after strongly flavored beverages.
Quick Cleaning Tips
These habits make routine cleaning faster:
- Rinse portafilters and filter baskets before coffee oils dry on them.
- Use a dedicated damp cloth for a steam wand and wipe it immediately after steaming milk.
- Do not let a drip tray or grounds container overflow.
- Wash removable parts with warm water and mild dish soap when the manufacturer identifies them as hand-washable.
- Check whether removable parts are dishwasher-safe rather than assuming they are.
- Let washed parts dry before reassembling or storing the machine.
Pro Tip: Keep the machine’s cleaning brush, approved tablets, filter replacements, and descaler together. When a cleaning indicator appears, you will not have to postpone maintenance while searching for supplies.
Weekly Maintenance for a Spotless Coffee Maker
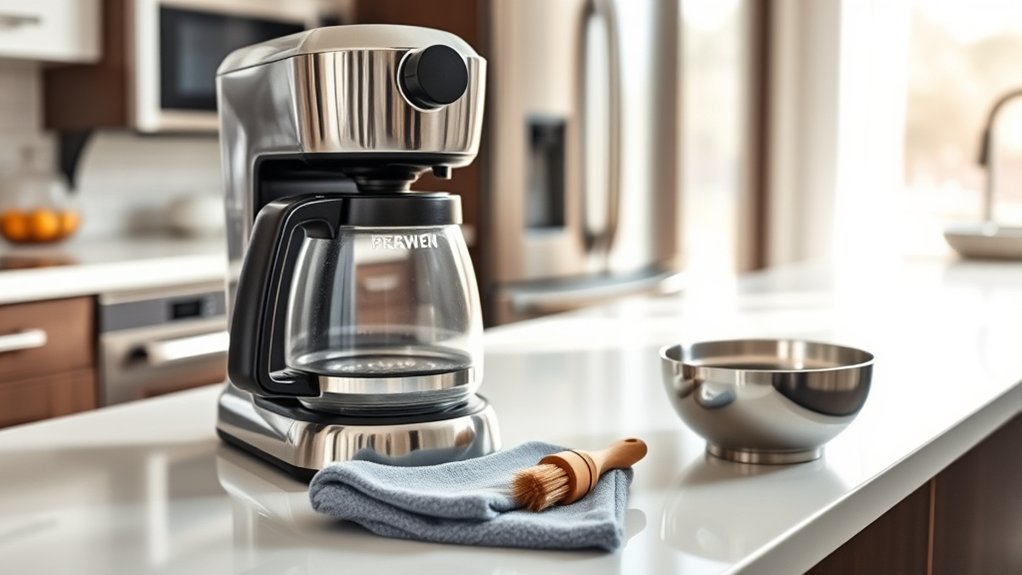
A weekly check is a useful reminder to clean areas that receive less attention after each brew. Treat it as a practical inspection point rather than a universal manufacturer schedule; the exact tasks depend on the machine.
For a drip brewer, thoroughly clean the removable brew basket, lid, carafe, and accessible reservoir components. Check the spray or shower area for visible coffee residue or mineral deposits if your model gives you safe access to it.
For an espresso machine, clean the portafilter, baskets, drip tray, group area, and milk system. Backflush only if the machine is designed for backflushing, and use detergent only at the interval and concentration specified by its manufacturer.
If your coffee maker has a built-in or separate grinder, unplug the grinder before deeper cleaning when its instructions require it. Brush loose grounds from accessible burr and chute areas with a dry grinder brush where permitted. Do not pour water onto burrs, motors, or electrical components unless the manufacturer specifically says a removable part can be washed.
Do not run baking soda through a drip brewer simply as a weekly routine. For example, Cuisinart recommends baking soda paste for deeper stains on appropriate washable surfaces, while its internal cleaning instructions use a different procedure.
Essential Monthly Maintenance for Your Coffee Maker
Think of monthly maintenance as a convenient inspection point rather than an automatic command to descale every machine. A manufacturer’s alert or schedule should override a generic monthly routine.
- Check whether descaling is due. Look for a descale indicator, review the number of brews since the last cycle, and consider your water hardness. Follow your model’s schedule.
- Check the water filter. Replace it only at the interval specified for that filter or when the machine prompts you. For example, Keurig recommends every two months or 60 tank refills for compatible cartridges, but that is not a universal coffee-maker rule.
- Deep-clean removable parts. Wash the carafe, filter basket, reservoir, drip tray, grounds container, and other removable parts according to their care instructions.
- Inspect seals and gaskets. Look for cracks, hardening, deformation, unexplained moisture, or leaks.
- Check water flow and brew time. A noticeable slowdown can point to scale or a blockage that needs attention.
- Inspect the power cord and housing. Stop using a machine with damaged electrical components and follow the manufacturer’s service guidance.
Note: Some machines may need descaling more often than others. Water hardness, daily brewing volume, filtration, and the machine’s own monitoring system can all affect the interval.
How to Clean Different Types of Coffee Makers
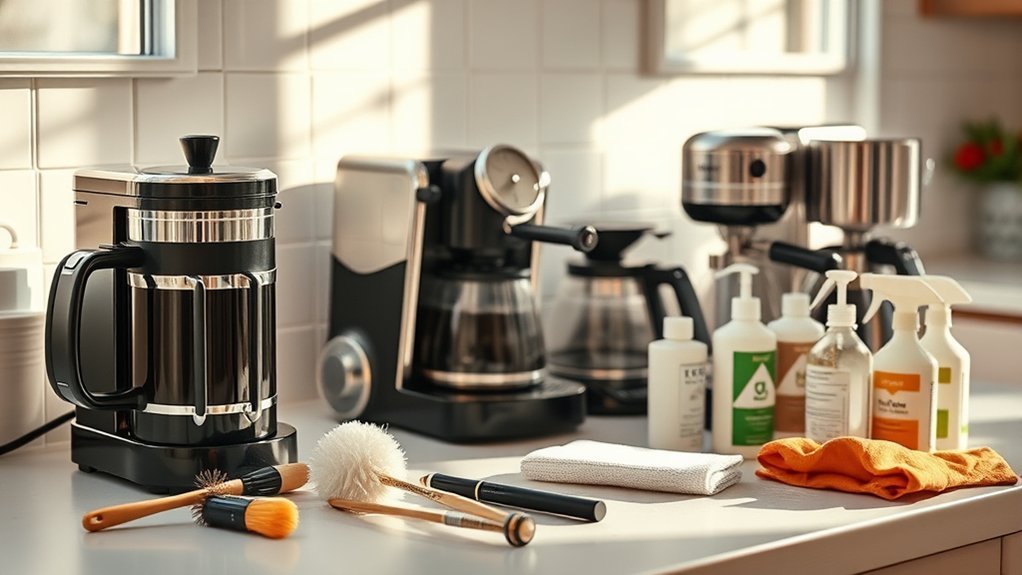
The safest cleaning method depends on how your brewer is built. A drip machine, pod brewer, manual espresso machine, and super-automatic machine should not automatically receive the same chemicals or cleaning cycle.
Drip Coffee Makers
- Discard the used filter and grounds, then rinse the filter basket.
- Wash the carafe, lid, reusable filter, and other approved removable parts with warm soapy water.
- Wipe the exterior and warming plate after they have cooled.
- Clean the reservoir according to the manufacturer’s instructions and let removable components dry properly.
- Descale only when due, using the exact product, vinegar concentration, or cleaning cycle approved for your model.
Vinegar is acceptable for some drip brewers but not at one universal concentration. For example, Cuisinart publishes a three-parts-water-to-one-part-vinegar cleaning method for applicable machines. Other manufacturers use different procedures, so check the manual before filling the reservoir.
Espresso Machines
| Task | Typical Timing | Purpose |
|---|---|---|
| Wipe and purge steam wand | After milk use | Removes milk before it dries and blocks the tip. |
| Rinse portafilter and basket | After use / daily | Removes grounds and fresh coffee oils. |
| Flush or backflush group | Only as specified by the model | Removes residue from compatible group-head systems. |
| Detergent cleaning cycle | When prompted or per manual | Breaks down stubborn coffee-oil residue where approved. |
| Descale | When prompted or due for your water hardness and usage | Removes mineral scale from the water system. |
Breville’s espresso maintenance guidance, for example, covers the group head, steam wand, grinder, water tank, descaling, and filter changes as separate maintenance jobs rather than one universal cleaning cycle.
Pod and Capsule Coffee Makers
Pod machines still collect coffee residue and scale even though the grounds are enclosed in capsules.
- Remove used capsules and empty the drip tray or capsule bin regularly.
- Wash removable trays and reservoirs according to the manual.
- Wipe the pod holder and accessible brewing area carefully.
- Clean a puncture needle only with the procedure and tool recommended for your model.
- Run a rinse cycle when the manufacturer recommends one.
- Descale at the machine’s prescribed interval.
For example, Keurig recommends descaling compatible brewers every three to six months. Other pod systems use different intervals or automatic reminders.
Bean-to-Cup and Super-Automatic Coffee Makers
Automatic espresso machines combine a grinder, brew unit, water system, grounds container, and sometimes a milk system, so each part may have its own schedule.
Empty the grounds container and drip tray regularly, clean the milk system promptly, and rinse removable brew components only as the manufacturer directs. Some removable brew groups are designed to be rinsed with water but not detergent.
De’Longhi’s care guidance, for example, tells owners of applicable fully automatic machines to clean removable brewing components as directed and descale when the machine indicates that it is due.
Best Practices for Descaling Your Coffee Maker
Descaling removes mineral deposits from parts that carry or heat water. It is different from washing away coffee oils, grounds, milk, or surface dirt.
Warning: Never assume vinegar is safe because another coffee maker uses it. Philips explicitly warns against vinegar/acetic-acid descalers for certain espresso machines, while other manufacturers permit vinegar on specific drip brewers.
- Read the exact model instructions. Identify the approved descaler, concentration, water quantity, and cleaning mode before starting.
- Remove anything the manual tells you to remove. Some machines require water filters or milk accessories to be taken out before descaling.
- Use the specified amount of solution. More acid is not automatically better and may damage components.
- Complete the full descaling cycle. Do not interrupt an automatic program unless the manual explains how to resume it.
- Rinse exactly as directed. Fresh-water rinses remove remaining descaling solution from the water path.
- Reset the alert when required. Some machines continue displaying a descale warning until their complete programmed sequence has been finished.
Pro Tip: If your machine lets you enter a water-hardness setting, test your water and set it correctly. On compatible machines, that setting helps determine a more appropriate descaling interval.
Common Coffee Maker Cleaning Mistakes to Avoid
- Treating cleaning and descaling as the same job. Soap or coffee-machine detergent may remove oils but not mineral scale, while descaler is not a substitute for washing dirty removable parts.
- Using vinegar in every machine. Some manufacturers allow it; others prohibit it. Use only the procedure approved for your model.
- Running dish soap or baking soda through the internal water path. A product that is acceptable on a removable surface is not automatically safe inside pumps, boilers, valves, or tubing.
- Backflushing an incompatible espresso machine. Backflushing is appropriate only for machines specifically designed for it.
- Putting electrical or grinder components under running water. Keep water away from motors, powered bases, controls, and non-washable burr assemblies.
- Assuming every removable part is dishwasher-safe. Heat and detergent can damage coatings, seals, plastics, or insulated components that are intended for hand washing.
- Skipping the final rinse after descaling. Complete every fresh-water rinse specified by the manufacturer before brewing again.
- Using stronger cleaner when the first cycle fails. Persistent flow, heating, leaking, electrical, or fault-code problems may need troubleshooting or professional service rather than more chemical cleaner.
Proper Storage Tips for Your Coffee Maker
If you are putting a coffee maker away for an extended period, clean it first and let removable components dry completely.
Store a clean, dry coffee maker upright in a stable location where it is protected from moisture, excessive heat, and physical damage.
Remove used grounds, capsules, standing water, and milk residue before storage. Empty removable tanks when the manufacturer recommends doing so for long-term storage.
Keep the machine away from a stove or other intense heat source that could damage plastic, seals, or electrical components. A cabinet or other clean location can also reduce dust buildup.
Before using a stored machine again, inspect the power cord, reservoir, seals, removable parts, and water path. Follow any manufacturer instructions for priming or flushing a machine that has been unused for an extended period.
How Water Quality Affects Coffee Taste
Water affects both coffee flavor and the maintenance burden placed on your machine.
- Mineral content affects extraction and flavor. SCA-hosted educational material discusses how mineral content and alkalinity can influence coffee extraction and sensory results.
- Harder water can increase scale formation. More mineral buildup may mean more frequent descaling, depending on the machine and its water treatment system.
- Chlorine and other water characteristics can affect taste. Appropriate filtration may improve flavor when it is compatible with your brewer.
- Do not assume distilled water is right for every machine. Some coffee makers specifically advise against distilled or demineralized water. Use water that meets your brewer’s instructions.
- Set water hardness when the machine supports it. That helps some automatic machines determine when maintenance is due.
How to Tell If Your Coffee Maker Needs a Little TLC?
Your coffee maker may need cleaning, descaling, troubleshooting, or service if its behavior changes noticeably.
| Sign | Possible Cause | What to Do |
|---|---|---|
| Slower brew or reduced volume | Scale, clogged outlet, dirty showerhead, or another flow restriction | Check the manual’s cleaning, troubleshooting, and descaling procedure. |
| Stale, bitter, or unusual flavor | Old coffee residue, dirty parts, water quality, or scale | Clean coffee-contact parts and assess water and descaling status. |
| Weak or irregular steam | Milk residue, blocked steam tip, or scale | Clean the wand using the manufacturer’s procedure. |
| Water leaking around a seal | Dirty, loose, worn, or damaged gasket/seal | Clean and inspect; replace or service as instructed. |
| Persistent unusual noise | Pump, blockage, trapped air, or mechanical issue | Stop repeated experimentation and consult troubleshooting or service guidance. |
If cleaning and the prescribed descaling cycle do not restore normal operation, avoid repeatedly running stronger cleaners through the machine. Persistent leaks, heating failures, electrical problems, burning smells, damaged cords, or recurring fault codes call for professional or manufacturer-authorized service.
Pro Tips to Extend Your Coffee Maker’s Lifespan
The best maintenance routine is one you can repeat without guessing which chemical or schedule applies to your machine.
Follow Cleaning Schedule Consistently
- After brewing: discard grounds or capsules and clean the parts that touched coffee.
- After milk drinks: clean and purge the milk system immediately.
- Regularly: wash removable trays, reservoirs, baskets, carafes, portafilters, and other approved parts.
- When scheduled: perform any compatible backflush, cleaning-tablet, brew-group, or grinder maintenance.
- When due: descale according to the model’s alert, usage interval, or water-hardness guidance.
- As needed: replace water filters, gaskets, seals, and other consumable parts according to their instructions.
A written date on your descaler bottle or a calendar reminder can help you remember when you last completed deeper maintenance.
Use Quality Water Only
Use water that meets your machine manufacturer’s recommendations. Appropriate filtration can reduce undesirable tastes and may reduce some mineral buildup, but the correct treatment depends on the water you start with and the brewer you own.
Avoid assuming that the softest or purest possible water is automatically best. Coffee extraction depends partly on dissolved minerals, and some machines have explicit restrictions on distilled, demineralized, or heavily treated water.
If your machine includes a hardness test strip or programmable hardness setting, use it. De’Longhi, for example, explains that water hardness influences maintenance and descaling requirements on compatible machines.
Frequently Asked Questions
How Often Should I Replace My Coffee Maker’s Water Filter?
There is no universal replacement interval. Follow the instructions for your machine and filter. Keurig recommends every two months or 60 tank refills for certain compatible cartridges, while Cuisinart specifies about every 60 days or 60 uses for designated charcoal filters. Other systems may use a different interval or an automatic reminder.
Can I Use Vinegar for Descaling Any Coffee Maker?
No. Some drip-coffee-maker manufacturers provide an approved vinegar procedure, but other machines explicitly prohibit vinegar. Check the instructions for your exact model and use the specified concentration or approved commercial descaler rather than relying on a universal vinegar-and-water recipe.
Is It Safe to Use Bleach for Cleaning My Coffee Maker?
Do not run bleach through a coffee maker’s internal brewing system unless the manufacturer explicitly provides a procedure requiring it. For routine cleaning, use the approved soap, cleaner, or descaler for the relevant part. If a removable component needs sanitizing, follow its manufacturer instructions and rinse exactly as directed.
How Can I Remove Stubborn Coffee Stains From My Coffee Maker?
Start with warm water, mild dish soap, and a non-abrasive sponge on washable parts. For stubborn carafe or basket stains, a manufacturer may allow a baking-soda paste. Do not automatically circulate baking soda through the machine’s internal water path; use only an internal-cleaning method approved for your model.
What Signs Indicate My Coffee Maker Needs Professional Servicing?
Seek service when correct cleaning and descaling do not resolve persistent leaks, heating failures, repeated error codes, abnormal pump behavior, or major flow problems. Stop using the appliance and seek qualified help for a damaged power cord, electrical fault, sparking, smoke, or a burning smell.
How Often Should I Descale My Coffee Maker?
Use the interval specified for your exact machine. Some brewers provide a descale alert, while others use a time, brew-count, or water-hardness schedule. Keurig recommends every three to six months for compatible brewers, but other brands and models can require a different interval. Hard water and heavy use may increase maintenance needs.
Can Coffee Maker Parts Go in the Dishwasher?
Only if the manufacturer identifies those specific parts as dishwasher-safe. A drip tray, reservoir, carafe lid, filter basket, frother component, or brew part that looks washable may still require hand washing. Check the care instructions before putting any removable component in a dishwasher.
Should I Leave Water in the Coffee Maker Reservoir?
Follow your machine’s instructions and avoid leaving stagnant water for extended periods. For long-term storage, remove standing water when the manufacturer directs you to do so and allow approved removable components to dry. For normal daily use, use fresh drinking water and keep the reservoir clean.
Sources
- NSF — Consumer Product Testing and Certification FAQs — coffee-reservoir cleanliness and household germ findings.
- Cuisinart — How to Clean Your Coffee Maker — drip-brewer cleaning, approved vinegar procedure, filters, and stain cleaning.
- Breville — Cleaning & Maintenance — espresso group, steam wand, grinder, water-filter, and descaling maintenance.
- Keurig — Descaling Solution Guidance — three-to-six-month descaling recommendation for compatible brewers.
- Philips — Espresso Machine Descaling — model-specific descaler requirements and warning against vinegar on applicable machines.
- De’Longhi — Coffee Machine Care Guide — water hardness, milk-system care, brew-unit cleaning, and prompt-based descaling.
Conclusion
A clean coffee maker is more likely to produce consistent coffee and avoid preventable problems from coffee residue, dried milk, blocked passages, or mineral buildup. The most useful routine is simple: clean coffee-contact parts after use, give removable components regular deeper cleaning, and descale only when your machine’s instructions, maintenance alert, water hardness, or usage says it is due. Above all, check the manual before putting vinegar, detergent, descaler, baking soda, bleach, or any other cleaner into the internal water system.