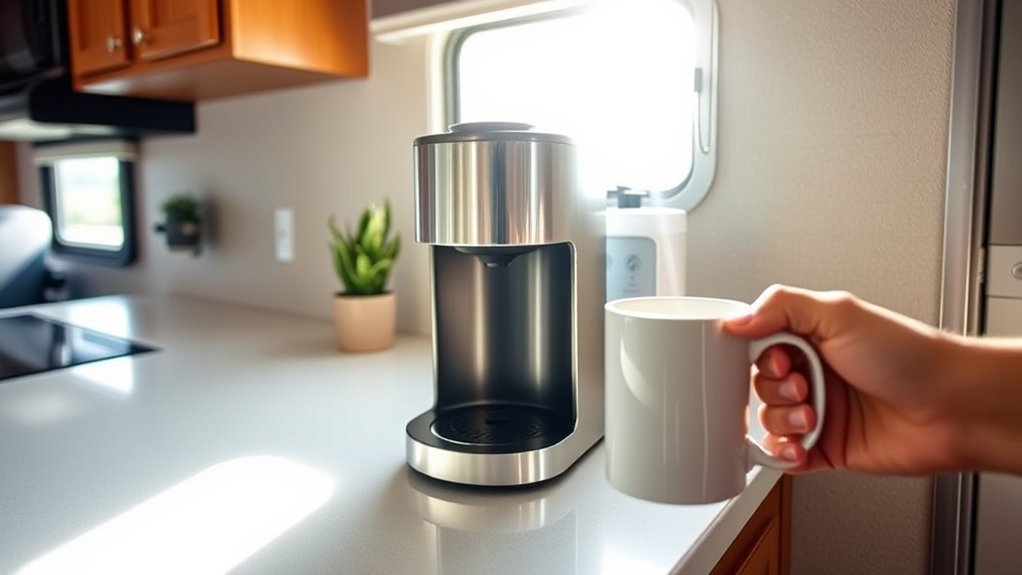
Using a coffee maker in your RV or camper is straightforward when the brewer matches your available power, counter space, and travel style. The key is to check the appliance rating before switching it on, avoid running several high-draw devices together, brew only while parked, and secure the machine before the RV moves.
Quick Answer
You can use a coffee maker in an RV if its wattage fits the available shore-power, generator, or inverter capacity. Check the brewer’s label, turn off competing high-draw appliances, brew only while parked, and use a manual method such as a French press or pour-over when electrical power is limited.
Key Takeaways
- Read the coffee maker’s watt or amp rating before plugging it into an RV outlet, generator, or inverter.
- A 30-amp RV has less total power available than a 50-amp RV, but the rating of the individual outlet and circuit still matters.
- Do not run a coffee maker at the same time as other high-draw appliances unless the combined load is within the system’s limits.
- French press, pour-over, AeroPress, steeped coffee bags, and stovetop percolators reduce or eliminate the brewer’s electrical demand.
- Rinse removable parts after use, descale according to the manufacturer’s instructions, empty the reservoir, and secure the brewer before travel.
At a Glance
| Time Required | About 5–15 minutes for setup and brewing, depending on the method |
| Difficulty | Easy, once the power source and appliance ratings are confirmed |
| Tools Needed | Coffee maker or manual brewer, drinking water, grounds, mug, and a compatible kettle or power source |
| Cost | No added equipment cost if you already own a compatible brewer; manual methods can avoid inverter or generator use |
Choosing the Right Coffee Maker for Your RV
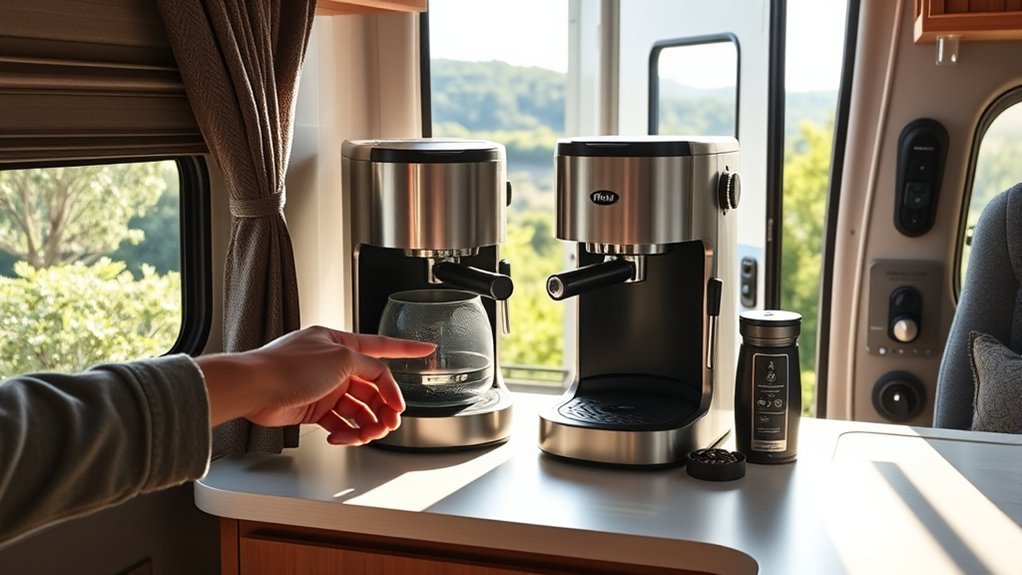
The best RV coffee maker is not always the smallest model. It must also fit your power source, storage space, preferred serving size, and cleanup routine.
Begin by deciding where you camp most often. A compact electric drip or capsule brewer can be convenient at a full-hookup campsite. A French press, pour-over cone, AeroPress, or stovetop percolator is usually easier to manage when you are boondocking or conserving battery power.
| Brewer Type | Power Need | Best For | Main Tradeoff |
|---|---|---|---|
| Electric drip maker | 120-volt outlet with adequate wattage | Several cups at a powered campsite | Heating element creates a substantial electrical load |
| Capsule brewer | 120-volt outlet with adequate wattage | Fast single servings and simple cleanup | Pods take storage space and create more waste |
| French press | Hot water only | Full-bodied coffee without an electric brewer | Wet grounds require careful disposal |
| Pour-over | Hot water only | Lightweight gear and one or two cups | Requires steady pouring and a stable surface |
| AeroPress | Hot water only | Compact storage, quick brewing, and easy cleanup | Usually brews one serving at a time |
| Stovetop percolator | Compatible installed stove or outdoor heat source | Multiple cups without an electric brewer | Needs heat control and can over-extract coffee |
Also consider the height of the brewer with its lid open, the size of the carafe, access to the water reservoir, and whether removable parts fit in your RV sink. A thermal carafe is useful because it keeps coffee warm without a warming plate.
Glass carafes can work in an RV, but they require padded storage and a positive latch. Stainless-steel or insulated components are often easier to protect on rough roads.
Pro Tip: Measure the cabinet, shelf, or travel bin before buying a brewer. Include the cord, lid-opening clearance, mug height, and any removable reservoir in your measurements.

Power your essentials anywhere with a 999Wh pure sine wave power station delivering up to 1000W continuous with 2000W surge. It supports fast charging via USB-C PD 60W and USB-A QC 18W, plus simultaneous output for multiple devices through AC, USB, wireless, and car/DC ports. Recharge using AC, car, or solar with a built-in MPPT controller and dual cooling fans, while the upgraded battery management system protects against surges, short circuits, and overheating.

SEMI-TRANSPARENT WATER RESERVOIR holds up to 5 cups of water capacity with a level indicator to always ensure you have enough water ready for brewing.

SEMI-TRANSPARENT WATER RESERVOIR holds up to 4 cups of water capacity with a level indicator to always ensure you have enough water ready for brewing.
Know Your Coffee Maker’s Power Needs
Before plugging in an electric coffee maker, find its electrical rating on the bottom label, rear label, power adapter, or owner’s manual. Look for watts, shown as “W,” or amps, shown as “A.” If only amps are listed, multiply the amps by the operating voltage to estimate watts.
For example, a brewer rated at 8 amps on a 120-volt circuit uses about 960 watts:
Watts = volts × amps. Add the wattage of every appliance operating at the same time before starting the coffee maker.
Cummins RV power guidance states that a 30-amp, 120-volt RV connection can provide up to about 3,600 watts. A typical 50-amp RV connection can provide up to about 12,000 watts across its two legs. Those totals do not override the rating of an individual outlet, branch circuit, breaker, inverter, generator, or extension cord.
Cummins uses approximately 900–1,200 watts as a planning range for a coffee pot, but your brewer’s nameplate is more reliable than an average. A compact brewer is not necessarily a low-wattage brewer.
Using Shore Power
Shore power is usually the simplest option. Confirm that the RV is properly connected, then check which other appliances are operating. Air conditioners, electric water heaters, microwaves, toasters, space heaters, hair dryers, and battery chargers may leave too little capacity for the coffee maker.
On a 30-amp connection, you may need to switch off the microwave, electric water-heater element, or another high-draw appliance before brewing. A 50-amp RV has more total capacity, but two high-draw appliances connected to the same branch circuit can still trip a breaker.
Using an Inverter and RV Batteries
Most standard coffee makers need 120-volt AC power. When the RV is not connected to shore power and the generator is off, the outlet will work only if it is supplied by an inverter or another compatible AC power source.
Before brewing from batteries, confirm all of the following:
- The outlet is connected to the inverter.
- The inverter’s continuous output rating exceeds the brewer’s required wattage.
- The battery bank has enough charge and can supply the required current.
- The cables, fuse, and installation are rated for the inverter load.
- No other major inverter-powered appliance is operating at the same time.
Electric heating draws substantial battery power. Even a short brew cycle can place a heavy load on a 12-volt battery system. If the inverter alarms, shuts down, or shows low voltage, stop the brew cycle and reduce the load rather than repeatedly restarting it.
THOR Industries’ boondocking guidance recommends tracking appliance wattage because every powered device reduces the energy left in the battery bank.
Using a Generator
Make sure the generator’s usable output can support the brewer plus the RV’s automatic and manually operated loads. Battery charging, air conditioning, and other equipment may draw power even when you did not switch them on at that moment.
Warning: Never operate a portable generator inside an RV, garage, enclosed shelter, or other occupied space. The CDC advises placing portable generators outdoors, more than 20 feet from windows, doors, and vents, with the exhaust directed away. Maintain working carbon-monoxide alarms and follow the generator manual and campground rules.
If a breaker trips, switch off and unplug the coffee maker, turn off other high-draw appliances, and identify the overload before resetting the breaker. Stop using the brewer if the cord or plug is damaged, the outlet is loose or discolored, the plug becomes unusually hot, or the breaker trips repeatedly.
How to Brew Your Coffee While Camping
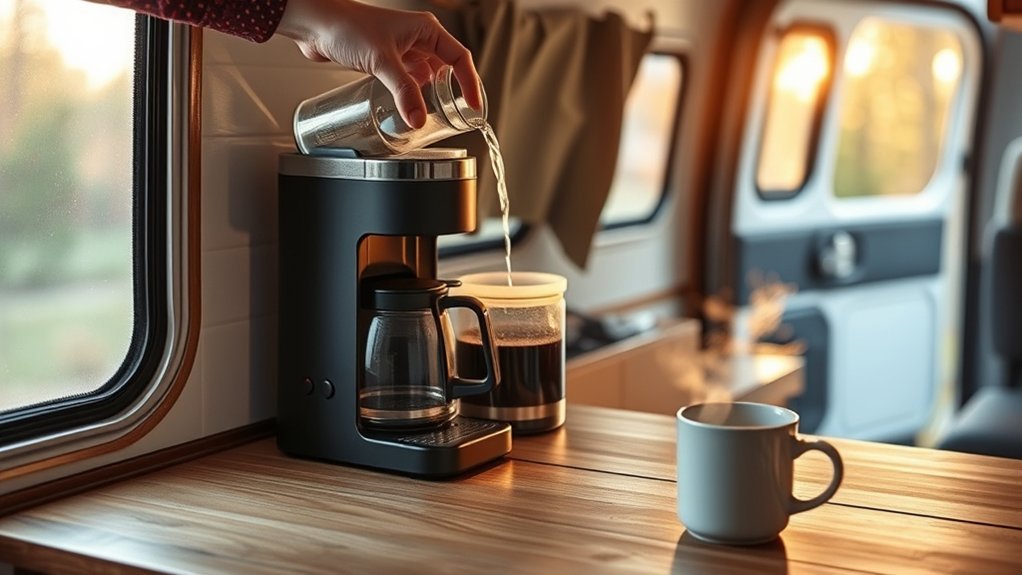
A consistent campsite brew begins with a stable work surface, a measured coffee-to-water ratio, and a method that fits your available power.
- Park and stabilize the RV. Do not fill, operate, pour from, or clean a coffee maker while the vehicle is moving.
- Choose the power source. Confirm shore power, generator output, inverter capacity, or a safe hot-water method before setup.
- Measure the water and coffee. A practical starting point is about 60 grams of coffee per liter of water, which is approximately a 1:16.7 coffee-to-water ratio.
- Match the grind to the brewer. Use medium grounds for many drip brewers, medium-fine grounds for many pour-over or AeroPress recipes, and coarse grounds for a French press.
- Brew on a dry, level surface. Keep the cord away from the sink, stove flame, hot cookware, and walking paths.
- Transfer extra coffee to a thermos. This keeps it warm without leaving a warming plate energized.
- Cool, empty, and secure the equipment. Remove wet grounds and drain standing water before the RV moves.
The Specialty Coffee Association describes 60 grams per liter as a common brewing ratio. Treat it as a starting point: use slightly more coffee for a stronger cup or slightly less for a milder cup.
Electric Drip or Capsule Brewing
Fill only to the amount you plan to drink, place the carafe or mug correctly, and confirm that the filter basket and lid are fully seated. Start the machine only after checking the current electrical load.
When brewing is complete, switch off the warming plate or automatic brewer if it does not shut down by itself. Unplugging the machine after it cools prevents standby use and makes it easier to secure for travel.
French Press Coffee
For about 500 milliliters of water, start with roughly 30 grams of coarse coffee. Add hot water, stir gently, place the lid on the press, and steep for about four minutes before pressing slowly. Adjust the steep time or ratio after tasting.
Do not rinse loose grounds into an RV sink. They can collect in plumbing and the gray-water system. Scrape the grounds into a trash or compost container where local rules permit.
Pour-Over Coffee
Place the brewer securely over a sturdy mug. Wet the filter, add medium-ground coffee, and pour a small amount of hot water over the grounds. After a short pause, continue pouring slowly in controlled circles.
A gooseneck kettle improves control but is not required. A regular kettle or heat-safe pouring vessel works when you pour carefully on a level surface.
AeroPress Coffee
An AeroPress packs into a small space and uses hot water instead of a powered brewing element. Follow the instructions for your specific model and recipe. The manufacturer’s official AeroPress brewing guide includes grind, water, and setup directions.
Stovetop Percolator or Cowboy Coffee
A stovetop percolator can brew several servings on a compatible installed RV stove. Use moderate heat and remove it when the coffee reaches the strength you prefer. Boiling aggressively for an extended time can produce a bitter flavor.
Cowboy coffee requires only a pot, water, grounds, and a safe heat source. Let the grounds settle before pouring and decant slowly to reduce sediment.
Warning: Hot water, steam, and glass carafes can cause serious burns. Brew only while parked. Never use an outdoor-only camp stove, charcoal device, or other outdoor fuel-burning appliance inside the RV.
Essential Cleaning Tips for Your RV Coffee Maker
Regular cleaning protects flavor, reduces residue, and helps water move through the brewer correctly. Daily rinsing and periodic descaling are different tasks and should not be placed on the same schedule.
- After each use: Discard the grounds or pod, rinse the basket and carafe, wipe splashes, and leave removable parts open long enough to dry.
- Wash removable parts: Use warm water and mild dish soap when the manual permits it. Check whether parts are dishwasher-safe before placing them in a dishwasher.
- Clean reusable filters: Remove trapped grounds and coffee oils without bending or puncturing the mesh.
- Descale when required: Follow the model-specific manual for the approved solution, concentration, rinse cycles, and interval.
- Prepare for storage: Empty the reservoir, run any manufacturer-required drain procedure, dry removable parts, and leave no wet grounds inside.
- Inspect the electrical parts: Look for cuts, crushed insulation, bent blades, loose connections, discoloration, or heat damage.
Do not assume that equal parts vinegar and water are correct for every machine. Some manufacturers allow vinegar, while others specify a commercial descaling product or a different concentration. Keurig states that descaling removes mineral deposits and generally recommends doing it every three to six months for its compatible brewers, although the instructions for your exact model take priority.
See the manufacturer’s Keurig descaling instructions for an example of a model-specific process.
Note: Hard water may cause scale to build up faster. Slow flow, changing brew volume, unusual noise, or a descale alert can indicate that maintenance is due, but always use the procedure in the brewer’s manual.
Exploring Alternative Brewing Methods for RV Living
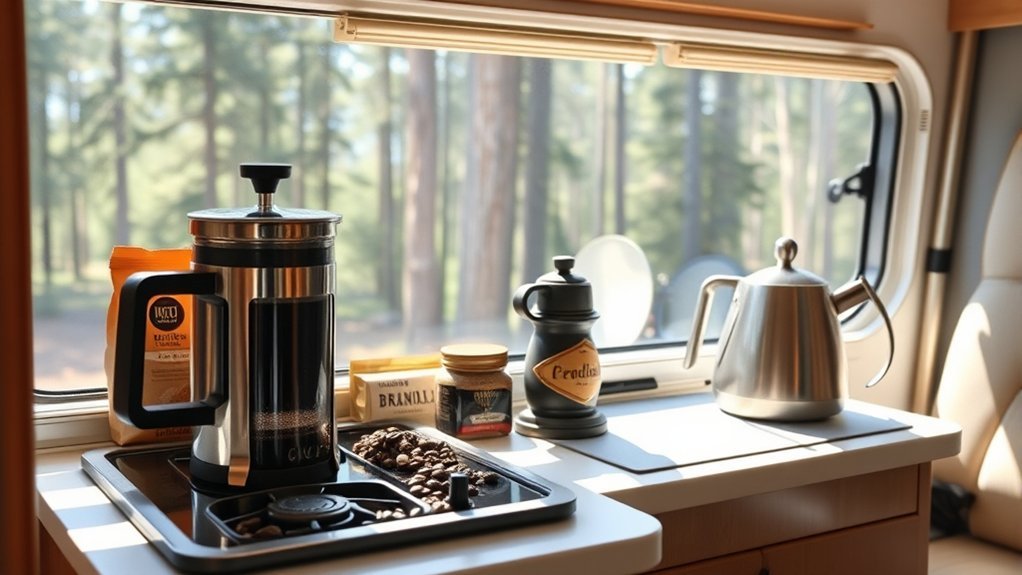
Manual brewing is useful when electrical capacity is limited, the battery bank is low, or you want to avoid running a generator for one cup. You still need a safe way to heat water, but the brewer itself adds little or no electrical load.
| Brewing Method | Electric Brewer Required? | Cleanup | Best Use |
|---|---|---|---|
| French press | No | Moderate; loose grounds must be removed | Rich coffee for one or more people |
| Pour-over | No | Easy with a paper filter | Controlled single-cup brewing |
| AeroPress | No | Easy; compact coffee puck | Fast brewing and limited storage |
| Steeped coffee bag | No | Very easy | Travel days and minimal equipment |
| Stovetop percolator | No electric brewer | Moderate | Several servings on a compatible stove |
| Cowboy coffee | No | Moderate; sediment remains in the pot | Backup brewing with basic cookware |
Choose the method that fits your water supply as well as your power supply. Paper filters simplify cleanup but create waste. A metal filter is reusable but needs more rinsing. An immersion brewer uses little pouring water but leaves wet grounds that must be removed from the vessel.
Common Issues With RV Coffee Makers and How to Fix Them
Most RV coffee problems come from an overloaded circuit, an undersized inverter, low battery voltage, scale buildup, incorrect assembly, an unstable work surface, or an unsuitable coffee grind. Start with the safest and simplest checks before assuming the brewer has failed.
Power Draw Management Tips
- Read the rating label: Confirm the brewer’s watts or amps instead of estimating from its physical size.
- Add active loads: Include the microwave, air conditioner, water heater, space heater, toaster, hair dryer, converter, and battery charger when they are operating.
- Reduce the load: Switch off unnecessary high-draw appliances before starting the brew cycle.
- Check the inverter: Confirm its continuous rating, battery charge, and outlet coverage.
- Use a thermos: Transfer the finished coffee and switch off the warming plate.
- Choose a manual method: Use a French press, pour-over, AeroPress, or percolator when electric brewing is not practical.
Cleaning and Maintenance Issues
If the brewer becomes slow, noisy, or inconsistent, inspect the reservoir, basket, reusable filter, pod holder, valve, and water passages that the manual allows you to access. Remove coffee residue and perform the approved descaling process.
Make sure every removable component is seated correctly. A misaligned basket, carafe lid, pod holder, or water reservoir can stop brewing or cause a leak.
Before travel, empty the reservoir and carafe. Allow the appliance to cool, wrap or pad fragile parts, restrain the cord, and secure the brewer in a latched cabinet or travel bin. Hook-and-loop straps or a nonslip mat may help while parked, but they should not be the only restraint for a heavy appliance during travel.
Brewing Consistency Challenges
Weak, bitter, or uneven coffee is usually easier to correct when you change one variable at a time:
- Use fresh drinking water with a consistent mineral profile.
- Measure coffee and water by weight when possible.
- Use the grind recommended for the brewing method.
- Keep the filter and water outlets clean.
- Use a stable brewing temperature and repeatable contact time.
- Preheat a cold mug or thermal carafe with hot water when cold weather quickly cools the brew.
| Problem | Likely Cause | What to Do |
|---|---|---|
| Brewer has no power | Outlet is not energized, GFCI is tripped, inverter is off, or breaker is open | Unplug the brewer, reduce loads, check the approved GFCI and breaker procedure, and confirm the outlet’s power source |
| Breaker trips | Combined load exceeds the circuit or supply limit | Turn off other high-draw appliances; stop using the brewer if trips continue |
| Inverter alarms or shuts down | Low battery voltage, excessive load, overheating, or insufficient inverter capacity | Stop brewing, recharge the batteries, improve ventilation, reduce loads, and verify the ratings |
| Coffee brews slowly | Scale, clogged filter, blocked outlet, or low supply voltage | Clean the filter, follow the approved descaling process, and verify stable power |
| Coffee is weak | Too little coffee, grind too coarse, or water moving too quickly | Increase the coffee slightly or use a grind suited to the brewer |
| Coffee is bitter | Too much coffee, grind too fine, excessive heat, or excessive contact time | Use a coarser grind, shorter brew time, or slightly less coffee |
| Grounds enter the cup | Wrong grind, damaged filter, overfilled basket, or incorrect assembly | Use the correct grind, reduce the dose, inspect the filter, and reseat the basket |
| Water leaks | Overfilled reservoir, misaligned component, damaged seal, or cracked container | Unplug the brewer, let it cool, dry the area, reseat parts, and replace damaged components |
Frequently Asked Questions
Can I use my home coffee maker in my RV?
Yes, provided the brewer’s voltage and wattage are compatible with the powered outlet, circuit, generator, or inverter. Check the rating label, account for other active appliances, place the machine on a stable surface, and secure it before travel.
Is it safe to use a coffee maker while driving?
No. Park the RV before filling, operating, pouring from, or cleaning the coffee maker. Hot liquid, glass, cords, and loose equipment create injury risks, and the driver needs full attention on the road. NHTSA reports that crashes involving distracted drivers killed 3,208 people in 2024.
How much water and coffee should I use for one cup?
Start with about 60 grams of coffee per liter of water, or approximately 15 grams for 250 milliliters. Adjust the amount for your mug, brewer, and preferred strength. Measuring by weight avoids confusion caused by different coffee-maker cup markings.
Can I make coffee without electricity in my RV?
Yes. A French press, pour-over cone, AeroPress, steeped coffee bag, stovetop percolator, or cowboy-coffee pot needs hot water but not a powered coffee maker. Use only an installed appliance or heat source approved for the location.
What coffee grind works best in an RV coffee maker?
Use the grind recommended for the brewing method. Medium grounds suit many drip machines, coarse grounds suit a French press, and medium-fine grounds work for many pour-over and AeroPress recipes. Adjust one step at a time if the coffee tastes weak, bitter, or silty.
Can I run a coffee maker from an RV inverter?
You can when the outlet is inverter-powered and the inverter’s continuous output, battery bank, wiring, and fuse are designed for the brewer’s load. Electric heating draws substantial battery current, so monitor battery state and stop if the inverter alarms or shuts down.
How should I store a coffee maker while the RV is moving?
Unplug it, let it cool, empty the reservoir and carafe, remove wet grounds, restrain the cord, and store the brewer in a latched cabinet or padded travel bin. Protect a glass carafe separately and do not leave the machine loose on the counter.
Conclusion
Using a coffee maker in your RV does not have to strain the electrical system or complicate your morning. Match the brewer to your shore-power, generator, or inverter capacity; avoid competing high-draw loads; and switch to a manual method when conserving energy matters. Clean the equipment according to its manual, drain it before travel, and brew only while parked. These habits make fresh coffee safer, more consistent, and easier to enjoy wherever your RV trip takes you.
Sources
- Cummins RV Generator Power Basics — RV voltage, amperage, wattage, and 30-amp versus 50-amp capacity
- THOR Industries: Managing Energy While Boondocking — appliance loads, battery capacity, and off-grid energy planning
- Centers for Disease Control and Prevention: Carbon Monoxide Poisoning Basics — portable-generator placement and CO safety
- Specialty Coffee Association: Brewing Ratio Guidance — common coffee-to-water ratio
- Keurig Descaling Instructions — manufacturer-specific cleaning and descaling guidance
- National Highway Traffic Safety Administration: Distracted Driving — current distracted-driving safety data