
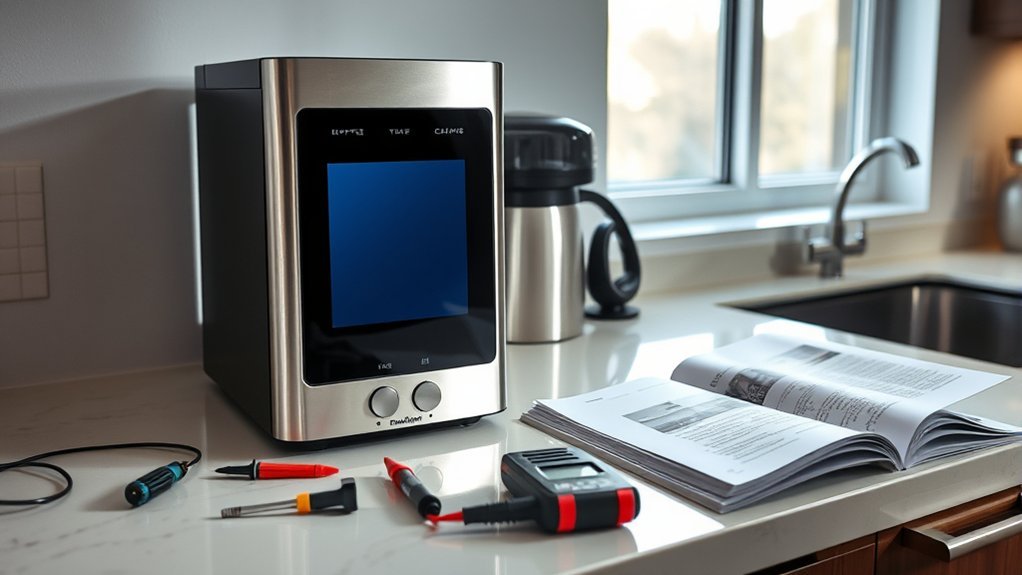
If your coffee maker display isn’t working, start by checking for loose connectors, as they often cause dim or distorted screens. Open the device and inspect the white connector for proper seating. Next, look for any cracks, moisture damage, or issues with backlighting. After securing connectors, power on the coffee maker to guarantee functionality. If problems persist, it may indicate a deeper issue. Discover more tips and steps to resolve these common display problems.
Key Takeaways
- Check for loose connectors by performing a visual inspection and ensuring all connections are securely seated to resolve display issues.
- Inspect the display for physical damage or moisture intrusion, which can cause distortion or a blank screen.
- Power cycle the coffee maker by unplugging it for a few minutes to reset potential internal issues affecting the display.
- Ensure the coffee maker is connected to a stable power source, as an unstable supply can lead to display malfunctions.
- If problems persist after troubleshooting, consult a professional, especially if the coffee maker is still under warranty.
Identifying Common Coffee Maker Display Problems
Have you ever noticed your coffee maker’s display acting up? Common issues include a dim, blank, or distorted screen, which often stems from loose connections or internal component failures.
One frequent culprit is a poorly seated connector, disrupting communication between the display and the control board. Regularly inspecting the display wiring and connectors can help prevent these malfunctions and guarantee features like brew time and settings work properly.
Environmental factors, such as humidity and heat, can also impact display functionality, causing flickering or fading.
Using common repair tools, you can perform DIY troubleshooting by checking connections and making minor repairs, ultimately extending your coffee maker’s lifespan and maintaining ideal display brightness settings.
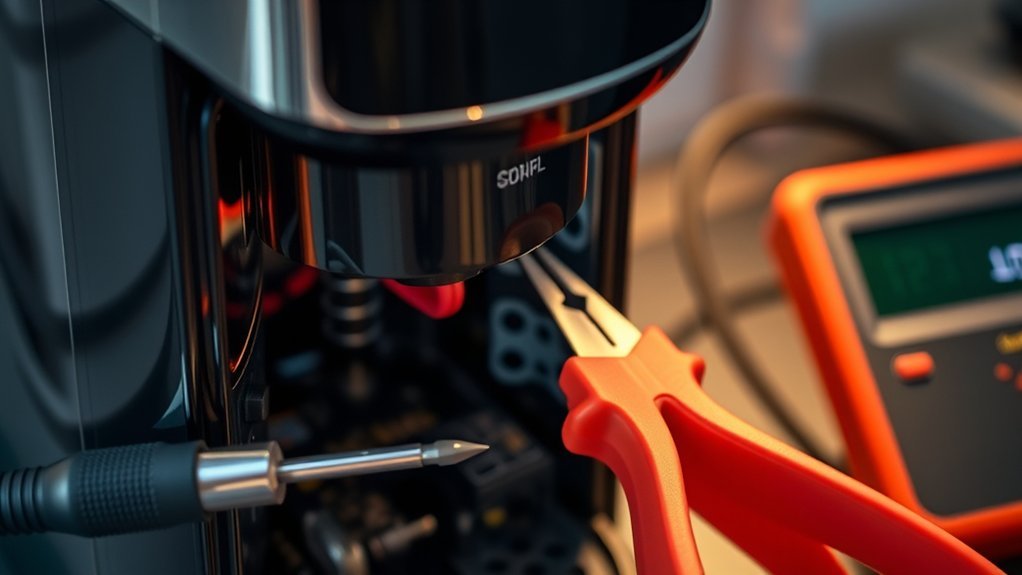
How to Identify a Loose Connector
How can you quickly identify a loose connector in your coffee maker? Start by looking for loose connector symptoms, such as a dim, blank, or distorted display.
Open the device and visually inspect the white connector. Make sure it’s seated properly and not wobbly. Gently push down on the white connector to secure it; if it clicks into place, you’ve likely resolved the issue.
Don’t stop there—check other connectors as well, since multiple loose connections can cause display malfunctions.
After securing all connectors, power on your coffee maker to confirm the display is functioning correctly. Following these connector maintenance tips will help you keep your coffee maker in good working order.
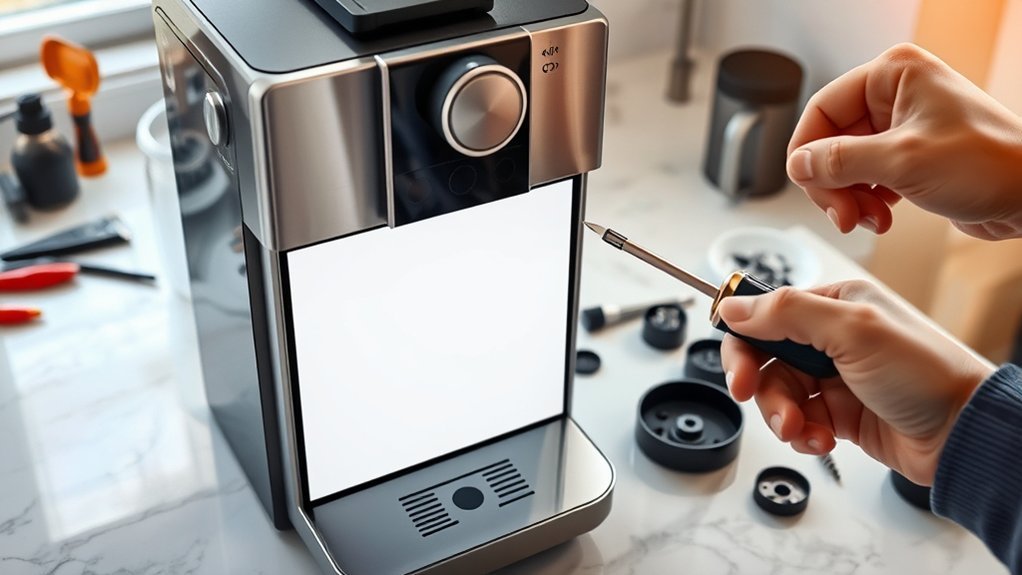
Step-by-Step Guide to Disassembling Your Coffee Maker
Disassembling your coffee maker can be straightforward if you follow a few vital steps. Start by removing the two Phillips head screws from the internal plate, allowing you to access the components.
Carefully lift and wiggle the plate to detach it from the main body, avoiding excessive force. Next, use a standard head screwdriver to push up on the plastic tabs, separating the top piece from the bottom half.
Carefully wiggle the plate to detach it, then use a screwdriver to lift the plastic tabs and separate the pieces.
Be cautious, as some tabs may break during disassembly; handle everything gently to minimize damage. Once inside, check the connectors for proper seating as part of your display troubleshooting tips.
This step is essential for effective coffee maker maintenance and helps guarantee your machine operates correctly.
How to Check for Display Screen Damage
What should you look for when checking your coffee maker’s display screen for damage?
Begin with a thorough visual inspection. Check for visible cracks or physical damage, as these can severely affect functionality.
Look for signs of moisture or liquid intrusion around the display, which may lead to short-circuiting.
Assess the screen’s backlighting; dim or flickering areas could indicate internal issues rather than surface damage.
Use a magnifying glass to spot any scratches or blemishes that might obstruct visibility.
Finally, verify the display connections are secure and undamaged, since loose or frayed connectors can mimic display damage.
Regular display maintenance is essential to prevent future issues, so always keep an eye on these aspects.
Reconnect the Display’s White Connector
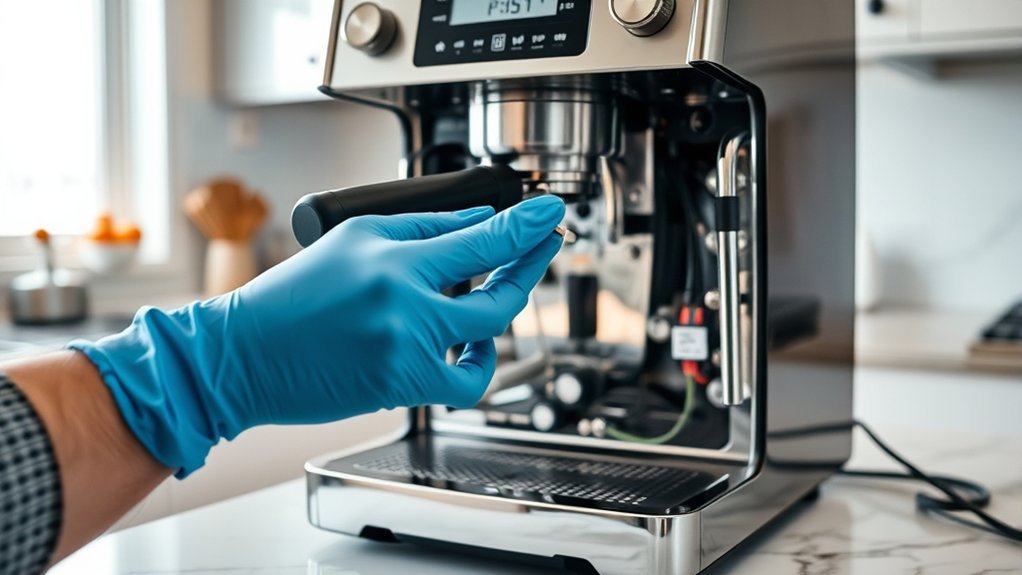
After confirming your coffee maker’s display screen is free from visible damage, the next step is to check the white connector that connects the display to the main board. A loose white connector can lead to display issues like dim, blank, or distorted screens.
First, power off the device and remove the two Phillips head screws to access the internal components. Use the reconnect technique by firmly pushing down on the white connector to make sure it’s securely seated.
Remember, connector importance can’t be overstated; both the white connector and the top connector must be securely connected for peak performance.
After re-seating, power on the coffee maker to verify if the display is functioning correctly.
Tips for Minimizing Coffee Maker Display Damage During Reassembly
When reassembling your coffee maker, handle each component with care to prevent display damage.
Use the proper tools to guarantee you apply the right amount of force without risking cracks or misalignments.
Handle With Care
Handling your coffee maker’s internal components with care is essential to preventing damage to the display during reassembly. Always treat sensitive parts gently to avoid breaking connectors. When reattaching the top piece, be cautious with the plastic tabs—excessive force can cause fractures. Verify all components align properly before securing screws, as misalignment stresses the display and connectors.
| Action | Recommendation |
|---|---|
| Handle Components | Use gentle pressure to prevent breakage |
| Reattach Top Piece | Avoid excessive force on plastic tabs |
| Check Connections | Verify all connections are snug and secure |
Following these tips will enhance your coffee maker maintenance and verify effective display care during the reassembly process.
Use Proper Tools
Using the right tools is essential for minimizing damage to your coffee maker’s display during reassembly. Focus on proper tool selection, specifically using appropriate Phillips head and standard head screwdrivers. This prevents stripping screws, which can lead to further complications.
When disassembling, carefully lift and wiggle the internal plate instead of forcing it, reducing the risk of breaking tabs or connectors. Gently separate the top piece from the bottom half to avoid stressing plastic components that could crack.
After reassembly, verify all tabs are securely in place for stability, preventing future display issues. Finally, test the display functionality before finalizing assembly; catching issues early makes troubleshooting easier and helps maintain your coffee maker’s performance.
Testing Your Coffee Maker Display
To test your coffee maker display, first, confirm that it’s plugged in and the power outlet is working.
Next, inspect the display connections for any signs of damage or looseness, particularly the white connector.
If the display remains unresponsive, try resetting the machine by disconnecting it from power for a few minutes before reconnecting.
Check Power Supply Connection
Before diving into more complex troubleshooting steps, you should first check the power supply connection, as it’s often the simplest solution to resolve display issues with your coffee maker.
Start by ensuring the coffee maker is plugged into a working outlet; test the outlet with another appliance to rule out power supply issues.
Next, inspect the power cord for any visible damage, as frayed or broken cords can disrupt power delivery.
Don’t forget to check the power switch to confirm it’s functioning correctly; a malfunctioning switch can prevent your coffee maker from powering on.
If your model has a reset button, press it to potentially restore the display.
After these checks, attempt to power on the coffee maker again.
Inspect Display Connections
Verifying the display connections of your coffee maker are secure is vital, as loose or improperly seated connectors can result in a dim, blank, or distorted display.
To inspect these connections, carefully disassemble your coffee maker by removing any screws and lifting the internal plate. This will grant you access to the display connectors.
Focus on the white connector, which is essential for display functionality; push down on it firmly to make sure it’s seated correctly.
After verifying the connections, power on the coffee maker to see if the display issues are resolved.
Finally, reassemble the coffee maker by aligning tabs and securing screws, following good display maintenance tips and troubleshooting techniques for peak operation.
How to Keep Your Coffee Maker Display Working
Although keeping your coffee maker display functioning may seem straightforward, several key practices are essential to prevent common issues.
First, regularly check and secure all connectors inside the coffee maker; loose connections can lead to display malfunctions.
Regularly inspect and tighten all internal connectors to prevent display malfunctions in your coffee maker.
Next, maintain cleanliness by keeping the coffee maker free from dust and debris, as this can interfere with the display’s functionality.
It’s also vital to avoid exposing your coffee maker to extreme temperatures or moisture, as these conditions can damage internal components.
Verify that the power supply is stable and that the power button operates correctly, since fluctuations may cause display problems.
Finally, refer to the manufacturer’s guidelines for specific troubleshooting steps, as different models might’ve unique display maintenance tips.
Knowing When to Call a Professional for Coffee Maker Display Issues
Even with proper maintenance, issues with your coffee maker display can still arise. If your display remains blank or distorted after checking all connectors, it’s time to consult a professional technician.
Persistent display issues despite your DIY efforts may indicate a complex internal problem requiring specialized tools and expertise. Frequent signs of malfunction, such as flickering or unresponsive screens, could suggest a failing main control board, necessitating professional diagnosis and replacement.
If your coffee maker is under warranty, seeking professional repair services is advisable to avoid voiding it with improper fixes. Additionally, if you lack confidence in disassembly, calling a professional can save time and prevent further damage to your appliance.
Frequently Asked Questions
Can I Use My Coffee Maker Without the Display?
Yes, you can use your coffee maker without the display. The essential coffee maker functionality remains intact; simply rely on manual settings or established routines as display alternatives for brewing your favorite coffee.
What Tools Do I Need for Coffee Maker Disassembly?
You’ll need a Phillips and flathead screwdriver for disassembly, unless you fancy using your bare hands—good luck with that! Follow the disassembly steps carefully to avoid turning your coffee maker into a modern art piece.
How Often Should I Perform Maintenance on My Coffee Maker?
You should perform coffee maker upkeep every three to six months. Establish a maintenance schedule that includes descaling, cleaning, and checking components. Regular attention guarantees peak performance and extends your coffee maker’s lifespan considerably.
Are There Common Signs of a Failing Coffee Maker Display?
If your coffee maker’s display starts acting a bit quirky, you might notice flickering lights or unresponsive buttons. Those display issues are signs to explore troubleshooting tips, ensuring your brewing buddy stays in top shape.
Is It Safe to Repair My Coffee Maker Myself?
It’s generally safe to repair your coffee maker yourself if you follow safety precautions, like unplugging it first. However, consider potential repair costs versus replacement to determine the most economical and safe approach.
Conclusion
In the world of coffee-making, your display serves as the compass guiding you through your brewing journey. By troubleshooting and addressing issues promptly, you can guarantee your coffee maker remains a reliable companion. Just like the perfect brew, a well-maintained display enhances your coffee experience. Remember, if the problem persists despite your best efforts, don’t hesitate to seek professional help. After all, even the finest coffee beans need the right care to reach their full potential.


