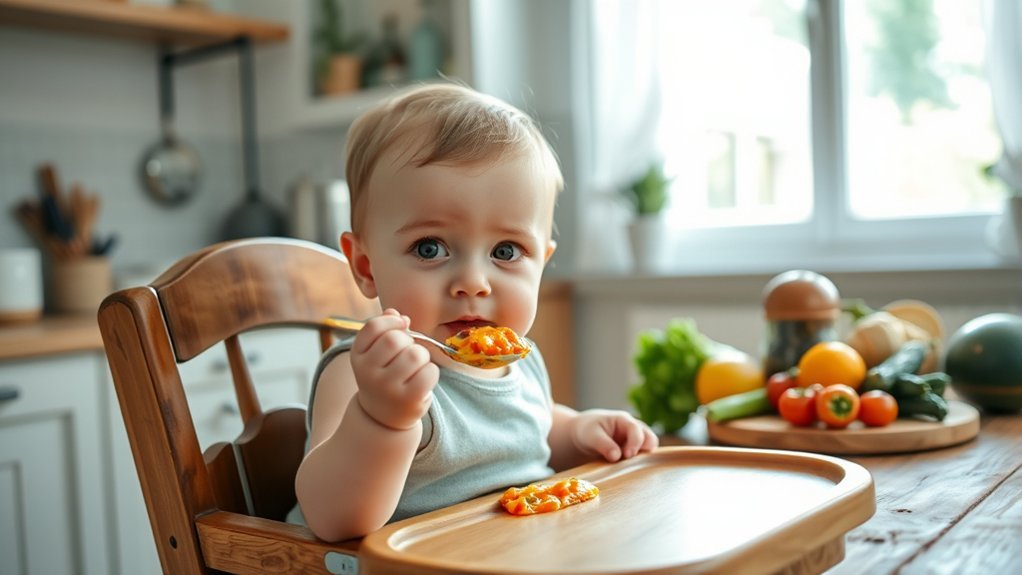
Making baby food in bulk can turn one preparation session into several convenient meals. The safest approach is to confirm that your baby is ready for solid foods, prepare each ingredient to a suitable texture, prevent cross-contamination, portion the food promptly, and follow conservative refrigerator and freezer limits.
Quick Answer
To make baby food in bulk, prepare two to four simple foods, cook each until tender and safe, then blend or mash it to a developmentally suitable texture. Cool promptly, portion into clean covered trays or containers, label, and freeze. Use homemade baby food within 1–2 months and thaw only what you need.
Key Takeaways
- Start solid foods at about six months only when your baby shows developmental-readiness signs; introduction before four months is not recommended.
- Fresh or plain frozen ingredients can work. Organic food is optional, not a requirement.
- Cook produce until fork-tender and cook meat, poultry, seafood, eggs, and leftovers to the applicable safe temperature.
- Freeze small, labeled portions and use homemade baby food within 1–2 months for conservative storage.
- Thaw in the refrigerator or reheat for immediate use, stir thoroughly, check for hot spots, and serve lukewarm.
- Discard food left in the serving dish after a used spoon has touched it.
At a Glance
| Time Required | About 45–90 minutes, depending on the ingredients and batch size |
| Difficulty | Easy |
| Tools Needed | Knife, cutting board, saucepan or steamer, blender or fork, food thermometer for animal foods, covered freezer trays or containers, freezer bags, and marker |
| Cost | Varies by ingredients; using foods already prepared for the family may reduce the cost per portion |
Warning: The CDC recommends starting foods other than breast milk or infant formula at about six months, when a baby can control the head and neck, sit with support, bring objects to the mouth, and swallow food rather than push it out. Ask your pediatrician before starting if your baby was born prematurely, has poor growth, swallowing trouble, severe eczema, or a known food allergy.
Benefits of Making Baby Food in Bulk
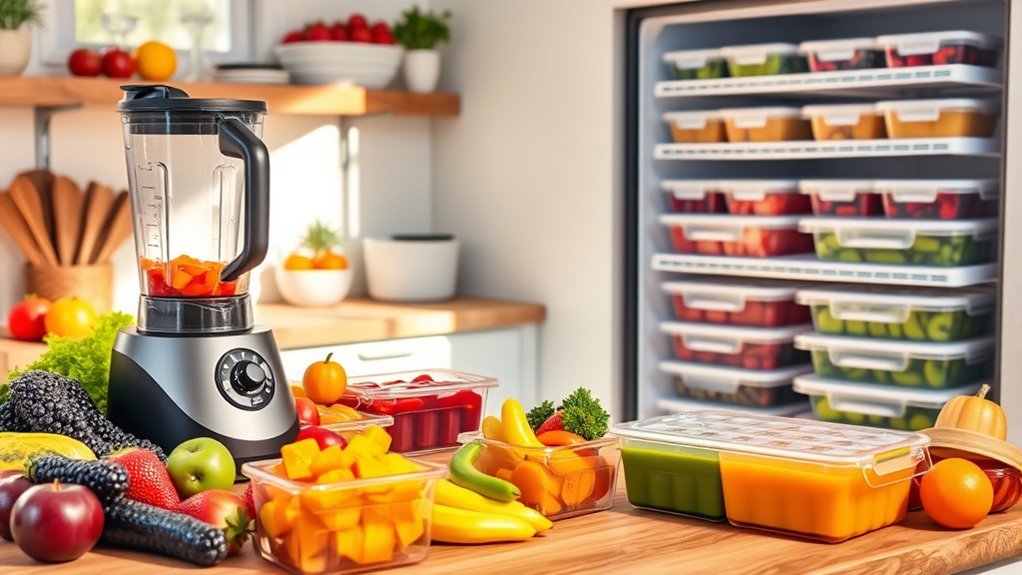
Bulk preparation reduces how often you need to wash, chop, cook, and blend small amounts of food. Once the portions are frozen and labeled, you can thaw only what your baby is likely to eat.
Making food at home also gives you control over ingredients, seasoning, texture, and portion size. It may cost less than buying individual containers, especially when you prepare an unseasoned portion of food already being cooked for the household. Savings vary, however, and depend on ingredient prices, equipment, and how much food is wasted.
Homemade food is not automatically healthier than commercial baby food. Either option can provide suitable nutrition. The advantage of homemade preparation is flexibility: you can offer vegetables, fruits, iron-rich proteins, grains, and dairy in textures that match your baby’s developing skills.
Bulk preparation is most useful when portions stay small, labels stay clear, and the freezer contains foods your baby has already tolerated.

Power your essentials anywhere with a 999Wh pure sine wave power station delivering up to 1000W continuous with 2000W surge. It supports fast charging via USB-C PD 60W and USB-A QC 18W, plus simultaneous output for multiple devices through AC, USB, wireless, and car/DC ports. Recharge using AC, car, or solar with a built-in MPPT controller and dual cooling fans, while the upgraded battery management system protects against surges, short circuits, and overheating.

Effortless Meal Preparation: Streamline your baby's nutrition with our 3 Pack Silicone Freezer Tray. Batch prepare baby food, purees, breastmilk, and more for efficient and convenient meal planning.

2oz x 10 Baby Food Storage Cubes - Prepare, apportion and freeze exact food portions for your baby in advance. To use, simply pop the frozen food cube out from the KeaBabies Prep Silicone Baby Food Freezer Tray in seconds.
Essential Equipment for Making Homemade Baby Food
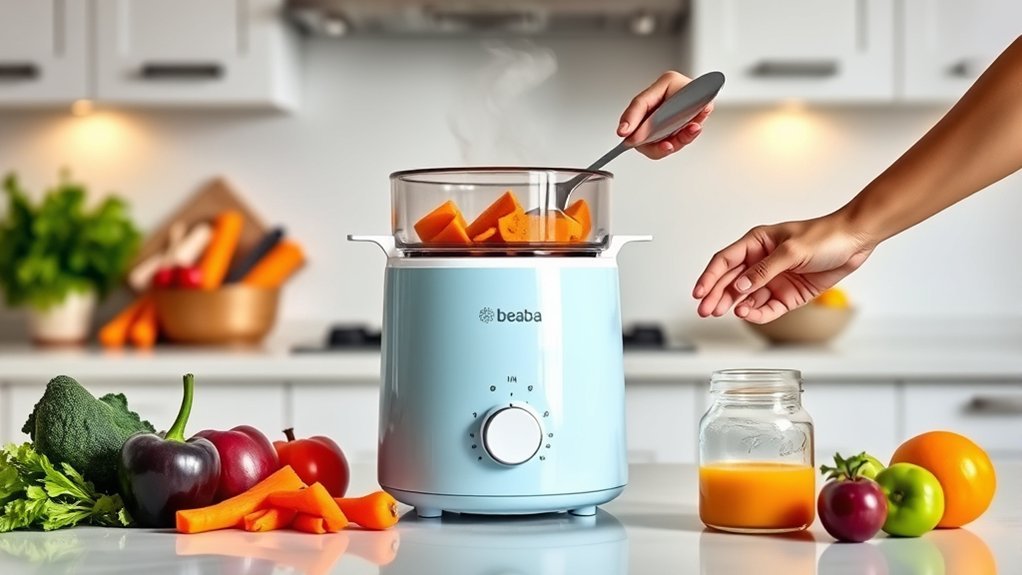
You do not need a dedicated baby food maker. Basic kitchen equipment works well as long as it is clean, in good condition, and suitable for the food being prepared.
Preparation Tools
- Knife and cutting board: Use a separate clean board for produce and raw meat when possible.
- Saucepan, steamer basket, or oven: Choose the cooking method that suits the ingredient.
- Food thermometer: Use it when preparing meat, poultry, seafood, eggs, combinations, or leftovers.
- Blender, food processor, or immersion blender: Useful for smooth or large batches.
- Fork or potato masher: Often enough for ripe banana, avocado, cooked squash, beans, and other soft foods.
Portioning and Storage Tools
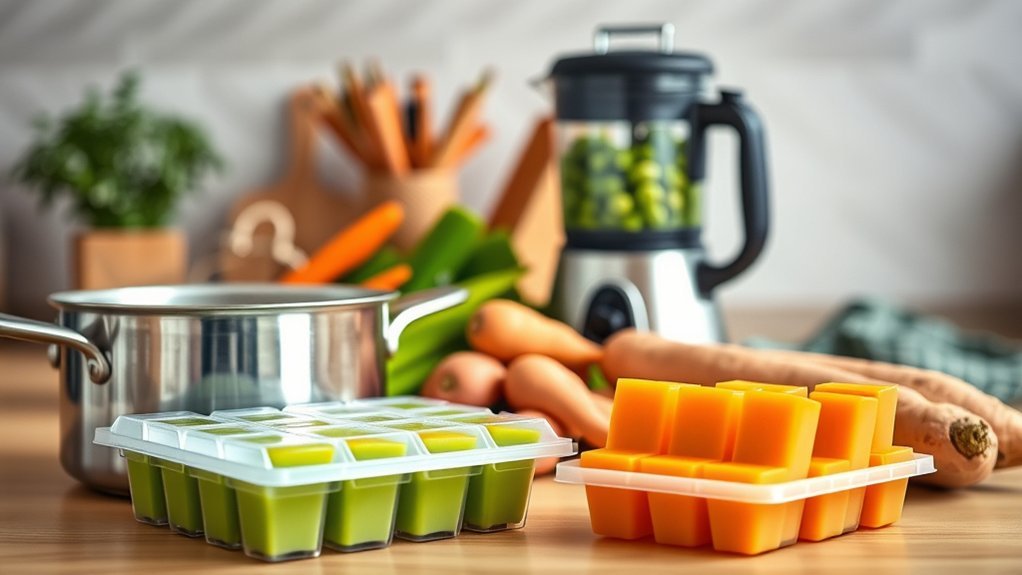
- Covered ice cube trays or silicone freezer trays: Useful for small individual portions.
- Freezer-safe containers or zipper bags: Protect frozen portions after they are removed from the tray.
- Marker or freezer labels: Record the food, preparation date, and any allergen it contains.
- Clean spoons and bowls: Keep serving utensils separate from storage containers to prevent saliva contamination.
Pro Tip: Fill one tray cavity with a measured amount of water before using the tray. This tells you whether each frozen portion is closer to a teaspoon, tablespoon, or ounce and makes meal planning easier.
Before You Start: Choose Safe, Varied Foods
A baby does not need to begin with fruit or vegetables in a particular order. The CDC recommends gradually offering foods from several food groups, including vegetables, fruits, meat or other proteins, dairy without added sugars, and whole grains.
Good foods for batch preparation include:
- Sweet potato, squash, carrots, peas, green beans, broccoli, cauliflower, and zucchini
- Pears, apples, peaches, plums, mango, berries, banana, and avocado
- Lentils, beans, chickpeas, eggs, chicken, turkey, beef, fish, and tofu
- Iron-fortified oat, barley, or multigrain infant cereal
- Plain full-fat yogurt for babies who have safely started dairy
Fresh, plain frozen, conventional, and organic ingredients can all be used. When choosing frozen produce, avoid products with added salt, sugar, butter, sauces, or seasoning.
Note: Breast milk or infant formula remains an important source of nutrition while solid foods are introduced. Homemade baby food must never be used as a substitute for properly prepared infant formula.
Foods to Avoid or Modify
- Honey: Do not give honey before 12 months because of the risk of infant botulism.
- Unpasteurized products: Avoid raw or unpasteurized milk and juice.
- Whole cow’s milk as a beverage: Do not use it as the main drink before 12 months, although plain yogurt and cheese may be introduced earlier when appropriate.
- Whole nuts and thick nut butter: These are choking hazards. Thin smooth nut butter into another food.
- Hard, round, sticky, or tough foods: Modify the shape and texture to match your baby’s skills.
- Added sugar and excess salt: They are unnecessary in homemade infant food.
Step-by-Step Guide: Preparing Baby Food
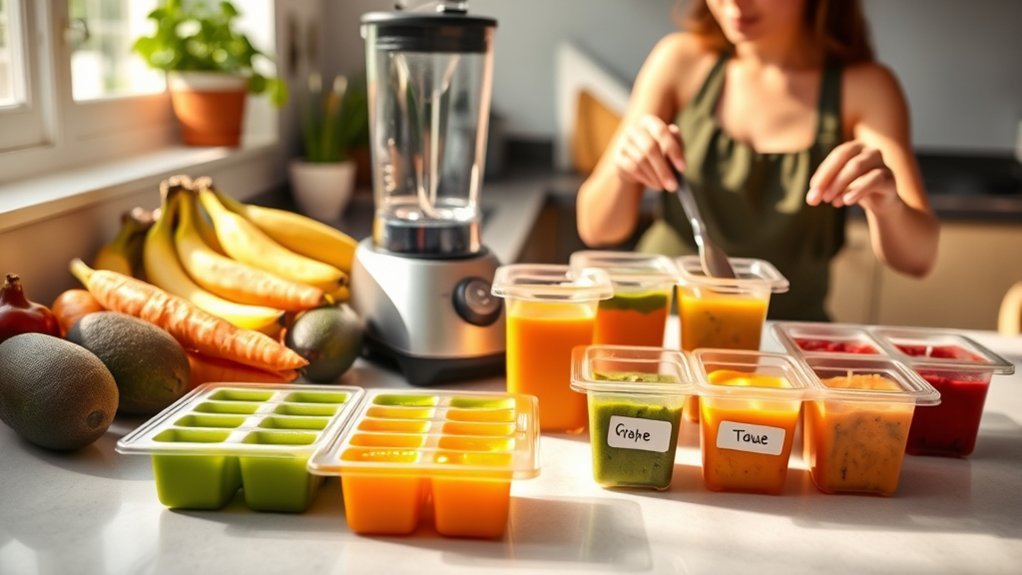
Preparing several foods in one session is easiest when you keep the first batches simple. Start with two to four ingredients rather than filling the freezer with combinations your baby has not yet tried.
1. Plan the Batch
Choose foods with different nutrients and flavors. A practical batch might include one orange vegetable, one green vegetable, one fruit, and one iron-rich food.
During early food introduction, keep new foods separate. The CDC advises offering one new single-ingredient food at a time and waiting three to five days before another new food so reactions are easier to identify.
2. Clean and Separate
- Wash your hands with soap and water.
- Clean counters, cutting boards, knives, blender parts, trays, and storage containers.
- Rinse produce under running water before peeling or cutting it.
- Keep raw meat, poultry, seafood, and eggs away from cooked foods and ready-to-eat produce.
- Wash equipment that touched raw animal foods before using it for another ingredient.
3. Prepare Each Ingredient
Remove pits, seeds, tough skins, bones, excess fat, and poultry skin. Cut foods into evenly sized pieces so they cook at a similar rate.
Some ripe foods, such as banana and avocado, may only need mashing. Hard fruits and vegetables should be cooked until they are soft enough to crush easily with a fork.
4. Cook Until Safe and Tender
Steam, simmer, roast, or bake produce until tender. Do not rely on a universal 15–20-minute cooking time; peas may soften quickly, while dense sweet potatoes or squash can take longer.
When preparing animal foods, follow the FoodSafety.gov safe minimum temperature chart:
- Poultry: 165°F (74°C)
- Ground beef, pork, lamb, or veal: 160°F (71°C)
- Egg dishes: 160°F (71°C); cook plain eggs until the white and yolk are firm
- Fish: 145°F (63°C), or until opaque and easy to separate with a fork
- Previously cooked leftovers: 165°F (74°C)
5. Blend, Mash, or Mince
Transfer each cooked food to a clean blender, processor, or bowl. Blend, mash, or finely mince it to match your baby’s current eating skills.
If the food is too thick, add a small amount of safe water or unsalted cooking liquid. Breast milk or properly prepared formula can also be used to thin an individual serving just before feeding. Thinning after thawing makes it easier to adjust each portion and avoids unnecessary waste.
6. Cool and Portion Promptly
Divide the food into shallow, infant-size portions so it cools quickly. Do not leave cooked food at room temperature for more than two hours.
Spoon the cooled food into clean covered trays or small freezer-safe containers. Leave a little expansion space in rigid containers and close them securely.
7. Freeze, Label, and Rotate
Freeze the portions until solid. If you used a tray, transfer the cubes to a labeled freezer-safe bag or airtight container. Remove excess air, close the package, and return it to the freezer promptly.
Each label should include:
- Food or recipe name
- Preparation date
- Main allergen, if present
- Approximate portion size, if useful
Place newer food behind older food so the oldest safe portions are used first.
Baby Food Texture Guide
Age alone does not determine texture. Use your baby’s oral-motor skills, ability to sit upright, and experience with food as the guide.
| Developmental Stage | Suitable Texture | Examples |
|---|---|---|
| Beginning solids | Smooth puree, soft mash, or strained food | Smooth sweet potato, mashed avocado, pureed lentils |
| Managing thicker food | Thicker mash with soft, small lumps | Fork-mashed beans, thick oatmeal, mashed vegetables |
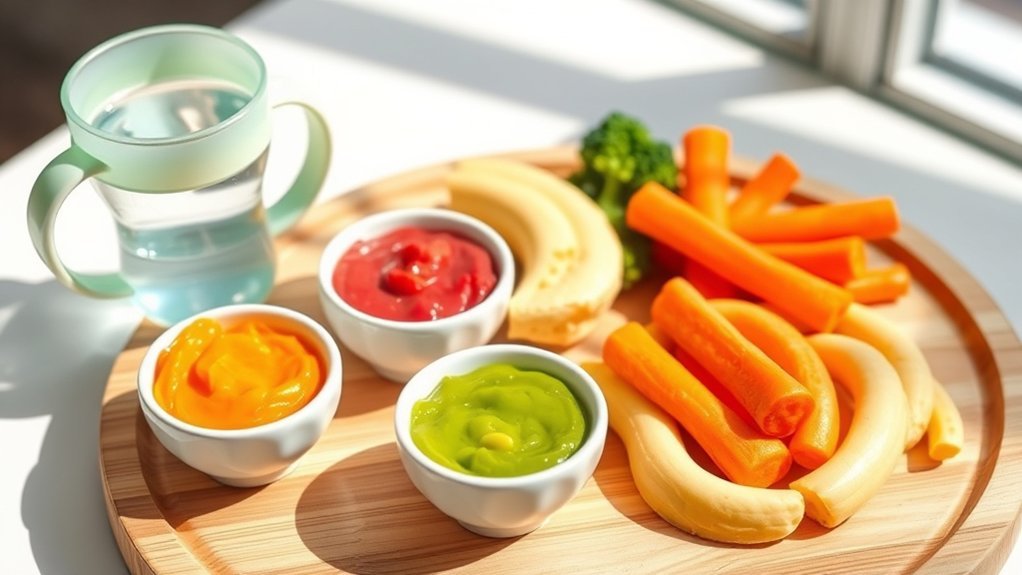
| Developing self-feeding skills | Soft pieces prepared in a safe size and shape | Very soft vegetable pieces, shredded tender meat, soft ripe fruit |
Warning: Always seat your baby upright and supervise every bite. The CDC advises avoiding hard, sticky, small, or round foods and preparing every food to a shape, size, and texture appropriate for the child’s development.
Simple Bulk Baby Food Batch Plan
This example creates several separate foods that can be served alone during initial introduction or combined later after each ingredient has been tolerated.
| Food | Preparation | Later Pairing Ideas |
|---|---|---|
| Sweet potato | Steam or roast until easily mashed, then puree or mash. | Lentils, chicken, peas, or plain yogurt |
| Peas | Cook until tender and blend with a small amount of water. | Potato, pear, chicken, or beans |
| Pear | Cook firm pear until tender or mash a very ripe pear. | Oat cereal, yogurt, avocado, or sweet potato |
| Lentils | Simmer until very soft, then blend or mash thoroughly. | Sweet potato, carrot, tomato, or squash |
Freezing and Storing Baby Food
Small portions reduce waste and thaw more evenly than a large container. Covered trays, freezer-safe jars, silicone molds, and small containers can all work when they are clean and designed for freezing.
Proper Freezing Techniques
| Storage Method | Best Practice |
|---|---|
| Covered freezer tray | Freeze until solid, then transfer portions to an airtight labeled container. |
| Freezer bag | Remove excess air and lay flat when freezing soft mashed food directly in the bag. |
| Rigid container | Leave expansion space and use the smallest container that fits the portion. |
| Inventory check | Use the oldest safe portions first and discard unlabeled or expired food. |
Storage Duration Guidelines
The current FoodSafety.gov baby-food storage table lists the following conservative limits:
| Food | Refrigerator | Freezer |
|---|---|---|
| Homemade baby food | 1–2 days | 1–2 months |
| Strained meat or egg | 1 day | 1–2 months |
| Meat and vegetable combination | 1–2 days | 1–2 months |
These are maximum storage windows, not targets. Discard food sooner if the package leaks, loses its seal, develops unusual color or odor, or may have been held above a safe refrigerator temperature.
Pro Tip: Freeze foods as separate components. After each ingredient has been introduced safely, you can combine different cubes at serving time without preparing a new recipe.
Best Practices for Thawing and Serving Frozen Baby Food
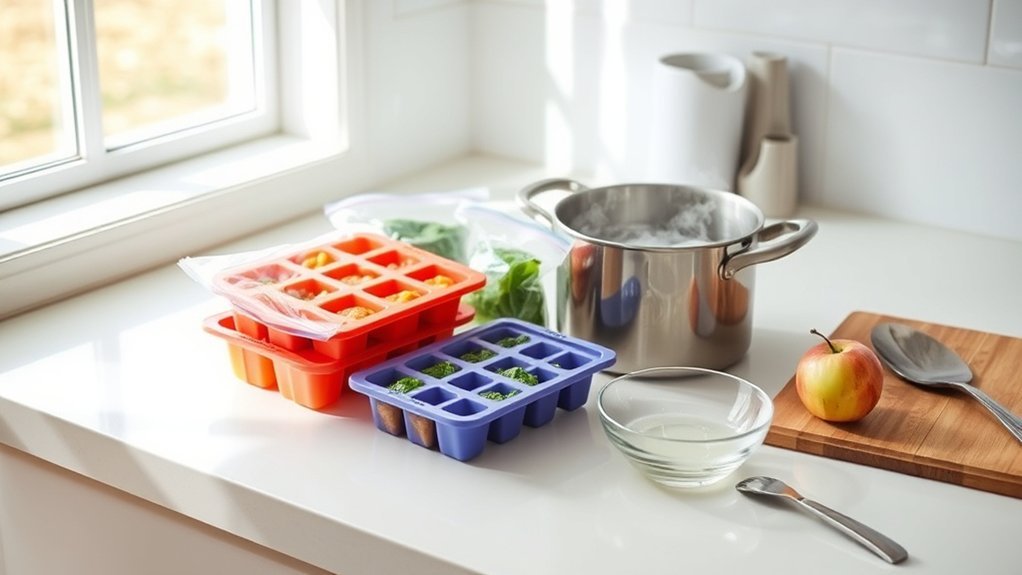
Safe Thawing Methods
- Refrigerator: Move the required portions to a covered container and thaw them overnight.
- Microwave: Transfer food to a microwave-safe dish and heat it only when it will be served immediately.
- Stovetop: Warm food in a small saucepan over low heat, stirring frequently.
Do not thaw baby food on the counter. Thaw only the amount your baby is likely to eat.
Reheating and Temperature Checks
Food does not have to be served warm, but previously cooked meat, combination dishes, and leftovers should be reheated thoroughly when applicable. After heating, stir the food well and allow it to cool before feeding.
When microwaving, the FoodSafety.gov guidance recommends transferring food from the jar to a dish, stirring it, allowing it to stand for 30 seconds, and testing it before feeding. Baby-ready food should feel lukewarm, not hot.
Warning: Never save food left in a serving bowl after the feeding spoon has touched your baby’s mouth. Saliva can introduce bacteria. Discard that portion, and do not return it to the refrigerator or freezer.
Keeping Your Homemade Baby Food Safe
Children under five are more vulnerable to complications from foodborne illness, so careful preparation matters. Follow the basic food-safety sequence of cleaning, separating, cooking, and chilling.
- Wash hands, utensils, blender parts, trays, and surfaces before preparation.
- Keep raw animal foods separate from produce and cooked food.
- Use a food thermometer instead of relying only on color or texture.
- Refrigerate or freeze cooked food promptly.
- Keep the refrigerator at 40°F (4°C) or below and the freezer at 0°F (-18°C) or below.
- Use clean utensils to remove food from the storage container.
- Discard portions that have been warmed repeatedly or left at room temperature too long.
Introducing Allergens Safely
Common allergenic foods include egg, peanut, dairy, wheat, soy, sesame, fish, shellfish, and tree nuts. Once a baby is developmentally ready for solid foods, delaying these foods is not generally recommended solely to prevent allergy.
Introduce one allergenic food at a time in a safe texture and in a small amount. Offer it when you can observe your baby afterward. For example, thin smooth peanut butter into puree, infant cereal, yogurt, breast milk, or formula rather than serving a sticky spoonful.
The American Academy of Pediatrics advises parents of babies with severe eczema, egg allergy, or other increased allergy risk to discuss peanut introduction with a clinician.
Stop feeding the food and seek medical advice if a reaction occurs. Call emergency services for trouble breathing, swelling of the tongue or throat, severe lethargy, collapse, or symptoms affecting more than one body system.
Troubleshooting Common Batch-Prep Problems
| Problem | Likely Cause | Fix |
|---|---|---|
| Puree is too thick | Not enough liquid or a starchy ingredient | Add safe water, unsalted cooking liquid, breast milk, or prepared formula gradually at serving time. |
| Puree is watery | Excess cooking liquid or water-rich produce | Mix with mashed sweet potato, beans, lentils, yogurt, or infant cereal after those foods have been introduced. |
| Food separates after thawing | Water and solids separated during freezing | Stir thoroughly. Separation alone does not mean the food is spoiled. |
| Ice crystals or dry edges appear | Air exposure or poor sealing | Use smaller airtight containers, remove excess air, and keep portions within the storage limit. |
| Baby refuses the food | Unfamiliar flavor, temperature, or texture | Offer a small amount without pressure on another day and adjust the texture to match current skills. |
| Potato or pasta becomes grainy | Some starches change texture after freezing | Prepare a small test portion first or add these foods fresh after thawing another component. |
Frequently Asked Questions
Can I mix different fruits and vegetables together?
Yes. Combinations such as banana and avocado, pear and peas, or sweet potato and carrot can work well. During early introduction, offer ingredients separately first so it is easier to identify a reaction. Once each food has been tolerated, combine portions at serving time.
How long can I store frozen homemade baby food?
Use homemade baby food within 1–2 months in the freezer and within 1–2 days in the refrigerator. Strained meat or egg should be refrigerated for no more than one day. Label every package and use the oldest safe portion first.
Is homemade baby food healthier than store-bought food?
Not automatically. Homemade and commercial baby food can both be nutritious. Homemade preparation gives you more control over ingredients, texture, and combinations, while commercial food offers convenience and standardized packaging. Variety, safe preparation, and age-appropriate nutrition matter more than whether the food comes from a jar or your kitchen.
What age can my baby start eating pureed foods?
Most babies can begin foods other than breast milk or formula at about six months when they show developmental readiness. Introduction before four months is not recommended. Readiness includes good head control, sitting with support, opening the mouth for food, and swallowing rather than pushing food back out.
Can I use frozen produce for baby food?
Yes. Choose plain frozen fruit or vegetables without added salt, sugar, butter, sauce, or seasoning. Cook hard produce until tender and prepare it in a texture your baby can safely manage.
Do I need to buy organic ingredients?
No. Organic and conventional ingredients can both be used. Choose wholesome foods you can prepare safely, wash produce under running water, and offer variety across food groups.
Can I refreeze thawed baby food?
Do not refreeze food that has been warmed, served, held at room temperature, or contacted by a used spoon. The simplest safe approach is to thaw only the amount needed for one meal and discard uneaten food from the serving dish.
Can I microwave homemade baby food?
Yes, but transfer it to a microwave-safe dish first. Heat a small portion, stir it thoroughly, let it stand for 30 seconds, and test several areas for hot spots. Serve it lukewarm. Use the stovetop instead for baby-food meats, meat sticks, or eggs.
Conclusion
Making baby food in bulk can save preparation time, reduce portion waste, and give you control over ingredients and texture. The most important steps are to begin when your baby is developmentally ready, cook every ingredient safely, use clean equipment, freeze small labeled portions, and follow the current 1–2-month freezer limit for homemade food.
Keep the first batches simple, introduce new ingredients carefully, and adjust textures as your baby’s eating skills develop. With safe storage and thawing habits, a short batch-cooking session can provide a useful supply of varied meals without sacrificing food safety.
Sources
- Centers for Disease Control and Prevention: When, What, and How to Introduce Solid Foods — readiness, first foods, allergen introduction, and texture preparation
- FoodSafety.gov: People at Risk—Children Under Five — baby-food storage, microwave precautions, contamination, and food-safety practices
- FoodSafety.gov: Safe Minimum Internal Temperatures — cooking and reheating temperatures
- Centers for Disease Control and Prevention: Choking Hazards — supervision, positioning, food shape, size, and texture
- U.S. Food and Drug Administration: Once Baby Arrives — portioning, saliva contamination, honey, and unpasteurized-food precautions
- American Academy of Pediatrics: Introducing Common Food Allergens — safe allergen timing and peanut preparation