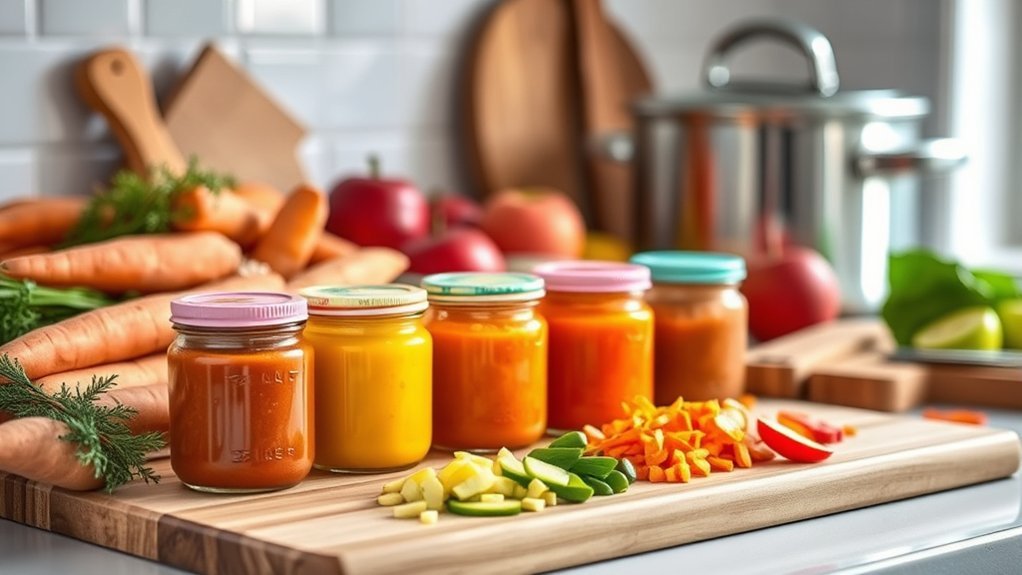
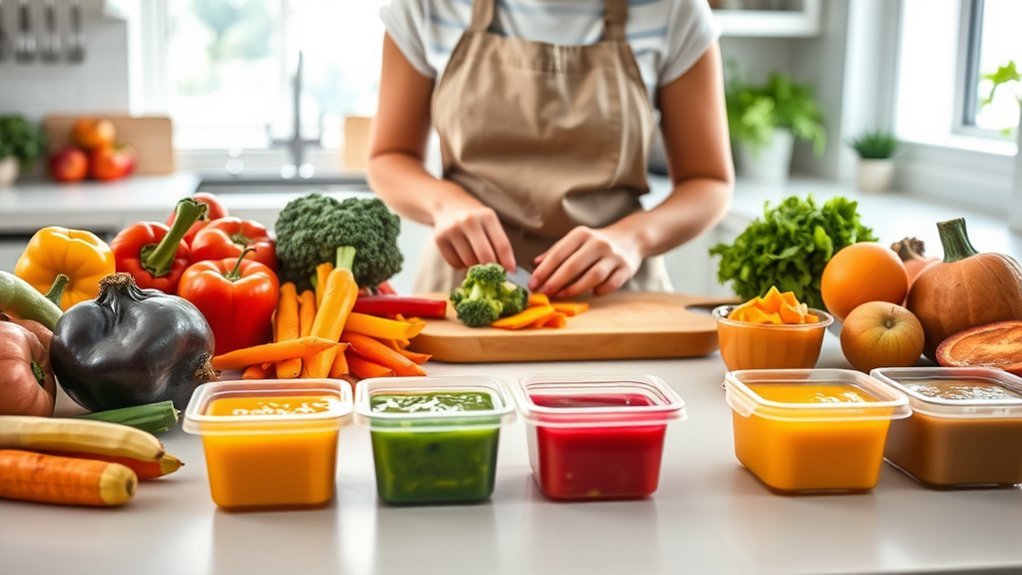
Clear labels turn a freezer full of homemade baby food into an easy, safer feeding system. Each container should show what is inside, when it was prepared, how it is stored, and when to use it. A few extra details—such as ingredients, allergens, and portion size—help every caregiver serve the right food and discard it on time.
Quick Answer
Label each container with the food name, ingredients or allergens, preparation date, storage method, use-by date, and portion size. Use waterproof freezer labels or a permanent marker. As a conservative rule, refrigerate homemade baby food for 1–2 days or freeze it for 1–2 months, unless a shorter category-specific limit applies.
Key Takeaways
- Write both the preparation date and a clear use-by date; do not rely on memory.
- Use waterproof, freezer-safe labels on clean, dry, airtight containers.
- List every ingredient and clearly identify known allergens when another caregiver may serve the food.
- Keep the refrigerator at 40°F (4°C) or below and the freezer at 0°F (-18°C) or below.
- Discard food touched by a used feeding spoon, food left out too long, and any batch with an unreadable or unknown date.
At a Glance
| Time Required | About 3–5 minutes per batch |
| Difficulty | Easy |
| Tools Needed | Freezer-safe containers or bags, waterproof labels or freezer tape, permanent marker |
| Cost | Usually $0–$8 using supplies you may already own |
How to Effectively Label and Date Homemade Baby Food
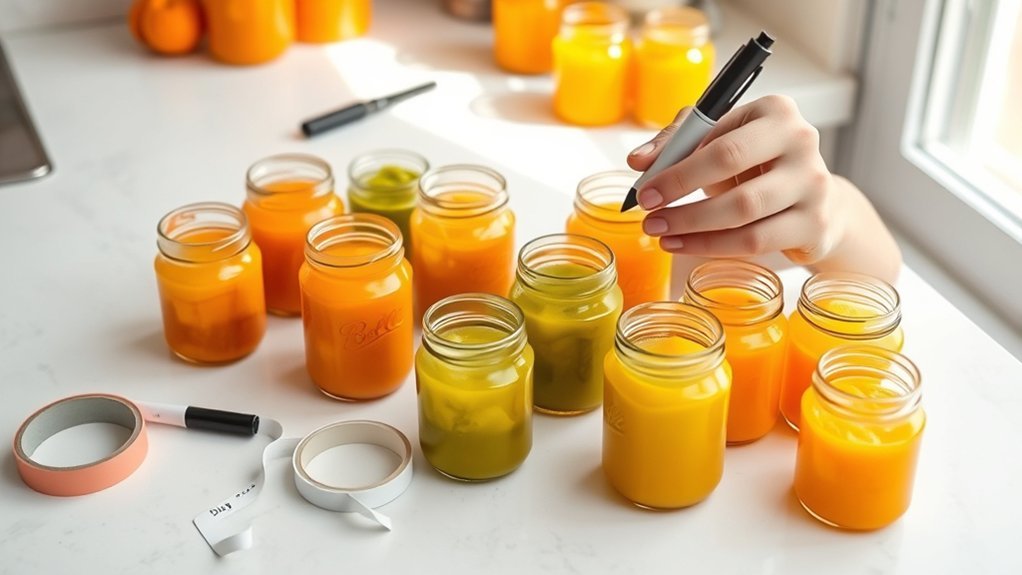
Good labeling starts before the containers go into the refrigerator or freezer. Portion the food into clean, food-grade containers, let the outside of each container dry, and attach the label where it will stay visible after stacking.
A useful label answers six questions at a glance:
- What is it? Write the food or recipe name.
- What is in it? List the ingredients, especially when foods are mixed.
- Does it contain an allergen? Clearly identify any known allergen in the recipe.
- When was it made? Add the preparation date.
- When should it be used? Add a use-by date based on the storage method and recipe type.
- How much is inside? Add the portion size when containers look alike.
A complete label reads like this: “Sweet potato purée — made July 23, 2026 — refrigerate — use by July 25 — 2 ounces.”
Pro Tip: Use an unambiguous date format such as “JUL 23 2026” or “2026-07-23.” It prevents confusion between month/day and day/month formats when several caregivers share feeding duties.

Power your essentials anywhere with a 999Wh pure sine wave power station delivering up to 1000W continuous with 2000W surge. It supports fast charging via USB-C PD 60W and USB-A QC 18W, plus simultaneous output for multiple devices through AC, USB, wireless, and car/DC ports. Recharge using AC, car, or solar with a built-in MPPT controller and dual cooling fans, while the upgraded battery management system protects against surges, short circuits, and overheating.
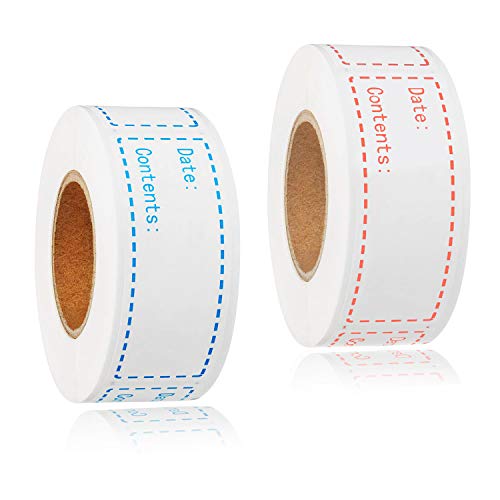
【Full Confidence for the freezer food】Just a quick glance to get the food validity with our food labels, which makes sure food fresh and highly prevent spoilage and freezer burn. Widely used for plastic containers, aluminum foil, food packaging bags, glass jars and more.

Smart Food Safety System--3 rolls supply labels for 365+ meals – track expiration dates for meats, leftovers & baby foods,BPA-free labels track expiration dates Color-coded system: red=raw meat, blue=seafood, yellow=cooked food – matches USDA guidelines
Step-by-Step Guide to Labeling Your Baby Food
1. Portion the Food Promptly
Divide the prepared food into single-serving or meal-size portions. Small portions cool, freeze, thaw, and serve more evenly, and they reduce the need to thaw more food than your baby will eat.
2. Choose a Safe Container
Use a clean, airtight, food-grade container or resealable freezer bag. The container should be marked freezer-safe if it will be frozen. Do not use cracked glass, damaged lids, or single-use packaging that is not designed for repeated storage.
3. Label the Container While It Is Dry
Write on the label before the container becomes cold or frosty. Freezer tape, waterproof adhesive labels, and permanent markers are practical choices. Place the label on a flat area where it will not rub against another container.
4. Write the Food Name and Full Ingredient List
Use a specific name such as “pear and oat purée” instead of “lunch.” For mixed recipes, list every ingredient. If the recipe contains a known allergen, make it easy to spot—for example, “CONTAINS PEANUT.”
5. Add the Preparation and Use-By Dates
Write the date prepared, then calculate the use-by date using the storage chart below. When a recipe could fit more than one category, use the shorter storage time.
6. Mark the Storage Method and Portion Size
Add “refrigerated” or “frozen,” especially if caregivers move portions between locations. A portion note such as “1 cube,” “2 ounces,” or “one meal” can prevent waste.
7. Rotate Older Food to the Front
Follow the “first in, first out” method: place newly prepared food behind older food and use the oldest safe batch first. Review the refrigerator and freezer at least once a week and discard food that is past its use-by date.
Effective Methods for Dating Your Homemade Baby Food
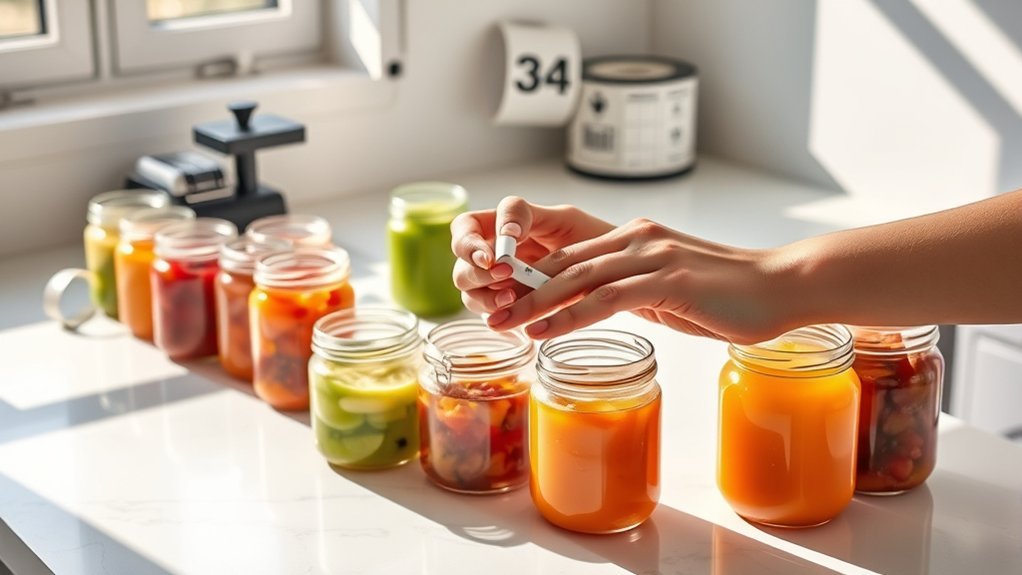
The safest dating system includes both a made-on date and a use-by date. A made-on date tells you the age of the batch. A use-by date removes the need to count days later.
| Baby Food Type | Refrigerator | Freezer |
|---|---|---|
| Homemade baby food, general | 1–2 days | 1–2 months |
| Strained meat or egg | 1 day | 1–2 months |
| Meat-and-vegetable combination | 1–2 days | 1–2 months |
| Strained fruit or vegetable | 2–3 days | 6–8 months |
These storage times follow the FoodSafety.gov safe-storage table for puréed and solid baby food. For a mixed, homemade, or hard-to-classify batch, the conservative 1–2 day refrigerator and 1–2 month freezer limit is the simplest rule.
Note: Color coding can help you group fruits, vegetables, grains, and proteins, but color should never replace written ingredients and dates. A faded color dot cannot tell a caregiver what is inside or when it expires.
When freezing food in an ice cube tray, label the covered tray with the recipe and freezing date. After the cubes are solid, transfer them to a labeled airtight freezer bag or container. Do not rely on the tray color or cube appearance to identify the food.
Selecting the Best Containers for Your Baby Food
Choose containers that are food-grade, airtight, easy to clean, and suitable for the storage method. Glass containers and BPA-free plastic containers can both work when they are designed for food storage and are free from cracks, chips, warping, and damaged seals.
- For the refrigerator: Use small containers with tight-fitting lids so you can remove one portion at a time.
- For the freezer: Use freezer-safe containers or bags that tolerate expansion and low temperatures. Do not overfill them.
- For ice cube portions: Freeze in a clean, covered tray, then transfer the solid cubes to a labeled freezer container.
- For reusable jars: Confirm that the jar and lid are intended for reuse and freezing. Never freeze in chipped or cracked glass.
Clear containers make identification easier, but the label remains the source of truth. Foods can change color or look alike after freezing.
How to Keep Your Baby Food Safe and Fresh
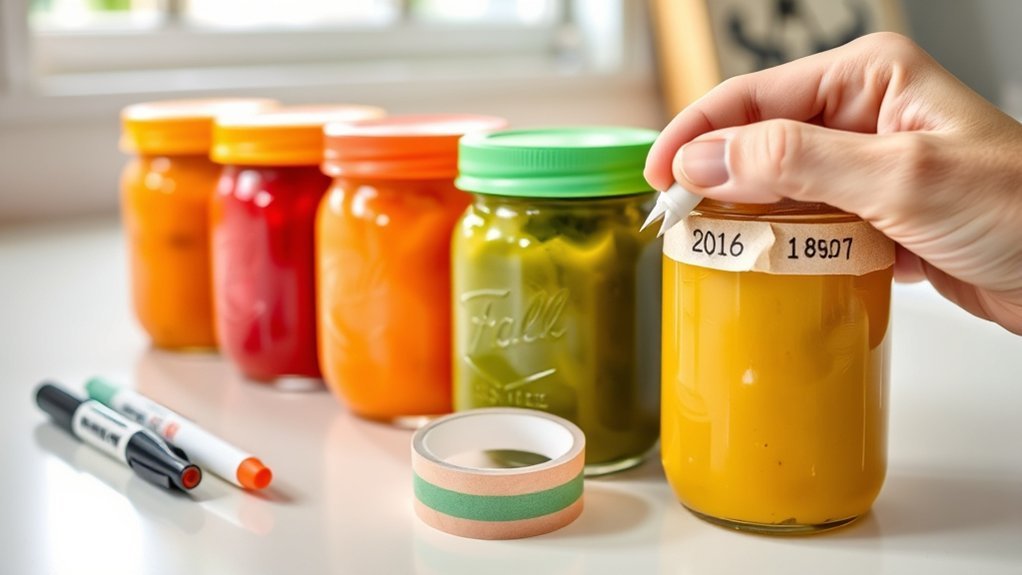
Labels only work when the food is prepared, cooled, stored, thawed, and served safely. Follow these practices:
- Keep the refrigerator at 40°F (4°C) or below and the freezer at 0°F (-18°C) or below.
- Refrigerate or freeze perishable food within 2 hours, or within 1 hour when the temperature is above 90°F (32°C).
- Use shallow containers or small portions so food cools quickly.
- Thaw frozen baby food in the refrigerator or use a microwave defrost setting when it will be served immediately. Do not thaw it on the counter.
- Do not refreeze homemade baby food after it has thawed.
- Serve food from a clean dish with a clean spoon. Discard leftovers from the serving dish because saliva can introduce bacteria.
- When microwaving, transfer food to a microwave-safe dish, heat in short intervals, stir well, let it stand, and test the temperature before feeding. The food should feel lukewarm, not hot.
FoodSafety.gov recommends prompt chilling and safe cold-storage temperatures, while the FDA advises placing only the needed serving in a separate dish so saliva does not contaminate the stored batch. See the official four steps to food safety and the FDA’s baby food handling guidance.
Warning: Do not taste food to decide whether it is safe. Discard any batch with an unknown date, damaged container, mold, unusual appearance, or uncertain storage history. Also discard food left above 40°F (4°C) for more than 2 hours.
How to Label Allergens and Mixed Baby Foods
For a single-ingredient food, write the ingredient name plainly. For a mixed recipe, list every ingredient rather than using a broad label such as “dinner.” If the food contains a known allergen, place that information where it is easy to see:
Chicken, sweet potato, and peanut sauce — CONTAINS PEANUT — made July 23, 2026 — frozen — use by September 23, 2026.
Mixing foods in one container is generally safe when every ingredient is age-appropriate, fully cooked as needed, and already known to be tolerated. When introducing a new allergenic food, keep the recipe simple and follow your pediatrician’s or allergist’s instructions so a reaction is easier to identify.
Clear ingredient labels matter: CDC data from 2024 found that 5.3% of U.S. children under age 18 had a diagnosed food allergy.
Note: This article provides general food-safety guidance, not an individualized allergy plan. Follow your child’s healthcare professional for allergen introduction, avoidance, and emergency instructions.
Common Baby Food Labeling Mistakes
- Writing only the date: Add the food name and ingredients so similar-looking purées are not confused.
- Writing only “made on”: Add a use-by date so caregivers do not have to calculate storage time.
- Using an ambiguous date: Write the month as a word or use the ISO format YYYY-MM-DD.
- Applying labels to wet or frosty containers: Dry the surface first so the label stays attached.
- Using color alone: Always include written food and date information.
- Saving spoon-touched leftovers: Discard food from the serving dish after feeding.
- Keeping food with an unreadable label: When the identity or date is uncertain, throw it out.
Frequently Asked Questions
Can I reuse baby food containers for new batches?
Yes, when the container is designed for reuse, food-grade, undamaged, and suitable for refrigeration or freezing. Wash it thoroughly, allow it to dry, and check the lid and seal. Do not reuse cracked glass, warped plastic, damaged lids, or single-use packaging that is not intended for repeated storage.
How long can I store homemade baby food?
As a conservative general rule, store homemade baby food for 1–2 days in a refrigerator at 40°F (4°C) or below, or 1–2 months in a freezer at 0°F (-18°C) or below. Some single-food categories have different limits, so use the storage chart above and choose the shorter time for mixed or uncertain recipes.
What are the best labels for freezing?
Use waterproof freezer labels, freezer tape, or labels specifically rated for low temperatures. Write with a permanent marker and apply the label to a clean, dry surface before the container becomes cold or frosty.
Should I include cooking instructions on the label?
Full cooking instructions are optional, but a short serving note can help another caregiver. Examples include “thaw overnight in refrigerator,” “stovetop only,” or “stir and cool before serving.” The essential label details are still the food name, ingredients, allergens, preparation date, use-by date, and storage method.
Is it safe to mix different baby foods in one container?
Usually, yes, when all ingredients are age-appropriate, safely prepared, and tolerated by your baby. List every ingredient on the label. When introducing a new allergenic food, use a simple recipe and follow guidance from your child’s healthcare professional.
What should I do if the date label falls off?
If you cannot identify the food or confirm when it was prepared and how it was stored, discard it. Do not guess based on color, smell, or where the container was placed.
Sources
- FoodSafety.gov: Children Under Five — baby food refrigerator and freezer storage times, safe heating, and infant food-safety guidance.
- FoodSafety.gov: Four Steps to Food Safety — safe refrigerator and freezer temperatures, the two-hour rule, and prompt cooling.
- U.S. Food and Drug Administration: Once Baby Arrives — preventing saliva contamination and safely serving stored baby food.
- University of Maine Cooperative Extension: Making Your Own Baby Food — freezing, thawing, warming, and container practices.
- CDC/NCHS Data Brief No. 546 — 2024 diagnosed food-allergy prevalence among U.S. children.
Conclusion
Labeling homemade baby food takes only a few minutes, but it removes guesswork at every meal. Write the food name, ingredients and allergens, preparation date, use-by date, storage method, and portion size on each container. Keep batches cold, rotate older food forward, and discard food when its identity, date, or storage history is uncertain. These simple habits help every caregiver serve fresher food more safely and confidently.