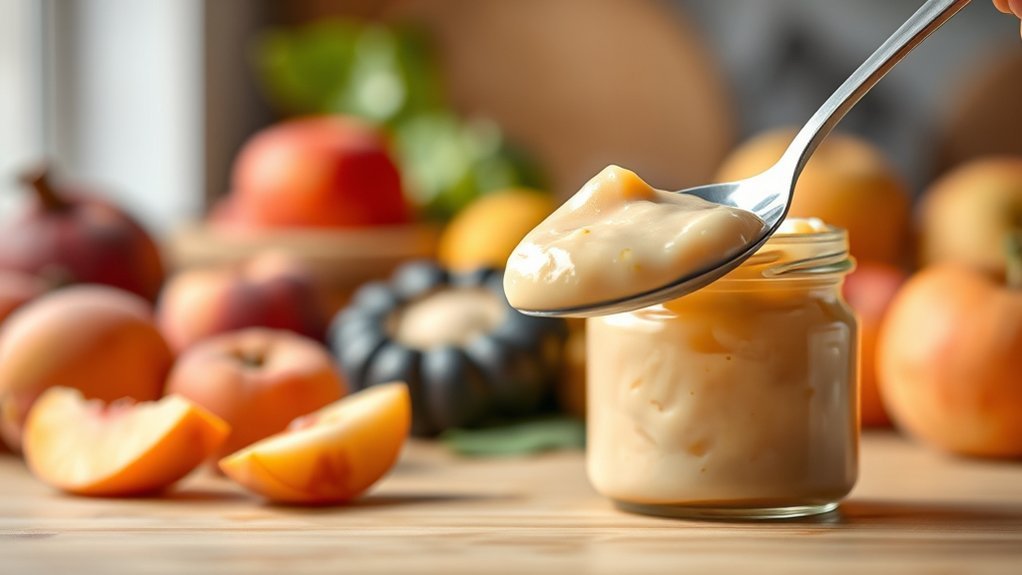
Stage 1 baby food is a common name for the smooth foods many babies eat when they first begin solids. Most babies are ready at about 6 months, although development matters more than a package’s age label. Early meals should provide safe texture practice and useful nutrients while breast milk or infant formula remains the baby’s main source of nutrition.
Quick Answer
Stage 1 baby food is a common label for very smooth, easy-to-swallow first foods, often made from one ingredient. Most babies start solids around 6 months when they show readiness—not simply because a package lists an age. Breast milk or formula remains the main nutrition while small tastes build feeding skills.
Key Takeaways
- Most babies begin solids at about 6 months after showing good head control, supported sitting, interest in food, and the ability to swallow it.
- Stage 1 is a common commercial label, not a universal medical stage. Check the food’s texture and your baby’s skills instead of relying only on the number.
- Prioritize iron-rich choices such as pureed meat, beans, eggs, and iron-fortified infant cereal alongside fruits and vegetables.
- Do not routinely avoid common allergens. Introduce them in safe forms once your baby is ready, with pediatric guidance for high-risk babies.
- Homemade baby food generally keeps for 1–2 days in the refrigerator or 1–2 months in the freezer.
- Seat your baby upright, prepare an age-appropriate texture, and supervise every bite.
At a Glance
| Time Required | About 15–30 minutes for a simple homemade puree, plus cooling time |
| Difficulty | Easy, with close adult supervision during feeding |
| Tools Needed | Saucepan or steamer, fork or blender, clean container, bowl, and infant spoon |
| Cost | About $1–$5 per small homemade batch, depending on the ingredient and equipment already owned |
Note: This article provides general feeding information, not individualized medical care. Ask your pediatrician for guidance if your baby was born prematurely or has poor growth, swallowing problems, severe eczema, a known food allergy, or another medical condition.
What Is Stage 1 Baby Food and Why It Matters
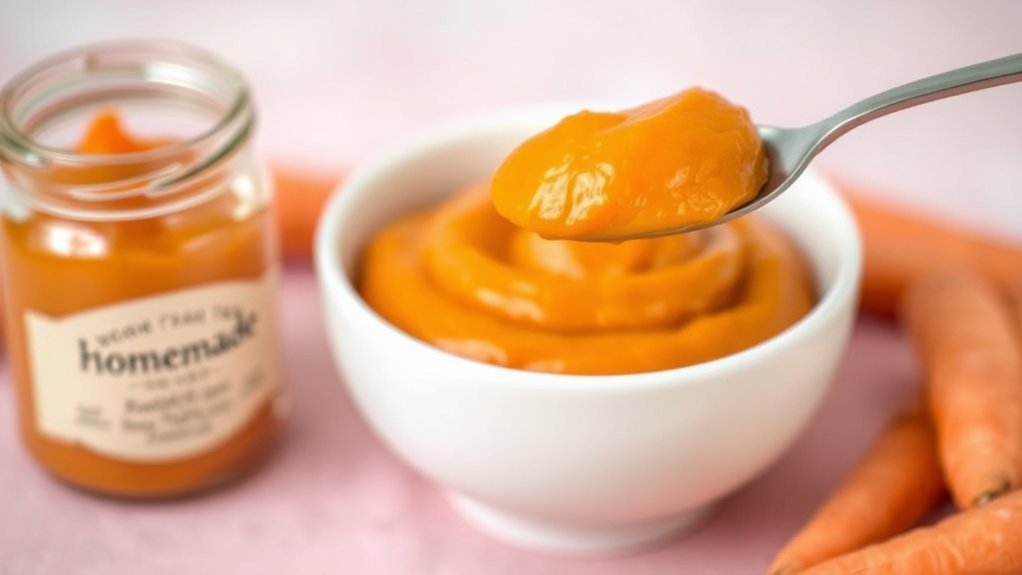
Stage 1 baby food usually means a smooth, thin puree intended for a baby who is just learning to eat food other than breast milk or infant formula. Many products contain one ingredient, such as apple, sweet potato, peas, chicken, or oatmeal.
The term Stage 1 is useful for shopping, but it is not a universal medical classification. Brands may define their stages differently. Look at the ingredient list, texture, and feeding directions, then match the food to your baby’s developmental skills.
Smooth food can help a baby practice opening for a spoon, closing their lips around it, moving food toward the back of the mouth, and swallowing. It does not require much chewing, so gradually introducing thicker mashed and lumpy textures remains important as feeding skills improve.
Purees are also not the only safe way to begin solids. Some families use mashed foods or appropriately prepared soft finger foods. Whichever method you choose, the texture must match your baby’s abilities and every meal requires close supervision.

Power your essentials anywhere with a 999Wh pure sine wave power station delivering up to 1000W continuous with 2000W surge. It supports fast charging via USB-C PD 60W and USB-A QC 18W, plus simultaneous output for multiple devices through AC, USB, wireless, and car/DC ports. Recharge using AC, car, or solar with a built-in MPPT controller and dual cooling fans, while the upgraded battery management system protects against surges, short circuits, and overheating.

7G OF PROTEIN FOR BABY: Beech-Nut Meat Baby Food is a savory blend of real pureed chicken & chicken broth. Each jar contains 7 grams of protein to help keep baby full.

ON THE GO BABY FOOD: Gerber Stage 1 Baby Food Puree Tubs are designed for ease and convenience. These tubs are the perfect on the go baby food, made in a portable and easy-to-store format for busy parents
When to Start Stage 1 Baby Food
The Centers for Disease Control and Prevention recommends introducing foods other than breast milk or infant formula at about 6 months. Starting before 4 months is not recommended.
A date on the calendar is not enough. Your baby should also show several readiness signs:
- They can sit upright alone or with support.
- They have steady control of their head and neck.
- They open their mouth when food is offered.
- They swallow food instead of immediately pushing all of it out with the tongue.
- They bring objects to their mouth.
- They show interest in food or try to reach for it.
A baby does not have to sit completely independently before taking a first taste. However, the baby must be stable and upright enough to keep the head and airway in a safe position.
Warning: Do not begin solids solely because your baby has reached 4 months, wakes more often, watches you eat, or seems hungry after a bottle. Confirm that the full set of developmental readiness signs is present. Babies with swallowing or growth concerns need personalized medical advice.
How Much Stage 1 Baby Food to Offer
Early meals are for learning as much as eating. Begin with a few small spoonfuls once a day at a calm time. The CDC suggests that 1–2 tablespoons is a small serving for a young child, but your baby may eat less during the first attempts.
From 6 to 12 months, breast milk or infant formula remains the main source of nutrition. Continue normal milk feeds while complementary foods gradually become a larger part of the diet.
You can offer the first bites shortly after a small milk feed so your baby is alert and interested but not extremely hungry. There is no need to follow a rigid feeding order if another routine works better for your family.
Watch your baby rather than trying to empty the bowl. Signs of interest include leaning toward the spoon, opening the mouth, and reaching for food. Turning away, closing the mouth, pushing the spoon away, becoming distracted, or becoming upset can mean the baby is finished.
Pro Tip: Put only a small portion in the feeding bowl. You can add more with a clean spoon if your baby remains hungry, while the untouched batch stays safe for later storage.
Defining Features of Stage 1 Baby Food
A suitable early puree should be smooth, moist, and easy to move through the mouth. It should not contain hard pieces, skins, seeds, bones, or thick sticky lumps.
Many Stage 1 foods contain one ingredient so parents can identify a reaction more easily. However, “single ingredient” is not a permanent nutritional rule. After individual foods have been tolerated, they can be combined to create more varied meals.
Skip added sugar and avoid high-sodium ingredients. Mild salt-free herbs or spices do not automatically make a food unsuitable, although simple preparation is helpful when introducing an ingredient for the first time.
Best First Foods to Introduce at Stage 1
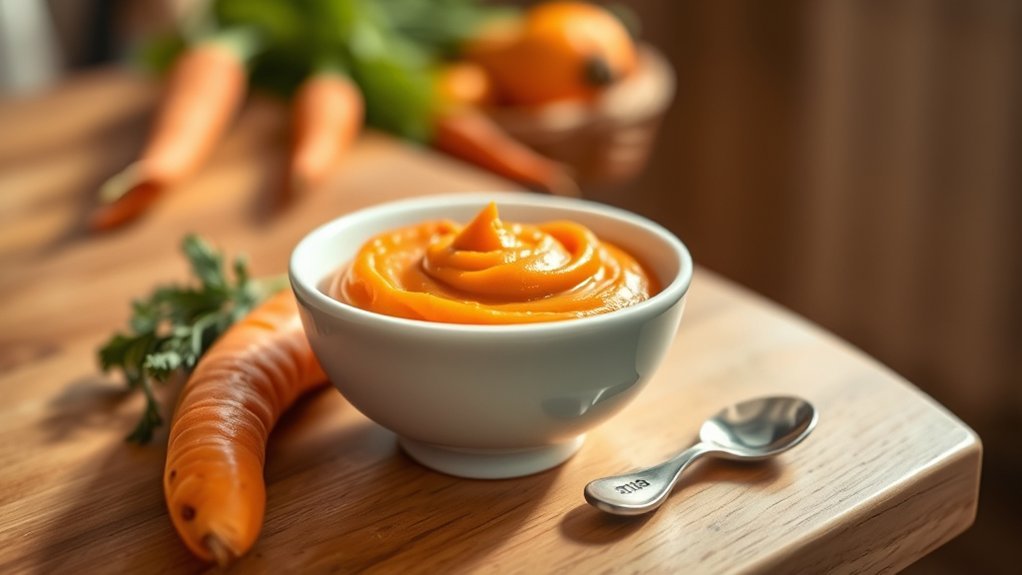
There is no required order for first foods. Bananas, apples, carrots, and sweet potatoes are convenient choices, but fruit and vegetable purees should not crowd out iron-rich food.
At about 6 months, babies need a dependable source of iron outside breast milk. The CDC lists meat, poultry, eggs, beans, lentils, tofu, and fortified foods among useful sources of iron for infants.
| Food | Why Offer It | Stage 1 Preparation |
|---|---|---|
| Iron-fortified oat, barley, or multigrain infant cereal | Iron and an easy-to-adjust texture | Mix with water, breast milk, or correctly prepared formula until smooth |
| Beef, chicken, turkey, beans, lentils, tofu, or well-cooked egg | Iron, protein, zinc, and other nutrients | Cook thoroughly and puree with enough liquid to remove dry or stringy pieces |
| Sweet potato, peas, squash, broccoli, or carrots | A range of flavors, colors, fiber, and vitamins | Cook until fork-soft, then blend or mash completely smooth |
| Banana, avocado, pear, apple, peach, or prunes | Flavor variety and useful nutrients | Mash very ripe soft fruit or cook firm fruit before pureeing |
| Plain pasteurized full-fat yogurt | Protein, fat, calcium, and dairy exposure | Offer plain or mix with a fruit your baby has already tolerated |
If you offer infant cereal, rotate oat, barley, and multigrain cereals instead of relying only on rice cereal. A varied diet reduces repeated exposure to contaminants that can be more concentrated in one food.
Nutritional Needs During Stage 1
Stage 1 food complements milk feeding rather than replacing it. A useful early diet includes iron-rich food, protein, vegetables, fruit, grains, and safe forms of common allergens as the baby becomes comfortable with eating.
A fruit-only feeding pattern may taste appealing but can provide less iron, protein, and savory flavor exposure than a varied menu. Try to alternate sweet foods with vegetables, grains, beans, eggs, meat, or other iron-rich choices.
Do not worry about making every spoonful nutritionally complete. Variety across days matters more than creating a perfectly balanced first meal.
A baby’s first foods do not have to follow a fixed order, but iron-rich foods deserve an early and regular place on the menu.
How to Introduce Common Food Allergens
Do not routinely avoid egg, peanut, dairy, wheat, sesame, soy, fish, or shellfish simply because your baby is beginning solids. The CDC advises introducing potentially allergenic foods along with other complementary foods once the baby is developmentally ready.
Introduce one new allergenic food at a time, ideally at home and earlier in the day when you can watch your baby. Begin with a small taste in a safe texture. If it is tolerated, continue offering it regularly as part of the diet rather than giving it once and then stopping for months.
- Offer egg fully cooked and mashed or pureed.
- Thin smooth peanut or other nut butter with warm water, breast milk, prepared formula, cereal, or tolerated puree.
- Offer plain pasteurized yogurt rather than cow’s milk as a drink.
- Cook fish and shellfish thoroughly, remove bones and shells, and puree or finely mash the food.
- Mix wheat-containing cereal or soft cooked grain to a smooth texture.
Never offer whole nuts, chunks of nuts, or a thick spoonful of nut butter because these are choking hazards. If your baby has severe eczema or an egg allergy, talk with the baby’s healthcare provider before introducing peanut-containing food.
Warning: Stop feeding the suspected food and call 911 for trouble breathing or swallowing, swelling of the lips or tongue, sudden pale or bluish coloring, collapse, or unusual limpness. Contact your pediatrician promptly about hives, repeated vomiting, diarrhea, swelling, coughing, or another possible reaction, even when breathing remains normal.
Foods and Ingredients to Avoid During Stage 1
The CDC’s guidance on foods and drinks to avoid or limit includes several rules that apply during Stage 1:
- No honey before 12 months. Honey can cause infant botulism, including when it is baked into food or added to cereal.
- No cow’s milk as the main drink before 12 months. Pasteurized yogurt and cheese can be introduced as foods.
- No fruit or vegetable juice before 12 months. Whole or pureed fruit provides more useful nutrition.
- No unpasteurized milk, juice, yogurt, or cheese.
- Avoid added sugar and high-sodium food.
- Avoid hard, round, sticky, or tough food. Examples include whole nuts, whole grapes, popcorn, raw carrot pieces, apple chunks, sausages, hard candy, and thick spoonfuls of nut butter.
How to Prepare Stage 1 Baby Food
- Clean your hands and equipment. Wash your hands, work surface, utensils, blender, storage containers, and produce before starting.
- Choose one suitable food. Fresh, frozen, or canned ingredients can work. Choose canned products without added salt or sugar. Organic food is optional.
- Cook firm foods until soft. Steam, bake, boil, or simmer fruit and vegetables until they mash easily with a fork. Cook meat, poultry, fish, and eggs fully.
- Remove unsafe parts. Take out bones, shells, pits, hard seeds, tough skins, excess fat, and stringy pieces.
- Blend or mash. Process the food until no hard lumps remain. Add a little water, breast milk, or correctly prepared formula when a thinner texture is needed.
- Cool and test the texture. The food may be served cool or lukewarm. Stir warmed food and test it before feeding.
- Serve from a separate bowl. Put one small portion in the feeding bowl and refrigerate or freeze the untouched batch promptly.
Do not add dry formula powder directly to puree unless the formula’s instructions specifically direct that use. Formula should be prepared with the correct water-to-powder ratio before it is used to thin food.
Pro Tip: A fork or potato masher may be enough for banana, avocado, cooked sweet potato, or very soft beans. A blender is useful, but it is not required for every Stage 1 food.
Safe Storage for Stage 1 Baby Food
Current FoodSafety.gov baby-food storage guidance recommends the following limits:
| Food Type | Refrigerator | Freezer |
|---|---|---|
| Homemade baby food | 1–2 days | 1–2 months |
| Opened strained meat or egg baby food | 1 day | 1–2 months |
| Opened meat-and-vegetable combination | 1–2 days | 1–2 months |
- Place food in clean, airtight containers and label each container with the food and date.
- Freeze small portions in a covered ice-cube tray, then move the frozen portions to a labeled freezer container.
- Thaw frozen puree in the refrigerator or place the sealed container in warm water.
- If you use a microwave, heat the food in a microwave-safe dish, stir it thoroughly, and check for hot spots.
- Do not refreeze food after it has fully thawed.
- Discard food left in the baby’s bowl after a meal.
- Do not save a jar or pouch after a used feeding spoon has been placed back into it because saliva can introduce bacteria.
Store-Bought Versus Homemade Stage 1 Food
Both store-bought and homemade baby food can be suitable. Homemade food provides control over ingredients and texture, while commercial food can save time and offer convenient portions.
When buying Stage 1 food:
- Read the ingredient list instead of relying only on the stage number.
- Choose products without added sugar and with little or no added sodium.
- Check that the safety seal is intact and the package is not swollen, leaking, cracked, or damaged.
- Follow the package’s refrigeration instructions after opening.
- Rotate foods and grains instead of serving the same rice-based product every day.
- Squeeze pouch food into a bowl or onto a spoon when possible so you can inspect the texture and help your baby practice spoon feeding.
- Keep pouch caps and other small package parts away from the baby.
Store-bought food is not nutritionally inferior simply because it is convenient, and homemade food is not automatically safer because it was made at home. Safe handling, suitable texture, ingredient variety, and responsive feeding matter in both cases.
Gagging Versus Choking
Gagging can occur while a baby learns to manage a new texture. It is often noisy and may involve coughing, retching, a red face, or pushing the tongue forward. Gagging is a protective reflex, but repeated gagging still deserves attention if the texture is clearly too difficult.
Choking happens when food blocks the airway. A baby with a complete blockage may be unable to cry, cough, or make a sound. The face or lips may become pale or bluish.
Follow the CDC’s choking-prevention guidance at every meal:
- Seat the baby upright in a secure high chair or feeding seat.
- Match the food’s shape, size, and texture to the baby’s skills.
- Keep meals calm and free from rushing or distractions.
- Do not feed a baby while the baby is lying down, crawling, walking, riding in a stroller, or traveling in a moving car.
- Watch continuously while the baby eats.
- Learn infant choking first aid and CPR from a qualified instructor.
Warning: If your baby cannot breathe, cry, or cough effectively, treat it as a choking emergency and call 911. Do not perform a blind finger sweep, which can push an object deeper into the airway.
Signs Your Baby Is Ready for Thicker Stage 2 Foods
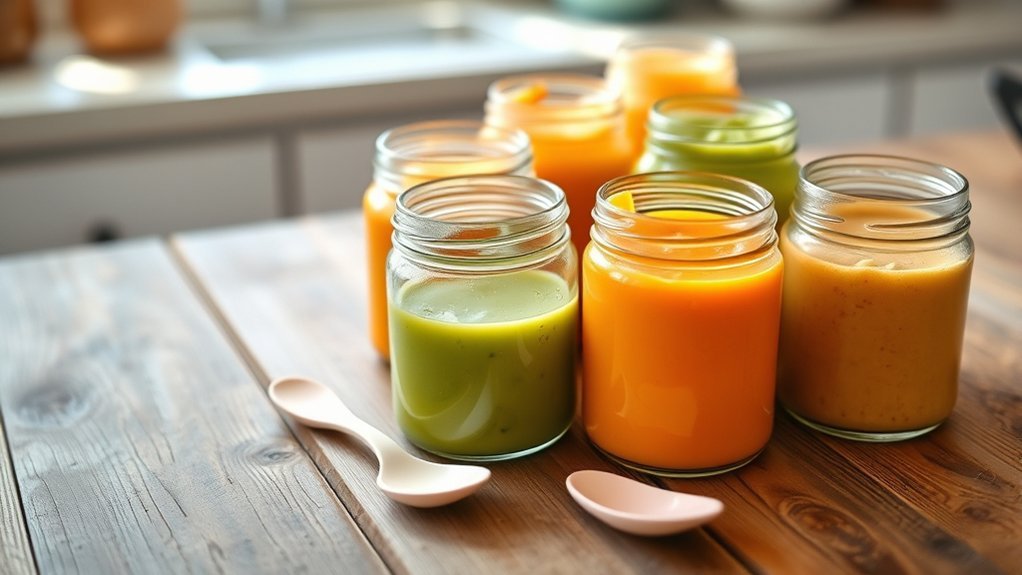
Babies often begin managing thicker or mashed food between about 6 and 8 months, but there is no required birthday for moving to “Stage 2.” Follow your baby’s feeding skills.
Signs that your baby may be ready include:
- Swallowing smooth puree without repeatedly pushing it out.
- Moving food from the front toward the back of the mouth.
- Sitting steadily throughout a meal.
- Accepting a slightly thicker puree without persistent coughing or distress.
- Reaching for food or trying to bring food to the mouth.
- Showing interest in a wider range of tastes and textures.
Make changes gradually. Use slightly less liquid in a familiar puree, mash a soft food with a fork, or leave very small soft lumps. A baby does not need teeth to handle many soft mashed foods because the gums and jaw can break them down.
Talk with your pediatrician if your baby repeatedly coughs or chokes while eating, develops a wet or gurgly voice after swallowing, takes unusually long to finish small meals, frequently vomits during feeding, or is not gaining weight as expected.
Common Stage 1 Feeding Problems
Your baby pushes the food out: The tongue-thrust reflex may still be active, or the baby may need more practice. Stop if the baby seems upset and try again on another day.
Your baby refuses a food: Refusal does not always mean permanent dislike. Offer the food again later without pressure. Babies may need several calm exposures before accepting an unfamiliar flavor.
The puree seems too thick: Add a small amount of water, breast milk, or correctly prepared formula and blend again. The food should stay on the spoon but move easily in the mouth.
Your baby gags on every bite: Check the texture, portion size, posture, and readiness signs. Persistent gagging, coughing, or distress should be discussed with the pediatrician.
Your baby eats very little: Small intake is normal at first. Continue breast milk or formula, watch hunger and fullness cues, and focus on a relaxed learning experience rather than a target number of spoonfuls.
Frequently Asked Questions
Can I Mix Different Stage 1 Baby Foods Together?
Yes. Introduce foods separately first so it is easier to identify a reaction. Once your baby has tolerated each ingredient, you can combine them. Useful combinations include lentils with sweet potato, oatmeal with pear, chicken with peas, or plain yogurt with a tolerated fruit.
How Long Can I Store Homemade Stage 1 Baby Food?
Store homemade baby food in a clean, airtight container for 1–2 days in the refrigerator or 1–2 months in the freezer. Label each portion with the food and preparation date, and discard anything that smells unusual or was contaminated by a used feeding spoon.
Is It Safe to Freeze Stage 1 Baby Food?
Yes. Freeze fresh portions promptly in covered trays or small freezer-safe containers. Transfer frozen cubes to a labeled airtight container and use them within 1–2 months. Thaw food in the refrigerator or warm water, and do not refreeze a fully thawed portion.
What Kitchen Tools Do I Need to Make Stage 1 Baby Food?
A saucepan or steamer, fork, masher, fine sieve, immersion blender, or countertop blender can all help. You do not need a dedicated baby-food machine. Clean equipment and safe storage containers matter more than buying specialized tools.
Are There Allergens to Avoid in Stage 1 Baby Food?
Do not routinely avoid common allergens once your baby is developmentally ready for solids. Introduce egg, peanut, dairy, wheat, sesame, soy, fish, and shellfish in safe textures, one at a time. Ask your pediatrician about peanut introduction first if your baby has severe eczema or an egg allergy.
Are Baby-Food Stages Standardized Across Brands?
No. One brand’s Stage 1 food may differ in thickness, ingredients, or suggested age from another brand’s product. Read the label and inspect the texture rather than assuming that every food with the same stage number is identical.
Does Every Baby Have to Eat Stage 1 Purees?
No. Smooth puree is one way to introduce solids, but some developmentally ready babies can begin with mashed food or properly prepared soft finger food. The safest approach depends on the baby’s posture, oral skills, medical history, and the food’s texture.
Conclusion
Stage 1 baby food is a starting point, not a rigid schedule. Begin around 6 months when your baby shows readiness, keep breast milk or formula as the main nutrition, and offer small amounts of varied, iron-rich food. Introduce allergens in safe forms, supervise every meal, follow conservative storage limits, and move toward thicker textures as your baby’s skills develop.
Sources
- CDC: When, What, and How to Introduce Solid Foods — starting age, readiness signs, first foods, allergens, and preparation
- CDC: How Much and How Often to Feed — portions, feeding frequency, and the continuing role of breast milk or formula
- CDC: Iron for Infants and Young Children — iron needs and iron-rich foods
- CDC: Choking Hazards — safe preparation, seating, supervision, and foods to avoid
- CDC: Foods and Drinks to Avoid or Limit — honey, juice, cow’s milk, sodium, added sugar, and unpasteurized food
- FoodSafety.gov: Children Under Five — safe handling and storage of homemade and opened baby food