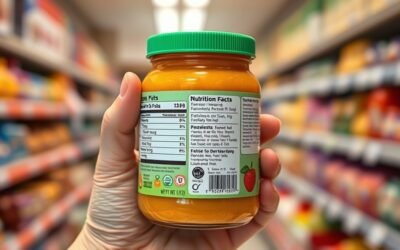
Cleaning a baby food maker after every use keeps dried food out of the blade, seals, bowl, and steam openings. The safest method depends on your exact model, so check its manual before placing parts in a dishwasher or using vinegar, sanitizer, or heat. Always unplug the appliance and let hot components cool before cleaning.
Quick Answer
Unplug the baby food maker, let it cool, and remove every washable part. Rinse off food, hand-wash with mild dish soap or use the dishwasher only if the manual allows it, then air-dry completely. Wipe—not soak—the motor base. Descale the water reservoir separately using the exact method listed for your model.
Key Takeaways
- Clean food-contact parts after every use rather than allowing puree or cooking liquid to dry.
- Unplug the appliance, let it cool, and handle the blade by its holder or hub rather than its cutting edges.
- Check the exact product manual before using a dishwasher, vinegar, bleach, boiling water, or a sanitizing cycle.
- Never immerse the motor base, power cord, or plug in water.
- Treat routine cleaning and mineral-scale removal as two separate maintenance jobs.
At a Glance
| Time Required | 10–20 minutes of active cleaning, plus complete air-drying time |
| Difficulty | Easy, with extra care needed around hot parts and sharp blades |
| Tools Needed | Mild dish soap, soft sponge, small nylon brush, clean wash basin, damp microfiber cloth, and drying rack |
| Cost | Usually no added cost when you already have basic dishwashing supplies |
Warning: Unplug the appliance and wait until the steam reservoir, bowl, lid, and blade have cooled. Never immerse the electrical base, cord, or plug. Blade edges can cause serious cuts, so hold the blade by its center hub or designated holder and keep your fingers away from the cutting surfaces.
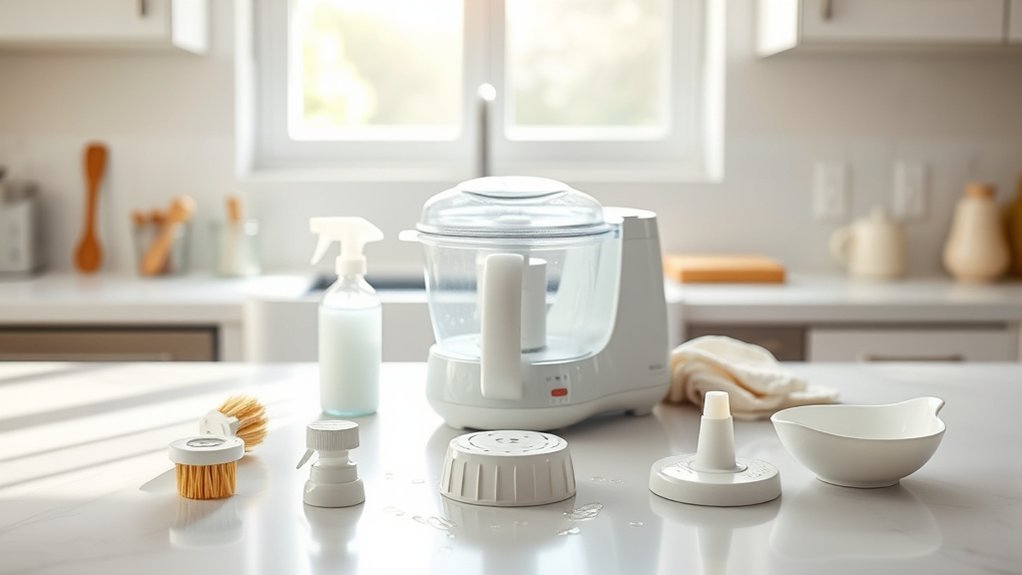
Collect Your Cleaning Supplies
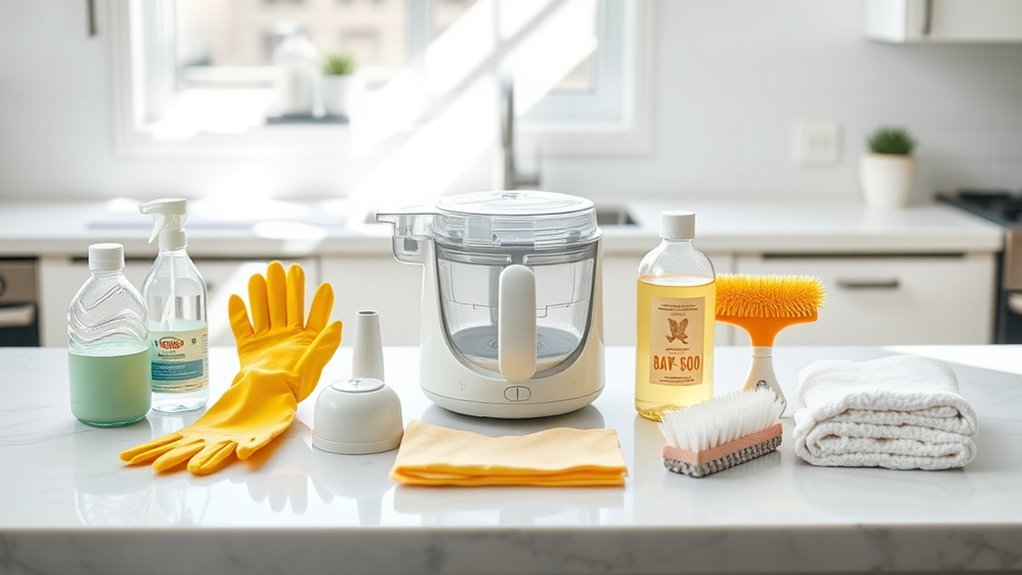
Gather your supplies before taking the appliance apart. This keeps sharp or wet components from sitting unattended on the counter.
- Mild dish soap: Choose an unscented or lightly scented product that rinses clean.
- Soft sponge or nonabrasive cloth: Use it on bowls, lids, baskets, and other broad surfaces.
- Small nylon brush or clean toothbrush: Use it around blade tubes, lid channels, steam openings, and locking tabs.
- Bottle brush: This can help with narrow jars or deep containers.
- Clean wash basin: A separate basin keeps food-contact parts from resting directly in a kitchen sink. The CDC recommends a clean basin for hand-washing infant feeding items.
- Damp microfiber cloth: Reserve it for wiping the motor base and controls.
- Clean drying rack or unused paper towel: Use it to let components air-dry without rubbing them with a used kitchen towel.
A mild detergent and soft brush are usually all you need for routine washing. Stronger products should be used only when the appliance manual specifically permits them.
Note: Do not assume that vinegar, baking soda, bleach, alcohol, scouring powder, or disinfecting wipes are safe for every part. Materials and manufacturer instructions vary.
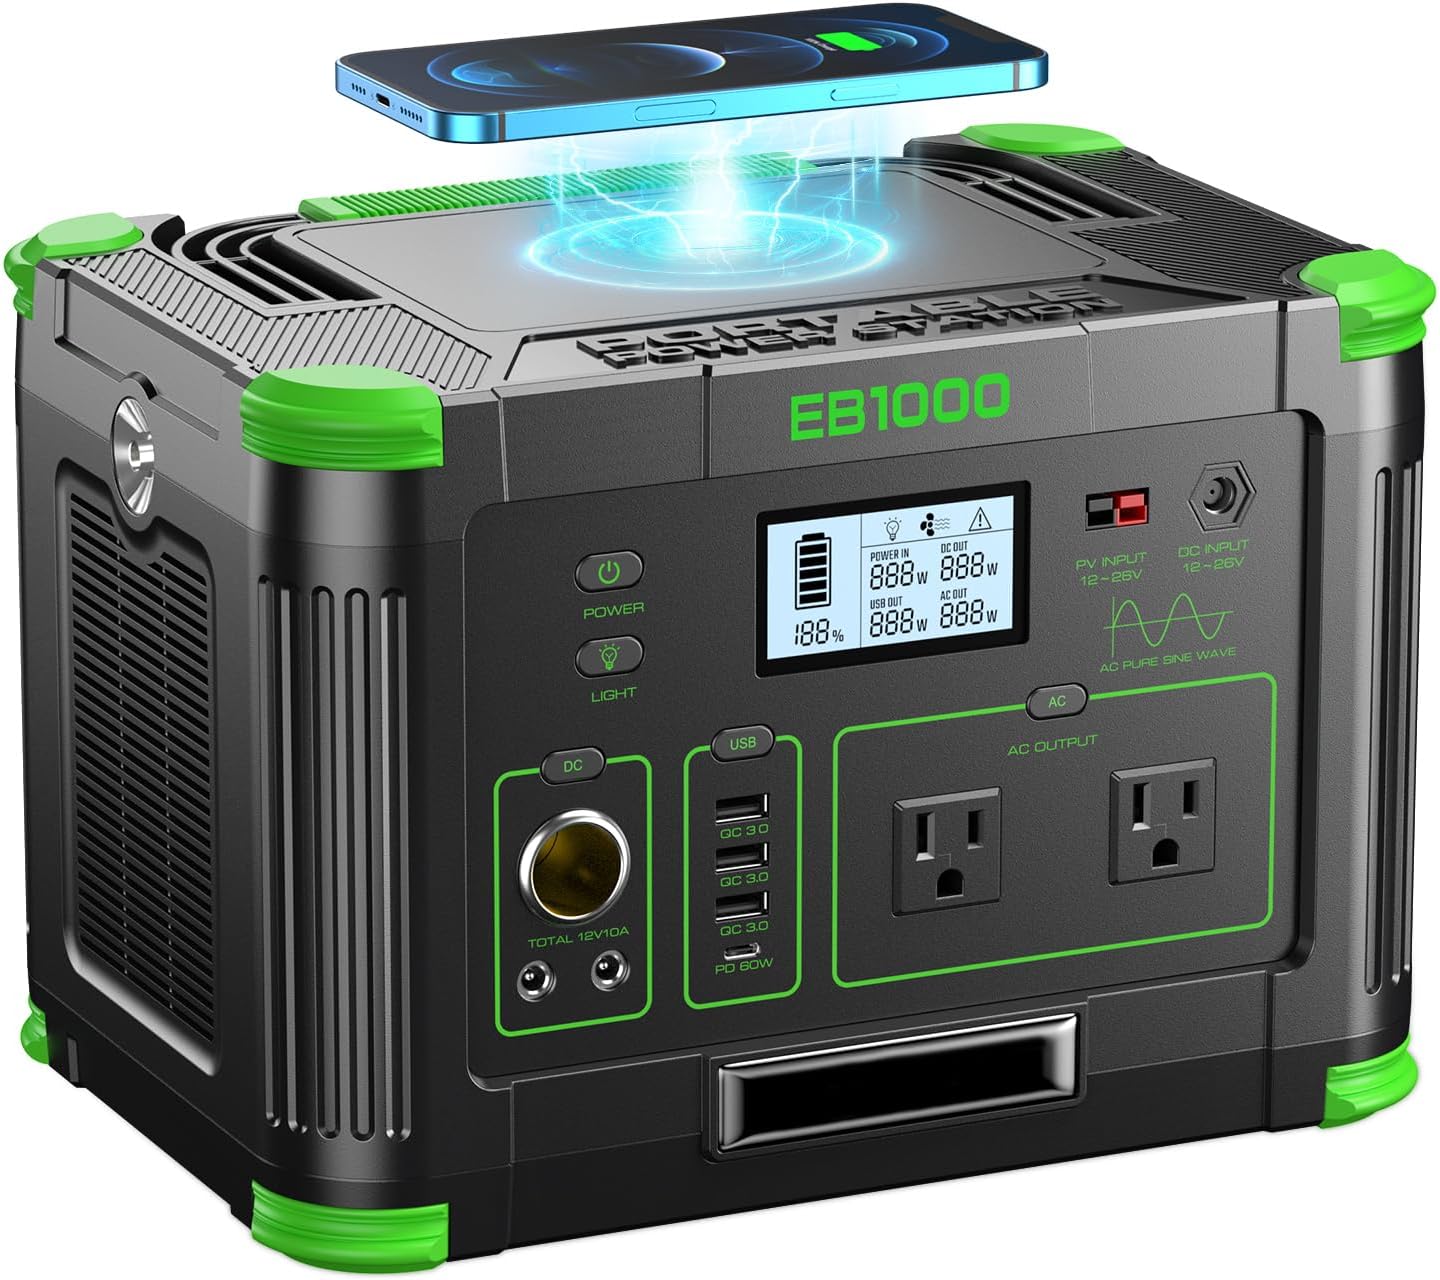
Power your essentials anywhere with a 999Wh pure sine wave power station delivering up to 1000W continuous with 2000W surge. It supports fast charging via USB-C PD 60W and USB-A QC 18W, plus simultaneous output for multiple devices through AC, USB, wireless, and car/DC ports. Recharge using AC, car, or solar with a built-in MPPT controller and dual cooling fans, while the upgraded battery management system protects against surges, short circuits, and overheating.

Keep it Clean: This baby brush set is the ideal drying rack companion and is perfect for cleaning baby accessories like baby bottles, sippy cups, and pump parts

Keep it Clean: This baby brush set is the ideal drying rack companion and is perfect for cleaning baby accessories like baby bottles, sippy cups, and pump parts
Check the Manual and Let the Appliance Cool
Find the model number on the underside or back of the appliance and open the matching manufacturer manual. Check which components are removable, which are dishwasher-safe, and how the water reservoir should be cleaned or descaled.
After steaming or reheating food, switch the appliance off and unplug it. Wait until visible steam has stopped and the bowl, lid, water tank, and blade are cool enough to handle safely. Do not open a pressurized or steaming lid toward your face or hands.
Manufacturer instructions differ. For example, the Philips Avent SCF875 manual permits its removable parts to be cleaned in a dishwasher but prohibits immersing the main unit. That permission applies to the listed Philips model, not automatically to other baby food makers.
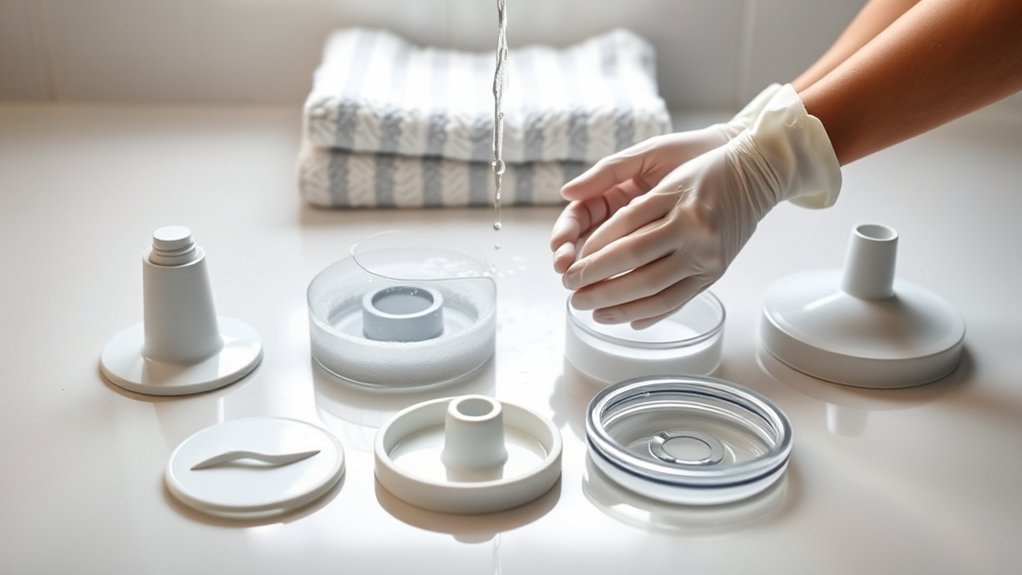
Disassemble Your Baby Food Maker
Once the appliance is unplugged and cool, remove its parts in the order shown in the manual. Depending on the model, these may include the food bowl, lid, steaming basket, blade assembly, splash guard, sealing ring, sieve, spatula, and reservoir lid.
- Place the appliance on a dry, stable counter.
- Remove the bowl or jar from the motor base.
- Unlock and remove the lid without forcing clips or tabs.
- Remove the blade by its holder or center hub. Do not grip the sharp edges.
- Remove detachable seals and gaskets only when the manual permits it.
- Place small parts in a shallow container so they cannot roll into the sink or disposal.
- Note the direction of each seal before removal or take a quick photo to guide reassembly.
Pro Tip: Rinse food-contact parts as soon as they are cool enough to handle. Fresh puree is much easier to remove than residue that has dried inside a blade tube, gasket channel, or steam opening.
Clean Removable Parts Thoroughly
Wash every component that touched food, cooking liquid, or condensation after each use. FoodSafety.gov recommends washing food-contact utensils and surfaces after use, especially after contact with raw meat, poultry, seafood, or eggs.
- Remove loose food. Scrape leftover puree into the trash or compost rather than pushing thick food into the drain.
- Rinse the parts. Hold each component under warm running water to loosen food from corners and channels.
- Wash in soapy water. Fill a clean basin with warm water and mild dish soap. Wash the bowl, lid, basket, spatula, and other approved parts with a soft sponge.
- Brush narrow areas. Use a small nylon brush around locking tabs, lid grooves, steam inlets, blade tubes, and gasket channels.
- Rinse thoroughly. Remove all visible food and soap residue under clean running water.
- Inspect each piece. Hold clear parts up to the light and check crevices for trapped food.
- Air-dry completely. Place the parts on a clean rack or unused surface with enough space for air to circulate.
If your manual confirms that specific parts are dishwasher-safe, place them in the recommended rack or basket. Secure small pieces so they cannot fall onto a heating element or into the dishwasher filter. A hot-water cycle with heated drying or a sanitizing setting can provide additional germ reduction for compatible feeding items, according to the CDC.
Clean the Blade, Seals, and Small Crevices
Food commonly collects beneath the blade, inside the blade shaft or tube, and behind removable seals. These areas need more attention than the open bowl.
- Hold the blade by its hub and rinse it immediately after use.
- Direct water through any hollow blade tube if the manual instructs you to do so.
- Use a small brush on the non-sharp surfaces surrounding the blade.
- Wash removable gaskets separately and inspect both sides.
- Clean the empty gasket groove before replacing the seal.
- Check steam inlets and outlets for food or mineral deposits without inserting metal tools.
Do not use a knife, pin, metal pick, or steel-wool pad to clear a narrow opening. These tools can damage the appliance or leave sharp scratches where residue can collect.
Reinstall each gasket in its original direction. An incorrectly seated or twisted seal can cause leaking, poor blending, or steam escaping from the wrong location.
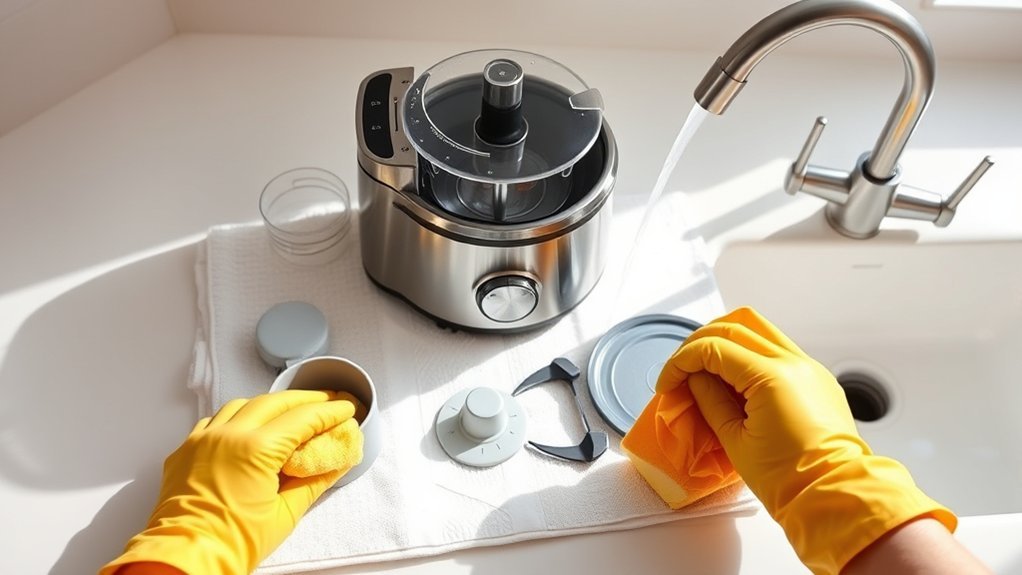
Wipe the Base and Electrical Parts
Keep the motor base away from standing water. Béaba instructs users to unplug the Babycook, wipe its exterior with a slightly damp towel, dry it, and never submerge it; the same basic precaution is common for powered countertop appliances. See the official Béaba cleaning guidance for that product line.
| Cleaning Method | Tools Needed |
|---|---|
| Wipe the exterior, controls, and locking area | Slightly damp microfiber cloth with a small amount of mild soap |
| Loosen dried residue around seams | Soft-bristled nylon brush or damp cotton swab, used without dripping water |
| Dry before reuse | Clean dry cloth followed by open-air drying |
- Wring out the cloth until it is damp rather than wet.
- Wipe the exterior, buttons, handle, and bowl-locking area.
- Do not let water run into switches, vents, seams, the cord connection, or the underside of the unit.
- Use a clean, dry cloth to remove remaining moisture.
- Leave the unit unplugged until its exterior is completely dry.
Do not spray cleaner directly onto the appliance. Apply a small amount to the cloth instead, provided the product manual permits it.
Clean Versus Descale the Water Reservoir
Routine cleaning removes food residue and cooking liquid. Descaling dissolves mineral deposits left behind when water is heated. White or chalky spots, shorter steam cycles, weak steam, a blocked steam opening, or water remaining after a cycle may indicate scale buildup.
Do not use a universal vinegar ratio or soaking time. The correct method depends on the reservoir material and appliance design. For example:
- The Philips Avent SCF875 manual specifies its own vinegar concentration, water quantity, contact time, rinsing process, and empty steam cycle.
- Béaba provides a different descaling schedule and procedure for its Babycook reservoir.
Follow the instructions for your exact model instead of copying another brand’s formula. Never run vinegar, citric acid, bleach, or a commercial descaler through the appliance unless its manufacturer approves that substance and process.
Note: Vinegar used for manufacturer-approved descaling does not replace washing food-contact parts with dish soap. Descaling removes minerals, not grease, proteins, or dried puree.
Sanitize Only When It Is Appropriate
Cleaning and sanitizing are different. Cleaning removes visible food and residue; sanitizing uses heat or an approved solution to reduce remaining germs. Routine washing after every use is the essential first step.
Use a dishwasher sanitizing cycle, boiling method, steam sterilizer, or sanitizing solution only when the appliance manual says the specific component can tolerate it. Powered bases, blade assemblies, seals, and some plastics may be damaged by heat or chemicals.
The CDC recommends extra sanitizing for infant feeding items used by babies younger than 2 months, babies born prematurely, or babies with weakened immune systems. A baby food maker is commonly introduced later, when solid foods begin, but families with medical concerns should follow their pediatric clinician’s guidance and the appliance manufacturer’s restrictions.
Do not pour bleach or chemical sterilizing solution into the machine unless the exact manual expressly directs you to do so. Some manufacturers specifically prohibit these products inside their appliances.
Air-Dry and Reassemble the Appliance
Place washed components on a clean drying rack or unused paper towel and allow them to air-dry fully. Avoid rubbing food-contact surfaces with a used dish towel because it can transfer lint, moisture, or germs back to the parts.
Before reassembly, confirm that:
- No food remains beneath the blade or inside lid channels.
- All soap has been rinsed away.
- The blade, bowl, lid, basket, and seals are completely dry.
- The gasket is not twisted, cracked, sticky, stretched, or brittle.
- The blade sits securely without unusual movement.
- The steam inlet and outlet are open.
- No moisture is visible inside the controls or electrical base.
Reassemble the appliance in the order shown in the manual. Do not force a lid, jar, or locking tab into place.
Troubleshoot Odors, Stains, and Buildup
Persistent Food Odor
Wash the blade, seal, lid channels, and bowl again because hidden residue is a common source of odor. Air-dry the parts separately rather than storing them while damp. Use a vinegar soak only if the manufacturer approves it for those specific components.
Orange, Green, or Red Staining
Carrots, tomatoes, berries, spinach, and other strongly colored foods can stain plastic without making it dirty. Rewash and inspect the surface. If it is smooth, odor-free, and free of residue, cosmetic discoloration may remain even after proper cleaning. Follow the manufacturer’s advice before using any stain-removal product.
White or Chalky Deposits
These are often mineral deposits from the water supply. Descale the reservoir according to the exact model instructions. Do not scrape scale with a knife or metal pad.
Weak Steam or Water Left in the Reservoir
Check for scale, a blocked steam port, an incorrectly installed lid, or an overfilled reservoir. Clean and descale as directed. Stop and contact the manufacturer if the machine continues to leak, overheat, or produce unusually weak steam.
Mold or Slime
Do not prepare food in the appliance until the affected components have been safely cleaned or replaced. Inspect hidden seals, blade tubes, reservoir openings, and lid channels. Contact the manufacturer when contamination is inside a sealed or inaccessible part.
Damaged Components
Stop using the appliance if the bowl is cracked, the electrical cord is frayed, the blade is loose or chipped, a gasket no longer seals, or liquid has entered the motor base. Replace parts only with components approved for the exact model.
Final Tips for Maintaining Your Baby Food Maker
A simple maintenance routine prevents most dried-food, odor, and mineral-buildup problems:
- After every use: Unplug, cool, disassemble, wash food-contact parts, wipe the base, and air-dry everything.
- Before each use: Confirm the blade, gasket, lid, and bowl are correctly installed.
- Regularly: Inspect seals, locking tabs, blade movement, the power cord, and steam openings.
- When scale appears or the manual’s interval arrives: Descale the reservoir using the approved solution and procedure.
- Before storage: Empty standing water and make sure every component is clean and completely dry.
Clean removable parts after each use, keep the electrical base dry, and descale only according to the instructions for your exact model.
If the appliance has processed raw meat, fish, poultry, or eggs, wash your hands and clean the surrounding counter, utensils, and food-contact components promptly to reduce cross-contamination.
Frequently Asked Questions
Can I put baby food maker parts in the dishwasher?
Only when the exact product manual identifies those parts as dishwasher-safe. Check whether the manufacturer specifies the top rack, a small-parts basket, a maximum temperature, or removal of blades and seals. Never place the motor base, cord, or plug in the dishwasher.
How often should I clean my baby food maker?
Clean all food-contact parts after every use. Wipe the base whenever splashes or residue appear, and descale the reservoir at the interval listed in your manual or when mineral buildup affects steam performance.
Can I use vinegar to clean my baby food maker?
Use vinegar only when the manufacturer approves it for the specific part or for reservoir descaling. Do not apply a generic dilution or soak time because approved concentrations and procedures vary by model.
What should I do if the baby food maker has a strong odor?
Rewash the blade, gasket, lid grooves, and other hidden areas, then air-dry the parts separately. If the odor comes from the water reservoir, follow the model’s cleaning or descaling instructions. Replace a seal that remains sticky, moldy, cracked, or strongly scented.
Are stained plastic parts still safe to use?
Food pigments can cause cosmetic staining. Rewash and inspect the part for residue, cracks, roughness, odors, and deterioration. Contact the manufacturer if you cannot tell whether the discoloration is a harmless stain, mineral buildup, scorching, or material damage.
Do I need to sanitize the parts after every use?
Not every component requires a separate sanitizing step after proper washing, and some parts cannot tolerate high heat or chemical solutions. Use only a sanitizing method approved by the manufacturer. Ask your child’s clinician about extra precautions when medical risk factors are present.
How often should I descale the water reservoir?
Follow the interval in the exact model manual. Water hardness and usage can change how quickly scale develops, so descale sooner when you notice chalky deposits, weak steam, shortened cycles, blocked openings, or water remaining after operation.
What cleaning products should I avoid?
Avoid abrasive pads, metal brushes, scouring powders, solvents, and unapproved disinfectants. Do not pour bleach, alcohol, or commercial descaler into the appliance unless the manufacturer explicitly permits that product and method.
Conclusion
Clean your baby food maker after each use while residue is still easy to remove. Wash the approved removable parts with mild dish soap, give the blade and seals extra attention, wipe the electrical base with a damp cloth, and let everything dry completely before reassembly. When mineral deposits appear, follow the exact descaling instructions for your model rather than using a universal vinegar formula. Regular inspection also helps you catch worn seals, damaged blades, cracks, or electrical problems before the next meal.
Sources
- Centers for Disease Control and Prevention: How to Clean, Sanitize, and Store Infant Feeding Items — supports washing, dishwasher, sanitizing, and air-drying guidance.
- FoodSafety.gov: Four Steps to Food Safety — supports washing food-contact utensils and surfaces after use and preventing cross-contamination.
- Philips Avent SCF875 User Manual — supports blade safety, after-each-use cleaning, dishwasher compatibility for that model, base precautions, and model-specific descaling.
- Béaba: Cleaning the Outside of a Babycook and Its Accessories — supports unplugging, damp-cloth cleaning, drying, and avoiding submersion.
- Béaba: How to Descale a Babycook Reservoir — demonstrates why descaling schedules and procedures must be model-specific.