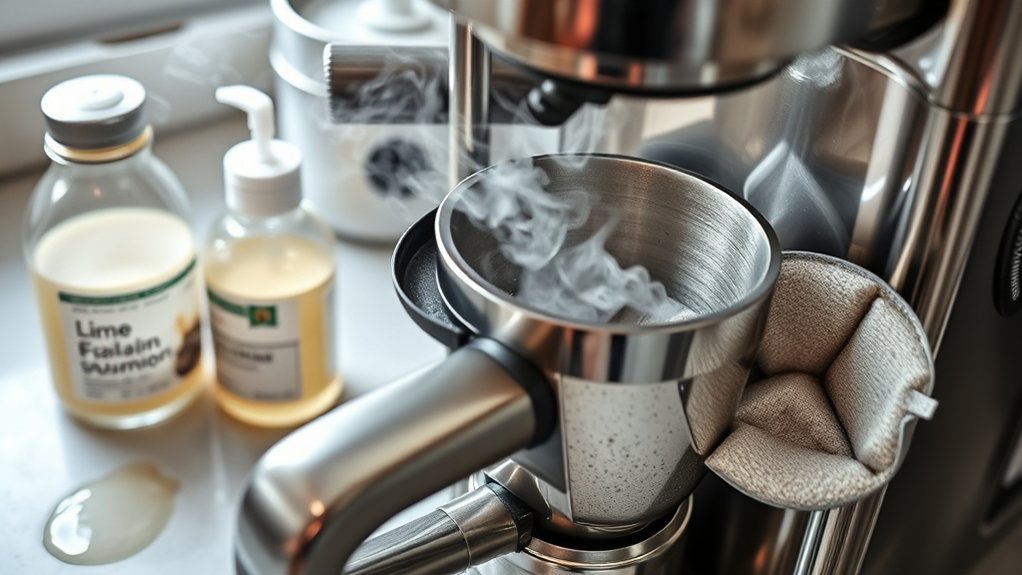
Cleaning inside a coffee maker involves two different jobs: washing away coffee grounds and oily residue from removable parts, and descaling mineral deposits from the internal water path. The safest method depends on your exact machine, so check its owner’s manual before choosing vinegar, a commercial descaler, or a built-in cleaning cycle.
Quick Answer
Unplug the coffee maker and let it cool before washing removable parts with warm, soapy water. Descale the internal water path only with the solution and cycle approved for your exact model. Complete every required fresh-water rinse cycle, discard the rinse water, and never open the appliance housing or taste water used during cleaning.
Key Takeaways
- Routine washing removes coffee oils and grounds, while descaling removes mineral deposits from the internal water path.
- Follow the directions for your exact model because approved cleaners, vinegar ratios, cycle settings, and rinse requirements vary.
- Use warm, soapy water on washable removable parts and only a manufacturer-approved descaling method inside the brewer.
- Never remove the appliance housing, immerse the powered base, mix cleaning chemicals, or taste rinse water.
- Clean used grounds and washable parts regularly, then descale according to water hardness, brewing frequency, warning lights, and the manufacturer’s maintenance schedule.
At a Glance
| Time Required | About 30–60 minutes for many drip brewers; some model-specific descaling programs take longer |
| Difficulty | Easy |
| Tools Needed | Mild dish soap, nonabrasive sponge or brush, microfiber cloth, fresh water, the owner’s manual, and the approved descaling product or manual-approved white vinegar |
| Cost | Low; the main cost depends on whether your machine requires a branded or other approved descaling product |
Cleaning Versus Descaling a Coffee Maker
Routine cleaning and descaling solve different problems. Washing the carafe, filter basket, pod holder, lid, drip tray, and other washable parts removes grounds, stains, and coffee oils. Descaling dissolves calcium and other mineral deposits left by water inside the reservoir, heater, tubing, and spray system.
Mineral scale can slow water flow and interfere with brewing performance. Coffee oils and old grounds can create stale odors and bitter flavors. A complete deep clean normally includes both jobs, but the products used for washing removable parts are not automatically safe to run through the internal water path.

Power your essentials anywhere with a 999Wh pure sine wave power station delivering up to 1000W continuous with 2000W surge. It supports fast charging via USB-C PD 60W and USB-A QC 18W, plus simultaneous output for multiple devices through AC, USB, wireless, and car/DC ports. Recharge using AC, car, or solar with a built-in MPPT controller and dual cooling fans, while the upgraded battery management system protects against surges, short circuits, and overheating.
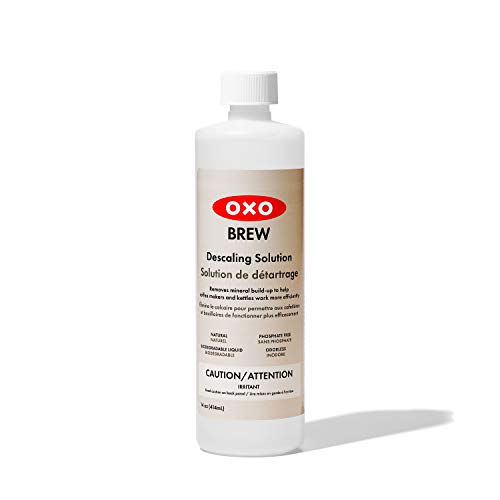
Helps keep your coffee makers and kettles working efficiently and using less energy

INCLUDES: 4 Keurig Rinse Pods, 1 Descale Solution, and 2 Water Filter Cartridge Refills
Why Descaling Matters

Keurig explains that descaling removes calcium deposits that can collect inside a brewer and affect performance. Other manufacturers publish their own solution ratios, programmed cycles, rinse requirements, and maintenance intervals.
The safest descaling recipe is not the most popular one online—it is the procedure approved for your exact coffee maker.
For example, Cuisinart provides vinegar cleaning guidance for many coffee makers, while Hamilton Beach specifies plain white vinegar for the cited FlexBrew model. Other machines use formulated descaling products instead. These differences are why you should locate the model number and check its official instructions before adding anything to the reservoir.
Choose the Right Descaling Method for Your Coffee Maker
Vinegar, branded descaling solution, and third-party coffee-machine descalers are not interchangeable. The brewer manufacturer’s directions take priority over a general cleaning article or the compatibility claim printed by a cleaner manufacturer.
| Example | What the Guidance Shows |
|---|---|
| Cuisinart coffee makers | Many Cuisinart instructions describe diluted-vinegar cleaning, but ratios and cycles can vary. Use the procedure for your exact model rather than assuming one vinegar recipe fits every machine. |
| Hamilton Beach FlexBrew model cited here | The official instructions specify 14 ounces of plain white vinegar, a 30-minute cleaning pause, and two to three cold-water rinse cycles. That procedure applies to the cited model, not every coffee maker. |
| Nespresso machines | Nespresso publishes model-specific descaling and cleaning instructions. Follow the assistance page or manual for your machine instead of copying vinegar instructions from a drip brewer. |
| Keurig brewers | Keurig publishes brewer-specific descaling procedures and maintenance guidance. Follow the instructions for the model you own, including any required descale mode or indicator-reset procedure. |
| Bar Keepers Friend Coffee Maker Descaler | Its label specifies 1 ounce per 8 ounces of cold water. Use that ratio only when your coffee maker’s manufacturer permits a compatible third-party descaler. |
Note: If you cannot find the manual, locate the model number on the brewer’s rating label or identification sticker and search the manufacturer’s official support site. Until you confirm an approved descaling method, limit cleaning to removable washable parts and reachable exterior surfaces.
Prepare the Coffee Maker and Gather Supplies
Warning: Unplug the coffee maker and allow it to cool before removing or hand-washing parts. Never immerse the cord, plug, warming base, or appliance housing. Pod holders and piercing needles may be sharp. Do not mix descaler or vinegar with bleach, ammonia, or another cleaner, and never taste water discharged during a cleaning or descaling cycle.
Gather the following supplies before starting:
- Mild dish soap
- A nonabrasive sponge or soft dish brush
- A clean microfiber cloth
- Fresh water at the temperature specified by the manufacturer
- The descaler approved by the manufacturer, or plain white vinegar only if the manual permits it
- A large carafe or heat-safe mug to catch the cleaning solution
- The coffee maker’s printed or online owner’s manual
Remove used grounds, paper filters, coffee pods, and any water that remains in the reservoir. If the machine uses a charcoal or replaceable water filter, remove it before descaling when the manual directs you to do so. A water filter may reduce some mineral buildup, but it does not automatically eliminate the need to descale the machine.
Note: “Bar Keepers Friend” is not one interchangeable cleaner. Only use the product labeled Bar Keepers Friend Coffee Maker Descaler in a brewer, and follow its label ratio of 1 ounce per 8 ounces of water only if your coffee maker’s instructions allow that type of product. Never pour the brand’s abrasive powder cleanser into a reservoir.
If your machine has a milk reservoir, milk tube, steam wand, or automatic milk system, treat that as a separate cleaning job. Follow the manufacturer’s milk-system procedure because milk residue requires different care from the coffee-water path.
How to Run the Descaling Cycle

- Confirm the approved solution. Check whether the manual calls for a branded descaler, another coffee-machine descaler, plain white vinegar, or a diluted vinegar mixture. Do not substitute lemon juice, baking soda, abrasive cleanser, or another acid without manufacturer approval.
- Remove coffee and filters. Take out all pods, grounds, paper filters, and any removable water filter identified in the manual.
- Add the solution. Measure the exact quantity listed in the manual or on the approved product label. Do not exceed the reservoir’s maximum fill line.
- Position the carafe or mug. Use a container large enough to catch the full cleaning cycle. Make sure the brew basket, pod holder, and other required parts are seated correctly.
- Start the correct cycle. Use the machine’s Clean or Descale mode when available. If the manual calls for a normal brew cycle with a pause, stop the cycle only at the point and for the time specified by the manufacturer.
- Discard the used solution. Do not reuse or drink descaling liquid. Rinse the carafe or collection mug before beginning the fresh-water rinse.
- Complete the required rinse cycles. Refill the reservoir with fresh water and run the number of water-only cycles listed in the manual.
Pro Tip: Keep a towel under the brewer during the first cycle. Loosened scale or a partially blocked outlet can temporarily change the flow pattern and cause splashing.
Deep-Clean the Removable Parts
Once the descaling cycle is finished and the machine is unplugged and cool, remove only the parts identified as removable in the manual. These may include the carafe, filter basket, permanent filter, reservoir, reservoir lid, pod holder, funnel, drip tray, and cup platform.
- Soak washable parts in warm water with a small amount of dish soap for about 10–15 minutes when stubborn coffee oils are present.
- Scrub gently with a soft sponge or brush. Avoid steel wool, abrasive pads, and sharp tools that can scratch plastic, glass, coatings, or seals.
- Rinse every part thoroughly under clean water.
- Let the parts air-dry completely before reassembly.
Some parts may be dishwasher-safe only on the top rack, while others require hand washing. Hamilton Beach, for example, warns against high-temperature sanitize cycles for the cited FlexBrew model. Check the manual rather than assuming every removable part can go in the dishwasher.
Clean Safely Reachable Interior Areas
Use a damp microfiber cloth or soft brush to clean surfaces you can reach without opening the housing. Depending on the model, these areas may include:
- The inside of a removable water reservoir
- The underside of a hinged lid
- The removable pod holder or funnel
- The brew basket compartment
- The visible spray head
- The drip tray and overflow area
Do not force a brush, wire, toothpick, or paper clip into fixed tubing or needles unless the manufacturer gives a specific unclogging procedure. Some single-serve machines have removable needle holders and published cleaning directions, but their needles can be sharp.
Warning: Do not remove the bottom cover, side panels, heating assembly, pump, wiring, or sealed internal tubing. If contamination, leakage, or a blockage is inside an inaccessible area, stop using the brewer and contact the manufacturer or an authorized service provider.
Rinse the Coffee Maker Until No Cleaning Residue Remains
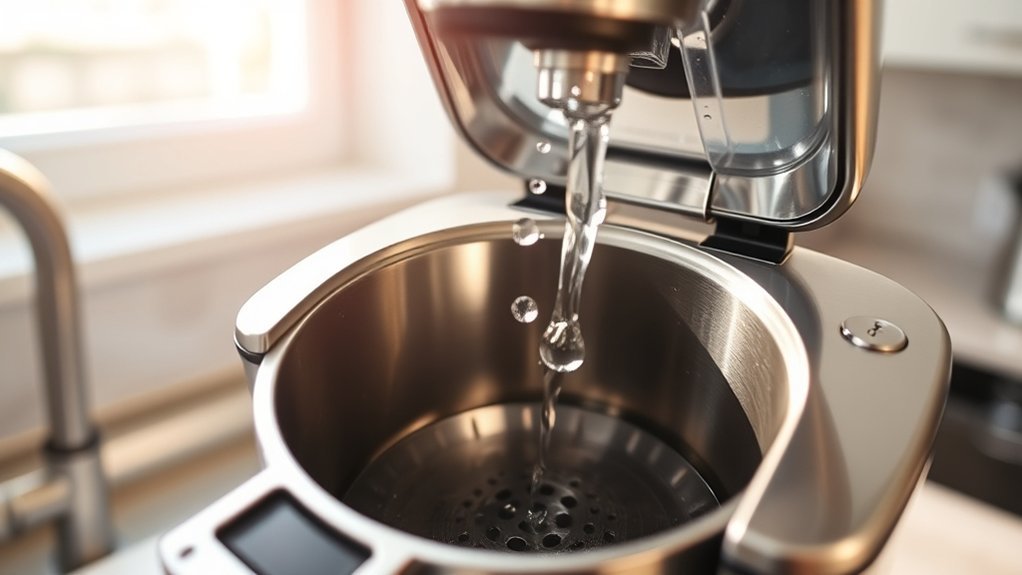
Rinsing removes loosened scale and remaining vinegar or commercial descaler. The correct number of cycles varies by machine. Some procedures call for one full fresh-water cycle, while others require two, three, or a programmed rinse stage.
| Step | Action |
|---|---|
| 1. Empty and rinse | Discard the used solution and rinse the carafe or collection mug. |
| 2. Add fresh water | Fill the reservoir with clean water without exceeding the maximum line. |
| 3. Run the cycle | Complete the manufacturer-required water-only brew or rinse cycle without coffee. |
| 4. Inspect the water | Look for scale flakes, foam, cloudiness, unusual color, or a remaining cleaner odor. Do not taste the rinse water. |
| 5. Repeat if needed | Complete every rinse required by the manual. If residue or cleaner odor remains afterward, run additional water-only cycles when the manufacturer permits it. |
After the required rinse procedure, you can run and discard a final small water-only cycle if the machine’s instructions permit it. Let the discharged water cool before checking for an unusual cleaner odor. Do not brew coffee until the specified rinse procedure is complete and no visible cleaning residue remains.
Put the Coffee Maker Back Together and Test It
- Make sure all washed parts are clean and completely dry.
- Reinstall the filter basket, reservoir, pod holder, funnel, drip tray, and other removable parts in their correct positions.
- Replace the water filter if it has reached the manufacturer’s replacement interval.
- Check that lids close normally and seals are not twisted, cracked, or displaced.
- Plug in the machine and run a water-only test cycle if the manufacturer’s instructions allow it.
- Watch for leaks, overflow, unusual noise, weak flow, error lights, or water collecting beneath the brewer.
If the machine leaks after reassembly, unplug it immediately. Recheck the removable reservoir, basket, pod holder, valves, and seals. Contact the manufacturer if the leak continues, especially if water appears beneath the base or near an electrical component.
How Often to Clean and Descale a Coffee Maker
No single schedule fits every machine. Brewing frequency, water hardness, filter use, and manufacturer design all affect how quickly residue and scale collect. A built-in water filter may help reduce deposits, but it does not cancel a manufacturer’s descaling schedule.
| Task | Practical Schedule |
|---|---|
| Discard grounds or pods | After each use |
| Rinse the basket, pod holder, and carafe | After each brewing session or as directed by the manual |
| Wash removable parts | Weekly to monthly, or sooner when residue is visible, according to the model’s instructions |
| Clean the reservoir and exterior | Weekly to monthly, depending on use and manufacturer guidance |
| Descale | At the manual’s interval, when the descale light appears, or sooner when the manufacturer identifies hard-water symptoms such as reduced flow |
| Replace the water filter | At the manufacturer’s stated time or brew-count interval |
Manufacturer schedules illustrate why a single universal interval is unreliable. Some Cuisinart guidance suggests descaling every one to three months depending on water hardness, while other brands use different time, brew-count, water-hardness, or warning-light triggers.
Signs that descaling may be due include a longer brewing time, reduced output, sputtering, a descale warning light, unusual noises, visible mineral deposits, or a change in flavor that remains after the washable parts are cleaned.
Troubleshooting Problems After Cleaning
The Coffee Maker Still Smells Like Vinegar
Run additional water-only cycles if the manufacturer permits them. Wash the carafe and removable reservoir separately with dish soap, rinse them well, and let them air-dry. Do not mask the odor with coffee, fragrance, or another chemical, and do not taste rinse water to check whether vinegar remains.
The Brewer Is Still Slow
Repeat descaling only if the manual permits a second cycle. Check the spray head, basket, pod holder, and manufacturer-approved needle-cleaning points for a clog. A failing pump, heater, valve, or other internal component requires service rather than a stronger or more concentrated cleaner.
The Coffee Maker Will Not Brew
Confirm that every removable part is seated correctly, the reservoir has enough water, and the lid is fully closed. Reset the descale indicator according to the manual if the model requires a separate reset procedure after cleaning.
Water Leaks From the Machine
Unplug the brewer. Check the reservoir valve, basket, lid, removable seals, drip tray, and carafe position. Do not continue operating a machine that leaks from the base or electrical housing.
You See Mold or Persistent Slime
Stop using the coffee maker. Wash removable nonporous parts with dish soap, rinse them thoroughly, and dry them fully. If visible growth remains inside sealed tubing, beneath the housing, or in another inaccessible area, do not dismantle the machine yourself. Contact the manufacturer or an authorized service provider to determine whether the brewer can be safely serviced or should be replaced.
Frequently Asked Questions
How often should I clean my coffee maker?
Discard grounds or pods after each use and rinse frequently used removable parts regularly. Deep-clean washable parts weekly to monthly depending on the model and your usage. Descale at the interval in the owner’s manual, when its warning light appears, or when the manufacturer identifies symptoms of mineral buildup.
Can I use lemon juice instead of vinegar for descaling?
Do not use lemon juice unless the coffee maker’s manufacturer specifically approves it. Its concentration can vary, and it is not part of many official descaling procedures. Use the descaler or vinegar method listed for your exact model instead.
Is vinegar or commercial descaler better?
Use whichever option the coffee maker manufacturer approves. Some drip brewers provide vinegar instructions, while other machines are designed for a branded or formulated descaler. Compatibility with your exact machine matters more than whether the product is vinegar-based or commercial.
What should I avoid using inside a coffee maker?
Avoid bleach, ammonia, abrasive powder, oven cleaner, drain cleaner, fragranced household cleaner, and chemical mixtures. Do not run baking soda, lemon juice, or another homemade solution through the internal water path unless the manufacturer explicitly approves that procedure. Never use steel wool or an abrasive pad on coated, plastic, glass, or stainless parts.
Which tools are safe for cleaning hidden areas?
Use a soft brush, nonabrasive sponge, microfiber cloth, or manufacturer-supplied cleaning tool on reachable surfaces. Use a paper clip or needle-cleaning tool only when the manual gives an exact procedure for a removable holder or nozzle. Never probe wiring, fixed tubing, or electrical openings.
How can I tell when my coffee maker needs descaling?
Common signs include a descale light, slower brewing, reduced water output, sputtering, unusual pump noise, visible white deposits, or inconsistent performance. First clean the basket, carafe, pod holder, and other removable parts so an ordinary coffee-ground blockage is not mistaken for mineral scale.
Can removable coffee maker parts go in the dishwasher?
Only if the manual labels them dishwasher-safe. Some parts are limited to the top rack, and high-temperature sanitize cycles can damage certain plastics or seals. Hand washing with warm, soapy water is the safer choice when the manufacturer’s directions are unclear.
Can I use baking soda inside a coffee maker?
Baking soda is useful for cleaning some removable surfaces and carafes, and some manufacturer guidance permits specific baking-soda procedures. However, it is not a universal descaler. Do not run baking soda through fixed internal tubing unless the manufacturer provides an approved method for your model.
What should I do if I cannot find my coffee maker manual?
Find the model number on the brewer’s identification or rating label and search the manufacturer’s official support site for the manual or cleaning instructions. If you still cannot confirm an approved descaling method, wash only removable parts and reachable surfaces rather than guessing which chemical or vinegar ratio is safe.
Conclusion
To clean inside a coffee maker safely, separate routine washing from descaling. Wash removable parts with mild dish soap, use only a descaling method approved for your exact machine, and complete every required fresh-water rinse without tasting the discharged water. Keep your work limited to accessible, user-serviceable parts. Regular care can reduce stale residue, clogs, and mineral buildup without risking unnecessary damage to the brewer.
Sources
- Cuisinart: How to Clean a Coffee Maker — supports vinegar-based cleaning guidance for applicable machines, removable-part washing, baking-soda guidance, and routine maintenance precautions.
- Hamilton Beach FlexBrew Care and Cleaning Instructions — supports unplugging and cooling, washing removable parts, top-rack dishwasher limitations, model-specific vinegar descaling, rinsing, and sharp-needle precautions.
- Keurig Brewer Descaling Guidance — explains calcium-scale buildup and the need for brewer-specific descaling maintenance.
- Bar Keepers Friend Coffee Maker Descaler — provides the dedicated product’s 1-ounce-per-8-ounces dilution, rinse procedure, and chemical safety warnings.
- Nespresso Machine Assistance — provides model-specific cleaning, rinsing, troubleshooting, and descaling instructions for Nespresso machines.