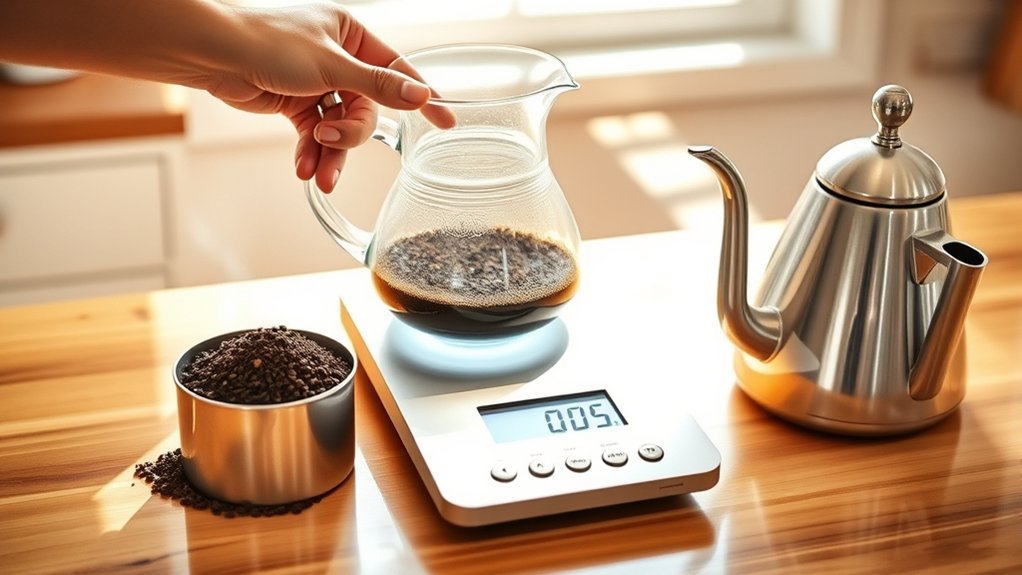
Using a scale is the simplest way to make your coffee recipe repeatable. Weigh your dry coffee, choose a starting ratio, calculate the target water weight, and then adjust one variable at a time after tasting. The method works with any scale that reads in grams, and the product-specific steps below also cover the Brewista Ratio Scale BWRRS1.
Quick Answer
Place your brewer on a stable scale, tare it, add a measured coffee dose, and multiply that dose by your chosen ratio to find the target water weight. Start near 1:16 for filter coffee, brew, taste, and change the ratio in small steps while keeping the grind, water, and brew time consistent.
Key Takeaways
- For filter coffee, a ratio of 1:16 means using 16 grams of brewing water for every 1 gram of dry coffee.
- Calculate the target with this formula: coffee dose × ratio number = target water weight.
- Start around 1:16 to 1:17 for pour-over or drip coffee, then adjust according to taste.
- Tare the scale before every measurement, but calibrate it only when a known-weight check indicates a problem.
- The Brewista Ratio Scale can calculate target water and guide your pour, but it cannot control grind quality, water chemistry, or every other extraction variable.
At a Glance
| Time Required | About 5–10 minutes for most hot filter methods |
| Difficulty | Easy |
| Tools Needed | Gram scale, brewer, coffee, water, grinder, filter if required, and kettle |
| Cost | No added cost if you already own a brewer and scale; equipment prices vary |
What a Coffee-to-Water Ratio Means
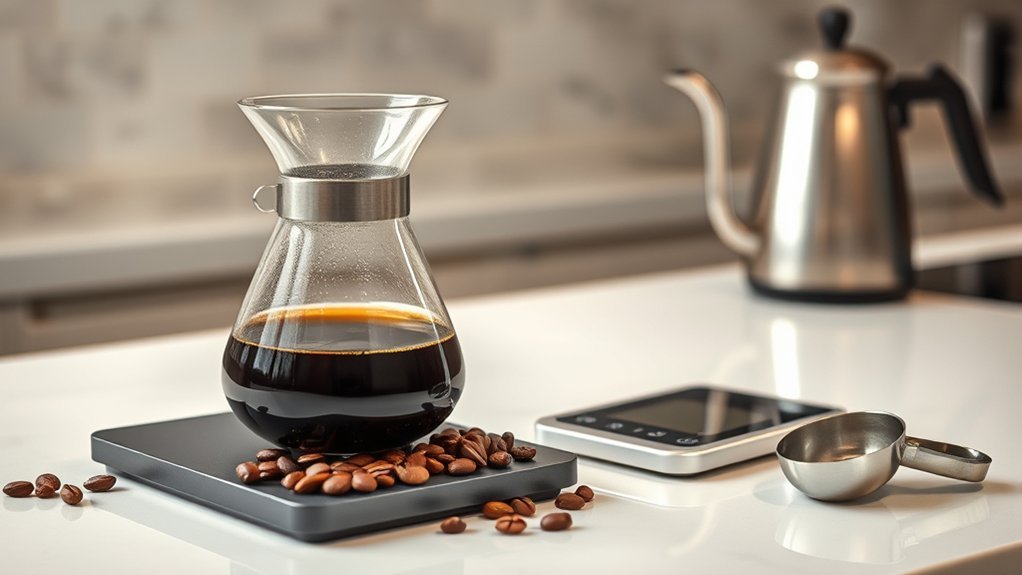
A coffee-to-water ratio compares the weight of dry coffee with the weight of water used for brewing. A 1:16 ratio means that you use 16 grams of water for every 1 gram of coffee. For example, 20 grams of coffee at 1:16 requires 320 grams of brewing water.
The ratio has a direct effect on beverage strength. Using more water with the same coffee dose usually produces a less concentrated drink, while using less water usually produces a stronger one. However, ratio alone does not determine whether the coffee is properly extracted. Grind size, contact time, agitation, brewer design, water, roast, and pouring technique also shape the result.
A widely used filter-coffee starting point is 60 grams of coffee per liter of brewing water, which equals approximately 1:16.7.
The Specialty Coffee Association uses 60 grams per liter as a common way to express a filter-coffee brewing ratio. It is a starting reference rather than a rule that every coffee drinker must follow.
Note: Filter and immersion recipes normally compare brewing-water input with dry coffee. Espresso recipes usually compare the weight of the finished beverage with the dry coffee dose. Therefore, a 1:2 espresso ratio does not mean pouring only two grams of water for every gram of coffee.

Power your essentials anywhere with a 999Wh pure sine wave power station delivering up to 1000W continuous with 2000W surge. It supports fast charging via USB-C PD 60W and USB-A QC 18W, plus simultaneous output for multiple devices through AC, USB, wireless, and car/DC ports. Recharge using AC, car, or solar with a built-in MPPT controller and dual cooling fans, while the upgraded battery management system protects against surges, short circuits, and overheating.

【Brew Barista-Level Coffee Consistently】 As an essential digital coffee scale for pour over, espresso and French press brewing, it delivers exceptional 0.1g sensitivity with 2kg max weight capacity, paired with millisecond-level instant sensor response to eliminate lag and ensure uninterrupted brewing flow. Built-in real-time flow rate monitoring and automatic coffee-to-water ratio calculation guarantee stable, barista-level consistency in every single pour, no more bitter or weak coffee from uneven extraction.

【3 Smart Modes, 0.1g Pro Precision】Unlock precise control with 0.1g accuracy and 3 smart modes: Auto Timer for Pour-Over, Auto Timer for Espresso, and Standard Weighing. Whether brewing espresso or pour-over, this coffee scale adapts to your style for consistent, accurate results. The larger, easy-to-read display and quick response time help you focus on pouring technique and flow rates without distractions
Calculate Your Target Water Weight
You do not need an automatic ratio scale to make an accurate recipe. Use this formula:
Coffee dose × ratio number = target water weight
For example:
- 15 grams × 16 = 240 grams of water
- 20 grams × 16.7 = 334 grams of water
- 30 grams × 15 = 450 grams of water
Round the target to the nearest gram for normal home brewing. A difference of a fraction of a gram in the water target is unlikely to matter as much as consistent grinding and pouring.
Quick Reference for 15 Grams of Coffee
| Ratio | Coffee | Target Water |
|---|---|---|
| 1:14 | 15 g | 210 g |
| 1:15 | 15 g | 225 g |
| 1:16 | 15 g | 240 g |
| 1:17 | 15 g | 255 g |
| 1:18 | 15 g | 270 g |
| 1:19 | 15 g | 285 g |
| 1:20 | 15 g | 300 g |
Set the Ratio on Any Coffee Scale
- Place the scale on a firm, level surface. Keep it away from strong drafts, vibration, and objects that could touch the weighing platform.
- Turn on the scale and select grams. Grams make coffee and water calculations easier to repeat.
- Place the brewer and filter on the scale. Press the tare or zero button so the display returns to 0.0.
- Add the dry coffee. Record the exact dose rather than relying on a scoop.
- Calculate the target water. Multiply the coffee dose by the selected ratio number.
- Tare again if your recipe requires it. The display should show zero before you begin adding water.
- Start the timer and brew. Follow the pouring or steeping pattern for your brewer while watching the total water weight.
- Stop at the target. Allow the coffee to finish draining or steeping according to the recipe.
- Taste and record the result. Write down the coffee dose, water weight, ratio, grind setting, total brew time, and tasting notes.
The finished drink usually weighs less than the water you added because the grounds and filter retain some liquid. For filter coffee, use the input-water target when following a ratio recipe unless the recipe specifically says otherwise.
Pro Tip: Change only one major variable between brews. If you alter the ratio, grind, water temperature, and pouring pattern at the same time, you will not know which change improved or harmed the cup.
Using the Brewista Ratio Scale BWRRS1
The Brewista Ratio Scale includes a ratio calculator, automatic and manual operating modes, a timer, visual target-rate bars, a rechargeable battery, and a water-resistant design. The controls below apply to model BWRRS1 as described in the manufacturer’s Ratio Scale manual.
Choose a Preset Ratio
- Turn on the scale and wait until the LCD displays zero.
- Press and hold the RATIO button for three seconds.
- When the ratio begins blinking, press the RATIO button repeatedly until the desired setting appears.
- The documented BWRRS1 presets run from 1:14 through 1:20, with 1:17 as the default.
- Wait three seconds. The scale stores the selected ratio and returns to its previous mode.
Choose the ratio before brewing begins. The setting cannot be changed during an active brewing process.
Use Automatic Mode
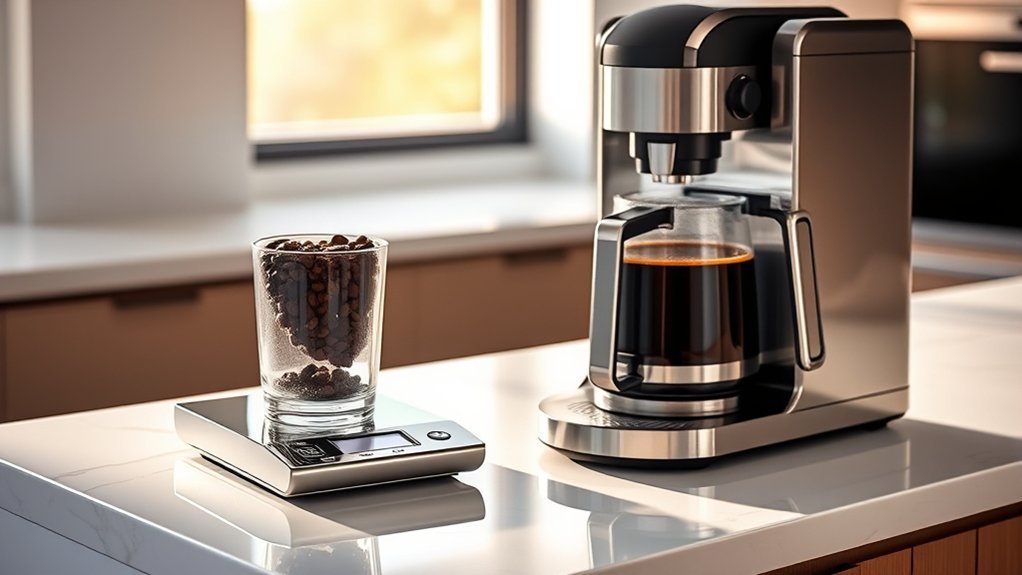
- Turn on the scale and use the MODE button to select automatic mode, shown by an “A” on the display.
- Place the complete brewing vessel on the platform. The scale automatically tares it after approximately three seconds.
- When the coffee-bean icon appears, add the desired amount of ground coffee.
- Press the RATIO button. The scale calculates and displays the target water weight.
- When the kettle icon appears, begin pouring. The timer starts automatically when the scale detects water being added.
- Use the target and actual rate bars to guide the pace of your pour.
- As you approach the calculated target, the display provides a warning. Stop pouring when the actual water weight reaches the target.
Automatic mode removes the need to calculate the target manually and helps you repeat the same workflow. It does not guarantee proper extraction, so you must still control the grind, water, timing, and pouring technique.
Use Manual Mode
- Use the MODE button to select manual mode, shown by an “M.”
- Place the brewer on the platform and press ZERO.
- Add the ground coffee and press RATIO to calculate the water target.
- Press TIMER when you begin pouring.
- Follow the target-rate bars and stop at the calculated water weight.
Manual mode is helpful when you want direct control over taring and timer activation or when an unusual brewing sequence would trigger automatic mode at the wrong moment.
Warning: Hot water can cause burns. Keep the brewer stable and avoid pouring beyond its capacity. The Brewista scale is water-resistant, not waterproof; wipe spills promptly and never immerse the scale or charging port in water.
Brew Coffee With a Scale: Step-by-Step
- Choose a starting recipe. For pour-over or drip coffee, begin around 1:16 to 1:17 unless your brewer or roaster recommends another ratio.
- Measure the coffee. A dose between 15 and 30 grams works for many single-cup and small-batch brewers, but use the amount that fits your equipment.
- Calculate the water target. Multiply the coffee dose by the ratio number.
- Prepare the brewer. Insert the filter if required, rinse it if the manufacturer recommends doing so, and discard the rinse water.
- Tare the brewer. Place the brewing setup on the scale and return the display to zero.
- Add and level the grounds. Confirm the coffee dose before taring again.
- Start brewing. Begin the timer with the first water contact. For pour-over, follow the bloom and pouring pattern recommended for your brewer.
- Watch both weight and time. Stop adding water at the calculated target, then allow the brewer to finish draining.
- Taste after the coffee cools slightly. Very hot coffee can hide sweetness, acidity, and bitterness.
- Record the recipe. Keep successful settings so you can repeat them with the same coffee.
Adjust the Ratio for Your Preferred Taste
Start with a balanced reference recipe and make small changes. Moving from 1:16 to 1:15 creates a more concentrated drink because you are using less water for the same coffee dose. Moving from 1:16 to 1:17 creates a less concentrated drink.
| What You Taste | Likely Issue | First Adjustment |
|---|---|---|
| Balanced but too strong or heavy | The beverage is more concentrated than you prefer | Use a higher ratio, such as moving from 1:16 to 1:17 |
| Balanced but too weak or thin | The beverage is less concentrated than you prefer | Use a lower ratio, such as moving from 1:16 to 1:15 |
| Sharp, sour, or hollow | Possible under-extraction or uneven extraction | Keep the ratio fixed and try a slightly finer grind or longer contact time |
| Dry, harsh, or unpleasantly bitter | Possible over-extraction, channeling, or excessive contact time | Keep the ratio fixed and try a slightly coarser grind or shorter contact time |
| Inconsistent from brew to brew | Changing dose, pouring, grind, or timing | Write down the full recipe and repeat the same process before adjusting |
Strength and extraction are related but not identical. If the coffee tastes balanced and simply feels too strong or weak, change the ratio. If it tastes sharply sour, dry, harsh, or uneven, keep the ratio steady while you correct grind and contact time first.
Coffee Ratios by Brew Method
No single ratio is ideal for every coffee or brewer. The following numbers are practical starting points that you can adjust after tasting.
| Brew Method | Starting Ratio | What the Ratio Measures | Brewista Preset Use |
|---|---|---|---|
| Pour-over or drip | About 1:15 to 1:17 | Brewing-water input to dry coffee | Yes |
| French press | About 1:15 to 1:17 | Brewing-water input to dry coffee | Yes, when weighing the added water |
| Espresso | About 1:2 as a starting point | Finished beverage output to dry coffee dose | No; weigh manually |
| Toddy-style cold-brew concentrate | Approximately 1:5.5 | Brewing-water input to dry coffee before dilution | No; calculate manually |
A recipe on the Hario USA V60 recipe page uses 15 grams of coffee with 250 milliliters of water, which is approximately 1:16.7. For cold-brew concentrate, the Toddy Home System guide uses 340 grams of coffee with 1.9 liters of water and then recommends diluting the resulting concentrate to taste.
Because the Brewista BWRRS1 presets are designed around filter-style ratios, use its normal weighing functions rather than its preset calculator for espresso or strong cold-brew concentrate.
Common Problems With Brew Scales and How to Fix Them
The Reading Drifts or Fluctuates
Move the scale to a level, solid surface. Keep it away from fans, open windows, vibrating appliances, and anything touching the platform or brewer. Verify that the kettle, filter, or dripper is not resting against another object.
The Scale Does Not Return to Zero
Remove all weight, restart the scale, and wait for the display to settle. Place the empty brewing setup on the platform and press the zero or tare button. If the reading still appears wrong, test the scale with a reliable known weight.
Automatic Tare Does Not Start
Confirm that the Brewista scale is in automatic mode before placing the brewer on it. The operating mode cannot be changed after weight is added or after brewing starts. Remove the brewer, select automatic mode, and begin again.
The Timer Does Not Start Automatically
Make sure automatic mode is active, the brewer has completed auto-taring, the coffee dose has been added, and the Ratio button has been pressed. The timer starts when the scale detects water being poured. In manual mode, you must press the Timer button yourself.
The Ratio Will Not Change
Stop the current brewing process and remove all weight. Hold the Ratio button for three seconds, select the new preset, and wait three seconds for the setting to save. The preset cannot be changed during brewing.
The Target Water Looks Wrong
Check that you did not include the brewer or filter weight as part of the coffee dose. Tare the brewing vessel before adding coffee. Also verify that the selected ratio is correct. For example, 20 grams of coffee at 1:16 should produce a 320-gram target.
The Scale Shuts Off During Brewing
Recharge the battery if the battery indicator is low. On the BWRRS1, the auto-off interval can also be adjusted. Choose a setting long enough for your brewing method, or disable auto-off when the manual permits it, and remember to switch the scale off afterward.
When to Calibrate the Scale
Do not calibrate the scale before every brew. Taring is the normal daily step. Consider calibration only if a known test weight reads incorrectly, the scale has suffered a hard impact, or the manufacturer’s troubleshooting instructions direct you to calibrate it. The BWRRS1 calibration procedure requires a 500-gram calibration weight, so follow its manual exactly.
How to Clean the Scale
Wipe coffee, water, and oils from the surface with a soft damp cloth, then dry the exterior. Remove and wash a detachable silicone pad separately when needed. Do not submerge the scale, soak the charging port, use abrasive cleaners, or press hard on the platform.
Frequently Asked Questions
What is the ideal coffee-to-water ratio for different brewing methods?
There is no universal ideal. Start near 1:15 to 1:17 for pour-over, drip, or French press. Espresso commonly starts near a 1:2 beverage-output ratio. Concentrated cold-brew recipes use much less water and should be diluted before serving. Adjust every starting point according to the coffee, equipment, and your taste.
How can I store coffee beans for better freshness?
Keep the beans in an opaque, airtight container in a cool, dark location away from heat, moisture, and strong odors. Buy amounts you can use reasonably soon and grind only what you need before brewing. The National Coffee Association recommends avoiding warm cabinets near ovens, dishwashers, or direct sun.
Does grind size affect the brew ratio?
Grind size does not change the mathematical ratio, but it changes how quickly water extracts compounds from the grounds. In pour-over coffee, it also changes flow resistance and brew time. Keep the ratio fixed while adjusting the grind so you can judge the effect of each change clearly.
Can I use a regular kitchen scale instead of a coffee scale?
Yes. A kitchen scale works if it reads in grams, responds quickly enough while you pour, supports the total weight of the brewer, and does not shut off during the process. A scale that reads to 0.1 gram is especially useful for small coffee doses, while a built-in timer and ratio calculator are convenient rather than essential.
How often should I clean my coffee scale?
Wipe water and coffee from the scale whenever a spill occurs. If you brew daily, clean the surface and removable pad regularly enough to prevent oil and residue buildup. Use a soft damp cloth and follow the manufacturer’s care instructions. Never submerge a scale unless its documentation explicitly says it is waterproof.
Why does the finished coffee weigh less than the water I poured?
Coffee grounds and filters retain part of the brewing water, and a small amount may evaporate. For pour-over and drip recipes, the ratio normally refers to the water added rather than the final beverage weight. Espresso is different because its ratio usually compares dry coffee dose with beverage output.
Should I adjust the ratio or the grind first?
Change the ratio when the coffee tastes balanced but is stronger or weaker than you prefer. Change the grind when the flavor seems sour, hollow, dry, harsh, or uneven. Keep all other major variables steady and make one small adjustment at a time.
Can the Brewista automatic ratio mode be used for espresso or cold brew?
Its documented presets are suited to filter-style ratios from 1:14 through 1:20. Espresso and concentrated cold-brew recipes fall outside that range and use different measurement conventions. Use the scale’s normal weighing and timer functions and calculate those targets manually.
Conclusion
Dialing in a coffee-to-water ratio is less about finding one perfect number and more about creating a controlled, repeatable recipe. Start with a sensible ratio, calculate the exact water target, tare your scale, and record the result. If the coffee is balanced but too strong or weak, adjust the ratio. If it tastes sour, harsh, or uneven, keep the ratio steady while you refine the grind and brew time.
A specialized ratio scale can make the calculations and pouring process easier, but an ordinary gram scale can produce equally repeatable measurements when you use the formula correctly. Consistency gives you the freedom to experiment because you can identify exactly which change improved the cup.
Sources
- Brewista Ratio Scale — product features, operating modes, rechargeable battery, and water-resistant design
- Brewista BWRRS1 Ratio Scale Owner’s Manual — controls, presets, automatic and manual workflows, calibration, and cleaning
- Specialty Coffee Association: Brewing and Beverage Ratios — the 60-gram-per-liter filter-coffee reference and ratio terminology
- Specialty Coffee Association: Defining the Ever-Changing Espresso — common espresso dose and beverage-output ratios
- Toddy Home Cold Brew System Instructions — cold-brew concentrate measurements and serving dilution
- National Coffee Association: How to Store Coffee — airtight, opaque, cool, and dark storage guidance