If you see possible mold in your coffee maker, stop using it, discard the water, coffee grounds, pod, and any brewed coffee, then unplug the machine and let it cool. Wash every reachable removable part with mild dish soap and water. Clean the internal water path only with the method approved for your exact model, rinse thoroughly, and let all parts dry completely.
Quick Answer
To clean mold from a coffee maker, unplug and cool the machine, discard its contents, and scrub removable parts with mild dish soap and warm water. Check the model’s manual before cleaning the internal water path because vinegar ratios, descaling products, pause times, and rinse cycles vary by manufacturer.
Key Takeaways
- Stop using the coffee maker until all visible contamination, residue, and cleaning solution have been removed.
- Wash reachable hard surfaces with mild dish soap and water, rinse them well, and let them dry completely.
- Do not assume an equal-parts vinegar mixture is right for every machine; follow the current manual for your exact model.
- Never immerse the appliance base or mix vinegar with bleach, ammonia, or another household cleaner.
- Contact the manufacturer or replace the machine if growth or a musty odor returns from inaccessible tubing, pumps, or internal chambers.
At a Glance
| Time Required | 30–60 minutes, plus air-drying time |
| Difficulty | Easy for removable parts; model-dependent for internal components |
| Tools Needed | Mild dish soap, soft sponge or brush, clean cloth, fresh water, gloves, and the manufacturer-approved descaler or cleaning solution |
| Cost | About $0–$10 with supplies you may already own; more if the machine requires a branded descaler or replacement filter |
Warning: Unplug the appliance and let it cool before hand cleaning. Never immerse the brewer base, cord, or plug. Do not mix cleaning products. In particular, never combine bleach with vinegar, ammonia, descaler, or another cleaner because dangerous fumes may form. The U.S. Environmental Protection Agency does not recommend bleach as a routine mold-cleanup method.
How to Clean Your Coffee Maker to Prevent Mold
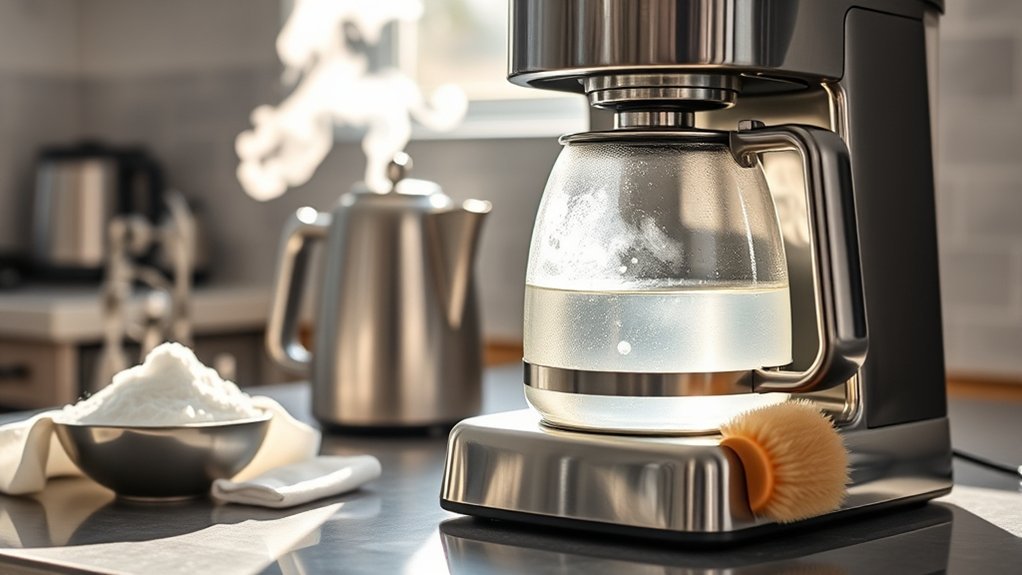
A regular cleaning routine controls the moisture, coffee oils, grounds, and residue that collect in the carafe, filter basket, pod holder, drip tray, and water reservoir.
The most important mold-prevention step is not a stronger chemical. It is removing residue and allowing damp parts to dry completely between uses.
Use this general sequence, then follow the additional model-specific instructions in your owner’s manual:
- Stop brewing. Discard standing water, used grounds, pods, filters, and brewed coffee.
- Unplug and cool the machine. Do not handle hot plates, boilers, needles, or pressurized parts until they are cool.
- Remove washable components. This may include the carafe, lid, filter basket, reusable filter, reservoir, reservoir lid, drip tray, pod holder, or milk container.
- Inspect the parts. Look for fuzzy growth, colored spots, slime, trapped grounds, cracks, and areas that stay wet.
- Wash reachable hard surfaces. Use warm water, mild dish soap, and a nonabrasive sponge or soft brush.
- Clean the internal water path only as directed. Use the solution, ratio, cycle, and pause time listed for the exact model.
- Rinse thoroughly. Continue fresh-water rinses until no cleaning odor, taste, foam, or visible residue remains.
- Air-dry before reassembly. Leave lids and reservoirs open so trapped moisture can escape.
Pro Tip: After the final rinse, leave the reservoir lid, filter compartment, and carafe lid open until every surface is dry. Closing a damp machine traps the moisture mold needs to return.

Power your essentials anywhere with a 999Wh pure sine wave power station delivering up to 1000W continuous with 2000W surge. It supports fast charging via USB-C PD 60W and USB-A QC 18W, plus simultaneous output for multiple devices through AC, USB, wireless, and car/DC ports. Recharge using AC, car, or solar with a built-in MPPT controller and dual cooling fans, while the upgraded battery management system protects against surges, short circuits, and overheating.

Bulk Coffeemaker Decalcifier Tablet: 24 Tablets Work out to a Year Supply or more. Compare to other products like powder, pods, sachet, packets. Choose ACTIVE Cleaning Tablets for better Values
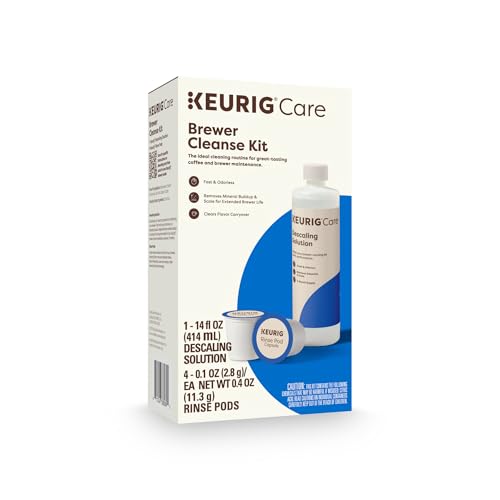
Better tasting beverages: Reduces flavor carry over between brews
Signs Your Coffee Maker Has Mold Buildup
Visible fuzzy growth or spreading colored spots on a reservoir, filter basket, gasket, lid, or carafe are the strongest reasons to stop using the machine and clean it. A persistent musty odor can also signal contamination, especially when it returns soon after routine washing.
Other findings are less specific. A sour or stale taste may come from old coffee oils, old water, grounds trapped in a valve, or mineral buildup. Brown or greasy residue is often coffee oil, while white or chalky crust is usually scale rather than mold.
A slimy film, trapped organic debris, or an area that remains wet deserves immediate cleaning even when you cannot identify the material by sight. Do not taste residue or continue brewing to test whether the problem disappears.
People with asthma, mold allergies, chronic lung disease, or weakened immune systems may be more sensitive to mold exposure. The Centers for Disease Control and Prevention advises that mold exposure can cause stronger reactions in some higher-risk groups.
Is It Mold, Mineral Scale, or Coffee Oil?
| What You See | Possible Cause | What to Do |
|---|---|---|
| Fuzzy, spreading, or irregular colored growth | Possible mold | Stop using the machine, wash reachable parts, and address any inaccessible contamination. |
| White, gray, or tan chalky crust | Mineral scale from water | Descale with the exact product and procedure approved for the model. |
| Brown, sticky, or greasy film near coffee-contact areas | Coffee oils and fine grounds | Wash with mild dish soap and a nonabrasive sponge or brush. |
| Clear or cloudy slippery film | Residue or possible biofilm | Clean immediately and investigate areas where water remains trapped. |
Note: Color, smell, or taste alone cannot identify a substance with certainty. When growth appears inside a sealed or inaccessible component, treat the machine as contaminated and contact the manufacturer rather than guessing.
How to Prepare Your Coffee Maker for Cleaning
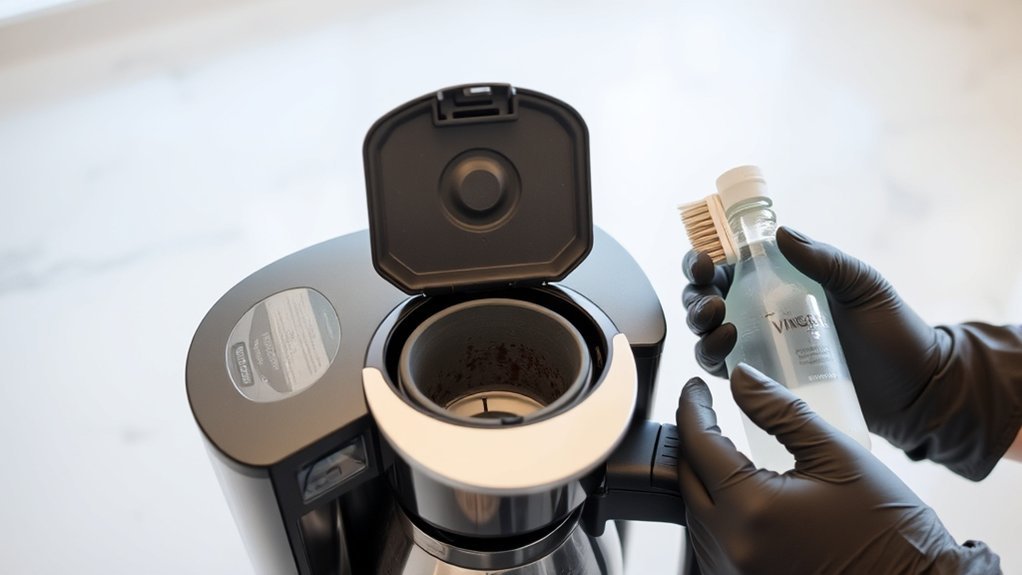
Before cleaning, find the model number and open the current owner’s manual or manufacturer support page. This is especially important for pod brewers, espresso machines, grind-and-brew machines, and models with water filters or milk systems.
Remove disposable paper filters, pods, grounds, and standing water. If the machine uses a charcoal filter or replaceable water cartridge, check whether the manual requires you to remove and replace it before or after descaling.
| Step | Action | Purpose |
|---|---|---|
| 1 | Unplug the coffee maker and let it cool | Reduce electrical, burn, needle, and hot-surface risks |
| 2 | Discard water, coffee, pods, filters, and grounds | Remove contaminated material and organic debris |
| 3 | Remove detachable parts | Expose surfaces that need hand washing |
| 4 | Check the manual for dishwasher-safe parts | Prevent heat damage, warping, or damage to seals and finishes |
| 5 | Select only an approved internal cleaner | Protect tubing, pumps, heating elements, seals, and warranty coverage |
| 6 | Open a window or provide ventilation | Reduce irritation from odors and cleaning products |
Step-by-Step Guide to Cleaning Removable Parts
Wash removable parts separately so you can reach seams, corners, gaskets, spouts, and the underside of lids. Use gloves if visible growth is present or if cleaning products irritate your skin.
Clean the Carafe and Lid
Wash the carafe and lid with warm water, mild dish soap, and a soft sponge or bottle brush. Avoid steel wool, harsh abrasives, and sudden temperature changes that could scratch or crack glass.
For stubborn coffee film, soak the carafe in warm, soapy water before brushing it. Do not rely on dry rice or another abrasive unless the carafe manufacturer specifically recommends that method.
Clean the Filter Basket and Reusable Filter
Remove all grounds from the basket, reusable filter, showerhead area, and drain opening. Wash the basket and filter according to the manual, then inspect mesh, corners, and hinges for trapped residue.
Clean the Water Reservoir
If the reservoir is removable, wash it with mild dish soap and water when the manual allows. Rinse it thoroughly so no suds remain. Do not use an abrasive pad that could create scratches where residue collects.
If the reservoir is fixed in place, wipe only the reachable surfaces as directed by the manufacturer. Do not pour dish soap into internal tubing unless the manual expressly instructs you to do so.
Clean the Drip Tray, Pod Holder, and Accessories
Empty and wash the drip tray, pod holder, funnel, milk container, frothing parts, and other removable accessories. Pod-machine needles can be sharp, so use only the cleaning tool and method supplied or approved by the manufacturer.
Rinse every part and place it on a clean rack or towel to air-dry. Reassembling wet components can trap moisture and allow odor or growth to return.
How to Clean the Internal Water Path Safely
The internal water path is where generic instructions become risky. Coffee makers use different tubing, boilers, pumps, valves, seals, grinders, and cleaning cycles. Use the current manual for the exact model rather than assuming a vinegar mixture is safe.
Automatic Drip Coffee Makers
Many drip-coffee manufacturers permit white vinegar, but the ratios and cycle instructions differ. For example, Cuisinart describes three parts water to one part vinegar for many machines, while Hamilton Beach publishes a different vinegar and pause procedure for applicable models.
Pod and Capsule Brewers
Pod brewers may require a branded descaling solution, a special descale mode, removal of a water filter, or a specific sequence of reservoir refills. Keurig’s official descaling instructions, for example, are model-specific and distinguish descaling from cleaning removable parts.
Espresso and Grind-and-Brew Machines
Do not send a generic vinegar mixture through an espresso boiler, pressure system, milk circuit, or built-in grinder unless the manufacturer approves it. These machines may require cleaning tablets, milk-system cleaner, backflushing, grinder brushing, or a dedicated descaling product.
Why Vinegar and Water Is Not a One-Size-Fits-All Solution

White vinegar can dissolve mineral deposits and loosen residue in coffee makers whose manufacturers approve it. However, vinegar is not automatically the best cleaner for every model, and a vinegar brew cycle does not replace hand washing visible growth from reachable surfaces.
When Vinegar Can Help
Vinegar is inexpensive, widely available, and acidic enough to help break down mineral scale in many traditional drip machines. It can also help remove stale odors when used at the approved concentration and followed by complete fresh-water rinsing.
Its main role in manufacturer instructions is cleaning or descaling. Avoid claiming that a home vinegar cycle sterilizes inaccessible components or guarantees the removal of every mold spore or bacterium.
What Vinegar Does Not Replace
Visible residue on removable hard surfaces should still be scrubbed with mild detergent and water, then rinsed and dried. EPA guidance for mold on hard surfaces emphasizes physical cleaning and complete drying rather than relying only on a chemical treatment.
Vinegar also cannot confirm that an inaccessible tube or pump is clean. If a musty odor or visible growth returns after the approved process, contact the manufacturer or stop using the machine.
Is Vinegar Safe for Regular Use?
Do not run vinegar through the coffee maker every day. Use it only at the concentration and interval approved for the model. Too-frequent acid cleaning may be unnecessary and could affect seals, finishes, filters, or internal components in machines that require another product.
Daily care should focus on discarding grounds, rinsing or washing removable coffee-contact parts, emptying standing water when practical, wiping spills, and allowing damp areas to dry.
Brewing a Vinegar Solution When the Manual Allows It
When the owner’s manual specifically permits white vinegar, measure the listed ratio rather than defaulting to equal parts. Remove coffee grounds, pods, and any water filter the manual tells you to remove. Place the empty carafe or cup in position and run the specified cleaning or brew cycle.
Some models use an uninterrupted cycle. Others direct you to pause the machine so the solution can sit. Hamilton Beach, for example, publishes a procedure for applicable machines that begins with a short brewing period followed by a 30-minute pause. Do not copy that pause into another brand’s instructions unless its manual says to do so.
Complete the cycle exactly as directed. Discard the used solution and never reuse it. Do not add bleach, dish soap, baking soda, hydrogen peroxide, or another cleaner to the vinegar.
Rinsing Your Coffee Maker to Eliminate Residue
After the approved internal-cleaning cycle, rinse the reservoir and fill it with fresh water. Run the number of water-only cycles stated in the manual. If the manual gives no fixed number, continue rinsing until there is no vinegar or cleaner odor, taste, foam, or visible residue.
- Use fresh water for every rinse cycle.
- Empty the carafe or cup between cycles.
- Rinse removable reservoirs separately when permitted.
- Do not brew coffee until all cleaning solution has been removed.
- Reinstall or replace the water filter only when the manual directs.
- Air-dry removable parts before closing the machine for storage.
Wipe the unplugged exterior with a damp, nonabrasive cloth, then dry it. Never pour water over the base or place the brewer itself in a sink or dishwasher.
What to Do If Mold Is Inside Inaccessible Tubing
Do not disassemble pumps, boilers, pressure vessels, sealed reservoirs, electrical housings, or internal tubing unless the manufacturer provides a user-service procedure. Forcing brushes, wires, or cleaning liquids into these areas can damage the appliance or create an electrical, pressure, or puncture hazard.
Contact the manufacturer when:
- Visible growth appears behind a sealed panel or inside a nonremovable tank.
- A musty odor returns immediately after the approved cleaning and rinse process.
- Particles continue to appear in fresh rinse water.
- The machine has been stored wet for a long period.
- A gasket, reservoir, hose, filter housing, or other part is cracked or cannot be cleaned.
- The manual states that the brewer is not user-serviceable.
Replacing the affected part or the entire machine may be safer than repeatedly circulating stronger chemicals through a system you cannot inspect.
Proactive Tips to Prevent Mold in Your Coffee Maker
Mold prevention depends on controlling moisture and removing the coffee residue that supplies nutrients. A simple task-based routine is more useful than one universal “weekly” or “monthly” rule.
| Action | Frequency | Purpose |
|---|---|---|
| Discard used grounds, pods, and filters | After each use | Prevent damp organic material from remaining in the machine |
| Wash the carafe, lid, basket, reusable filter, and milk-contact parts | After use or as directed by the manual | Remove oils, milk residue, grounds, and moisture |
| Empty standing water and air-dry the reservoir when practical | Daily or before extended nonuse | Reduce stagnant moisture |
| Inspect seams, gaskets, drip trays, and reservoir corners | Regularly | Find trapped residue before growth becomes established |
| Run the approved cleaning or descale cycle | At the manual’s interval or when the machine signals | Remove internal scale and approved forms of buildup |
| Prepare the machine for storage | Before long periods of nonuse | Prevent water from remaining trapped in reservoirs and removable parts |
Avoid These Common Mistakes When Cleaning Your Coffee Maker
- Do not immerse the machine. Only approved removable parts belong in a sink or dishwasher.
- Do not mix chemicals. Never combine vinegar with bleach, ammonia, hydrogen peroxide, descaler, or another cleaner.
- Do not use one vinegar ratio for every model. Manufacturer instructions vary substantially.
- Do not run dish soap through internal tubing. It can be difficult to rinse out and may create foam or residue.
- Do not pour baking soda into the reservoir by default. Powder may remain in the water path or conflict with the manual.
- Do not use metal tools near pod needles or electrical components. Use the supplied cleaning tool and published procedure.
- Do not close the machine while it is wet. Let removable parts and compartments air-dry.
- Do not assume descaling equals mold removal. Scale treatment does not replace washing reachable contaminated surfaces.
- Do not continue using a machine with recurring inaccessible growth. Contact the manufacturer or replace it.
When to Clean Your Coffee Maker for Best Results
Clean based on the task rather than forcing every part onto one schedule. Wash coffee-contact and milk-contact components frequently. Inspect reservoirs and drip trays regularly. Run the internal cleaning or descaling program at the interval in the current manual, when the machine displays a cleaning alert, or sooner when water hardness causes rapid scale buildup.
For comparison, some Mr. Coffee machines specify cleaning after a certain number of brews, while many Keurig brewers use a three-to-six-month descaling interval. Those examples demonstrate why the model manual—not a generic weekly or monthly rule—should control your schedule.
Clean immediately when you notice visible growth, slime, standing dirty water, trapped grounds, recurring musty odor, or contamination after storage. Do not wait for the next scheduled maintenance date.
When to Service or Replace the Coffee Maker
Routine cleaning is reasonable when contamination is limited to intact, reachable, washable surfaces. Service or replacement is the safer choice when the machine contains cracked porous parts, inaccessible visible growth, recurring particles, a persistent internal odor, damaged seals, electrical damage, or components the manufacturer says users must not open.
Also replace disposable water filters and cartridges according to the manual. A contaminated filter should not be returned to the reservoir after cleaning.
Frequently Asked Questions
Can I use bleach to clean my coffee maker?
Do not run bleach through a coffee maker unless the manufacturer publishes an exact procedure for that model. EPA does not recommend bleach as a routine mold-cleanup method, and bleach can leave residue or damage appliance components. Never mix bleach with vinegar, ammonia, descaler, or another cleaner.
How often should I clean my coffee maker?
Discard grounds and wash frequently used removable parts after use. Inspect the reservoir and drip tray regularly. Follow the manual for internal cleaning and descaling because the interval may be based on water hardness, number of brews, a cleaning light, or a set number of months.
Is mold harmful if it gets into brewed coffee?
Do not drink coffee from a visibly contaminated machine. A single exposure does not allow you to predict a specific illness, but some people are more sensitive to mold than others. Seek medical advice for concerning symptoms, and use extra caution if you have severe mold allergies, asthma, chronic lung disease, or a weakened immune system.
What should I do if mold returns after cleaning?
Stop using the machine and check for standing water, trapped grounds, a contaminated filter, cracked parts, and areas that were reassembled while wet. Repeat only the manufacturer-approved cleaning process. If growth or odor appears to come from inaccessible tubing or a sealed chamber, contact the manufacturer or replace the machine.
Can I clean my coffee maker with baking soda?
Baking soda may help clean or deodorize some removable parts when their material and manual allow it. Do not pour baking soda into the reservoir or internal water path unless the manufacturer specifically instructs you to do so, because undissolved powder can leave residue or obstruct narrow passages.
Can I use vinegar in a Keurig or another pod brewer?
Use only the method approved for your exact pod-brewer model. Some manufacturers require a branded descaling solution, removal of the water filter, a special descale mode, and a specific rinse sequence. Do not substitute an equal-parts vinegar mixture without checking the current manual.
Is white residue in a coffee maker mold?
White or chalky residue is commonly mineral scale from water, while brown greasy film is often coffee oil. Fuzzy, spreading, irregularly colored growth is more concerning for mold. When you cannot identify residue or it returns after cleaning, stop using the machine and contact the manufacturer.
Can coffee maker parts go in the dishwasher?
Only place a part in the dishwasher when the manual identifies it as dishwasher-safe. Heat and detergent can warp reservoirs, damage finishes, weaken seals, or cloud plastic. The brewer base, cord, plug, and electrical components must never go in a dishwasher or sink.
Conclusion
Cleaning mold from a coffee maker safely requires more than running a standard vinegar mixture through every machine. Unplug the appliance, discard contaminated contents, wash reachable removable parts, use only the internal-cleaning method approved for your model, rinse thoroughly, and let everything dry.
After cleaning, prevent another problem by removing used grounds promptly, controlling standing moisture, washing coffee-contact parts, and following the manufacturer’s maintenance schedule. If contamination persists inside tubing or another sealed component, stop experimenting with stronger chemicals and arrange service or replace the machine.
Sources
- U.S. Environmental Protection Agency — Basic Mold Cleanup Steps — supports cleaning hard surfaces and drying them completely.
- U.S. Environmental Protection Agency — Should I Use Bleach to Clean Mold? — supports the warning against routine bleach use.
- Centers for Disease Control and Prevention — About Mold and Health — supports the discussion of sensitive and higher-risk groups.
- Cuisinart — How to Clean a Coffee Maker — demonstrates a manufacturer-specific vinegar ratio and cleaning process.
- Hamilton Beach — Coffee Maker Cleaning FAQ — demonstrates a different manufacturer-specific vinegar and pause procedure.
- Keurig — Official Descaling Instructions — supports model-specific pod-brewer descaling guidance.