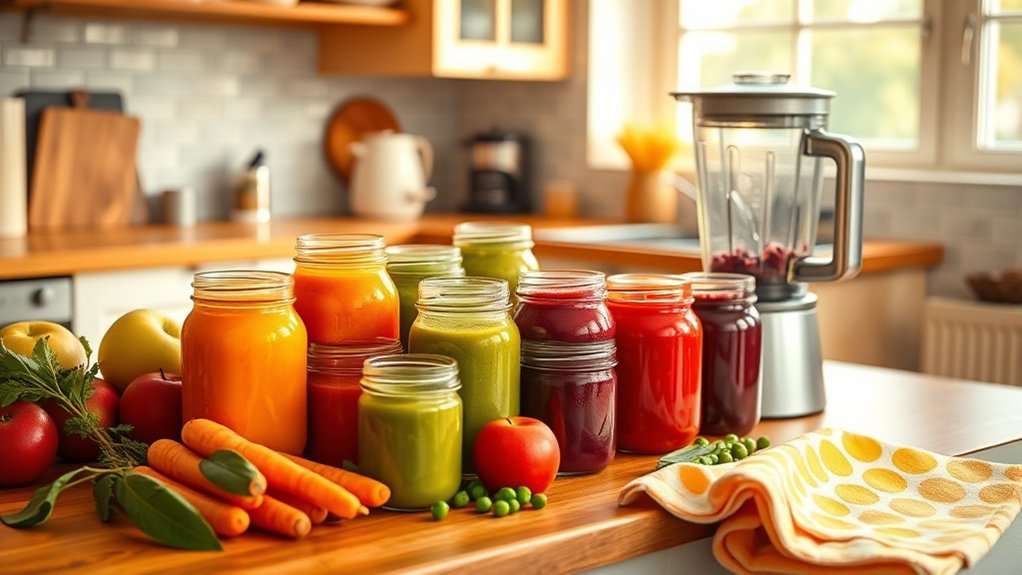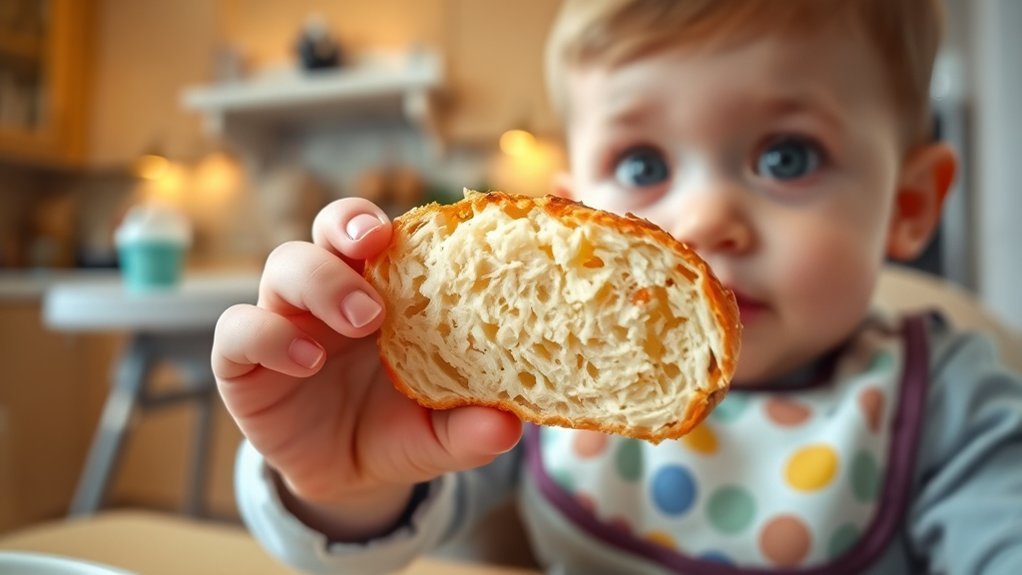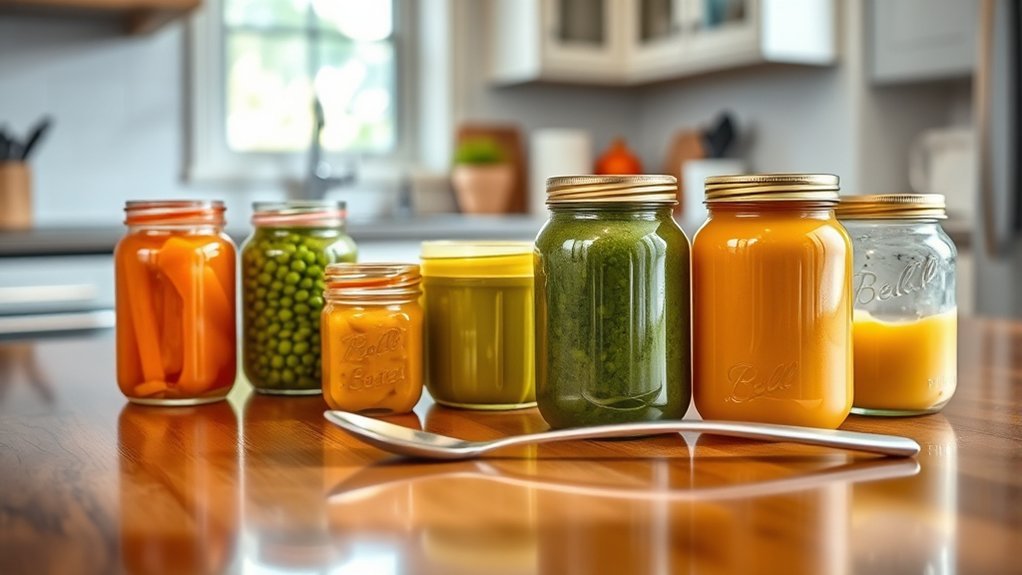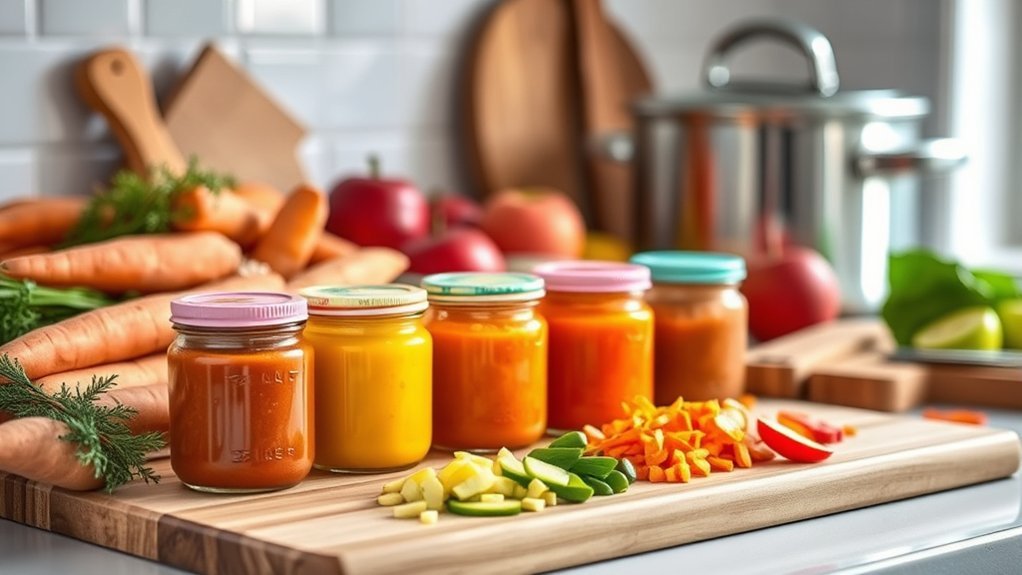
A baby food meal prep checklist can help you plan varied first foods, prepare them safely, and keep portions organized. The goal is not to make every meal perfect. It is to offer developmentally appropriate foods, include iron-rich choices regularly, follow safe storage limits, and respond to your baby’s hunger and fullness cues.
Quick Answer
A baby food meal prep checklist should cover readiness for solids, iron-rich and varied foods, safe cooking, age-appropriate textures, labeled portions, short refrigerator and freezer limits, allergen tracking, and choking prevention. Most babies start around 6 months while breast milk or formula continues as their main nutrition through 12 months.
Key Takeaways
- Start solids at about 6 months when your baby can control their head, sit with support, bring objects to their mouth, and swallow food instead of pushing it out.
- Include iron-rich foods such as meat, beans, lentils, eggs, and iron-fortified cereals alongside fruits, vegetables, grains, and healthy fats.
- Wash hands and equipment, prevent cross-contamination, cook foods thoroughly, and prepare textures that match your baby’s skills.
- Use a conservative storage limit of 1–2 days refrigerated and 1–2 months frozen for general homemade baby food.
- Introduce single-ingredient foods one at a time at first and record possible reactions. Ask your pediatrician about allergens if your baby has severe eczema, egg allergy, or another high-risk condition.
- Always seat your baby upright and supervise every bite. Soft food can still be a choking hazard if it is served in the wrong shape or size.
At a Glance
| Time Required | About 60–90 minutes for a small batch, plus cooling time |
| Difficulty | Easy to moderate |
| Tools Needed | Knife, cutting board, saucepan or steamer, fork or blender, clean spoon, labels, and airtight refrigerator- or freezer-safe containers |
| Cost | Varies by ingredients and batch size; using suitable parts of family meals can reduce waste |
Note: This guide provides general information, not individualized medical advice. Ask your pediatrician before starting solids if your baby was born prematurely, has poor growth, has trouble swallowing, has severe eczema, has a known food allergy, or has another medical condition that affects feeding.
Why a Diverse Diet Matters for Your Baby
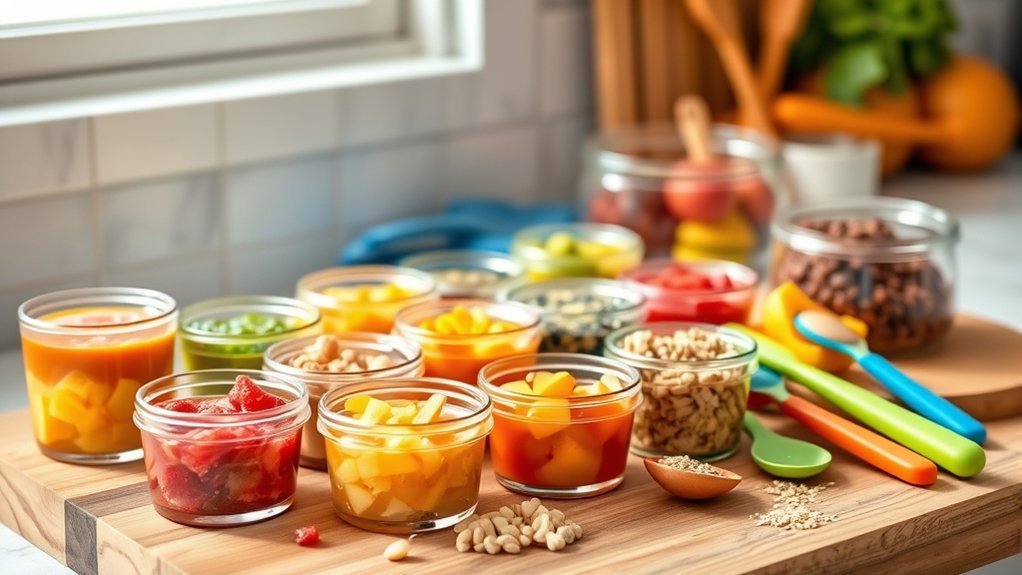
A varied diet helps your baby experience different flavors, textures, colors, and food groups. It also makes it easier to offer a mix of iron, protein, healthy fats, vitamins, minerals, and energy as solid foods gradually become a larger part of the diet.
According to the Centers for Disease Control and Prevention, most babies can start foods other than breast milk or formula at about 6 months. There is no required order for most first foods. By 7 or 8 months, many babies can eat suitable foods from several food groups.
Offer variety without pressuring your baby to clean the bowl. Some foods may be accepted immediately, while others may take repeated, calm exposure. Your job is to offer safe, nutritious choices. Your baby decides whether and how much to eat.
From 6 to 12 months, solid foods complement breast milk or infant formula rather than replacing it as the main source of nutrition.

Power your essentials anywhere with a 999Wh pure sine wave power station delivering up to 1000W continuous with 2000W surge. It supports fast charging via USB-C PD 60W and USB-A QC 18W, plus simultaneous output for multiple devices through AC, USB, wireless, and car/DC ports. Recharge using AC, car, or solar with a built-in MPPT controller and dual cooling fans, while the upgraded battery management system protects against surges, short circuits, and overheating.
![VITEVER [16 Pack] 4 oz Small Containers with Lids, Reusable Plastic Jars for Snack and Puree, Salad Dressing Container to Go, Deli Containers, Freezer Baby Food Containers, Dishwasher Safe, BPA Free](https://m.media-amazon.com/images/I/41fnLIEevxL._SL500_.jpg)
BPA-FREE; DISHWASHER SAFE; MICROWAVE SAFE; SEALABLE; STACKABLE; REUSABLE.

12-Pack, Durable 4oz Glass Jars with Lids – KeaBabies Baby Food Jars Glass check all the right boxes for a reliable baby snack containers. Ideal for busy parents as baby food containers for prepping and storing homemade meals smoothly.
What Is a Meal Prep Checklist for Baby Food?
A meal prep checklist is a repeatable plan for choosing ingredients, preparing safe textures, portioning food, labeling containers, and tracking new foods. It reduces guesswork and helps prevent forgotten containers or unsafe storage.
A complete checklist should help you:
- Confirm that your baby is developmentally ready for solids.
- Plan a variety of foods, including regular iron-rich choices.
- Prepare foods in textures your baby can manage.
- Keep raw and ready-to-eat ingredients separate.
- Cool and store prepared food promptly.
- Label portions with the food name and preparation date.
- Track new foods and possible reactions.
- Use older portions before newer ones.
Complete Baby Food Meal Prep Checklist
Before You Start
- ☐ Confirm that your baby can sit alone or with support and control their head and neck.
- ☐ Check that your baby opens their mouth for food and swallows instead of pushing food back out.
- ☐ Ask your pediatrician about starting solids if your baby has a medical or developmental concern.
- ☐ Choose a calm time when your baby is alert and not overly tired or hungry.
- ☐ Check that your refrigerator is at 40°F or colder and your freezer is at 0°F or colder.
- ☐ Clear enough refrigerator or freezer space for the batch.
Plan the Menu
- ☐ Choose at least one iron-rich food, such as meat, beans, lentils, egg, or iron-fortified infant cereal.
- ☐ Add one or more fruits or vegetables.
- ☐ Add a suitable whole grain or healthy fat when appropriate.
- ☐ Avoid planning too many new ingredients in the same meal when you are still tracking reactions.
- ☐ Choose foods without added sugar and with little or no added sodium.
- ☐ Confirm that every planned food can be prepared in a developmentally appropriate texture.
Prepare the Work Area
- ☐ Wash your hands with soap and water.
- ☐ Clean the counter, cutting board, utensils, cookware, and storage containers.
- ☐ Rinse fruits and vegetables under running water before peeling or cutting them.
- ☐ Keep raw meat, poultry, seafood, and eggs away from cooked and ready-to-eat foods.
- ☐ Set out labels or a permanent marker before filling containers.
Cook, Portion, and Store
- ☐ Cook ingredients until they are safe and soft enough for the planned texture.
- ☐ Remove bones, pits, tough skins, seeds, and other choking hazards.
- ☐ Mash, puree, mince, shred, or cut the food to match your baby’s eating skills.
- ☐ Add breast milk, prepared formula, or water only as needed to adjust texture.
- ☐ Divide food into small portions using clean utensils.
- ☐ Cool and refrigerate or freeze the food promptly.
- ☐ Label each container with its contents and preparation date.
- ☐ Record any newly introduced ingredient in your food log.
Key First Foods for Your Baby Food Checklist
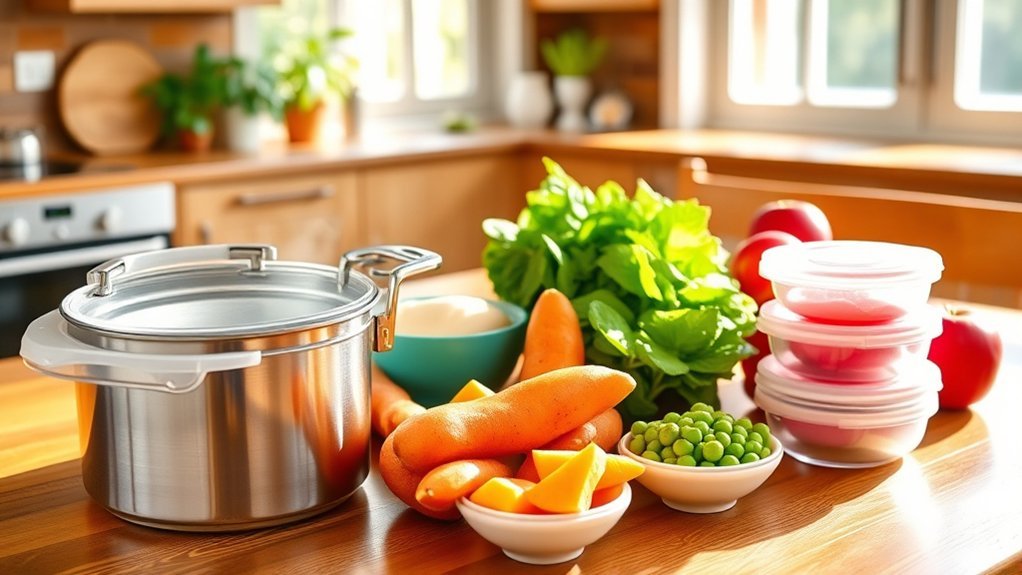
There is no single perfect first food. Focus on variety and include iron-rich foods regularly, especially as your baby’s stored iron begins to decrease during the second half of the first year.
| Food Group | Examples | Baby-Friendly Preparation |
|---|---|---|
| Iron-rich proteins | Beef, chicken, turkey, beans, lentils, eggs | Cook thoroughly, then puree, mash, mince, or shred finely |
| Fortified grains | Oat, barley, multigrain, and other iron-fortified infant cereals | Mix to a smooth texture with breast milk, prepared formula, or water |
| Vegetables | Sweet potato, squash, peas, broccoli, carrots | Cook until soft, then mash, puree, or cut appropriately |
| Fruits | Banana, pear, peach, berries, avocado | Mash soft fruit; cook hard fruit until it can be mashed easily |
| Dairy foods | Plain full-fat yogurt and pasteurized cheese | Offer without added sugar in a safe texture; do not use cow’s milk as the main drink before 12 months |
| Healthy fats | Avocado, smooth thinned nut butter, olive oil | Mash or mix a small amount into another suitable food; never offer whole nuts or thick spoonfuls of nut butter |
If you use infant cereal, rotate oat, barley, multigrain, and other fortified choices rather than serving only rice cereal. The CDC notes that relying only on infant rice cereal may increase arsenic exposure.
Pro Tip: Freeze single ingredients separately when possible. You can combine familiar foods after thawing, which makes it easier to vary meals and identify the cause of a possible reaction.
Safe Baby Food Preparation
Young children have developing immune systems, so careful food handling matters. Follow the clean, separate, cook, and chill principles described by FoodSafety.gov.
Clean Hands, Food, and Equipment
- Wash your hands before and during food preparation and after handling raw meat, poultry, seafood, or eggs.
- Wash utensils, cutting boards, cookware, and preparation surfaces.
- Rinse produce under running water before cutting, peeling, cooking, or serving it.
- Use a clean spoon each time you portion prepared food.
Fresh, frozen, or canned produce can all be useful. Organic food is optional and does not replace safe washing and preparation. When using canned or packaged foods, choose options without added sugar and with little or no added sodium.
Separate Raw and Ready-to-Eat Foods
Use separate cutting boards or thoroughly wash the board and knife after preparing raw animal foods. Do not place cooked food back on a plate that held raw meat, poultry, seafood, or eggs.
Cook Food Thoroughly
Cook meat, poultry, seafood, and eggs thoroughly. Cook hard fruits and vegetables until they can be mashed easily with a fork. Remove bones, pits, seeds, tough skins, and fibrous pieces before serving.
A food thermometer is the most reliable way to confirm that animal foods have reached a safe temperature. After cooking, adjust the texture by mashing, pureeing, mincing, shredding, or cutting rather than relying on cooking time alone.
Warning: Never leave your baby alone while eating. Seat them upright in a high chair or another safe feeding seat. Avoid feeding while your baby is lying down, crawling, walking, riding in a stroller, or traveling in a moving car.
Effective Strategies for Organizing Your Baby Food Prep
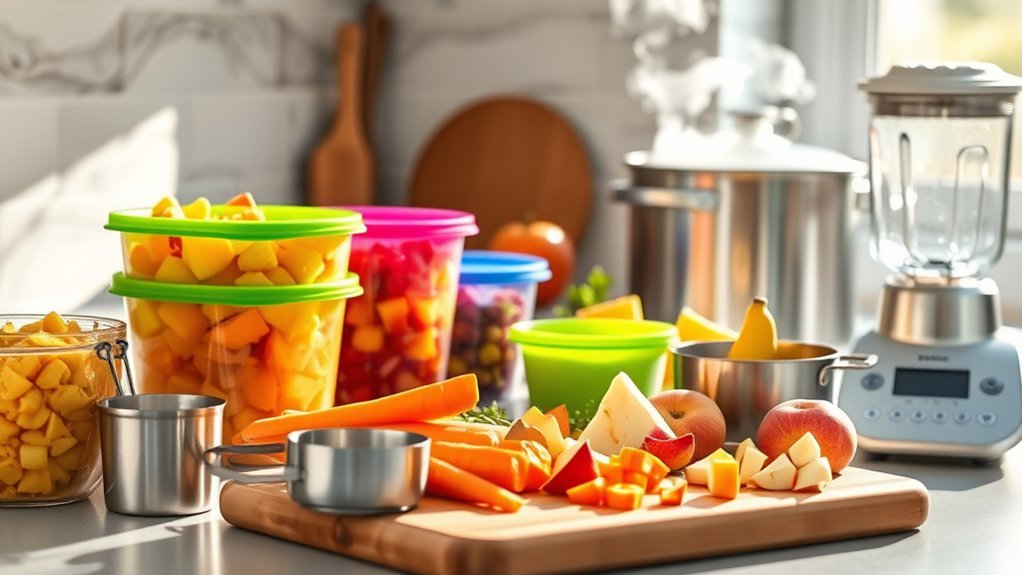
Good organization makes batch cooking easier and reduces the chance of keeping a portion too long. Start with a short menu, clean equipment, and enough containers for the food you plan to prepare.
Meal Prep Essentials List
- A clean cutting board and sharp knife
- A saucepan, steamer basket, oven, or other suitable cooking equipment
- A fork, potato masher, food mill, or blender
- A food thermometer for meat, poultry, seafood, egg dishes, and reheated leftovers
- Small airtight refrigerator- or freezer-safe containers
- Covered food-grade ice cube trays, if used for portioning
- Labels and a permanent marker
- A paper or digital food-introduction log
Simple Batch-Cooking Workflow
- Plan: Choose a few ingredients, including at least one iron-rich food.
- Clean: Wash hands, produce, equipment, and preparation surfaces.
- Separate: Keep raw animal foods away from ready-to-eat ingredients.
- Cook: Cook each ingredient until safe and suitable for mashing or cutting.
- Adjust the texture: Puree, mash, mince, shred, or cut according to your baby’s current skills.
- Portion: Divide the food into small, single-meal amounts.
- Cool and store: Refrigerate or freeze promptly in covered containers.
- Label and log: Add the preparation date and record any new ingredient.
Storage Tips for Freshness
Label every container with the food name and preparation date. Arrange containers so the oldest safe portion is used first. Freeze only the amount you are unlikely to use within the refrigerator limit.
A vacuum sealer may reduce air exposure and freezer burn, but it does not sterilize baby food or extend the official refrigerator and freezer safety limits. Continue to follow the same dates whether the food is vacuum sealed or stored in another airtight container.
Best Practices for Storing Baby Food
Proper Container Selection
Use clean, airtight containers that are specifically designed for refrigerator or freezer storage. Glass and food-grade plastic can both work when the container is intact and used according to its instructions.
- Choose small containers so you can thaw only the amount needed.
- Leave expansion space when freezing food in rigid containers.
- Cover ice cube trays before freezing, then move frozen portions into a labeled freezer-safe container or bag.
- Do not freeze food in a container that is cracked, chipped, warped, or not labeled freezer-safe.
- Use a clean serving bowl rather than repeatedly dipping a used feeding spoon into the main storage container.
Baby Food Storage Times
Federal storage limits vary by the ingredients. For a simple conservative rule, use general homemade baby food within 1–2 days in the refrigerator or 1–2 months in the freezer.
| Opened or Freshly Made Food | Refrigerator | Freezer |
|---|---|---|
| Strained fruits and vegetables | 2–3 days | 6–8 months |
| Strained meats and eggs | 1 day | 1–2 months |
| Meat and vegetable combinations | 1–2 days | 1–2 months |
| General homemade baby food | 1–2 days | 1–2 months |
These times assume prompt cooling, clean handling, a refrigerator at 40°F or colder, and a freezer at 0°F or colder. Discard food that smells unusual, has visible mold, has an unexpected color or texture change, or was left at an unsafe temperature.
Safe Thawing and Reheating
- Thaw frozen baby food in the refrigerator or use the microwave immediately before serving.
- Do not thaw perishable food on the counter.
- Transfer food to a microwave-safe dish instead of heating it in a storage jar.
- Stir microwaved food thoroughly, let it stand, and test several areas before feeding because microwaves can create hot spots.
- Serve food lukewarm, not hot.
- Thaw only what you expect to use and do not refreeze a portion that has been warmed or served.
- Discard food left in the serving bowl after the meal.
How to Introduce New Baby Foods and Monitor Reactions
At first, offer one single-ingredient food at a time. The CDC recommends waiting 3–5 days between new foods as a cautious way to identify possible reactions. Keep a simple log with the food, date, preparation method, amount offered, and any symptoms.
Potential allergens include egg, peanut, tree nuts, milk products, wheat, soy, fish, shellfish, and sesame. Offer them only in an age-appropriate form. Examples include fully cooked egg, plain yogurt, or smooth nut butter thinned into a familiar puree. Whole nuts and thick spoonfuls of nut butter are choking hazards.
For most babies, potentially allergenic foods can be introduced when other complementary foods are introduced. Do not deliberately delay them without medical advice. If your baby has severe eczema, egg allergy, or a previous immediate reaction to food, speak with your pediatrician before introducing peanut or another major allergen.
Possible food-allergy symptoms include hives, swelling of the lips or face, repeated vomiting, coughing, wheezing, or breathing difficulty. The U.S. Food and Drug Administration notes that severe reactions can progress to life-threatening anaphylaxis.
Warning: Stop feeding a suspected food if a reaction occurs. Call your pediatrician for guidance about mild symptoms. Call 911 immediately for trouble breathing, severe swelling, bluish or pale skin, sudden weakness, collapse, or another rapidly worsening reaction.
Choking Prevention During Meal Prep and Feeding
Choking prevention involves more than making food soft. Shape, size, texture, seating, supervision, and the pace of the meal all matter. Follow the CDC’s choking-prevention guidance.
- Seat your baby upright in a stable high chair or safe feeding seat.
- Watch your baby throughout the meal.
- Keep meals calm and avoid rushing or distracting your baby.
- Cook hard fruits and vegetables until soft enough to mash.
- Cut round foods lengthwise and then into developmentally appropriate pieces.
- Remove bones, pits, seeds, tough skins, and sausage casings.
- Thin smooth nut butter into another food rather than serving a thick spoonful.
- Avoid whole nuts, popcorn, hard raw vegetables, uncut grapes or cherry tomatoes, hard candy, and large chunks of meat or cheese.
Learn infant choking first aid from a qualified instructor and make sure regular caregivers know what to do. Gagging can occur while babies learn new textures, but suspected choking requires immediate action.
Feeding Guidelines and Serving Portions at Each Stage
Serving sizes are starting points, not targets your baby must finish. The CDC recommends beginning with 1–2 tablespoons and watching for hunger and fullness cues.
| Approximate Stage | Suitable Textures | Feeding Focus |
|---|---|---|
| Around 6–8 months | Smooth puree, thin mash, or another soft texture your baby can swallow safely | Start with 1–2 tablespoons, offer one new food at a time, and follow your baby’s cues |
| Around 8–10 months | Thicker mash, soft lumps, minced foods, and appropriately prepared finger foods | Increase texture variety and allow supervised self-feeding practice |
| Around 10–12 months | Soft chopped family foods, shredded foods, and mixed textures | Build regular meal routines while continuing breast milk or formula |
Signs of hunger may include reaching for food, opening the mouth, becoming excited when food appears, or making sounds and gestures for more. Signs of fullness may include turning away, closing the mouth, pushing food away, or losing interest.
Do not force another bite after your baby shows fullness. Intake may change from one meal or day to the next. Breast milk or formula needs also vary, so use your baby’s growth, feeding pattern, and pediatric guidance rather than applying one daily ounce target to every child.
Foods and Drinks to Avoid or Limit
Include the following safety checks in your meal prep plan. Current CDC guidance recommends:
- No honey before 12 months: This includes honey added to food, water, formula, or a pacifier because of the risk of infant botulism.
- No cow’s milk as the main drink before 12 months: Plain yogurt and pasteurized cheese can be introduced in suitable forms, but breast milk or infant formula should remain the primary milk source.
- No fruit or vegetable juice before 12 months: Whole fruit offers more useful nutrition and texture experience.
- Avoid added sugars: Choose plain yogurt, unsweetened foods, and whole ingredients when possible.
- Avoid unpasteurized products: Do not serve unpasteurized milk, juice, cheese, or other foods that may carry harmful germs.
- Avoid raw or undercooked animal foods: Thoroughly cook meat, poultry, seafood, and eggs.
- Limit high-sodium foods: Choose lower-sodium ingredients and avoid adding salt to baby portions.
- Avoid choking hazards: Do not offer foods in hard, sticky, round, or difficult-to-chew forms.
Additional Resources for Baby Food Prep Tips
A “100 foods before 1” checklist can provide meal ideas, but it should be treated as an optional tracking tool rather than a required medical or developmental goal. Your baby does not need to reach a certain number of foods by their first birthday.
A practical food log can include:
- Food and ingredients
- Date and time offered
- Texture and preparation method
- Approximate amount offered
- Whether the food was accepted
- Skin, breathing, stomach, or behavior changes
- Notes for the next serving
For current guidance, use official resources from the CDC, FDA, FoodSafety.gov, and your child’s pediatrician rather than relying only on social-media feeding schedules or viral meal plans.
Frequently Asked Questions
What are the signs my baby is ready for solid foods?
Most babies are ready at about 6 months when they can sit alone or with support, control their head and neck, open their mouth for food, bring objects to their mouth, and swallow food rather than pushing it back out. Age alone is not enough; developmental readiness matters.
Can I freeze homemade baby food?
Yes. Freeze small portions promptly in clean, airtight, freezer-safe containers. As a conservative rule, use general homemade baby food within 1–2 months. Strained fruits and vegetables may have a longer freezer quality window, but meat, egg, and combination foods have shorter limits.
How do I know if a food is allergenic?
You cannot always predict a reaction before your baby eats a food. Introduce one new ingredient at a time at first and watch for hives, swelling, vomiting, coughing, wheezing, or breathing difficulty. Ask your pediatrician for an allergen-introduction plan if your baby has severe eczema, egg allergy, or a previous reaction.
What kitchen tools do I need for baby food prep?
Useful tools include a knife, cutting board, saucepan or steamer, fork or masher, optional blender, clean spoon, food thermometer, airtight containers, labels, and a permanent marker. A blender is convenient but not required for many soft foods.
How often should I introduce new foods to my baby?
A cautious approach is to offer one new single-ingredient food and wait 3–5 days before adding another. This makes possible reactions easier to identify. Once a food is tolerated, continue offering it as part of a varied diet instead of serving it only once.
How should I thaw and reheat frozen baby food?
Thaw it in the refrigerator or use the microwave immediately before serving. Stir microwaved food well, let it stand, and test several areas for hot spots. Serve it lukewarm. Do not thaw perishable food on the counter or refreeze a portion that has already been warmed or served.
Which foods should babies avoid before 12 months?
Do not give honey, juice, or cow’s milk as the main drink before 12 months. Also avoid unpasteurized products, raw or undercooked animal foods, added sugars, and foods served in shapes or textures that create a choking hazard.
Can I prepare an entire week of baby food at once?
You can prepare a larger batch, but refrigerate only the portions you will use within their safe refrigerator limit. Freeze the rest promptly in small labeled portions. General homemade baby food should be used within 1–2 days refrigerated or 1–2 months frozen.
Conclusion
A useful baby food meal prep checklist brings nutrition, food safety, storage, allergy tracking, and choking prevention into one routine. Start with small amounts, include iron-rich and varied foods, move through textures at your baby’s pace, and label every stored portion. Most importantly, follow your baby’s hunger and fullness cues and contact your pediatrician whenever feeding, growth, swallowing, or allergy concerns arise.
Sources
- CDC: When, What, and How to Introduce Solid Foods — readiness signs, first foods, allergens, cereal variety, and texture guidance
- CDC: How Much and How Often to Feed — starting portions, responsive feeding, and meal routines
- CDC: Choking Hazards — preparation, seating, supervision, and hazardous foods
- CDC: Foods and Drinks to Avoid or Limit — honey, cow’s milk, juice, added sugar, and caffeine guidance
- FoodSafety.gov: Children Under Five — safe preparation, refrigerator temperatures, freezer temperatures, and baby food storage limits
- FDA: Food Allergies — food-allergy symptoms, labeling, and severe-reaction risks