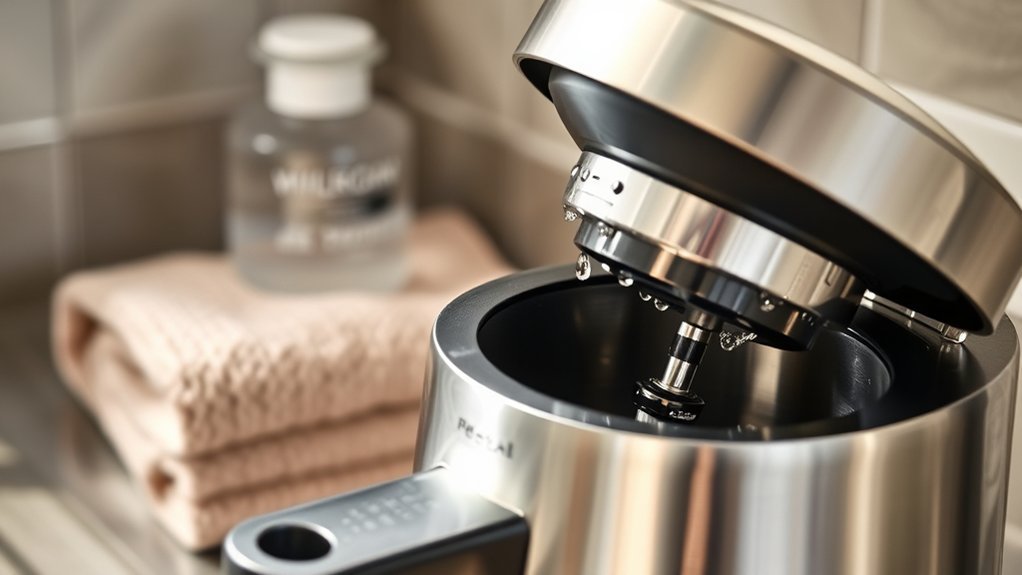
After brewing, it is usually a good idea to leave your coffee maker’s reservoir or brew-basket lid open or slightly ajar so trapped moisture can escape. First remove the used grounds, empty standing water when your model allows it, switch the machine off, unplug it, and let hot parts cool. Once everything is fully dry, you can close the lid again to keep out dust.
Quick Answer
Yes—after the coffee maker is turned off, unplugged, emptied, and cool, leaving the lid open helps air circulate and moisture evaporate. Remove wet grounds and washable parts first. Let everything dry completely, then close the lid. Follow your owner’s manual if it gives different storage or cleaning directions.
Key Takeaways
- Leave the lid open only after brewing is finished and the machine is switched off, unplugged, and cool.
- Discard wet grounds promptly and remove washable parts so hidden moisture does not remain trapped.
- Wash the carafe, filter basket, and other approved removable parts with warm, soapy water after use.
- Descale on the schedule and with the product recommended for your exact model; monthly descaling is not a universal rule.
- Close the lid after the machine is fully dry if dust, insects, pets, or kitchen debris could enter the open compartment.
At a Glance
| Time Required | About 5–10 minutes of active cleaning, plus air-drying time |
| Difficulty | Easy |
| Tools Needed | Mild dish soap, soft sponge or cloth, clean towel, and drying rack |
| Cost | Usually less than $1 per routine clean; descaler costs vary |
Why Keeping the Lid Open Matters
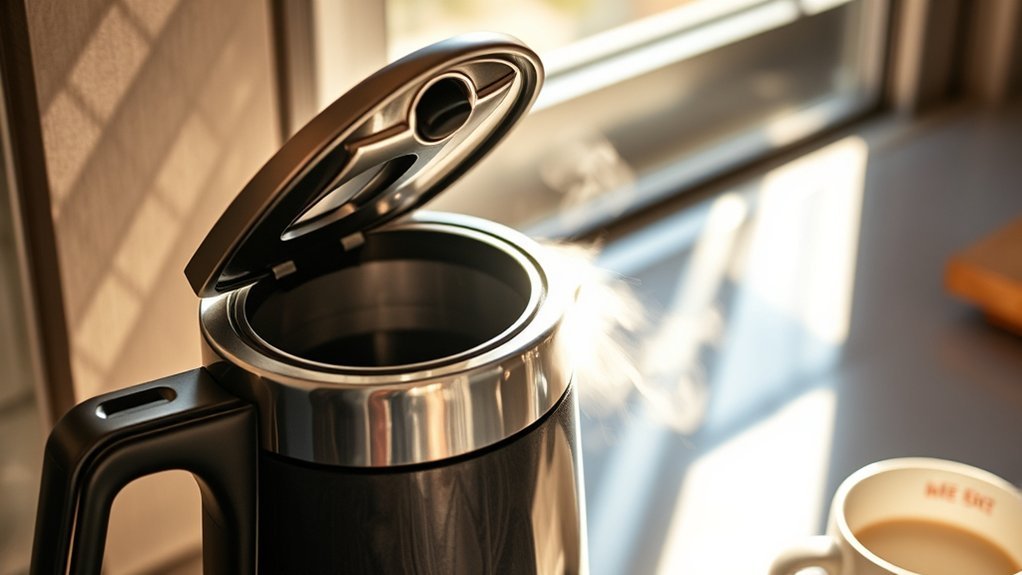
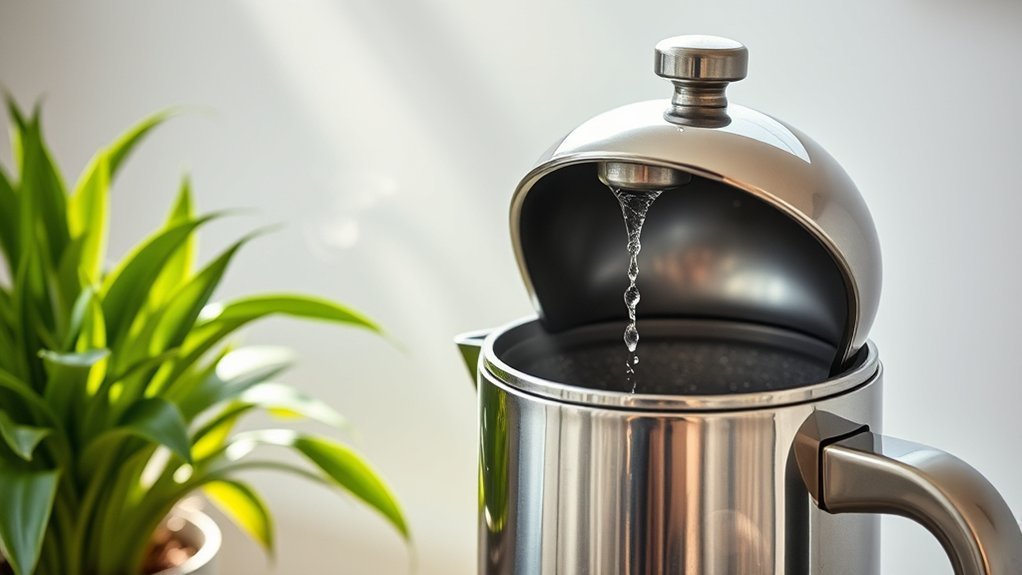
An open lid gives moisture a path to escape. That is especially useful around the water reservoir, brew basket, showerhead area, and other compartments that remain damp after brewing. Better airflow can shorten drying time and reduce stale smells caused by water sitting in enclosed spaces.
The goal is not to keep the coffee maker open forever. The goal is to remove wet grounds, clean the washable parts, and let damp areas dry before closing the machine.
Moisture control matters because mold grows in damp conditions. The U.S. Environmental Protection Agency advises drying wet materials promptly and improving air circulation as part of mold prevention. That guidance is general rather than coffee-maker-specific, but the same basic moisture principle applies.
Leaving the lid open is not a substitute for cleaning. Coffee oils, fine grounds, and standing water still need to be removed. An open but dirty brew basket can remain unsanitary, while a clean basket that dries fully is less likely to develop musty odors.
In a humid kitchen, drying may take longer. Place removable parts on a clean rack with space around them, run a kitchen exhaust fan if it improves room ventilation, and close the lid only when the compartment feels dry. Keep the machine away from sink splashes while it is open.
Power your essentials anywhere with a 999Wh pure sine wave power station delivering up to 1000W continuous with 2000W surge. It supports fast charging via USB-C PD 60W and USB-A QC 18W, plus simultaneous output for multiple devices through AC, USB, wireless, and car/DC ports. Recharge using AC, car, or solar with a built-in MPPT controller and dual cooling fans, while the upgraded battery management system protects against surges, short circuits, and overheating.

Pour Over Coffee: Manual Pour Over Coffee Maker allows you to brew an excellent cup of Coffee in minutes

Save Money - Our Cafe Save reusable k cup pod coffee filters offer the best value for the buck! Designed for budget-conscious coffee drinkers, these refillable capsules for Keurig and other Single-Serve coffee machines allow you to save as much as 80% over pre-filled and pre-made, store-bought coffee pods.
Understanding Moisture’s Impact on Your Coffee Maker
Residual water does not automatically mean your machine is dangerous, but repeated moisture plus coffee residue creates conditions where yeast, mold, and bacteria can build up. An NSF household germ study found bacteria or yeast and mold in some coffee maker reservoirs, which supports regular washing and drying rather than relying on rinsing alone.
Closing a lid over a wet reservoir or brew basket can slow evaporation. The effect depends on the machine’s design, room humidity, temperature, and how much water remains. For that reason, “leave it open until dry” is better advice than claiming every closed lid will cause mold or bacteria.
Wet grounds should be discarded after brewing. Do not leave a used paper filter, reusable filter, or coffee puck sitting in the machine overnight. These materials hold moisture and coffee oils and can develop sour or musty odors.
Drying also protects flavor. Old coffee oils and stale water can affect the next brew, while mineral scale can slow water flow and alter heating performance. These are separate problems: routine washing removes coffee residue, drying removes moisture, and descaling removes mineral deposits.
Effective Techniques for Drying Your Coffee Maker
Use this routine after the final brew of the day or whenever you plan to store the machine for more than a few hours:
Warning: Turn the coffee maker off, unplug it, and let the warming plate and internal parts cool before cleaning. Never immerse the machine base, power cord, or plug in water.
- Discard the grounds and filter. Remove the used paper filter or empty the reusable filter as soon as it is cool enough to handle.
- Empty removable water. If your reservoir is designed to be removed and emptied, pour out leftover water. Do not tip the entire appliance unless the manual specifically permits it.
- Remove washable parts. Take out the carafe, lid, filter basket, reusable filter, drip tray, and reservoir only if your model identifies them as removable.
- Wash and rinse. Use warm water, mild dish soap, and a nonabrasive sponge. Rinse away all soap or cleaner residue.
- Remove visible droplets. Shake off excess water and blot accessible surfaces with a clean, lint-free towel. Do not push cloths or tools into internal tubes, valves, needles, or electrical openings.
- Air-dry with the lid open. Place removable parts on a clean rack and leave the reservoir or brew-basket lid open or ajar until dry. Reassemble only after all parts are dry.
Pro Tip: Store the carafe beside the machine instead of locking it under the brew basket while both are damp. This exposes more surfaces to air and helps the basket valve area dry.
How to Tell When Your Coffee Maker Needs Cleaning or Descaling
Your coffee maker may need routine cleaning when the carafe or basket feels oily, the machine smells stale, visible grounds collect around the basket, or brewed coffee tastes like old residue. Wash removable parts before assuming the machine has a mechanical fault.
Descaling may be due when the clean or descale light turns on, brew time becomes steadily longer, water flow weakens, or the manufacturer’s recommended interval has passed. Mineral scale is more likely in hard-water areas.
Do not treat every sound as a scale problem. Some gurgling near the end of a brew cycle is normal on many drip machines. New grinding, rattling, electrical buzzing, leaking, repeated shutdowns, burning smells, or error codes deserve model-specific troubleshooting.
Bitter or weak coffee is also not proof of scale. Grind size, coffee-to-water ratio, bean freshness, water temperature, a dirty basket, and a partially clogged showerhead can all affect flavor. Clean the easy-to-reach parts first, then descale if the manual or symptoms point to mineral buildup.
Note: A monthly descaling schedule is not correct for every machine. For example, Keurig commonly recommends every three months, while Cuisinart advises roughly every one to three months depending on water hardness. Your manual takes priority.
Proper Coffee Maker Cleaning Techniques
A complete maintenance routine has three parts: wash away coffee residue, descale mineral buildup when needed, and let damp components dry. Keeping these tasks separate prevents overcleaning and reduces the chance of using the wrong product inside the water path.
Daily Cleaning Routine
After each day of use, follow these basic steps:
- Discard wet grounds and filters.
- Wash the carafe, carafe lid, filter basket, and reusable filter with warm, soapy water if the manual allows it.
- Rinse every food-contact part thoroughly.
- Wipe coffee splashes from the exterior and warming plate with a damp cloth after the machine is unplugged and cool.
- Leave removable parts and open compartments to air-dry before reassembly.
Some manufacturers permit dishwasher cleaning for selected parts, while others require hand-washing. A Keurig K-Mini Go guide, for example, says its reservoir, lid, and drip tray are not dishwasher-safe, while some Hamilton Beach models allow certain parts on the top rack. Check the exact model guide before loading any part into a dishwasher.
If you choose an all-purpose cleaner such as Simple Green for a deeper clean, follow the product’s coffee-maker directions, keep it out of internal tubing unless specifically instructed, and rinse food-contact parts thoroughly with clean water. Mild dish soap is the simpler default for everyday cleaning.
Descaling Techniques Explained
Descaling dissolves calcium and other mineral deposits inside the water path. Use the cleaner, concentration, and cycle described in your owner’s manual. Some manufacturers approve diluted white vinegar; others recommend a branded or commercial descaling solution.
For a model that explicitly allows vinegar, a typical process is to remove the water filter, fill the reservoir with the specified vinegar-and-water mixture, run the cleaning or brew cycle, pause only if the instructions say to, and then run one or more full reservoirs of fresh water. Do not copy a universal 1:1 recipe because approved ratios vary by brand and model.
Keurig recommends its descaling solution for many brewers, while Cuisinart’s cleaning guidance describes a vinegar-and-water method for many of its machines. Follow the instructions for your coffee maker rather than combining methods.
Importance of Drying
Drying completes the cleaning process. It helps prevent water from sitting against coffee residue and gives washed parts time to drain before the next brew.
- Air circulation: An open lid or separated parts allow moisture to evaporate faster.
- Complete drainage: Position baskets, lids, and reservoirs so water does not pool in corners or under seals.
- Odor control: Removing wet grounds and drying clean parts reduces stale and musty smells.
- Safer storage: Once dry, reassemble the machine or close the lid to limit dust and debris.
Cleaning vs. Descaling: What’s the Difference?
Cleaning and descaling solve different problems. Cleaning removes coffee oils, grounds, dust, and surface residue. Descaling removes mineral deposits created when water is heated. Most coffee makers need routine washing more often than descaling.
Purpose of Cleaning
Routine cleaning is mainly about hygiene and flavor. It should:
- Remove wet grounds and coffee oils from the basket and carafe.
- Prevent sticky residue from collecting around lids, valves, and drip trays.
- Reduce stale odors and old-coffee flavors.
- Keep removable parts visibly clean and ready to dry.
Warm water, mild dish soap, a soft sponge, and thorough rinsing are usually enough for daily care. Avoid steel wool, harsh abrasives, and tools that can scratch plastic or glass.
Purpose of Descaling
Descaling targets limescale inside the reservoir outlet, heating path, and tubing. It can restore normal water flow and heating efficiency when mineral deposits are the cause of slow brewing or a descale alert.
Descaler does not replace washing. A machine can be free of scale but still have oily residue in the basket and carafe. Likewise, a clean-looking basket does not show whether scale is building up inside the water path.
Frequency of Each
- After each use: Discard grounds and rinse or wash the basket, filter, and carafe.
- Weekly or as directed: Wash the reservoir, lid, drip tray, pod holder, and other removable parts named in the manual.
- Every one to three months or by alert: Descale if that matches the manufacturer’s schedule, your water hardness, and how often you brew.
- Before long storage: Clean, rinse, drain, and air-dry the machine thoroughly.
How to Prevent Mold and Bacteria in Your Coffee Maker
The most effective approach is a repeatable clean-rinse-dry routine:
- Do not leave wet grounds or used pods in the machine.
- Empty standing water if the reservoir is removable and the manual permits emptying it.
- Wash removable food-contact parts with warm, soapy water.
- Rinse off soap and cleaning chemicals completely.
- Leave the lid open and parts separated until dry.
- Descale on the manufacturer’s schedule.
- Use fresh water for brewing instead of repeatedly topping off old reservoir water.
If you see fuzzy growth, colored spots, slime, or a persistent musty smell, stop using the machine. Unplug it, discard any water and grounds, and clean all accessible removable parts according to the manual. If contamination appears inside inaccessible tubing or cannot be removed after the approved cleaning cycle, contact the manufacturer about service or replacement.
Do not pour bleach, disinfectant, or an unapproved cleaner through the internal brewing system unless the manufacturer specifically instructs you to do so. Chemical residue can remain in the water path, and some products can damage seals, metals, or plastics.
Recommended Cleaning Products for Coffee Makers
Choose products based on the part you are cleaning and the manufacturer’s instructions:
- Mild liquid dish soap: Best for most removable carafes, baskets, lids, and reservoirs.
- Manufacturer-approved descaler: The safest choice for internal mineral buildup when the manual names a specific product.
- White vinegar: Use only when your model’s directions allow it, and use the stated dilution and rinse cycles.
- Soft sponge or bottle brush: Helps remove coffee film without scratching surfaces.
- Microfiber or lint-free cloth: Suitable for the unplugged, cooled exterior and accessible damp areas.
- Simple Green or another all-purpose cleaner: Use only on approved removable or exterior surfaces, follow the label dilution, and rinse food-contact surfaces thoroughly. Do not run it through internal tubing unless the appliance manufacturer says to.
Avoid abrasive pads, steel wool, oven cleaner, concentrated bleach, and strongly scented cleaners unless your owner’s manual specifically approves them.
Frequently Asked Questions
Can I use a dishwasher to clean my coffee maker parts?
Only if the owner’s manual marks those exact parts as dishwasher-safe. Some models allow selected pieces on the top rack, while others require hand-washing. High-heat sanitizing cycles can warp plastic, damage seals, or fade markings.
How often should I clean my coffee maker?
Discard grounds after every brew and wash the carafe and filter basket after each day of use. Clean other removable parts weekly or as directed. Descale according to the model’s alert or schedule, often every one to three months depending on use and water hardness.
Is it safe to leave the coffee maker plugged in when not in use?
Many manufacturer safety guides say to unplug countertop coffee makers when they are not in use and before cleaning. Follow your model’s manual, especially if it has a clock or programmed brew feature that you normally leave powered.
What signs indicate my coffee maker is malfunctioning?
Leaks, burning smells, repeated electrical shutdowns, damaged cords, persistent error codes, or unusual grinding and rattling can signal a problem. Stop using the machine if it leaks near electrical parts or smells hot. Normal end-of-cycle gurgling alone is not always a fault.
Can I use vinegar to clean my coffee maker?
Use vinegar only when your model’s instructions approve it. Ratios and rinse cycles differ. Some brands recommend a commercial descaling solution instead. Never mix vinegar with bleach or another cleaner.
Should I leave the coffee maker lid open overnight?
You can leave it open overnight after the machine is off, unplugged, cool, clean, and placed where the lid will not be bumped. Once dry, close it if an open reservoir could collect dust, pet hair, or insects.
How long does a coffee maker need to air-dry?
There is no fixed time because room humidity and machine design vary. Leave the lid open and parts separated until no droplets or damp areas remain. In a humid kitchen, drying may take several hours or overnight.
What should I do if I find mold in the reservoir?
Stop brewing, unplug the machine, discard the water, and clean every accessible removable part according to the manual. Run only the manufacturer-approved cleaning or descaling cycle. If growth remains in inaccessible areas or the odor returns, contact the manufacturer and consider replacing the machine.
Conclusion
Leaving the lid open is a useful final step, but it works best as part of a full routine: discard wet grounds, wash and rinse removable parts, unplug and cool the machine, and let all damp areas dry before reassembly. Use the manual—not a universal schedule—to decide when and how to descale. Once the coffee maker is dry, close the lid if that will keep the interior cleaner between brews.
Sources
- U.S. Environmental Protection Agency: A Brief Guide to Mold, Moisture and Your Home — supports prompt drying and moisture control.
- NSF: Consumer Product Testing and Certification FAQs — summarizes household germ-study findings involving coffee maker reservoirs.
- Keurig: Regular Brewer Maintenance — supports model-specific washing, air-drying, and descaling guidance.
- Cuisinart: How to Clean a Coffee Maker — supports unplugging, washing removable parts, drying the reservoir, and model-specific descaling.
- Hamilton Beach: Coffee Maker FAQs — supports unplugging countertop appliances after use and distinguishes normal brew sounds from faults.
- Simple Green: How to Clean a Coffee Maker — supports washing removable parts and using vinegar for mineral scale rather than all-purpose cleaner inside the water path.