

Cleaning a Keurig involves two different jobs: washing the removable parts that collect coffee residue and descaling the internal water system to remove mineral deposits. The safest method depends on your exact brewer, so identify the model before choosing a descaler, button sequence, waiting period, or dishwasher setting.
Quick Answer
Unplug the brewer, remove the pod, drip tray, reservoir, lid, and pod-holder parts your model allows, then hand-wash them with warm, soapy water. Clear clogged needles carefully, run two water-only brews, and descale with the method in your model guide—usually every three months or when the descale light appears.
Key Takeaways
- Turn off and unplug the Keurig before washing parts or working near the needles.
- Hand-wash removable parts unless the guide for your exact model says they are dishwasher-safe.
- Use a straightened paper clip on the entrance or exit needle only when you suspect a clog.
- Follow the brewer’s model-specific descaling procedure instead of using one vinegar recipe for every Keurig.
- Replace a compatible Keurig water filter about every two months or 60 tank refills.
At a Glance
| Time Required | 15–20 minutes for routine cleaning; about 45–90 minutes for descaling, depending on the model |
| Difficulty | Easy |
| Tools Needed | Soft lint-free cloth, mild dish soap, nonabrasive sponge, large ceramic mug, sink, and a straightened paper clip if a needle is clogged |
| Cost | About $0–$15, depending on whether you need descaling solution or a replacement water filter |
Warning: Turn off and unplug the brewer before removing parts. Let hot surfaces and water cool, keep your fingers away from the sharp pod-puncturing needles, and never immerse the brewer or pour cleaning liquid over its electrical housing.
Check Your Keurig Model Before Cleaning
Keurig cleaning and descaling steps are not identical across all brewers. A K-Mini has a different reservoir and descaling process than a K-Classic, K-Elite, K-Supreme, SMART brewer, or K-Duo. Some models use a programmed Descale Mode, while certain older manuals permit a vinegar procedure with their own quantities and waiting times.
Find the model name on the front, base, rear label, or original packaging. Then use the Keurig Support center to locate the care guide for that exact brewer.
Note: Do not treat an online vinegar recipe as universal. Keurig’s older vinegar instructions differ by model, and many newer brewers direct you to use Keurig Descaling Solution and a programmed button sequence.
Power your essentials anywhere with a 999Wh pure sine wave power station delivering up to 1000W continuous with 2000W surge. It supports fast charging via USB-C PD 60W and USB-A QC 18W, plus simultaneous output for multiple devices through AC, USB, wireless, and car/DC ports. Recharge using AC, car, or solar with a built-in MPPT controller and dual cooling fans, while the upgraded battery management system protects against surges, short circuits, and overheating.

Great tasting beverages start with great tasting water
How to Clean Your Keurig Coffee Maker Effectively
Routine cleaning removes coffee grounds, oils, splashes, and residue from the parts you can see. It does not remove mineral scale from the internal heater and water lines; that requires descaling.
Supplies You Will Need
- Warm water
- Mild dish soap
- A soft, nonabrasive sponge
- A clean, lint-free cloth
- A large ceramic mug
- A straightened paper clip for a suspected needle clog
- Keurig Descaling Solution or the alternative approved in your model guide
- A replacement water filter cartridge, if your brewer uses one
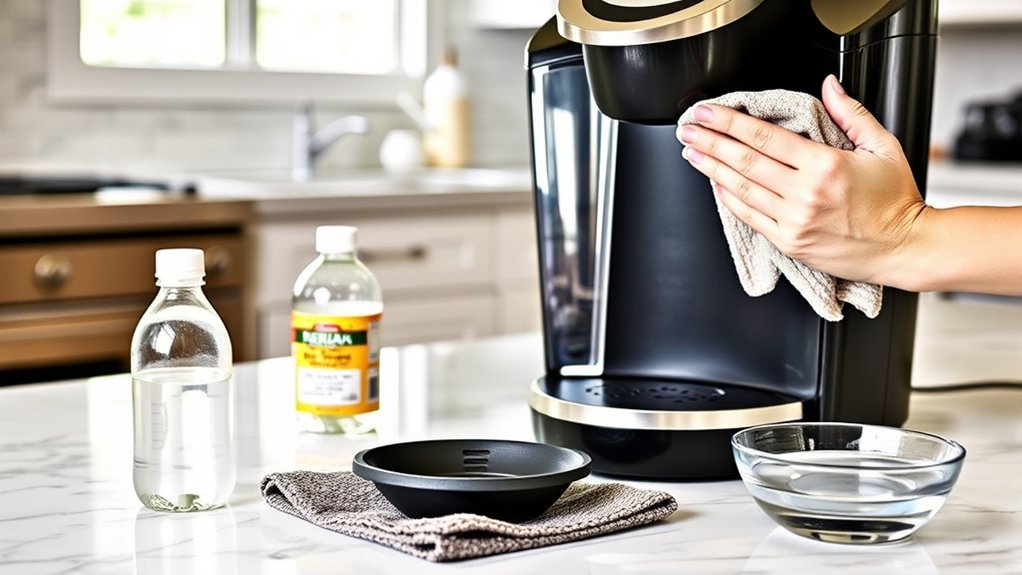
Avoid steel wool, abrasive powders, oven cleaner, bleach, lemon juice, baking soda, or an unspecified homemade chemical mixture. These products are not part of Keurig’s standard internal cleaning procedure and may leave residue, scratch surfaces, or affect brewer parts.
Step-by-Step Keurig Cleaning Process
- Turn off, unplug, and cool the brewer. Remove any used K-Cup pod. If the machine has a hot plate or carafe side, wait until the plate is cool.
- Remove the water filter. If a filter cartridge and holder are installed in the reservoir, lift them out before washing the tank or descaling.
- Empty the reservoir and drip tray. Keep the drip tray level as you pull it forward so collected liquid does not spill.
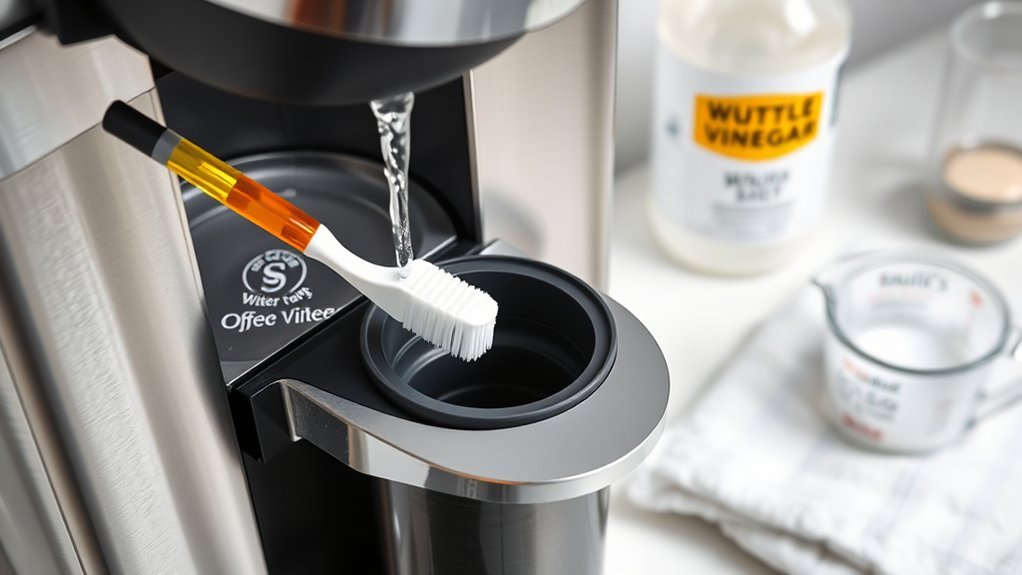
- Wash removable parts. Hand-wash the reservoir, reservoir lid, drip tray, drip-tray plate, pod holder, and funnel with warm water and mild dish soap. Rinse every surface thoroughly.
- Check the model guide before using a dishwasher. Some older Keurig guides allow selected components on a low-temperature top rack, while other current models state that their parts are not dishwasher-safe.
- Air-dry the parts. Do not wipe the inside of the water reservoir with a shedding towel because lint can remain in the tank. Place the parts on a clean rack or towel instead.
- Wipe the brewer housing. Use a damp, mildly soapy, lint-free cloth. Follow with a clean damp cloth to remove soap. Do not spray cleaner directly onto buttons, vents, seams, or electrical openings.
- Reassemble the brewer. Make sure the funnel is snapped into the pod holder and the pod holder is seated correctly. Reinstall the reservoir and filter holder, if used.
- Run two cleansing brews. Fill the reservoir with fresh water, place a large ceramic mug on the drip tray, leave the pod holder empty, and run two water-only brew cycles.
Pro Tip: After brewing hot cocoa, cider, or another sweetened pod, remove the pod and run a water-only cleansing brew. This helps flush sticky flavor residue before it dries around the pod holder and needles.
How to Clean the Keurig Needles Safely
The entrance needle is under the brewer head, and the exit needle is in the bottom of the K-Cup pod holder. Clean them when the brewer produces a partial cup, dispenses slowly, leaves grounds in the mug, or appears clogged. Routine paper-clip cleaning after every cup is unnecessary.
- Turn off and unplug the brewer.
- Remove the pod holder according to the model guide and pull off its funnel.
- Locate the exit-needle opening inside the bottom of the pod holder.
- Insert a straightened paper clip into the opening and move it gently to loosen grounds. Do not force the clip deeper than it moves easily.
- Rinse the pod holder and funnel, then snap them back together.
- Raise the brewer handle and locate the entrance needle under the lid.
- Keeping your fingers away from the sharp needle, gently insert the paper clip into each visible opening to loosen trapped grounds.
- Reassemble the brewer, plug it in, and run two water-only cleansing brews without a pod.
These steps follow the general needle-care method shown in current Keurig brewer care instructions, but removal details can vary by model.
Deep Cleaning and Descaling Your Keurig
Descaling dissolves calcium and other mineral deposits inside the brewer’s water path. Consider descaling when the descale indicator appears, brewing becomes slower, cup volume falls, the pump sounds strained, or about three months have passed since the last treatment.
Keurig’s current maintenance guidance generally calls for descaling every three months or when the descale notification appears. Heavy daily use or mineral-rich water may require more frequent care.
How to Descale a Current Keurig Model
- Open the exact model instructions. Review Keurig’s descaling guidance and the guide for your brewer before pressing any buttons.
- Prepare the brewer. Remove the K-Cup pod and water filter. Empty the drip tray and reservoir.
- Add the approved descaler. Pour in Keurig Descaling Solution and the amount of water specified by the model guide or product instructions. Do not guess at the concentration.
- Place a large ceramic mug on the tray. Do not use a paper cup because the discharged liquid can be very hot.
- Enter Descale Mode if required. The button combination differs by model. For example, one brewer may use its 8-ounce and 12-ounce buttons, while another uses CUPS and OZ controls.
- Complete every prompted brew. Empty the mug into the sink after each cycle. Do not insert a pod.
- Rinse the reservoir thoroughly. Remove any remaining descaler before filling the tank with fresh water.
- Complete the full fresh-water rinse sequence. Continue until the programmed process ends or the model guide’s required rinse volume has passed through the brewer.
- Check for residue. Run additional water-only brews if you notice a cleaner smell or taste.
- Reinstall or replace the water filter. Prepare the cartridge according to its package instructions before returning it to the reservoir.
Can You Descale a Keurig With Vinegar?
Only use vinegar when the care guide for your exact brewer permits it. Keurig’s older instructions for certain B-series and Mini brewers used undiluted white vinegar, but the amount, waiting period, and rinse procedure differed. For example, an older Mini Plus procedure used a 30-minute wait, while instructions for several older reservoir models called for at least four hours.
That variation is why a generic 50/50 vinegar-and-water recipe is not reliable for every brewer. Consult the older Keurig vinegar instructions only when they name your specific model. For a newer brewer, follow its current manual and programmed Descale Mode.
Warning: Never mix vinegar, descaling solution, bleach, or another cleaner together. Rinse the reservoir before changing products, and keep your face and hands away from the hot liquid dispensed during descaling.
Maintaining Your Keurig Between Cleanings
A simple schedule prevents most residue, flavor carryover, and mineral buildup. Adjust the timing for your model, water quality, and daily use.
| Frequency | Maintenance Task |
| After each use | Remove the used pod, wipe splashes, and empty the drip tray when needed. |
| After a sweetened pod | Run a water-only cleansing brew or use a compatible Keurig rinse pod. |
| Weekly | Hand-wash the reservoir, lid, drip tray, pod holder, and funnel if the brewer is used daily. |
| Every two months or 60 tank refills | Replace the compatible water filter cartridge. Keurig lists this interval for its current filter cartridges. |
| Every three months or when indicated | Descale using the procedure for the exact model. |
| After storage or several unused days | Refill with fresh water and run one or more cleansing brews before making a drink. |
Keurig states that its current filter cartridges should be replaced every two months or 60 tank refills. Check the Keurig water-filter instructions and confirm that the cartridge fits your brewer.
Troubleshooting Your Keurig After Cleaning

The Keurig Will Not Brew
Confirm that the reservoir is filled below the maximum line, seated firmly in its base, and recognized by the brewer. Make sure the handle is fully lowered and all removed parts are installed correctly. If the buttons flash together or the machine still will not brew, use the model guide or contact Keurig Support rather than repeatedly forcing cycles.
The Keurig Brews a Partial or Slow Cup
Make sure enough water is available for the selected size. Clean the entrance and exit needles if grounds are present or flow is restricted. If the needles are clear, perform the correct descaling procedure. Persistent partial cups after descaling may require manufacturer service.
Coffee Grounds Appear in the Mug
Remove and rinse the pod holder and funnel, then clear both needle openings with a straightened paper clip. Run two water-only brews before inserting another pod.
The “Add Water” Light Stays On
Remove the reservoir, refill it without passing the maximum line, and seat it securely. Check that no packaging, filter part, or residue is interfering with the reservoir connection. If the light remains on, follow the model’s support procedure. Unplugging the machine is not a universal sensor reset.
The Descale Light Will Not Turn Off
Many newer brewers clear the light only after the complete programmed Descale Mode and fresh-water rinse sequence has finished. A normal brew cycle or simple power reset may not clear it. Reopen the instructions for your exact model and confirm that you entered Descale Mode with the correct button combination.
The Coffee Tastes Like Vinegar, Descaler, or Soap
Remove and rinse the reservoir again. Fill it with fresh water and run repeated water-only brews until no odor or taste remains. Do not brew coffee while cleaner residue is still detectable.
The Keurig Leaks After Cleaning
Check that the reservoir, lid, drip tray, funnel, and pod holder are seated correctly. Inspect removable parts for cracks or damaged seals and make sure the reservoir is not overfilled. Stop using the brewer if water reaches electrical areas.
The Keurig Has No Power
Confirm that the brewer is plugged into a working grounded outlet. Avoid sharing an overloaded circuit with high-power appliances. If the brewer remains dead or repeatedly shuts off outside its normal automatic-off behavior, contact Keurig Support.
Frequently Asked Questions
How often should I clean my Keurig coffee maker?
Wipe spills and remove used pods after each use. Hand-wash removable parts about weekly when the brewer is used daily. Descale about every three months, when the descale indicator appears, or at the interval stated in the exact model guide.
Can I use vinegar to descale a Keurig?
Use vinegar only if the care guide for your exact model allows it. Older Keurig instructions used different amounts and waiting periods for different brewers. Many newer models direct owners to use Keurig Descaling Solution and a programmed Descale Mode.
Can I use lemon juice or baking soda instead of descaling solution?
They are not recommended as general Keurig descalers. Use the manufacturer’s descaling solution or the vinegar method specifically approved in the brewer’s manual. Baking soda can leave residue, and an improvised acid concentration may not match the machine’s procedure.
Is it safe to clean a Keurig with bleach?
No. Bleach is not part of Keurig’s standard care procedure and can leave unwanted residue in the water path. Use mild dish soap on approved removable parts and follow the model-specific descaling instructions for the internal system.
Can Keurig parts go in the dishwasher?
Dishwasher safety varies by model and component. Some older manuals permit selected pod-holder parts on a low-temperature top rack, while other models state that their removable parts are not dishwasher-safe. Hand-washing is the safest default unless your manual says otherwise.
How often should I replace the Keurig water filter?
For compatible Keurig filter cartridges, the manufacturer recommends replacement every two months or 60 tank refills. Replace it sooner if the cartridge is damaged or the package instructions call for a different interval.
Why is the descale light still on after cleaning?
Washing removable parts does not clear a descale alert. Many brewers require you to enter a programmed Descale Mode and finish every descaling and fresh-water rinse step before the indicator turns off.
How do I know my Keurig needs cleaning or descaling?
Visible residue, coffee grounds, flavor carryover, or an overflowing drip tray call for routine cleaning. Slower brewing, reduced cup volume, unusual pump noise, or an illuminated descale indicator point to mineral buildup or a clogged needle.
Conclusion
A clean Keurig should brew a full cup without grounds, stale flavors, or restricted flow. Wash the removable parts regularly, clear the needles only when needed, replace the filter on schedule, and treat descaling as a model-specific procedure. Checking the manual before using vinegar or entering Descale Mode prevents most cleaning mistakes and helps protect the brewer.
Sources
- Keurig: How to Clean Your Keurig K-Cup Coffee Maker — general cleaning and care guidance
- Keurig: How to Descale Your Coffee Maker — current model-specific descaling guidance
- Keurig: Regular Maintenance Guide — maintenance frequency and high-use guidance
- Keurig K-Duo Essentials Gen 2 Use and Care Guide — part cleaning, needle care, safety, troubleshooting, and Descale Mode
- Keurig Water Filter Cartridge Instructions — two-month or 60-refill replacement interval
- Keurig Older Brewer Descaling Instructions — model-specific vinegar quantities, waiting periods, and rinsing procedures


