Most babies can start trying soft finger foods at about 6 months, once they show the skills needed to handle solid food safely. You do not have to wait until 8 or 9 months. The safest approach is to match each food’s shape and texture to your baby’s current grasp, chewing ability, and swallowing skills while supervising every bite.
Quick Answer
Offer finger foods at about 6 months when your baby can sit upright with good head control, reach for food, bring it to their mouth, and swallow it. Start with very soft, graspable strips rather than hard, round, sticky, or tiny foods, and stay close enough to respond immediately.
Key Takeaways
- Most babies can begin finger foods at about 6 months when they are developmentally ready; there is no universal need to wait until 8 or 9 months.
- For an early whole-hand grasp, use soft strips or narrow batons that are large enough to hold. Offer smaller soft pieces after the pincer grasp develops.
- Food should mash easily with a fork or squash between your thumb and forefinger.
- Seat your baby upright, keep meals calm, and watch continuously. Do not allow eating while crawling, walking, riding in a stroller, or traveling in a car.
- Include iron-rich foods and introduce common allergens in safe forms. Ask your pediatrician for individualized advice if your baby has severe eczema, egg allergy, swallowing concerns, or delayed development.
At a Glance
| Time Required | About 10–15 minutes to prepare food, plus an unhurried supervised meal |
| Difficulty | Easy, with careful preparation and constant adult supervision |
| Tools Needed | Stable high chair with straps, cutting board, sharp knife, fork, and a way to steam or cook firm foods |
| Cost | Usually low when you adapt suitable family foods without added salt or sugar |
When to Start Offering Finger Foods to Your Baby?
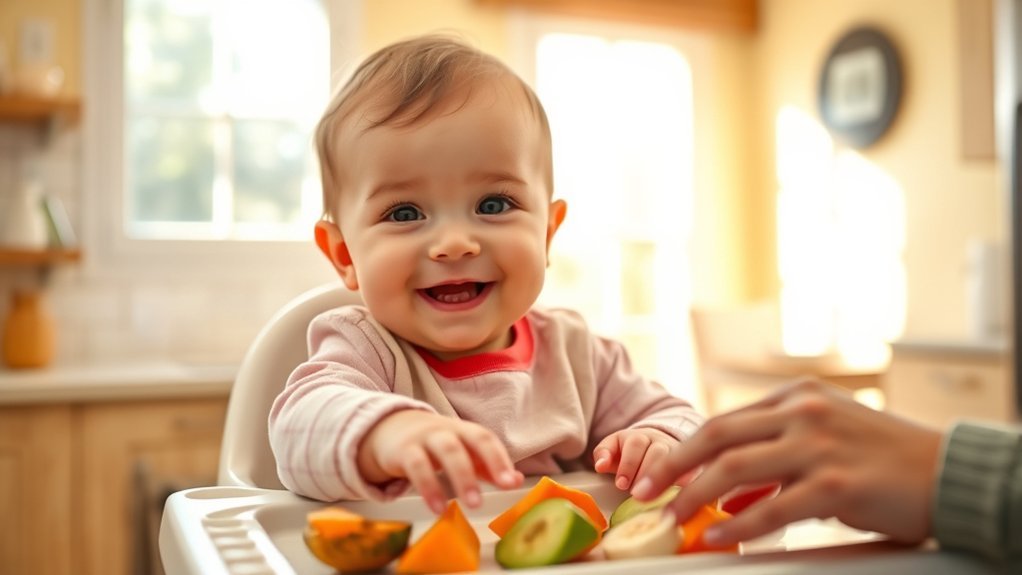
Most babies are ready to begin complementary foods at about 6 months. According to the Centers for Disease Control and Prevention, readiness matters more than a single birthday. Finger foods can be part of the first solid-food experience when your baby can manage them safely.
You do not need to wait for a neat pincer grasp. A younger baby may use a whole-hand or palmar grasp, so a soft strip that sticks out beyond the fist is often easier to pick up than a tiny cube. As fine-motor control improves later in the first year, smaller soft pieces become more practical.
Note: Babies born prematurely or those with low muscle tone, oral-motor problems, poor head control, or a history of swallowing difficulty may need a corrected-age or clinician-guided plan. This article provides general education and does not replace individualized medical or feeding advice.

Power your essentials anywhere with a 999Wh pure sine wave power station delivering up to 1000W continuous with 2000W surge. It supports fast charging via USB-C PD 60W and USB-A QC 18W, plus simultaneous output for multiple devices through AC, USB, wireless, and car/DC ports. Recharge using AC, car, or solar with a built-in MPPT controller and dual cooling fans, while the upgraded battery management system protects against surges, short circuits, and overheating.

ORGANIC TEETHING SNACK: These organic crunchy sticks dissolve easily and help soothe your baby's gums as they teethe

SNUGGLY SOFTNESS FOR ALL AGES: Our Itzy Ritzy lovey with teether isn't just a toy—it's like having a snuggly buddy for your little one! Crafted from the softest sherpa fabric and plush minky material, it's all about comfort and fun. Perfect for babies aged 0 months and up, it's a must-have for their early years of exploration and play.
Signs Your Baby Is Ready for Finger Foods
Look for a group of developmental signs rather than relying on age alone. Your baby is more likely to be ready when they can:
- Stay seated upright in a supported or independent sitting position and keep their head and neck steady.
- Reach for food or other objects and bring them to their mouth.
- Open their mouth for food and move food toward the back of the mouth.
- Swallow food instead of repeatedly pushing it back out with the tongue.
- Remain alert and interested during a short meal.
Readiness is a combination of posture, head control, hand-to-mouth skills, and swallowing—not simply reaching a certain age.
A pincer grasp, which uses the thumb and forefinger, often appears later in the first year. It is useful for picking up smaller pieces, but it is not required before offering properly prepared finger foods.
Preparing Finger Foods Safely
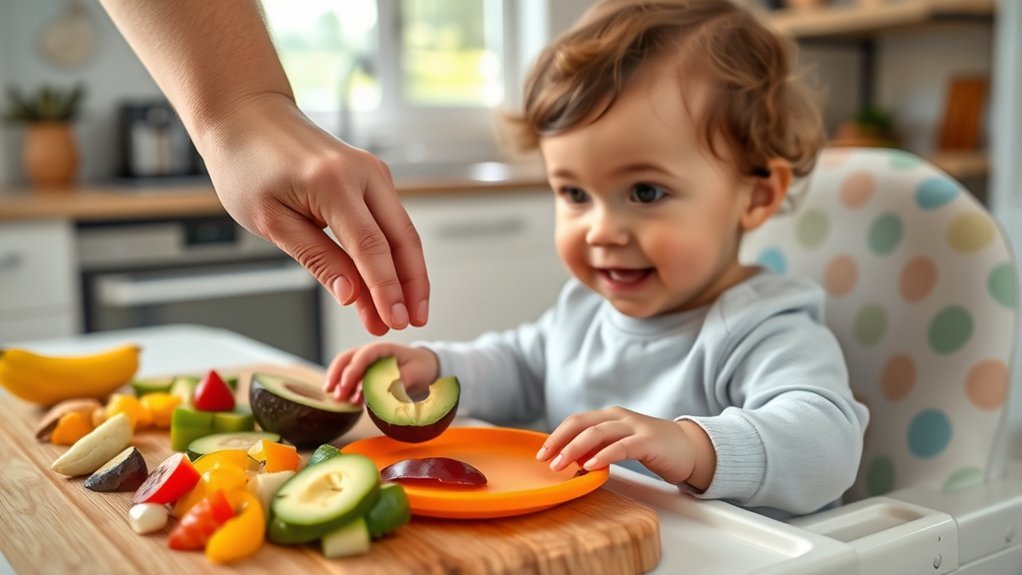
Safe preparation depends on three things: texture, shape, and your baby’s current feeding skills. A single rule such as “¼ inch or smaller” does not work for every baby or every food.
Choose the Right Shape for Your Baby’s Grasp
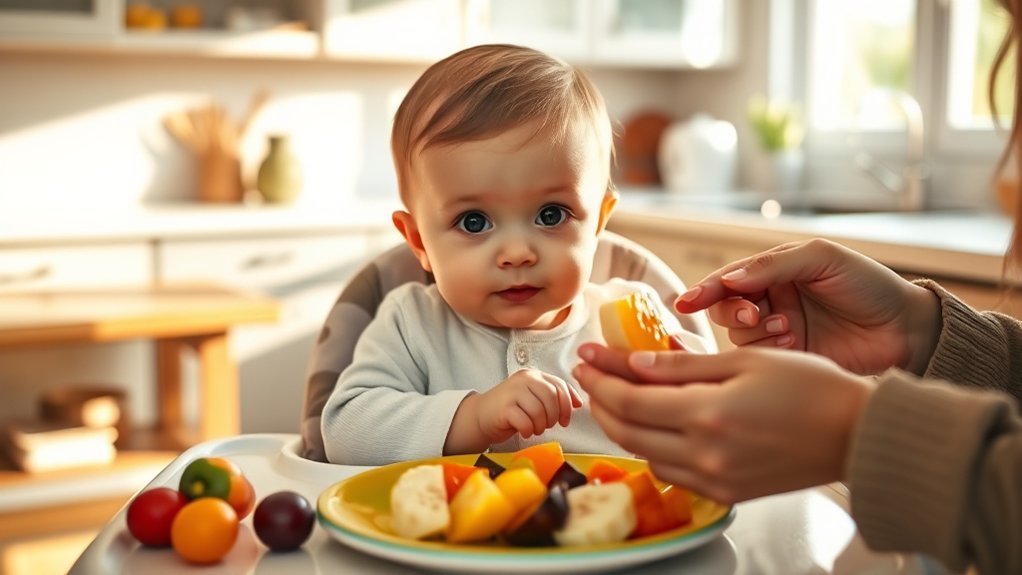
- Early whole-hand grasp: Offer very soft narrow batons, wedges, florets with a handle, or strips about the size of an adult finger so part of the food extends beyond the fist.
- Emerging pincer grasp: Move toward smaller soft pieces that your baby can pick up between the thumb and forefinger.
- Small round foods: Cut grapes, cherries, berries, and cherry tomatoes lengthwise into quarters or other small non-round pieces.
- Cylindrical foods: Cut sausage-shaped foods lengthwise into thin strips and then into development-appropriate pieces. Avoid round coin shapes.
The NHS recommends narrow batons and warns against round shapes and firm foods. Its safe-weaning preparation guide includes visual examples.
Use the Squish Test
Cook firm foods until they mash easily with a fork. Before serving, press the food between your thumb and forefinger. It should squash with gentle pressure. Remove bones, pits, hard seeds, tough skins, gristle, and other hard parts.
Follow Basic Food-Safety Steps
- Wash your hands, utensils, cutting boards, and produce before preparation.
- Cook eggs, meat, poultry, fish, and shellfish thoroughly, and remove every bone.
- Use pasteurized dairy products.
- Cool cooked food to a safe temperature before serving.
- Discard food that has been handled, chewed, or left at room temperature too long rather than saving it for another meal.
Warning: Never rely on size alone to make a food safe. Hard, round, sticky, rubbery, or tough foods can block an airway even when cut into small pieces.
Top Finger Foods to Start With
Choose foods that are soft, nutrient-dense, easy to grasp, and free from hard parts. Rotate food groups rather than relying only on fruit and vegetables.
Iron-Rich and Protein Foods
- Well-cooked omelet or scrambled-egg strips.
- Very tender shredded meat or soft meat patties that crumble easily.
- Flaked, fully cooked fish with every bone removed.
- Soft beans or lentils mashed into a thick patty or spread thinly on toast fingers.
- Soft tofu strips.
- Iron-fortified infant cereal offered on a preloaded spoon.
Vegetables and Fruits
- Steamed broccoli or cauliflower florets with a soft stalk to hold.
- Soft-cooked sweet potato, squash, carrot, zucchini, or parsnip batons.
- Ripe banana, avocado, peach, pear, mango, or melon in soft graspable pieces.
- Cooked apple or pear slices that pass the squish test.
Grains and Dairy
- Toast fingers softened with avocado, mashed beans, or a thin spread of smooth nut butter.
- Soft pasta shapes cut as needed for your baby’s skills.
- Unsweetened full-fat yogurt on a preloaded spoon.
- Thin strips of pasteurized cheese that are not tough or rubbery.
Introduce Common Allergens Safely
Once your baby is ready for solids, common allergens can be introduced in age-appropriate forms rather than delayed. The American Academy of Pediatrics’ allergen-introduction guidance covers egg, peanut, dairy, wheat, sesame, soy, fish, and shellfish.
- Introduce one new allergen at a time when your baby is healthy and you can observe them.
- Use a safe texture: well-cooked egg, smooth yogurt, or smooth peanut butter thinned with warm water, breast milk, formula, or puree.
- Never offer whole nuts or a thick spoonful of nut butter.
- If your baby has severe eczema, egg allergy, or a previous food reaction, ask their clinician when and how to introduce peanut and other allergens.
How to Encourage Self-Feeding in Your Baby
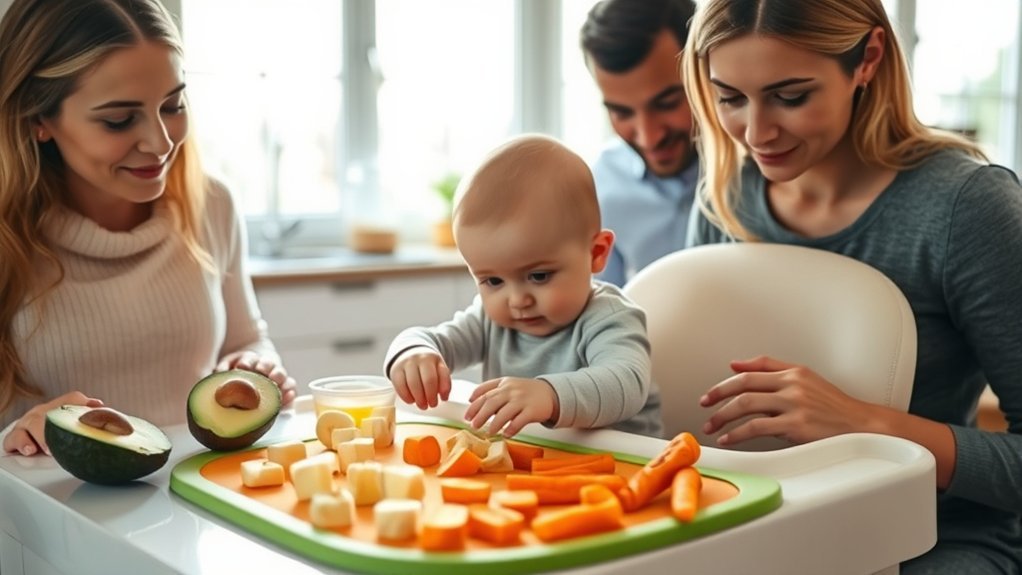
Let your baby touch, squeeze, smell, and taste food. Mess is part of learning. Offer one or two pieces at a time, then add more as needed so the tray does not become overwhelming.
For thick foods such as oatmeal, yogurt, or mashed vegetables, load a short baby spoon and place it on the tray. Your baby can pick it up and bring it to their mouth. You can also demonstrate the movement with another spoon.
Encourage self-feeding by showing your baby how to use a spoon and allowing them to explore food with their hands.
- Eat together when possible so your baby can copy chewing and spoon use.
- Offer choices without pressuring, bribing, distracting, or forcing bites.
- Let your baby set the pace and stop when they show fullness cues.
- Continue breast milk or infant formula alongside complementary foods throughout the first year.
Pro Tip: Serve a familiar food beside a new food. Familiarity lowers pressure while repeated, calm exposure helps babies learn new tastes and textures.
What Foods Should You Avoid for Finger Foods?
The CDC’s current choking-hazard list emphasizes avoiding foods that are hard, round, sticky, chewy, or difficult to break down.
Common Choking Hazards
- Whole or uncut grapes, cherries, berries, cherry tomatoes, and melon balls.
- Raw hard apple, raw carrot, whole corn kernels, and uncooked dried fruit.
- Whole or chopped nuts and seeds.
- Thick spoonfuls or globs of peanut, nut, or seed butter.
- Popcorn, chips, pretzels, hard crackers, and granola bars.
- Hot dogs, sausages, meat sticks, tough meat, and large chunks of cheese.
- Hard or gummy candy, gum, marshmallows, and chewy fruit snacks.
- Fish or meat with bones, fruit with pits, or foods containing hard seeds.
Foods and Drinks to Avoid or Limit
- Honey before 12 months: It can cause infant botulism, even when mixed into food or baked products.
- Cow’s milk as a drink before 12 months: Continue breast milk or infant formula as the main milk drink. Pasteurized yogurt and cheese can be offered earlier.
- Juice before 12 months: Whole fruit is the better choice.
- Added sugar and high-sodium foods: Babies have little room for foods that displace nutrient-rich choices.
- Unpasteurized or undercooked foods: Avoid raw milk products, undercooked eggs or meat, and raw shellfish.
See the CDC’s foods and drinks to avoid or limit for additional guidance.
Handling Gagging and Choking Risks
Gagging and choking are not the same. Learning the difference helps you stay calm during normal gagging and act quickly during a true airway emergency.
Understanding Gagging Reflex
Gagging is an active protective reflex. A gagging baby may cough, make noise, bring the tongue forward, turn red, or have watery eyes. Stay close and let the baby work the food forward. Do not put your fingers into the mouth unless you can clearly see an object that can be safely removed.
Occasional gagging can happen as babies learn new textures. Frequent coughing, gagging at nearly every meal, breathing changes, a wet or gurgly voice after swallowing, or repeated vomiting deserves medical advice.
Choking Hazard Awareness
Choking may be quiet. Warning signs include a weak or absent cough, inability to cry or breathe, high-pitched or absent sounds, pale or blue skin, panic, or loss of responsiveness.
Warning: If your baby cannot cough, cry, or breathe, call 911 and begin age-appropriate choking first aid according to your training. The American Red Cross infant-choking guide teaches back blows, chest thrusts, and what to do if an infant becomes unresponsive. Never perform a blind finger sweep.
Safe Food Preparation
Use this final check before every meal:
- Is the food soft enough to mash with a fork or squash between two fingers?
- Is its shape appropriate for your baby’s current grasp?
- Have you removed bones, pits, seeds, tough skins, and round coin shapes?
- Is your baby alert, seated upright, and secured in a stable high chair?
- Can you remain within arm’s reach and watch continuously?
Supervision Tips for Mealtime Safety
Safe food preparation cannot replace active supervision. Set up the meal before placing food on the tray so you do not need to step away.
High Chair Safety
- Use a stable high chair and fasten the safety straps according to the manufacturer’s instructions.
- Keep your baby upright rather than reclined, slumped, or lying down.
- Place the high chair away from hot surfaces, cords, sharp objects, and furniture the baby could push against.
- Never place a high chair on a table or elevated surface.
Constant Supervision Required
Stay close enough to respond immediately. Keep meals calm and remove screens, toys, and other distractions. Do not let a baby eat while crawling, walking, playing, riding in a stroller, or traveling in a car. Avoid rushing bites into the mouth; let your baby pick up food and swallow at their own pace.
When to Talk to Your Pediatrician About Feeding?
Contact your pediatrician or a qualified feeding specialist when you notice:
- Poor head control, inability to remain upright with support, or no interest in bringing objects to the mouth near the expected time for solids.
- Frequent coughing, choking, breathing changes, or a wet-sounding voice during or after meals.
- Persistent distress with textures, repeated vomiting, prolonged meals, or refusal of nearly all solid foods.
- Poor weight gain, fewer wet diapers, low energy, or another concern about nutrition or hydration.
- Hives, facial swelling, repeated vomiting, coughing, wheezing, or other symptoms after a new food.
- Severe eczema, known egg allergy, or a prior reaction before introducing peanut.
Call 911 for trouble breathing, swelling of the lips or tongue, blue or pale skin, sudden limpness, loss of responsiveness, or a choking episode in which your baby cannot cough, cry, or breathe.
Tips for Expanding Your Baby’s Food Variety
There is no medically required target of exactly 15 foods by the first birthday. A better goal is steady exposure to different tastes, textures, and food groups while continuing breast milk or infant formula.
- Rotate vegetables, fruits, grains, protein foods, and pasteurized dairy rather than serving the same few foods every day.
- Include iron-rich choices such as meat, egg, beans, lentils, tofu, fish, or iron-fortified cereal regularly.
- Change one feature at a time: a familiar food in a new shape, a familiar texture with a new flavor, or a new food beside a familiar favorite.
- Keep portions small and refill the tray if your baby wants more.
- Respect fullness cues such as turning away, closing the mouth, pushing food away, slowing down, or losing interest.
- Reoffer rejected foods without pressure. Acceptance may take many calm exposures.
Frequently Asked Questions
Can I Introduce Finger Foods Before 8 Months?
Yes. Many babies can begin soft finger foods at about 6 months when they show developmental readiness. Do not introduce solids before 4 months, and do not rely on age alone. Use soft, graspable shapes and supervise continuously.
How Do I Know if My Baby Is Full?
Fullness cues include slowing down, turning the head away, closing the mouth, pushing food away, dropping food repeatedly, or losing interest. These are satiety cues, not hunger cues. Stop offering food rather than coaxing another bite.
Can Finger Foods Help With Teething Discomfort?
A cool, soft food may feel soothing, but finger foods are not a treatment for teething. Avoid hard frozen foods, ice, and pieces that can break into choking hazards. Use a chilled teething ring or ask your pediatrician about safe comfort measures.
Should Finger Foods Be Served Warm or Cold?
Either is fine if the texture is safe and the food is not hot. Stir heated foods and test the temperature before serving because microwaves can create hot spots. Refrigerated food should be handled safely and should not be left out for long periods.
What if My Baby Refuses Finger Foods?
Keep meals low-pressure. Offer one familiar food, one new food, and a preloaded spoon if your baby prefers smoother textures. Reoffer rejected foods on another day. Seek advice if refusal is persistent, causes distress, or occurs with coughing, choking, vomiting, or poor growth.
How Should I Cut Finger Foods for a 6-Month-Old?
Use very soft narrow batons, wedges, florets with a handle, or strips about the size of an adult finger so your baby can grip them in a fist. Avoid hard foods and round shapes. As the pincer grasp develops, move to smaller soft pieces.
Can I Give My Baby Peanut Butter as a Finger Food?
Do not give a thick spoonful because it can block the airway. Thin smooth peanut butter with warm water, breast milk, formula, yogurt, or puree, or spread a very thin layer on a soft toast finger. Ask a clinician first if your baby has severe eczema or egg allergy.
Conclusion
Finger foods can begin at about 6 months when your baby has the posture, head control, hand-to-mouth coordination, and swallowing skills needed for solids. Start with soft graspable foods, change the size as fine-motor skills develop, and prioritize iron-rich options alongside fruits, vegetables, grains, and safe allergen forms. Calm meals, responsive feeding, correct preparation, and constant supervision give your baby room to build independence without sacrificing safety.
Sources
- CDC: When, What, and How to Introduce Solid Foods — readiness signs, timing, allergen introduction, and preparation.
- CDC: Choking Hazards — risky foods, safe mealtime setup, and supervision.
- CDC: Foods and Drinks to Avoid or Limit — honey, cow’s milk, juice, added sugar, and sodium.
- American Academy of Pediatrics: Introducing Common Food Allergens — safe early allergen exposure and peanut preparation.
- NHS Start for Life: Preparing Food Safely for Babies — safe shapes, narrow batons, and preparation examples.
- American Red Cross: Infant Choking — choking signs and emergency response.