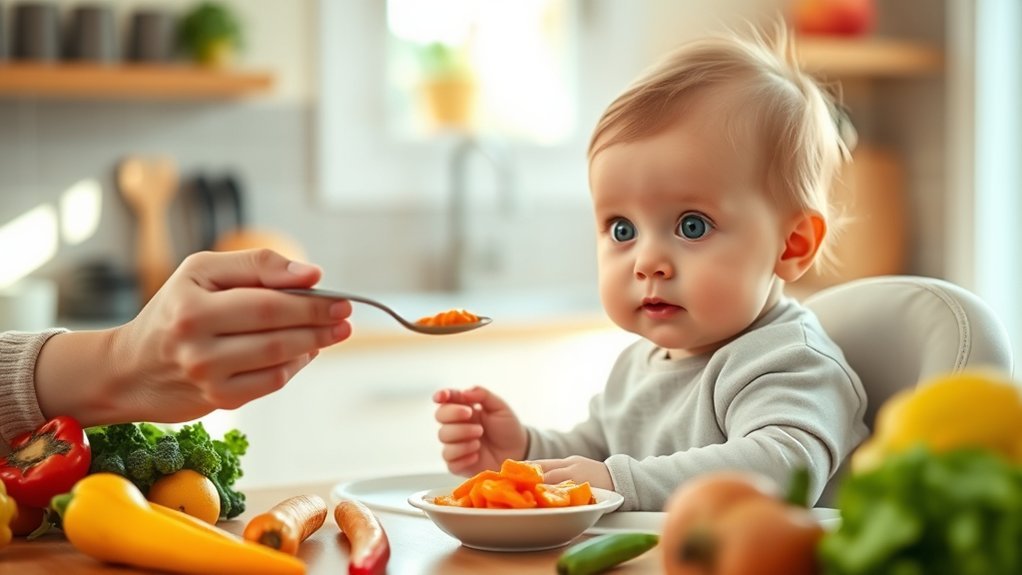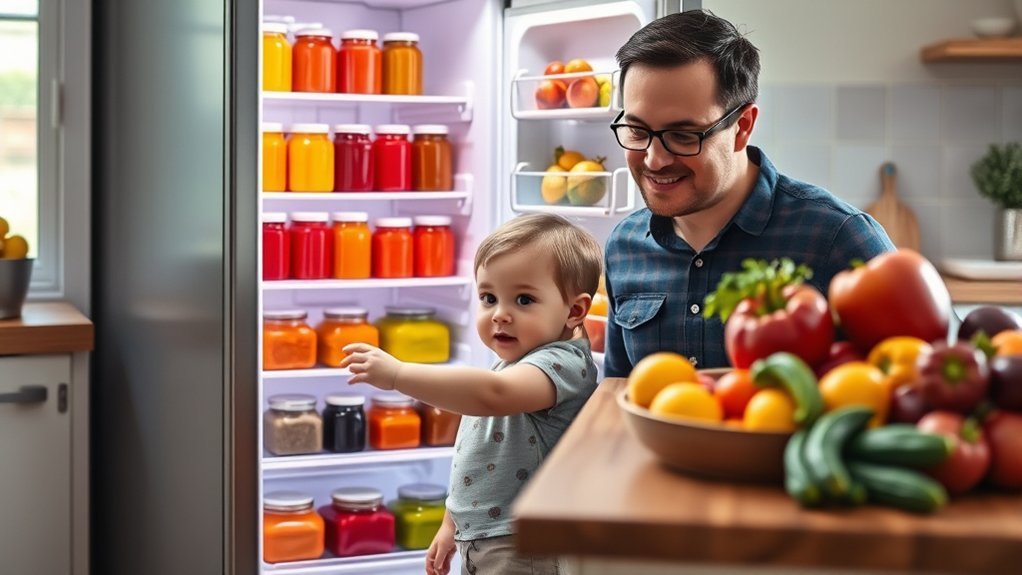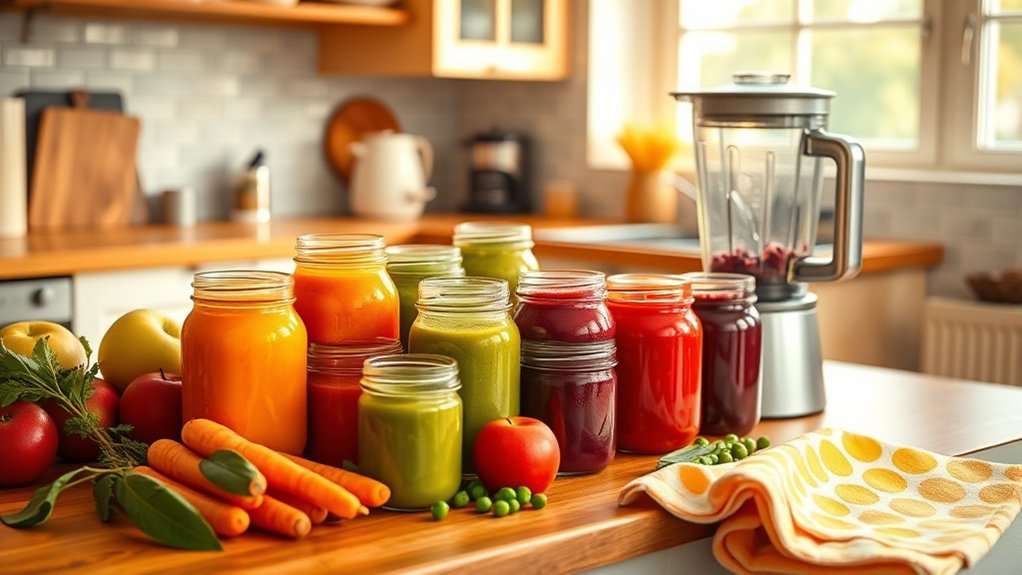
Homemade baby food meal prep can make busy weeks easier, but it does not require a special appliance or an all-day cooking session. A saucepan, fork or blender, clean storage containers, and a simple plan are enough. The priorities are safe handling, age-appropriate textures, varied ingredients, and following your baby’s hunger and fullness cues.
Quick Answer
Batch-cook two or three simple baby foods once a week, cool them promptly, portion them into clean freezer-safe containers, and label each batch. Refrigerate homemade food for no more than one to two days or freeze it for one to two months. Thaw safely, stir well, and serve developmentally appropriate textures.
Key Takeaways
- Most babies are ready for solid foods at about six months, but readiness skills matter more than the calendar alone.
- No special baby-food machine is required; ordinary cooking tools work well.
- For a simple safety rule, refrigerate homemade baby food for one to two days or freeze it for one to two months.
- Introduce varied tastes, iron-rich foods, and developmentally appropriate textures while breast milk or infant formula remains the main source of nutrition through 12 months.
- Avoid honey before 12 months, unpasteurized foods, unsafe choking shapes, added sugar, and heavily salted foods.
At a Glance
| Time Required | About 60–90 minutes for a small weekly batch |
| Difficulty | Easy |
| Tools Needed | Knife, cutting board, saucepan or steamer, fork or blender, spoon, freezer-safe containers, and labels |
| Cost | Low; mainly the cost of ingredients. A dedicated baby-food appliance is optional. |
Note: This guide provides general feeding and food-safety information, not individualized medical advice. Ask your pediatrician or feeding specialist for guidance if your baby was born prematurely, has poor growth, severe eczema, a known food allergy, swallowing trouble, frequent coughing during meals, or another medical condition.
Why Prepare Homemade Baby Food?
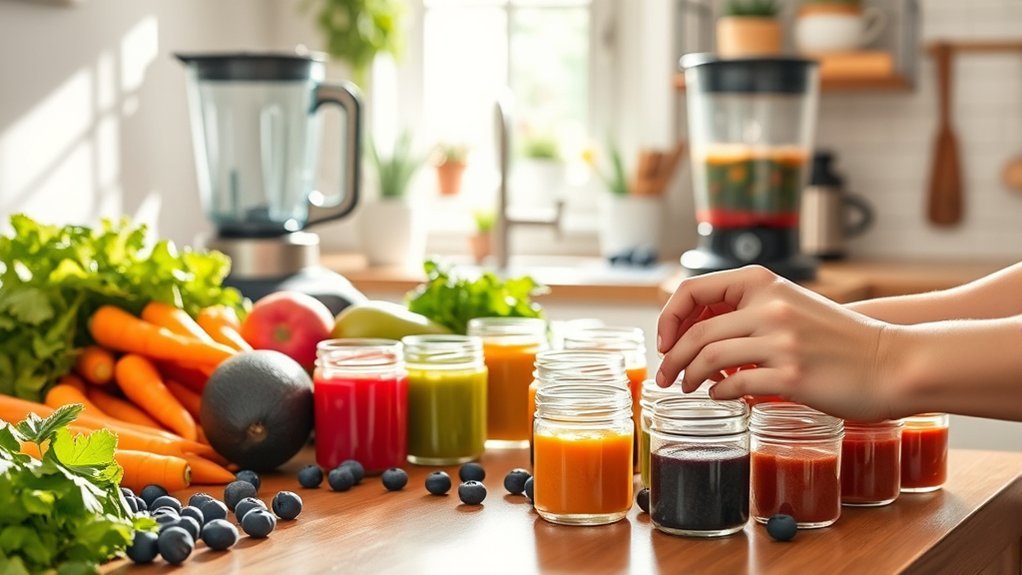
Making baby food at home lets you choose the ingredients, adjust the texture, and use foods already included in family meals. It can also reduce last-minute meal decisions when you cook and freeze small portions ahead of time.
Homemade food is not automatically more nutritious than commercial baby food. Either option can fit a healthy diet. What matters is offering varied, age-appropriate foods, using safe preparation methods, and including sources of iron, protein, healthy fats, fruits, vegetables, dairy foods without added sugar, and varied grains.
Home preparation can be especially useful when your family already cooks simple foods such as sweet potatoes, lentils, chicken, peas, oatmeal, eggs, beans, or avocado. Set aside the baby’s portion before adding extra salt, sugar, hot sauce, or heavily seasoned packaged ingredients.

Power your essentials anywhere with a 999Wh pure sine wave power station delivering up to 1000W continuous with 2000W surge. It supports fast charging via USB-C PD 60W and USB-A QC 18W, plus simultaneous output for multiple devices through AC, USB, wireless, and car/DC ports. Recharge using AC, car, or solar with a built-in MPPT controller and dual cooling fans, while the upgraded battery management system protects against surges, short circuits, and overheating.

𝗔𝗹𝗹-𝗶𝗻-𝗢𝗻𝗲 𝗕𝗮𝗯𝘆 𝗙𝗼𝗼𝗱 𝗠𝗮𝗸𝗲𝗿: Say goodbye to kitchen clutter! The Bear baby food maker does it all in one compact device—steam, blend, sterili-ze bottles and warm milk. Simplify your daily routine and create fresh, homemade meals for your little one without the need for extra appliances

【4-in-1 Baby Food Maker】Multifunctional baby food processor with steamer. You can steam cooks, blends, defrosts and reheats healthy food, which satisfy the needs of daily infant feeding. This baby food steamer is suitable for all vegetable, fish, fruit and meats.The unique steam circulation system locks in nutrients, flavors and vitamins, ensuring your baby benefits from delicious and healthy homemade food.
Know When Your Baby Is Ready for Solid Foods
The Centers for Disease Control and Prevention recommends introducing foods other than breast milk or infant formula at about six months. Starting before four months is not recommended.
Look for several readiness signs rather than relying on age alone. A baby who is ready can usually:
- Sit upright alone or with support.
- Control the head and neck.
- Open the mouth when food is offered.
- Swallow food instead of pushing it immediately back out.
- Reach for objects and bring them to the mouth.
- Move food from the front of the tongue toward the back to swallow.
Breast milk and/or infant formula remains the main source of nutrition from six through 12 months. Begin with about one or two tablespoons of food and let your baby decide whether to eat more. Turning away, closing the mouth, slowing down, or becoming distracted can signal fullness.
Warning: Stop feeding and seek professional advice if your baby repeatedly coughs, chokes, turns blue, has a wet or gurgly voice after swallowing, struggles to breathe, or cannot manage even very soft food.
Must-Have Tools for Easy Baby Food Prep
You do not need a dedicated baby-food maker. Start with tools you already own and add optional equipment only when it saves meaningful time.
| Tool | Purpose | Essential? |
|---|---|---|
| Saucepan or steamer basket | Cooks vegetables, fruit, grains, eggs, meat, and legumes until soft | Yes |
| Fork, potato masher, blender, or food processor | Creates smooth, mashed, lumpy, or finely chopped textures | A fork may be enough |
| Clean knife and cutting board | Prepares ingredients safely | Yes |
| Small freezer-safe containers or silicone tray | Freezes individual portions | Helpful |
| Labels and permanent marker | Records ingredients and preparation date | Strongly recommended |
| Steam-and-blend appliance or pressure cooker | Combines or speeds up some cooking steps | Optional |
Choose storage products that are intended for food use, close securely, and are suitable for the refrigerator or freezer. Replace containers that are cracked, warped, difficult to clean, or no longer seal properly.
Food-Safety Checklist Before You Start
Young children have a higher risk of serious foodborne illness, so safe handling is more important than having perfect-looking purees. Follow the four basic steps emphasized by FoodSafety.gov: clean, separate, cook, and chill.
- Wash your hands: Use soap and running water for at least 20 seconds before preparing food and after handling diapers, pets, raw meat, poultry, seafood, or eggs.
- Clean the equipment: Wash the blender, processor, knives, cutting boards, utensils, trays, and containers with hot soapy water and rinse them well.
- Separate raw and ready-to-eat foods: Do not use a cutting board or utensil that touched raw meat or egg for cooked food unless it has been thoroughly washed.
- Cook thoroughly: Cook meat, poultry, seafood, and eggs to safe temperatures. Use a food thermometer rather than judging by color alone.
- Use safe water: Use water from a safe drinking source for cooking, blending, and preparing infant formula.
- Chill promptly: Refrigerate or freeze perishable food within two hours. Use a shallow container or small portions so food cools more quickly.
Pro Tip: Spoon the amount your baby is likely to eat into a separate bowl. Keep the rest in the refrigerator. Food left in the serving bowl should be discarded after the meal because saliva from a used spoon can introduce bacteria.
Simple Strategies for Batch Cooking Baby Food
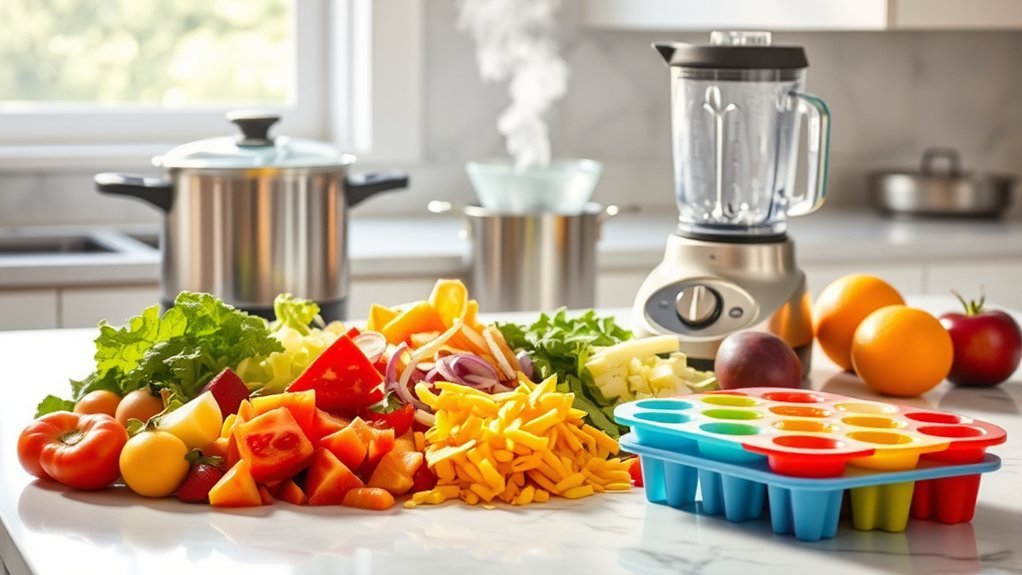
Choose any regular cooking window that works for your household. It could be Sunday afternoon, a quiet weekday evening, or the same time you prepare a family meal. A small batch of two or three foods is easier to cool, label, rotate, and use than a freezer filled with large quantities.
- Plan two or three foods: Choose ingredients your baby has already tolerated if you are making mixed meals. Include at least one iron-rich option, such as lentils, beans, egg, meat, tofu, or iron-fortified infant cereal.
- Wash and prepare: Peel when needed, remove seeds, pits, bones, skin, and tough connective tissue, and cut ingredients into evenly sized pieces.
- Cook foods separately: Steam, bake, simmer, or roast until each food is soft enough to mash easily with a fork.
- Adjust the texture: Mash, finely chop, or blend according to your baby’s current eating skills. Add small amounts of water, breast milk, or correctly prepared infant formula when a thinner texture is needed.
- Cool and portion: Divide the food into small meal-size portions rather than repeatedly thawing a large container.
- Label immediately: Record the ingredient or recipe and the preparation date.
- Refrigerate or freeze promptly: Keep enough for the next one or two days in the refrigerator and freeze the rest.
| Strategy | Practical Benefit |
|---|---|
| Cook two or three ingredients at once | Creates variety without an exhausting cooking session |
| Freeze small portions | Lets you thaw only what you need |
| Set aside family ingredients before seasoning | Reduces duplicate cooking |
| Rotate ingredients and grains | Supports dietary variety and prevents reliance on a single food |
Quick and Nutritious Baby Food Recipes
There is no required order for first foods. Begin with simple ingredients and offer foods from different groups over time. The CDC recommends using varied fortified cereals, such as oat, barley, and multigrain cereal, instead of relying only on rice cereal.
Carrot Puree or Mash
- Peel and dice carrots into small, even pieces.
- Steam or simmer until they are very soft.
- Blend with a small amount of water for a smooth puree, or mash with a fork for a thicker texture.
- Allow the food to cool before serving.
For babies ready for more texture, leave the carrots slightly lumpy or serve very soft, appropriately cut pieces instead of making a completely smooth puree.
Sweet Potato Puree
- Bake or steam a peeled sweet potato until soft throughout.
- Mash the flesh with a fork or blend it.
- Add a little water, breast milk, or prepared infant formula if a thinner texture is needed.
Sweet potato can later be combined with foods your baby has already tolerated, such as lentils, chicken, plain yogurt, or beans.
Lentil and Vegetable Mash
- Rinse dry lentils and check for small stones or debris.
- Simmer them in water until completely soft.
- Add a soft cooked vegetable such as carrot, pea, or sweet potato.
- Mash or blend to the texture your baby can manage.
Use water or unsalted homemade cooking liquid rather than ordinary packaged broth, which may contain more sodium than a baby needs.
Egg and Avocado Mash
- Cook the egg until both the white and yolk are firm.
- Mash a small amount of egg with ripe avocado.
- Add water as needed to prevent a dry or sticky texture.
Egg is a common allergen. Introduce it in a small amount when your baby is healthy, awake, and able to be observed for a reaction.
Oatmeal With Fruit
- Prepare iron-fortified oat infant cereal according to its package directions.
- Stir in a small amount of mashed banana, pear, peach, or another fruit your baby has tolerated.
- Serve it by spoon rather than putting cereal or puree into a bottle.
Properly Storing and Freezing Baby Food
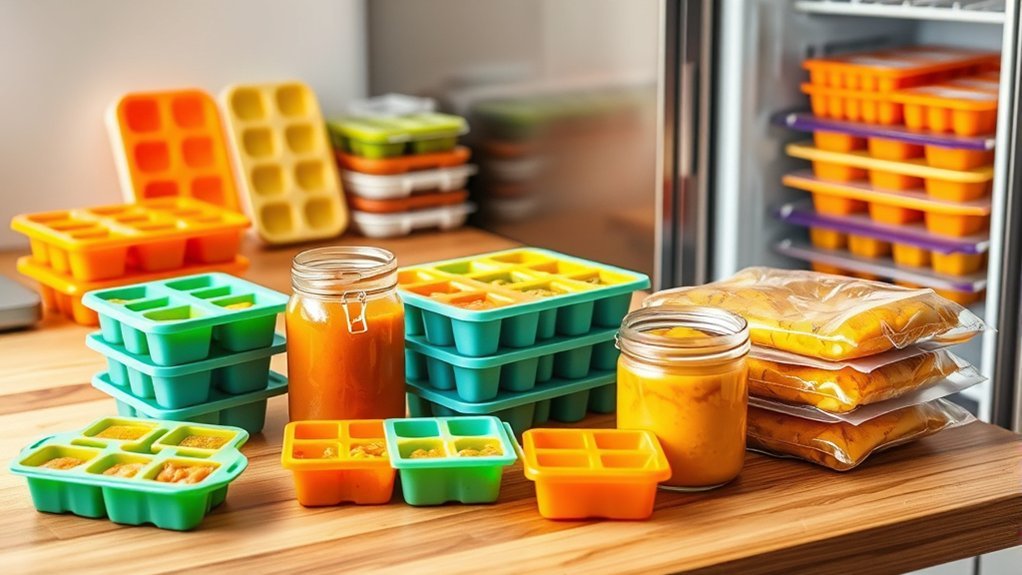
Divide freshly prepared food into clean, meal-size portions. Refrigerate the portions you expect to use soon and freeze the rest in airtight freezer-safe containers or a covered food-grade silicone tray.
The latest FoodSafety.gov storage chart gives the following limits:
| Food Type | Refrigerator | Freezer |
|---|---|---|
| Homemade baby foods | 1–2 days | 1–2 months |
| Strained fruits and vegetables | 2–3 days | 6–8 months |
| Strained meats and eggs | 1 day | 1–2 months |
| Meat and vegetable combinations | 1–2 days | 1–2 months |
Because a mixed homemade recipe may contain several ingredients, using one to two days in the refrigerator and one to two months in the freezer is a simple conservative rule.
How to Freeze Baby Food
- Cool the cooked food promptly.
- Spoon it into clean, small freezer-safe portions.
- Cover or seal the container.
- Write the food name and preparation date on the label.
- Freeze the portions promptly.
- Once tray portions are solid, transfer them to a labeled airtight freezer container if desired.
- Use the oldest portions first.
How to Thaw and Reheat Baby Food
- Refrigerator: Thaw the portion in the refrigerator overnight.
- Stovetop: Warm the food in a small saucepan, stirring frequently.
- Microwave: Transfer the food to a microwave-safe dish. Do not heat it in a jar. Stir thoroughly, let it stand for at least 30 seconds, and test several spots before feeding.
- Meat or egg baby food: FoodSafety.gov recommends using the stovetop rather than the microwave because high-fat foods can splatter or overheat.
Warning: Food should be lukewarm, not hot. Stir after heating because microwaves can create hot spots. Never microwave breast milk or infant formula, and discard any food left in the baby’s serving bowl after the meal.
Serving Baby Food Alongside Family Meals
Your baby can take part in family meals without eating every dish exactly as the adults do. Set aside an unseasoned portion before adding salt, sugar, salty sauces, stock cubes, processed meat, or very spicy ingredients. Then modify the texture to match your baby’s current skills.
Shared meals provide opportunities to observe other people eating, handle food, and experience a range of smells, tastes, and textures. They can support a positive feeding routine, but they do not guarantee that a child will never become selective about food.
| Family Meal | Baby-Friendly Modification | Possible Texture |
|---|---|---|
| Spaghetti Bolognese | Reserve sauce and fully cooked meat before adding salty cheese or extra seasoning; finely chop the pasta | Mashed, minced, or finely chopped |
| Roasted Chicken | Remove skin, bones, and tough pieces; moisten finely shredded or minced meat | Soft and moist |
| Vegetable Stir-Fry | Set aside vegetables before adding salty sauce; cook until easily squashed between two fingers | Mashed or safely cut soft pieces |
| Mashed Potatoes | Prepare without extra salt; thin the baby’s portion with water, breast milk, or prepared formula if needed | Smooth, thick, or slightly lumpy |
| Bean or Lentil Soup | Use an unsalted portion; mash beans and vegetables and check carefully for bones or hard pieces | Mashed or thick puree |
Introducing New Flavors, Allergens, and Textures
Offer one single-ingredient food at a time at first and wait three to five days before adding another new food. This makes it easier to connect a reaction or digestive problem with a particular ingredient.
A three-parts-familiar to one-part-new mixture can be used as an optional taste bridge when a baby is hesitant, but it is not an allergy test. When introducing a potential allergen for the first time, offer that food separately or in a simple recipe so you know what was eaten.
Once your baby is developmentally ready for solids, common allergens should not be delayed without a medical reason. These include:
- Well-cooked egg
- Peanut and tree-nut products in thinned, smooth forms
- Pasteurized plain yogurt and other dairy foods without added sugar
- Wheat
- Soy
- Sesame
- Fish and shellfish that are fully cooked and free of bones
The American Academy of Pediatrics advises families to speak with a pediatrician before peanut introduction when a baby has severe persistent eczema, egg allergy, or a previous immediate food reaction.
Never give whole nuts or a thick spoonful of nut butter. Thin smooth nut butter with warm water, breast milk, prepared formula, plain yogurt, infant cereal, or a familiar puree until it is easy to swallow.
Warning: Hives, facial or lip swelling, repeated vomiting, coughing, wheezing, trouble swallowing, unusual sleepiness, or breathing difficulty can signal an allergic reaction. Call emergency services immediately for breathing trouble, widespread symptoms, collapse, or another suspected severe reaction. Use prescribed epinephrine without delay when your child’s emergency plan calls for it.
Texture should also progress as your baby’s skills develop. Move gradually from smooth purees to thicker mashes, soft lumps, finely chopped foods, and safe finger foods. Staying with completely smooth purees for convenience should not prevent your baby from practicing more advanced textures when ready.
Choking Prevention During Baby Meals
Gagging and choking are not the same. Gagging may involve noise, coughing, or pushing food forward. Choking can be silent and may prevent breathing. Learn infant choking first aid from a qualified instructor and discuss emergency response with your child’s healthcare professional.
Follow the current CDC choking-prevention guidance:
- Seat your baby upright in a secure high chair or other safe feeding seat.
- Watch continuously while your baby eats.
- Keep meals calm and avoid eating while crawling, walking, riding in a car, or sitting in a moving stroller.
- Cook hard fruit and vegetables until soft.
- Cut round foods such as grapes, berries, cherries, and small tomatoes into safe pieces.
- Remove bones, pits, seeds, tough skin, and hard pieces.
- Do not serve whole nuts, popcorn, hard candy, chunks of nut butter, tough meat, whole hot-dog rounds, large cheese chunks, or raw hard vegetables.
- Match the shape, size, and texture to your baby’s developmental abilities.
Foods and Drinks to Avoid or Limit Before Age One
Some foods are unsafe for babies, while others can crowd out more nutritious choices. The CDC recommends avoiding or limiting the following:
- Honey before 12 months: Do not add honey to food, water, formula, baked dishes intended for the baby, or a pacifier because of infant botulism risk.
- Unpasteurized foods and drinks: Avoid raw milk, unpasteurized juice, and unpasteurized cheese or yogurt.
- Cow’s milk as a drink before 12 months: Pasteurized yogurt and cheese may be offered earlier, but cow’s milk should not replace breast milk or infant formula as the main drink.
- Fruit or vegetable juice before 12 months: Whole fruit is a better choice.
- Added sugars: Avoid sweetened yogurt, sugary drinks, desserts, and other foods with added sugar.
- High-sodium foods: Limit processed meats, salty packaged meals, stock cubes, salty sauces, and heavily salted canned foods.
- High-mercury fish: Avoid shark, swordfish, king mackerel, marlin, orange roughy, Gulf of Mexico tilefish, and bigeye tuna.
- Unsafe choking foods: Avoid whole nuts, popcorn, hard raw fruit or vegetables, whole grapes, round sausage pieces, and thick spoonfuls of nut butter.
Creative Ways to Use Frozen Baby Food
Frozen portions do not have to be served as plain puree every time. After thawing safely, use a portion in a meal your baby is already ready to eat.
- Oatmeal mix-in: Stir thawed fruit or vegetable puree into warm infant oatmeal.
- Plain yogurt topping: Mix a tolerated fruit puree into pasteurized plain yogurt without added sugar.
- Soup thickener: Add thawed vegetable puree to an unsalted family soup after setting aside the baby’s portion.
- Sauce base: Combine carrot, squash, pea, or sweet potato puree with finely chopped pasta or soft grains.
- Protein mixture: Blend a vegetable puree with lentils, beans, tofu, egg, chicken, or fish that your baby has already tolerated.
- Thick smoothie-style bowl: For an older baby who handles the ingredients safely, combine fruit puree with plain yogurt and serve it by spoon rather than as a sweet drink or in a bottle.
One small frozen portion can become a side dish, oatmeal mix-in, pasta sauce, soup thickener, or part of a balanced meal.
Tips for Efficient Baby Food Meal Prep
- Cook once and change the texture: Blend one portion smooth while leaving another portion mashed or finely chopped for later texture practice.
- Use family ingredients: Reserve an unseasoned portion before finishing the adult meal.
- Keep the batch small: Prepare enough for several meals rather than several months.
- Freeze ingredients separately: Separate cubes of vegetables, fruit, grains, and proteins make it easier to build varied combinations.
- Keep a freezer list: Record the food, preparation date, and remaining portions so older food is used first.
- Pre-chop strategically: Clean and cut vegetables shortly before cooking, or freeze raw prepared vegetables separately for later cooking. Do not leave cut produce at room temperature.
- Choose hands-off cooking methods: Steaming, baking, or a pressure cooker can cook several ingredients while you complete another task.
- Prepare the next day’s portion at night: Move one frozen portion to the refrigerator before bed rather than relying on last-minute thawing.
Baby Food Troubleshooting
| Problem | What to Do |
|---|---|
| Puree is too thick | Stir in small amounts of water, breast milk, or prepared infant formula until it is easy to swallow. |
| Puree is too thin | Mix in mashed food, iron-fortified infant cereal, or another thicker ingredient your baby has tolerated. |
| Food separates after thawing | Stir it thoroughly. Separation is common in frozen fruit and vegetable purees. |
| Food looks dry or freezer-burned | Discard it if the seal failed, the date is unknown, or quality is poor. Use airtight containers and remove excess air next time. |
| Baby refuses a new food | Stay calm, end the meal when your baby is finished, and offer the food again another day without pressure. |
| Baby accepts only smooth purees | Gradually thicken familiar foods and add very soft lumps. Ask a pediatrician or feeding specialist for help if texture progress causes repeated coughing, choking, distress, or vomiting. |
Frequently Asked Questions
How do I know if my baby is ready for solid foods?
Most babies become ready at about six months. Look for good head and neck control, the ability to sit upright with support, interest in food, opening the mouth for a spoon, and swallowing food instead of immediately pushing it out. Starting before four months is not recommended.
Can I mix different purees together?
Yes. Mix foods after your baby has tolerated the individual ingredients. Combining vegetables, fruit, grains, and protein foods can add variety, but avoid mixtures with added sugar, excess salt, honey, or unsafe textures.
What are the best first foods for babies?
There is no required first-food order. Good choices include iron-rich meat, lentils, beans, tofu, well-cooked egg, and iron-fortified oat or multigrain infant cereal, along with soft vegetables, fruit, avocado, and pasteurized plain yogurt. Offer varied grains rather than relying only on rice cereal.
How long can homemade baby food stay in the freezer?
FoodSafety.gov lists one to two months for homemade baby food. Some separately strained fruits and vegetables have a longer listed freezer time, but using one to two months for mixed homemade batches is a simple conservative rule.
What is the safest way to reheat frozen baby food?
Thaw it in the refrigerator and warm it on the stovetop, or microwave it in a separate microwave-safe dish. Stir thoroughly, let it stand, and test several spots before feeding. The food should be lukewarm. Do not microwave food in a jar or microwave breast milk or infant formula.
Should I delay peanut, egg, or other allergenic foods?
Common allergens generally do not need to be delayed once a baby is developmentally ready for solids. Offer a small amount in a safe texture and observe your baby. Speak with a pediatrician first if your baby has severe eczema, egg allergy, a known food allergy, or a previous immediate food reaction.
Which foods should babies under one avoid?
Avoid honey, unpasteurized foods and drinks, juice, cow’s milk as the main drink, high-mercury fish, foods with added sugar, heavily salted foods, and choking hazards such as whole nuts, popcorn, hard raw vegetables, whole grapes, and thick spoonfuls of nut butter.
Conclusion
Homemade baby food meal prep works best when it stays simple. Cook a few varied ingredients, use the texture your baby can safely manage, cool and store the food promptly, and thaw only what you need. Pair practical batch cooking with continued breast milk or infant formula, responsive feeding, safe allergen introduction, and steady texture progress. The goal is not a perfect freezer full of purees; it is safe, varied food that fits your baby’s development and your family’s routine.
Sources
- CDC: When, What, and How to Introduce Solid Foods — readiness signs, first foods, allergens, preparation, and texture guidance
- FoodSafety.gov: Children Under Five — hygiene, refrigerator and freezer storage limits, and microwave precautions
- CDC: Choking Hazards — safe seating, supervision, food preparation, and choking-risk foods
- CDC: Foods and Drinks to Avoid or Limit — honey, sodium, sugar, mercury, unpasteurized foods, milk, and juice guidance
- American Academy of Pediatrics: Introducing Common Food Allergens — allergen timing, safe forms, and high-risk infant guidance
- FDA: Once Baby Arrives — handwashing, equipment cleaning, contamination prevention, and infant food handling