Batch cooking baby food can save time, reduce waste, and make it easier to offer a variety of age-appropriate foods. The key is to treat each batch like any other perishable food: start with clean hands and tools, cook foods safely, chill them promptly, portion them before storage, and keep saliva-contaminated leftovers out of the main batch. This guide is for babies who are developmentally ready for complementary foods, usually at about 6 months. Ask your pediatrician or a registered dietitian for individual feeding advice, especially if your baby was born early, has feeding difficulties, severe eczema, or a known food allergy.
Quick Answer
To batch cook baby food safely, prepare developmentally appropriate foods with clean equipment, portion them into small containers, and refrigerate or freeze within 2 hours. Label every portion. Use homemade baby food within 1–2 days in the refrigerator or follow the conservative freezer limit of 1–2 months.
Key Takeaways
- Start solids at about 6 months when your baby shows readiness signs; breast milk or infant formula remains the main source of nutrition from 6 to 12 months.
- Wash hands and equipment, rinse produce under running water, prevent cross-contamination, and cook meat, poultry, fish, and eggs thoroughly.
- Do not leave cooked food on the counter to cool completely. Divide it into shallow portions and refrigerate or freeze promptly.
- Use a clean serving spoon and place only one meal’s portion in the feeding bowl. Discard food left in a bowl after your baby has eaten from it.
- Introduce single-ingredient foods one at a time at first, then build variety with iron-rich foods, vegetables, fruits, whole grains, healthy fats, and age-appropriate allergens.
At a Glance
| Time Required | About 60–120 minutes, depending on the number of foods and cooking methods |
| Difficulty | Easy, with careful food-safety steps |
| Tools Needed | Knife, cutting board, pot or steamer, blender or masher, clean containers, labels, and food thermometer |
| Cost | Usually low; frozen produce and family-meal ingredients can help control cost |
How to Start Batch Cooking Baby Food
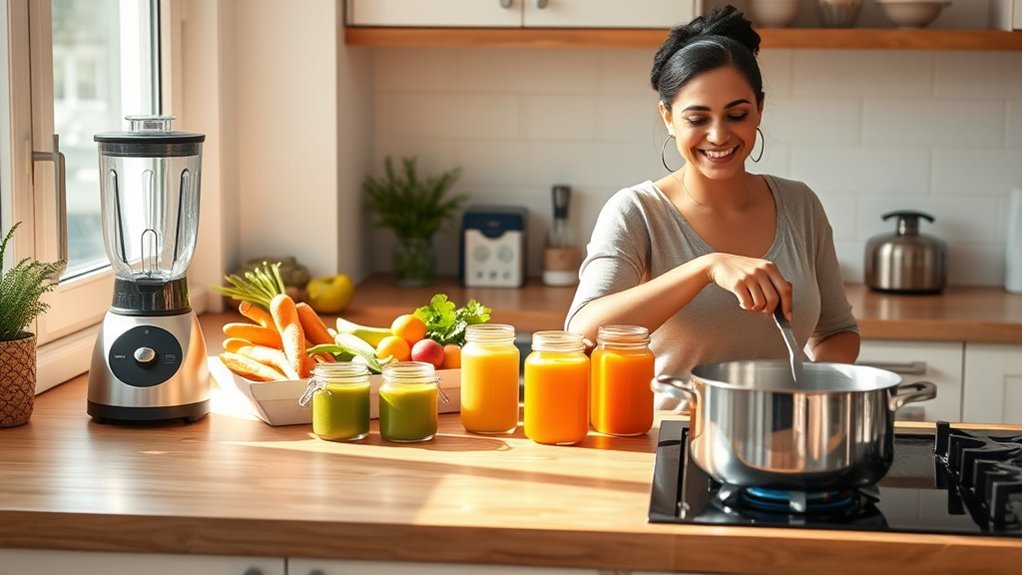
Begin with a short plan rather than cooking a freezer full of food your baby has never tried. Choose two or three ingredients your baby has already tolerated, plus one new food to serve separately. Make a shopping list, check that you have clean containers and freezer space, and decide which textures match your baby’s current eating skills.
Fresh ingredients are useful, but they do not have to be organic. Plain frozen fruits and vegetables can also work well. Choose products without added salt, sugar, sauces, or seasoning blends. Wash fresh produce under running water before peeling or cutting it; the FDA does not recommend soap or commercial produce wash.
Note: Homemade baby food is not homemade infant formula. Never make formula from online recipes or household ingredients. Use breast milk or a regulated commercial infant formula as directed by your baby’s clinician.

Power your essentials anywhere with a 999Wh pure sine wave power station delivering up to 1000W continuous with 2000W surge. It supports fast charging via USB-C PD 60W and USB-A QC 18W, plus simultaneous output for multiple devices through AC, USB, wireless, and car/DC ports. Recharge using AC, car, or solar with a built-in MPPT controller and dual cooling fans, while the upgraded battery management system protects against surges, short circuits, and overheating.

Effortless Meal Preparation: Streamline your baby's nutrition with our 3 Pack Silicone Freezer Tray. Batch prepare baby food, purees, breastmilk, and more for efficient and convenient meal planning.

Effortless Meal Preparation: Streamline your baby's nutrition with our 3 Pack Silicone Freezer Tray. Batch prepare baby food, purees, breastmilk, and more for efficient and convenient meal planning.
Confirm Your Baby Is Ready for Solids
The CDC recommends starting complementary foods at about 6 months, not before 4 months. Readiness signs include steady head and neck control, sitting alone or with support, opening the mouth for food, swallowing rather than pushing food out, and bringing objects toward the mouth.
Complementary foods add to breast milk or infant formula; they do not replace it all at once. From 6 to 12 months, breast milk or formula remains the main source of nutrition while your baby gradually learns to eat a wider range of foods.
Benefits of Batch Cooking for Baby’s Nutrition
Batch cooking can make it easier to serve varied meals on busy days. You control the ingredients and texture, can adapt parts of a family meal before adding extra salt, and can prepare small portions that reduce waste. It may also cost less than relying only on single-serve commercial foods.
Freezing does not guarantee that every nutrient remains unchanged, but it can preserve food safely and help maintain quality when food is packaged and stored correctly. The larger nutritional benefit comes from variety: include iron-rich foods, protein, vegetables, fruits, whole grains, and healthy fats instead of relying on fruit-only purees or the same grain every day.
A useful freezer is not the one with the most cubes—it is the one with small, clearly dated portions your baby can safely eat before their quality declines.
Kitchen Tools for Batch Cooking Baby Food
- Two cutting boards: one for produce and one for raw meat, poultry, seafood, or eggs.
- Sharp knife and vegetable peeler: for removing skins, pits, seeds, bones, and tough parts.
- Pot, steamer basket, sheet pan, or pressure cooker: choose a method that cooks food until soft and safe.
- Blender, food processor, immersion blender, potato masher, or fork: use the simplest tool that creates the right texture.
- Food thermometer: essential for checking meat, poultry, fish, egg dishes, and reheated leftovers.
- Small airtight containers or covered freezer trays: use glass, silicone, or food-grade plastic designed for freezing.
- Labels and marker: write the food name, preparation date, and any allergen in the recipe.
Wash blenders, food processors, utensils, trays, and containers with hot, soapy water and rinse them well before use. Replace deeply scratched plastic containers or damaged lids that no longer seal.
Step-by-Step: How to Make Baby Food in Batches
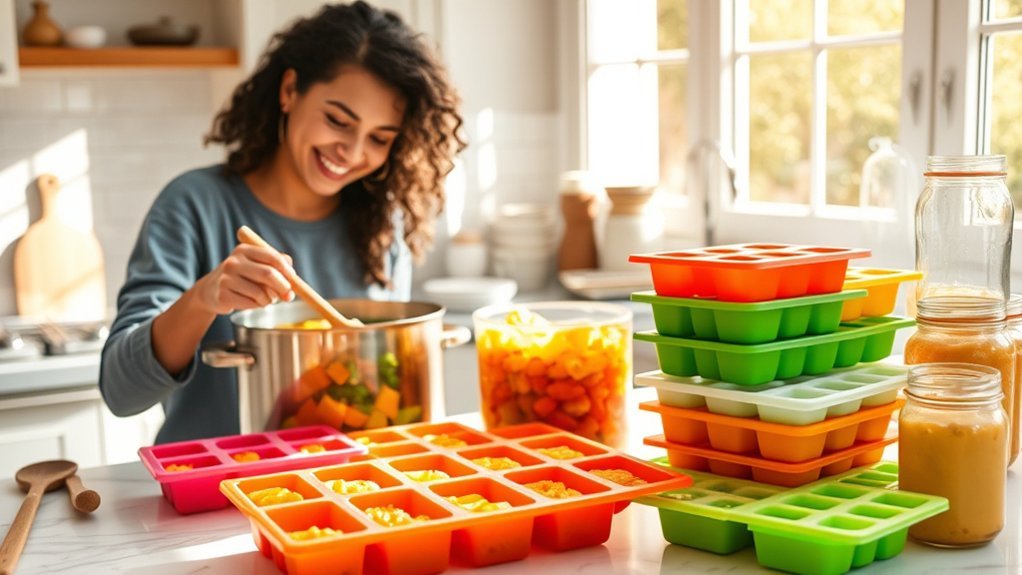
- Plan a small menu. Pick foods your baby already tolerates and one new ingredient to serve separately. Include at least one iron-rich option, such as meat, beans, lentils, egg, tofu, or iron-fortified infant cereal.
- Clean first. Wash your hands for at least 20 seconds. Clean counters, cutting boards, utensils, and appliances. Keep raw animal foods away from ready-to-eat produce.
- Prepare the ingredients. Rinse produce under running water. Remove pits, seeds, bones, skin, excess fat, and tough peels. Do not use soap on fruits or vegetables.
- Cook safely. Steam, roast, simmer, or bake until foods are soft enough for the planned texture. Use a thermometer for animal foods rather than relying on color.
- Blend or mash. Add small amounts of water, breast milk, or prepared infant formula as needed for texture. Do not add honey for babies younger than 12 months.
- Portion immediately. Put one meal’s amount into each clean container or covered freezer-tray section. Smaller portions thaw faster and reduce waste.
- Chill promptly. Do not wait for the entire batch to cool to room temperature. Divide it into shallow containers and refrigerate or freeze within 2 hours of cooking, or within 1 hour when the surrounding temperature is above 90°F (32°C).
- Label and rotate. Mark the food, date, texture, and allergens. Place newer food behind older food so the oldest safe portion is used first.
Pro Tip: Freeze ingredients separately before making mixed meals. Separate cubes of beans, vegetables, grains, and fruit let you change flavors and textures without preparing a completely new batch.
Cook and Cool Baby Food Safely
Babies and young children have a higher risk of serious foodborne illness, so careful temperature control matters. Follow the federal safe minimum temperature chart when cooking animal foods:
- Poultry: 165°F (74°C).
- Ground beef, pork, lamb, or veal: 160°F (71°C).
- Fish: 145°F (63°C), or until opaque and easy to separate with a fork.
- Eggs: cook until the yolk and white are firm; cook egg dishes to 160°F (71°C).
- Previously cooked leftovers: reheat to 165°F (74°C).
After cooking, divide food into shallow containers for faster cooling. Prompt chilling is safer than leaving a large pot on the counter. Keep the refrigerator at 40°F (4°C) or below and the freezer at 0°F (-18°C) or below.
Warning: Never return food from your baby’s bowl to the refrigerator or freezer. Saliva from a used spoon can contaminate the food. Serve a small amount, add more with a clean spoon if needed, and discard what remains in the feeding bowl.
How to Store Batch-Cooked Baby Meals Safely
Use clean, airtight, freezer-safe containers. Glass is sturdy for refrigerator storage, silicone trays make small portions easy to release, and food-grade plastic is lightweight for travel. Only freeze glass containers labeled freezer-safe, and leave headspace because food expands as it freezes.
Proper Container Selection
| Container | Best Use | Safety Check |
|---|---|---|
| Freezer-safe glass | Refrigerator or freezer portions | Leave headspace and avoid chipped jars |
| Covered silicone tray | Small frozen portions | Use a tight cover; transfer solid cubes to a dated bag or container |
| Food-grade plastic | Lightweight storage and travel | Use only containers intended for food and replace damaged pieces |
| Small single-meal container | Fast thawing and less waste | Do not feed directly from the master storage container |
Baby Food Storage Times
The current federal tables are not perfectly consistent. FoodSafety.gov lists homemade baby food for 1–2 days refrigerated and 1–2 months frozen, while an FDA baby-food page lists a longer freezer window. The table below uses the more conservative FoodSafety.gov limit for homemade batches.
| Food Type | Refrigerator at 40°F or Below | Freezer at 0°F or Below |
|---|---|---|
| Homemade baby food | 1–2 days | 1–2 months |
| Strained meat or egg | 1 day | 1–2 months |
| Meat-and-vegetable combination | 1–2 days | 1–2 months |
| Food left in the feeding bowl | Discard after the meal | Do not freeze |
Storage times assume the food was handled safely before storage. Throw food away sooner if the container leaked, the refrigerator rose above 40°F for an extended period, the food sat out too long, or you are unsure how it was handled.
Best Practices for Freezing and Thawing Baby Food
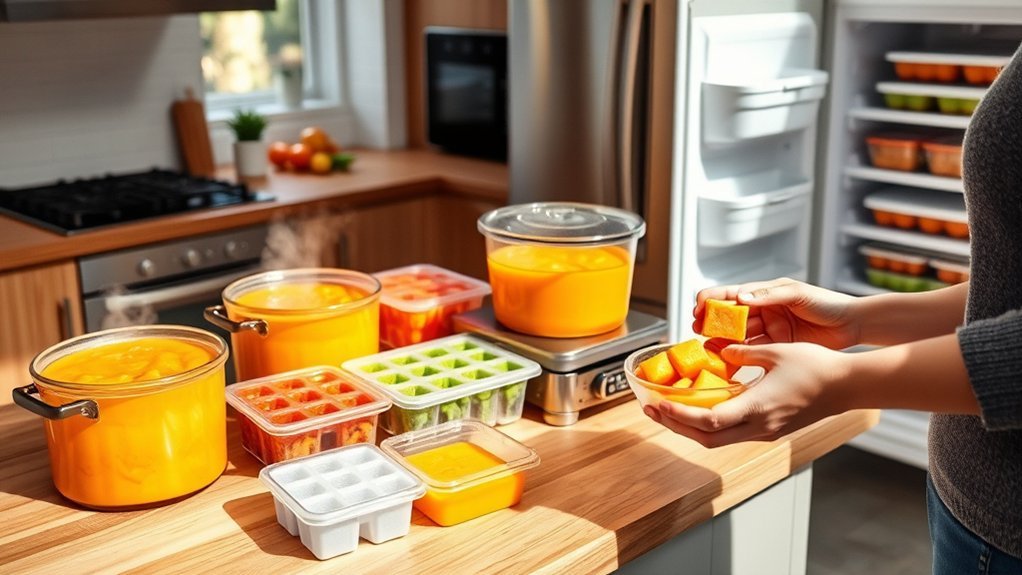
How to Freeze Baby Food
- Portion freshly prepared food into clean, covered freezer trays or small freezer-safe containers.
- Freeze promptly in a single layer so the portions harden quickly.
- Once tray portions are solid, transfer them to a labeled freezer bag or airtight container to reduce freezer burn.
- Press out excess air, seal the container, and write the food name and preparation date.
- Store portions away from the freezer door, where temperature changes are more frequent.
Thawing and Heating Guidelines
The safest routine is to move one or two portions to the refrigerator the night before. You can also thaw a sealed container under cold running water or use a microwave when the food will be heated and served immediately. Never thaw baby food on the counter.
Count thawing time as part of the refrigerated storage limit. For the simplest routine and best quality, thaw only what you need and do not refreeze a fully thawed serving.
| Method | How to Use It | Important Limit |
|---|---|---|
| Refrigerator | Thaw overnight in a covered container | Keep at 40°F or below |
| Cold running water | Keep food sealed while thawing | Use or heat promptly |
| Microwave | Transfer to a microwave-safe dish, stir, and rotate | Never microwave in a storage jar; use immediately |
| Countertop | Do not use | The outer food can warm into the danger zone while the center stays frozen |
How to Reheat Baby Food
Warm only the portion you plan to serve. Previously cooked leftovers should reach 165°F (74°C), then be stirred and cooled to a comfortable, lukewarm serving temperature. According to the FDA’s baby-food heating guidance, do not microwave food in a jar. Transfer it to a dish, stir well, let it stand for at least 30 seconds, and test the temperature before feeding. Heat meat- or egg-based baby food on the stovetop rather than in the microwave because it can splatter or overheat.
Avoid repeated cycles of warming and cooling. If your baby is likely to eat only a few spoonfuls, heat a small serving and keep the untouched portion refrigerated.
How Batch Cooking Helps Introduce Solids
Batch cooking gives you a ready supply of small portions, so you can offer new foods without preparing a full recipe at every meal. It also makes it easier to adjust texture as your baby develops.
Explore Varied Flavors
At first, serve one single-ingredient food at a time and wait 3–5 days before another new food so reactions are easier to identify. After foods are tolerated, combine them in different ways. Separate frozen portions help you pair familiar foods with new tastes without wasting a large mixed batch.
Aim for real variety rather than several recipes built around the same sweet ingredient. Rotate vegetables, fruits, beans, lentils, eggs, meat, fish, yogurt, tofu, whole grains, and healthy fats. Offer different grains instead of relying only on rice cereal.
Move Through Textures Gradually
- Smooth or finely mashed: useful when your baby first begins solids.
- Thicker mashed or lumpy: introduce as your baby manages food more confidently.
- Finely chopped or ground: offer when your baby is ready for more chewing practice.
- Soft finger foods: cut into developmentally safe shapes and supervise every meal.
Do not keep every batch completely smooth for months just because purees freeze easily. The CDC encourages a progression of tastes and textures that matches the child’s eating skills.
Keep Convenient Meals Available
A labeled freezer supply can reduce daily cooking stress and make it easier to offer a balanced meal. For example, combine one iron-rich cube, one vegetable cube, and one grain cube after those ingredients have been introduced separately. Adjust thickness with water, breast milk, or prepared formula just before serving.
Introducing Allergens While Batch Cooking
Potentially allergenic foods should not be delayed simply because you are batch cooking. The CDC advises introducing them when other complementary foods are introduced. Offer one new allergen in a baby-safe form and a small amount when your baby is healthy and you can observe them.
- Peanut: use smooth peanut butter thinned with warm water, breast milk, prepared formula, or puree. Never offer whole nuts or a thick spoonful of nut butter.
- Egg: serve fully cooked egg in a soft, mashed texture.
- Dairy: plain pasteurized yogurt can be introduced before 12 months, but cow’s milk should not replace breast milk or formula as a drink before age 1.
- Fish and shellfish: cook thoroughly, remove every bone or shell fragment, and mash to a safe texture.
- Wheat, soy, and sesame: use soft, age-appropriate forms without choking hazards.
If your baby has severe eczema, an egg allergy, or a previous reaction, ask the child’s clinician how and when to introduce peanut or other allergens. Once an allergen is tolerated, it can be included in future batches rather than treated as a one-time exposure.
Warning: Stop feeding and seek urgent medical help for signs of a severe allergic reaction, such as trouble breathing, swelling of the tongue or throat, widespread hives with vomiting, sudden weakness, or unusual limpness.
Foods and Preparations to Avoid
- Honey before 12 months: it can cause infant botulism, including honey baked or mixed into food.
- Unpasteurized milk, cheese, yogurt, or juice: these can contain harmful bacteria.
- Raw or undercooked eggs, meat, poultry, seafood, or sprouts: cook high-risk foods thoroughly.
- Whole nuts, popcorn, whole grapes, hard raw vegetables, round sausage slices, thick nut butter, and other choking hazards: change the shape and texture or avoid them.
- Added sugars and heavily salted foods: let your baby learn the natural taste of food and use nutrient-dense ingredients.
- Juice before 12 months: offer whole fruit in a safe texture instead.
- Cow’s milk as the main drink before 12 months: continue breast milk or infant formula unless your clinician advises otherwise.
Always seat your baby upright and supervise eating. Review the CDC choking-prevention guidance as your baby moves from purees to finger foods.
Common Mistakes to Avoid When Batch Cooking Baby Food
- Waiting for food to cool completely on the counter. Portion it in shallow containers and chill it promptly instead.
- Making a large batch of an untried food. Introduce new ingredients separately before mixing them into freezer meals.
- Using the same cutting board for raw meat and produce. Prevent cross-contamination with separate equipment and thorough washing.
- Guessing cooking temperatures. Use a food thermometer for animal foods and reheated leftovers.
- Leaving trays uncovered. Cover trays while freezing, then move solid portions to airtight storage.
- Failing to label portions. Include the food name, preparation date, texture, and allergens.
- Feeding from the storage container. Transfer a small portion to a separate bowl before feeding.
- Reheating the whole batch repeatedly. Warm only what your baby is likely to eat.
- Keeping every food completely smooth. Advance texture as your baby’s skills develop.
- Assuming homemade is automatically safer or more nutritious. Safety and nutrition depend on ingredient variety, preparation, storage, and the baby’s individual needs.
Creative Baby Food Recipes for Batch Cooking
Use these combinations only after the individual ingredients have been introduced and tolerated. Adjust the texture to your baby’s skills, and leave out honey, added sugar, and heavy seasoning.
| Combination | Preparation | Texture or Flavor Option |
|---|---|---|
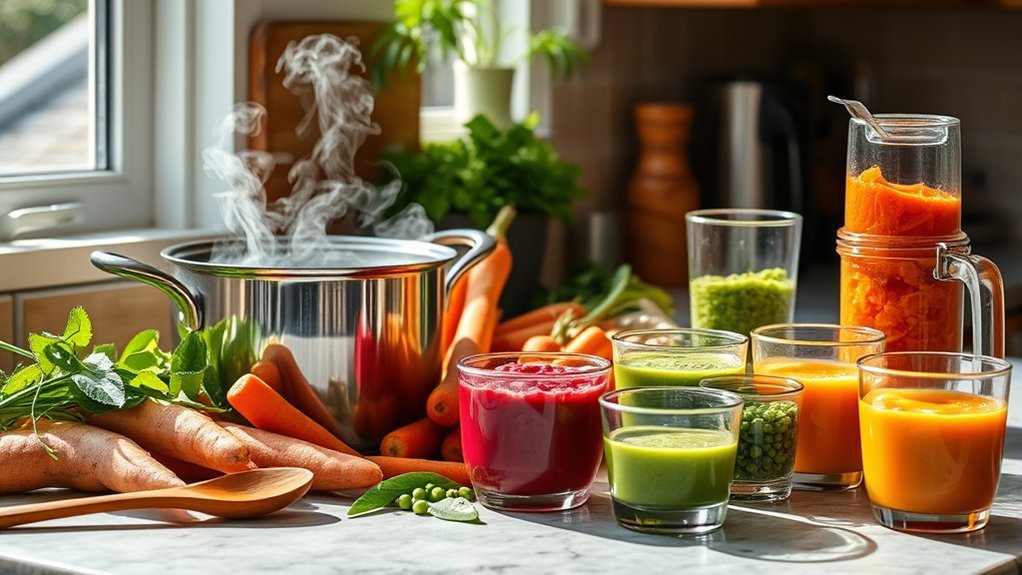
| Carrot, pea, and sweet potato | Steam until very soft, then mash or blend | Leave slightly lumpy or add a small amount of basil after the foods are tolerated |
| Quinoa, spinach, and avocado | Cook quinoa and spinach; stir in freshly mashed avocado after thawing | Add water, breast milk, or prepared formula to thin |
| Apple, pear, and oats | Cook fruit and oats until soft, then mash | Add cinnamon only after the ingredients are tolerated; no sugar needed |
| Zucchini, broccoli, and squash | Steam until fork-soft, then mash or finely chop | A mild vegetable medley for texture practice |
| Lentil, squash, and thyme | Cook lentils and squash until soft; blend with a small amount of thyme | A savory iron-rich option |
| Chicken, broccoli, and brown rice | Cook chicken to 165°F, cook vegetables and rice until soft, then mince or blend | Use broth only if it is low in sodium and suitable for the child |
Avocado and some dairy foods may change texture after freezing. For better quality, freeze the cooked base and add avocado or yogurt after thawing.
Troubleshooting Batch-Cooked Baby Food
The Puree Is Too Thick
Stir in a small amount of water, breast milk, or prepared infant formula just before serving. Add liquid gradually so the food does not become runny.
The Puree Is Too Thin
Mix in mashed beans, cooked oats, iron-fortified infant cereal, mashed potato, or another already tolerated thickener. Do not add dry cereal to a bottle unless a clinician specifically directs it.
The Food Separated After Freezing
Separation is common in fruit and vegetable purees. Stir thoroughly after thawing and reheating. Discard the food if it was stored too long, smells unusual, has a damaged container, or may have been temperature-abused.
Your Baby Rejects a Flavor or Texture
Do not force the food. Offer a small amount again on another day, pair it with a familiar food after it has been introduced alone, or adjust the texture. Acceptance may take repeated exposure.
Freezer Burn Appears
Freezer burn is mainly a quality problem, but it can make food dry or unpleasant. Prevent it with airtight packaging, minimal empty space, and clear date labels. When in doubt about how the food was stored, discard it.
Frequently Asked Questions
How long can homemade baby food stay in the refrigerator?
Use homemade baby food within 1–2 days when stored at 40°F (4°C) or below. Use meat- or egg-based puree within 1 day. Discard food left in the feeding bowl after the meal.
How long can I freeze homemade baby food?
Federal pages list different limits. For a simple conservative routine, use homemade baby food within 1–2 months at 0°F (-18°C) or below. Label every portion and use the oldest safe batch first.
Can I use frozen fruits and vegetables for baby food?
Yes. Plain frozen produce can be a practical option. Choose products without added salt, sugar, sauces, or seasoning, and cook hard fruits and vegetables until they can be mashed easily.
Does baby food need to be organic?
No. Organic food is optional, not a requirement for safe or nutritious baby food. Variety, safe preparation, appropriate texture, and reliable storage matter more than the organic label.
Can I thaw or heat baby food in the microwave?
Yes, with care. Transfer food to a microwave-safe dish rather than heating it in a jar. Stir thoroughly, let it stand for at least 30 seconds, and test the temperature. Use the stovetop for meat- and egg-based baby foods.
Can I reheat baby food more than once?
Avoid repeated warming and cooling. Heat only the amount you plan to serve, keep the untouched batch refrigerated, and discard food from the feeding bowl after the meal.
What are good first foods for batch cooking?
There is no required order. Good options include soft vegetables, fruit, beans, lentils, meat, fully cooked egg, tofu, plain yogurt, and iron-fortified oat or multigrain cereal. Introduce single ingredients first and use a texture your baby can manage.
What should I do if my baby ate directly from the container?
Do not return that container to storage. Saliva on the spoon can introduce bacteria. Discard the remaining food and use a separate serving bowl next time.
Conclusion
Batch cooking baby food works best when convenience never outruns safety. Start with a small plan, use ingredients your baby can manage, cook and chill food promptly, freeze single-meal portions, and label every container. As your baby develops, move beyond smooth purees and offer a wider range of tastes, textures, and iron-rich foods. A simple routine—clean, cook, chill, portion, label, thaw safely, and serve from a separate bowl—can keep homemade meals practical and reduce avoidable risk.
Sources
- FoodSafety.gov: Children Under Five — baby-food storage times and microwave safety.
- USDA FSIS: Keep Food Safe — prompt chilling, shallow containers, and the 2-hour rule.
- FDA: Once Baby Arrives — preparation, storage, serving, and reheating precautions.
- CDC: When, What, and How to Introduce Solid Foods — readiness, allergens, textures, and food preparation.
- CDC: Choking Hazards — safe food shapes, textures, and supervision.
- CDC: Foods and Drinks to Avoid or Limit — honey, unpasteurized foods, juice, and cow’s milk guidance.