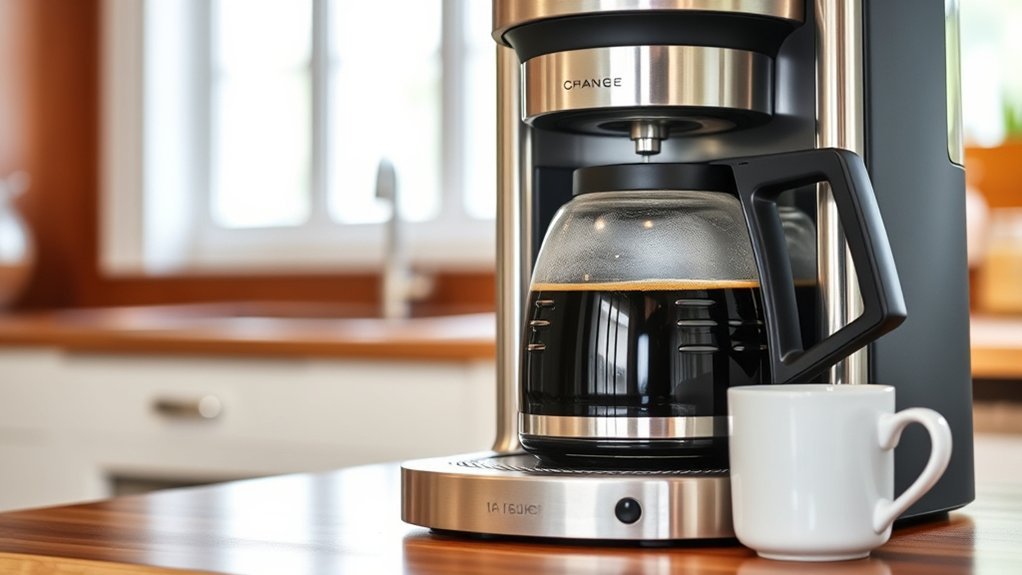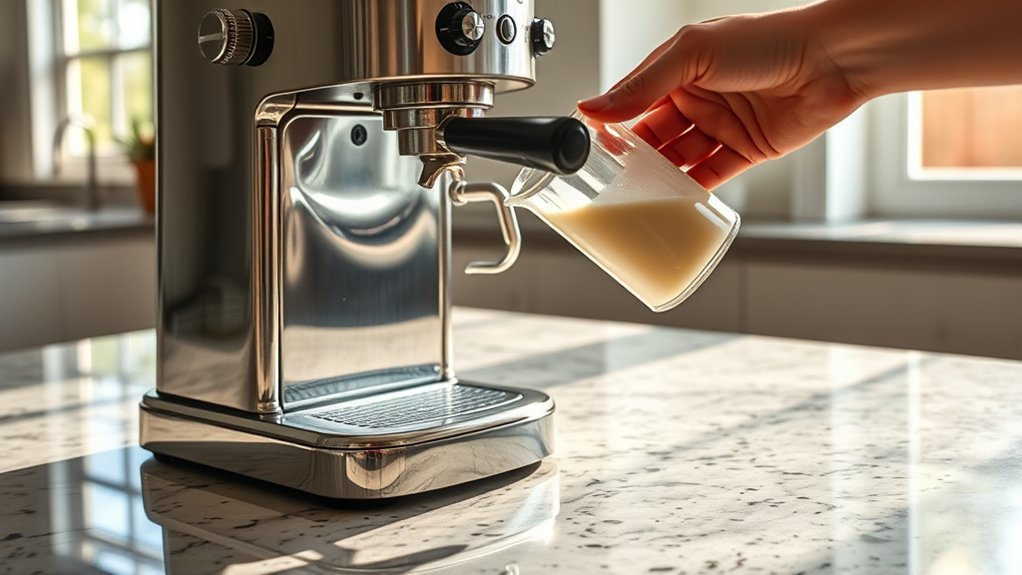
Milk can make brewed coffee creamy and smooth, but it should not replace water in a standard coffee maker. Dairy milk and plant-based drinks contain proteins, fats, sugars, and other solids that can coat internal parts, create odors, restrict flow, and spoil in areas that are difficult to clean.
Quick Answer
Do not put dairy milk, almond milk, oat milk, creamer, or another beverage in a standard coffee maker’s water reservoir. Brew the coffee with water, then add heated or frothed milk to the cup. Milk may be used only in a steam pitcher, frother, or milk carafe specifically designed for it.
Key Takeaways
- Use fresh water in the water reservoir unless the manufacturer’s instructions explicitly say otherwise.
- Milk solids can leave sticky residue, sour odors, scorched flavors, and restricted internal flow.
- A built-in frother, steam wand, or removable milk carafe is separate from the machine’s water path.
- Clean every milk-contact component immediately after use.
- If milk enters sealed tubing and the machine develops an odor, leak, error, or flow problem, stop using it and contact the manufacturer.
Warning: Turn off and unplug a coffee maker before removing parts or cleaning it. Allow hot surfaces to cool, never immerse the machine base, and do not open sealed housing or electrical components.
Can You Put Milk in a Coffee Maker?
You should not pour milk into the water tank of a standard drip, pod, or espresso machine. Coffee makers are designed to move and heat water through narrow valves, tubes, pumps, heating elements, and coffee grounds.
For example, the Breville Grind Control instruction manual says to fill its tank with cold water and not with another liquid. Hamilton Beach likewise advises using only clear water in a coffee-maker reservoir unless the product instructions direct otherwise.
Milk is appropriate only in a part specifically made to handle it, such as a removable frother, refrigerated milk container, automatic milk carafe, or steam pitcher. Those components are designed to be emptied and cleaned after use.

Power your essentials anywhere with a 999Wh pure sine wave power station delivering up to 1000W continuous with 2000W surge. It supports fast charging via USB-C PD 60W and USB-A QC 18W, plus simultaneous output for multiple devices through AC, USB, wireless, and car/DC ports. Recharge using AC, car, or solar with a built-in MPPT controller and dual cooling fans, while the upgraded battery management system protects against surges, short circuits, and overheating.

Perfect Combination Of Milk Frothing Pitcher And Latte Art Pen: The milk frother jug can be used in different ways: froth or steam milk for lattes; measure liquids; serve milk or cream. Featured with a latte art pen which can shape kinds of beautiful coffee pattern. Perfect for making frothing or steaming milk for espresso, cappuccino or hot chocolate. Be your own barista in home and office.

【Premium Food-Grade 304 Stainless Steel】Milk frother cup is made of premium food-grade 304 stainless steel, this non-toxic, odorless coffee pitcher ensures safe daily food contact. It delivers outstanding rustproof, stain-resistant and heat-resistant performance for durable use. Adopting seamless welding technology, the integrated body and handle feature solid structure.
Where Milk Can and Cannot Go
| Coffee-Maker Part | Can It Hold Milk? | What to Use |
|---|---|---|
| Water reservoir | No | Use the type of water recommended in the owner’s manual. |
| Steam pitcher | Yes | Use fresh milk or a suitable plant-based drink and clean the steam wand immediately. |
| Dedicated frother | Usually | Use only liquids allowed by the frother instructions and stay below its fill line. |
| Removable milk carafe | Yes | Use and clean it exactly as the manufacturer directs. |
| Finished cup of coffee | Yes | Add cold, warm, steamed, or frothed milk after brewing. |
Note: A machine marketed for lattes or cappuccinos may have both a water reservoir and a separate milk system. The presence of a frother does not mean milk can go into the water reservoir.
How Milk Affects Coffee Flavor
Standard coffee makers control brewing around the behavior of water. Water moves easily through the machine and extracts soluble flavor compounds from ground coffee. Milk is thicker and contains proteins, fat, lactose or added sugars, stabilizers, and minerals.
When milk travels through a hot water path, some of those solids may stick to heated surfaces or collect in narrow passages. Milk can also foam unpredictably, scorch, separate, or leave cooked flavors behind. The result may be weak extraction, slow brewing, an unpleasant cooked-milk taste, or an aftertaste in later pots.
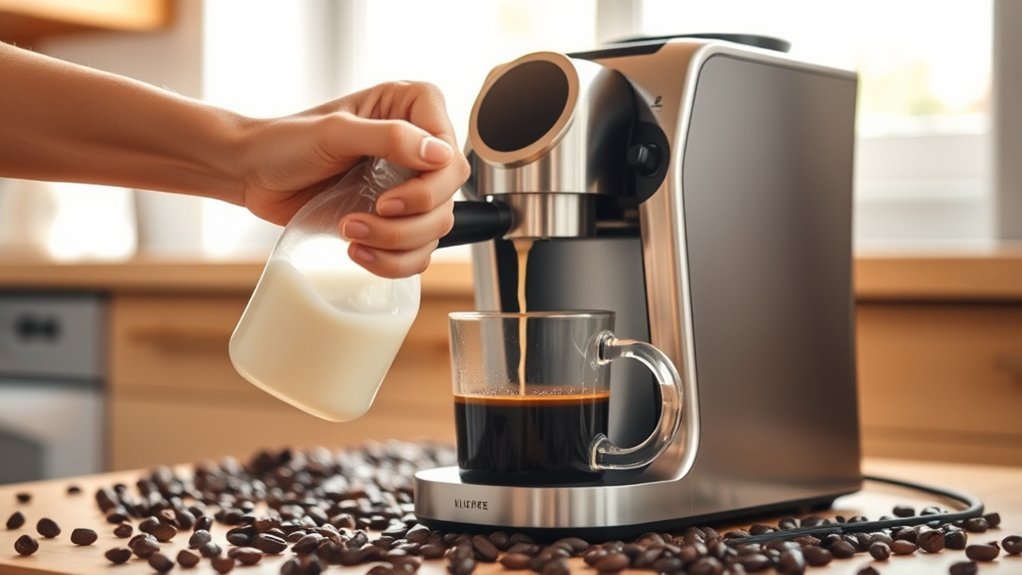
Adding milk after brewing avoids these problems. It also gives you control over the coffee-to-milk ratio and lets you adjust the milk’s temperature and texture separately.
Food-Safety and Hygiene Concerns
Milk is perishable. Small amounts left inside a warm, damp machine can sour, smell unpleasant, and become difficult to remove. Inaccessible residue also creates a hygiene concern because it cannot be washed as easily as a removable jug or frother.
The USDA identifies 40°F to 140°F as the food-safety “danger zone,” where bacteria can multiply quickly. Its two-hour rule for perishable food is a discard limit, not permission to leave milk sitting in an appliance. Milk-contact parts should be emptied and cleaned immediately after use.
The safest routine is simple: keep milk out of the water system and clean every approved milk component as soon as the drink is prepared.
How Milk Can Damage a Coffee Maker
One accidental use does not guarantee permanent damage, but milk can create several mechanical and cleaning problems:
- Restricted flow: Proteins, fat, sweeteners, and stabilizers may coat valves, tubing, needles, or filters.
- Scorched residue: Milk solids can cook onto surfaces near a heater.
- Foaming and overflow: Milk behaves differently from water when heated and may expand or foam inside an unsuitable system.
- Sour odors: Residue trapped beyond removable parts may spoil.
- Unwanted flavors: Old milk residue can affect later water and coffee.
- Warranty concerns: Using an unapproved liquid may be treated as misuse under a product warranty.
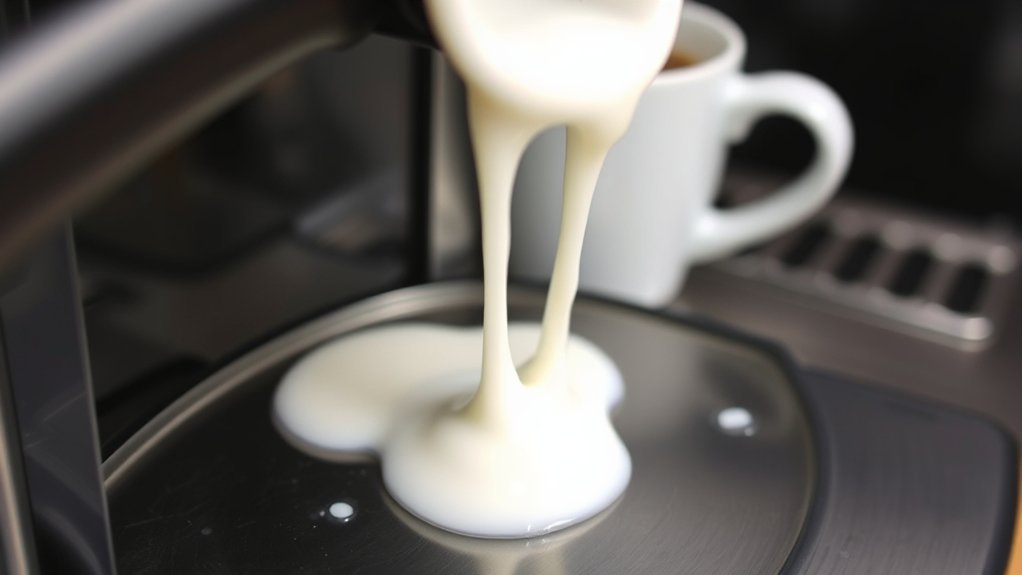
The risk is higher in machines with internal tanks, pumps, or tubing that the user cannot remove. A simple open kettle or washable frothing jug is easier to clean because every milk-contact surface is accessible.
What to Do if You Accidentally Put Milk in the Coffee Maker
Act quickly, but do not take the machine apart beyond the user-removable components described in its manual.
At a Glance
| Time Required | About 15–45 minutes, plus drying time |
| Difficulty | Easy for removable parts; professional help may be needed for internal tubing |
| Tools Needed | Owner’s manual, mild dish soap, soft cloth, soft brush, sink, and clean water |
| Cost | Usually $0–$15 for basic cleaning; service costs vary |
1. Stop the Brew Cycle
Turn the machine off and unplug it. Do not keep brewing in an attempt to force the milk through. Wait for the appliance, carafe, pod holder, and other hot parts to cool.
2. Empty the Milk
Discard the drink and any milk that remains in the reservoir or carafe. Do not consume milk that has been repeatedly heated, left inside the machine, or mixed with cleaning products.
3. Wash All User-Removable Parts
Remove only the parts identified as removable in the owner’s manual. Depending on the model, these may include the reservoir, reservoir lid, carafe, filter basket, pod holder, drip tray, frother, whisk, and milk carafe.
Wash milk-contact parts with warm water and mild dish soap unless the manufacturer gives different instructions. Use a soft brush for corners and small openings, rinse thoroughly, and allow the parts to dry.
4. Follow the Model’s Cleaning Instructions
Check the manual before placing vinegar, descaler, detergent, or any other cleaner in the water reservoir. Descaling products are intended to remove mineral deposits and may not remove milk proteins or fat from inaccessible areas.
If the manufacturer provides a safe rinse or cleaning procedure for accidental liquids, follow it exactly. Do not improvise chemical mixtures or exceed the recommended concentration.
5. Stop if the Problem Is Inside the Machine
Contact the manufacturer or an authorized repair provider when:
- Milk entered sealed tubing or an internal tank.
- The machine has a persistent sour or burnt-milk odor.
- Flow remains slow or stops completely.
- The machine leaks, overheats, trips a breaker, or displays an error.
- Visible curdled residue cannot be reached safely.
- The manual does not explain how to clean an accidental non-water liquid.
Pro Tip: Keep a copy of the model number on your phone. Manufacturer support can give more useful cleaning advice when you provide the exact model and describe how far the milk traveled through the machine.
The Hassle of Cleaning Milk Residue
Sticky Protein and Fat Buildup
Milk residue is different from ordinary mineral scale. Proteins can cook onto warm surfaces, while fat and added stabilizers may leave a slippery film. A normal water rinse may not reach or remove residue from a pump, valve, needle, or internal hose.
Do Not Disassemble Sealed Components
Opening the housing may expose sharp parts, hot components, pressurized lines, or electrical connections. It may also void the warranty. Limit cleaning to the parts the manual tells the user to remove.
Lingering Odors
A sour odor after cleaning suggests that residue may remain. Do not mask it with flavored coffee or repeated brews. Stop using the machine until the source of the odor has been removed or the manufacturer confirms that the appliance is safe to use.
Ways to Froth Milk Without Putting It in the Reservoir
Brew the coffee with water first. Then heat or froth the milk with equipment that can be washed immediately.
Microwave and Handheld Frother
- Pour milk into a microwave-safe cup, leaving room for expansion.
- Heat it in short intervals and stir between intervals. Do not allow it to boil over.
- Froth it with a clean handheld whisk or electric frother.
- Pour it into the brewed coffee and wash the frother immediately.
Microwave power varies, so a fixed heating time is unreliable. Stop when the milk is hot enough for your drink and begins to steam lightly.
French Press Technique
- Warm the milk on the stove or in a microwave-safe container without boiling it.
- Fill a clean French press no more than halfway to leave room for the foam.
- Place the lid on and pump the plunger for about 20–30 seconds.
- Let the foam settle briefly, then pour it over the coffee.
- Wash the press promptly so milk does not dry around the screen or plunger.
Jar-Shaking Method
- Fill a clean microwave-safe jar no more than halfway with cold milk.
- Secure the lid and shake for 30–60 seconds.
- Remove the lid before heating. Never microwave a sealed container or a metal lid.
- Heat the open jar in short intervals while watching for overflow.
- Spoon or pour the foam over the brewed coffee.
This method creates light foam but may not produce the fine, silky texture of a steam wand or powered frother.
Steam Wand or Dedicated Milk Frother
A steam wand, automatic frother, or removable milk carafe is the best option when the appliance is designed for milk. Use fresh, cold milk, stay within the component’s fill markings, and follow its temperature and cleaning instructions.
Breville’s latte preparation guidance recommends roughly 140–150°F for dairy milk and a lower temperature for many nondairy drinks because some can separate or curdle when overheated.
The Keurig K-Café care guide instructs users to clean the frother immediately after each use. That immediate-cleaning rule is a good habit for any milk-safe component.
Choosing Dairy or Plant-Based Milk
Dairy, almond, oat, soy, coconut, and other milk alternatives can all change the flavor and texture of coffee. None should go into a standard water reservoir.
- Dairy milk: Protein and fat levels affect body, sweetness, and foam stability.
- Oat drinks: Barista versions are often formulated to foam more evenly than standard versions.
- Almond drinks: They may separate when overheated or added to highly acidic coffee.
- Soy drinks: They can create dense foam but may curdle when exposed to high heat or acidity.
- Coconut drinks: They add a distinct flavor, and foam quality varies by formulation.
Plant-based does not automatically mean lower-calorie or allergen-free. Compare the nutrition and allergen labels, especially when choosing sweetened products or drinks containing almonds, soy, or other common allergens.
Best Way to Brew Coffee With Milk
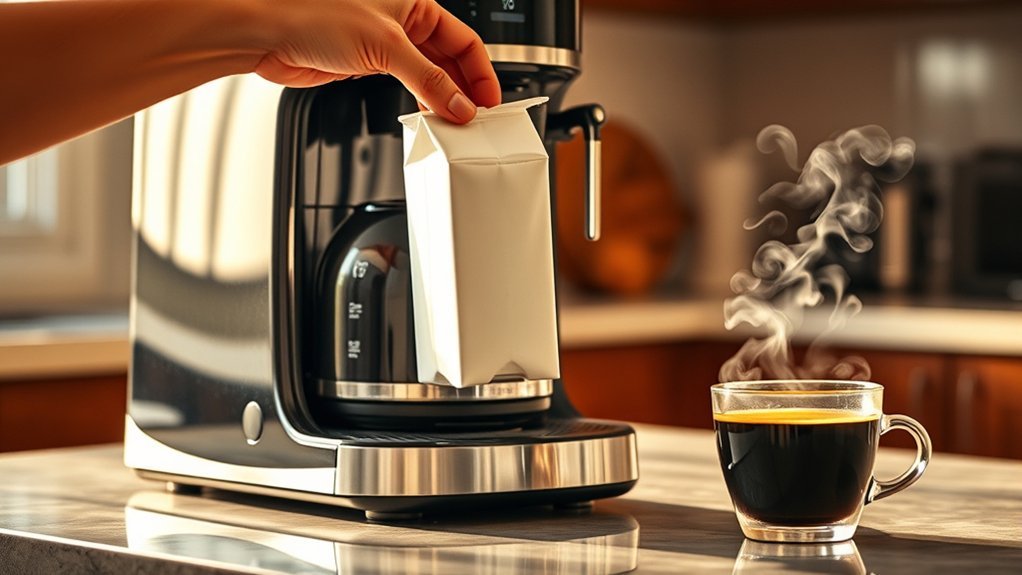
For a creamy drink without risking the machine, use this order:
- Fill the coffee maker with the water recommended in its manual.
- Brew the coffee normally.
- Heat or froth the milk in a separate washable container or approved milk component.
- Add the milk to the finished coffee.
- Clean the milk-contact equipment immediately.
This method preserves the coffee maker’s intended brewing process, gives you better control over flavor and texture, and keeps perishable residue out of hidden water lines.
Frequently Asked Questions
Can I use almond milk in my coffee maker?
Do not put almond milk in the water reservoir. You may heat or froth it separately, add it to the finished coffee, or use it in a designated milk frother when the manufacturer allows plant-based drinks.
How long can I leave milk in a coffee maker?
Do not leave milk sitting in a coffee maker. Empty and clean an approved milk frother or carafe immediately after use. USDA time limits for unrefrigerated food are discard limits and should not be treated as safe storage guidance for a warm appliance.
What happens if I accidentally brew with milk?
Milk may leave residue, restrict flow, scorch, foam, or create a sour odor. Turn off and unplug the machine, wash all user-removable parts, and follow the model’s cleaning instructions. Contact the manufacturer if milk entered inaccessible tubing or the problem continues.
Can I steam milk using a coffee maker?
Yes, when the machine has a steam wand or milk system designed for that purpose. Put the milk only in the designated pitcher, frother, or carafe—not in the water reservoir—and clean the milk-contact parts immediately.
Is there a coffee maker designed for milk use?
Yes. Some espresso and combination machines include a steam wand, automatic frother, or removable milk carafe. These machines still use water in the brewing reservoir; milk belongs only in the component specifically labeled for milk.
Can I put creamer or hot chocolate in the water reservoir?
No. Liquid creamer, powdered drink mixtures, chocolate milk, syrup, and other beverages can leave sugar, fat, or solids inside the machine. Prepare them in the cup or in an approved beverage component instead.
Should I run vinegar through the machine after an accidental milk brew?
Use vinegar only when the owner’s manual approves it for that model. Some manufacturers require a specific descaling product, and descaling may not remove milk fat or protein from internal tubing. Contact support when the manual does not address the spill.
Conclusion
Milk should stay out of a standard coffee maker’s water reservoir. Brew with water, prepare the milk separately, and combine the two in the cup. Machines with steam wands, frothers, or milk carafes can handle milk only in those designated components. Prompt cleaning protects flavor, hygiene, machine performance, and the life of the appliance.
Sources
- Breville Grind Control Instruction Manual — supports the requirement to use water rather than other liquids in the water tank.
- Hamilton Beach Frequently Asked Questions — supports using only clear water in a coffee-maker reservoir unless instructions state otherwise.
- USDA Food Safety and Inspection Service: Danger Zone — supports food-safety guidance for unrefrigerated perishable foods.
- Keurig K-Café Use and Care Guide — supports immediate frother cleaning and model-specific maintenance.
- Breville Latte Preparation Guide — supports separate steaming and practical milk-temperature guidance.
- Nespresso Aeroccino 4 Assistance — supports the use of fresh refrigerated milk and dedicated frother hygiene.