
Preparing a coffee maker for long-term storage takes more than emptying the carafe and putting the machine in a box. You need to remove coffee residue, clear out standing water, dry every washable part, and protect the appliance from humidity, dust, pests, freezing temperatures, and impact. The exact draining and descaling steps depend on your coffee maker’s brand and model.
Quick Answer
To store a coffee maker long term, unplug and cool it, discard all coffee and water, wash the removable parts, follow the model manual for cleaning and internal draining, and let everything dry completely. Pack the machine upright in a padded container and keep it in a dry, temperature-stable location.
Key Takeaways
- Check the official manual before using vinegar, citric acid, descaling solution, or an internal emptying procedure.
- Remove grounds, pods, beans, water, used filters, and milk residue before storage.
- Detach only the parts the manufacturer identifies as user-removable; do not open the appliance housing for routine storage.
- Let the reservoir, carafe, basket, drip tray, and other washable parts air-dry completely before packing.
- Store the machine upright in a dry, pest-free place protected from direct sun, freezing temperatures, and large temperature swings.
- Inspect, rinse, and test the machine before brewing coffee again.
At a Glance
| Time Required | About 45–90 minutes of hands-on work, plus at least 24 hours of drying time |
| Difficulty | Easy for drip machines; moderate for pod or espresso machines with internal emptying procedures |
| Tools Needed | Owner’s manual, dish soap, soft cloth, nonabrasive sponge, clean towels, small accessory bag, padding, and a sturdy box or bin |
| Cost | Usually $0–$20, depending on whether you need an approved descaler, packing material, or a storage container |
Warning: Unplug the coffee maker and let it cool before cleaning or packing it. Never mix vinegar, citric acid, bleach, ammonia, descaling solution, or other cleaning products. Use one manufacturer-approved product at a time, and complete every required rinse step.
Check the Manual Before Preparing Your Coffee Maker
Start by finding the brand and model number, which is often printed on the bottom, back, or rating label. Search the manufacturer’s support site for the matching manual instead of relying on instructions for a similar-looking machine.
The manual matters because coffee makers retain water in different places. A basic drip machine may need only an empty reservoir and dry removable parts. A pod brewer may have an electronic emptying mode. A boiler-based espresso machine may require a special drain procedure before extended storage or exposure to freezing temperatures.
Official support pages from Nespresso, for example, include model-specific system-emptying instructions for periods of non-use. Some Breville boiler-machine manuals also direct owners to drain internal boilers before extended storage.
Note: For this guide, long-term storage means leaving the appliance unused for roughly a month or longer. A complete cleaning and draining process is also wise before a move, seasonal storage, or any period when the machine could be exposed to cold temperatures.
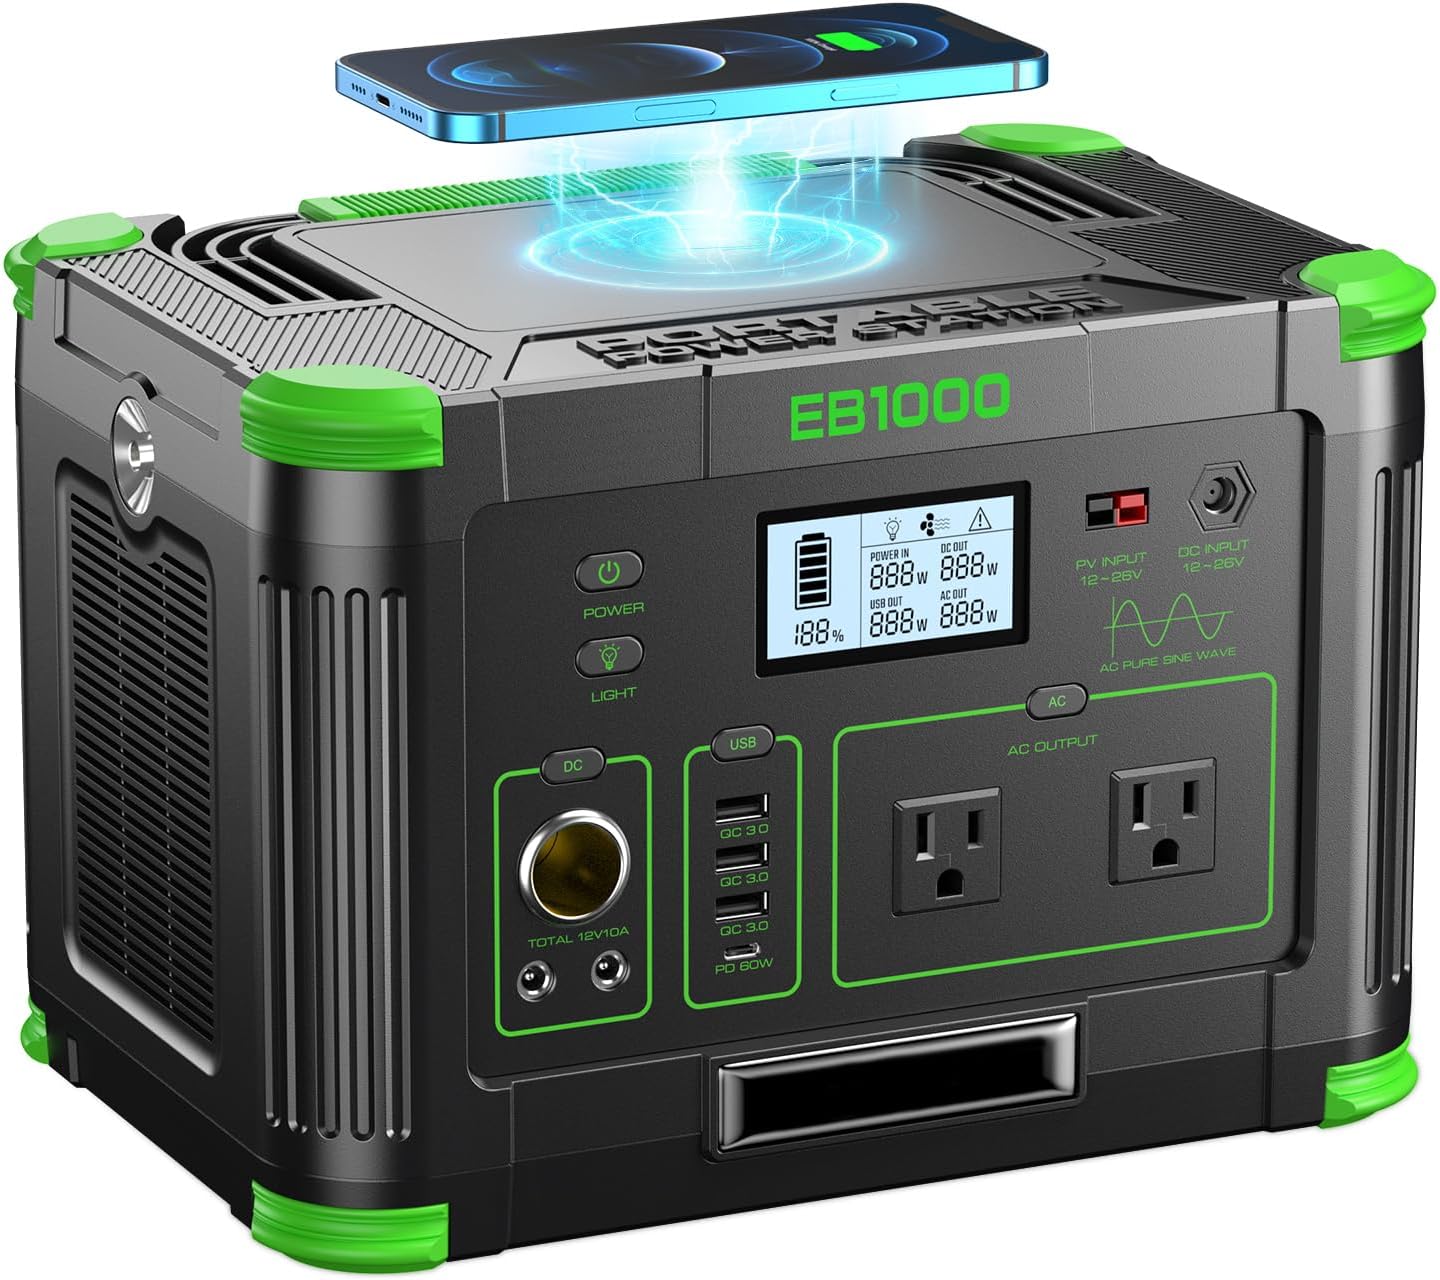
Power your essentials anywhere with a 999Wh pure sine wave power station delivering up to 1000W continuous with 2000W surge. It supports fast charging via USB-C PD 60W and USB-A QC 18W, plus simultaneous output for multiple devices through AC, USB, wireless, and car/DC ports. Recharge using AC, car, or solar with a built-in MPPT controller and dual cooling fans, while the upgraded battery management system protects against surges, short circuits, and overheating.

Descales your coffee maker, fighting hard water deposits and mineral buildup for a better tasting brew

1-Year Supply, Better Value - Includes 24 coffee maker descaling tablets—enough for monthly cleaning for up to a year. A cost-effective alternative to powders, liquids, pods, sachets, or packets.
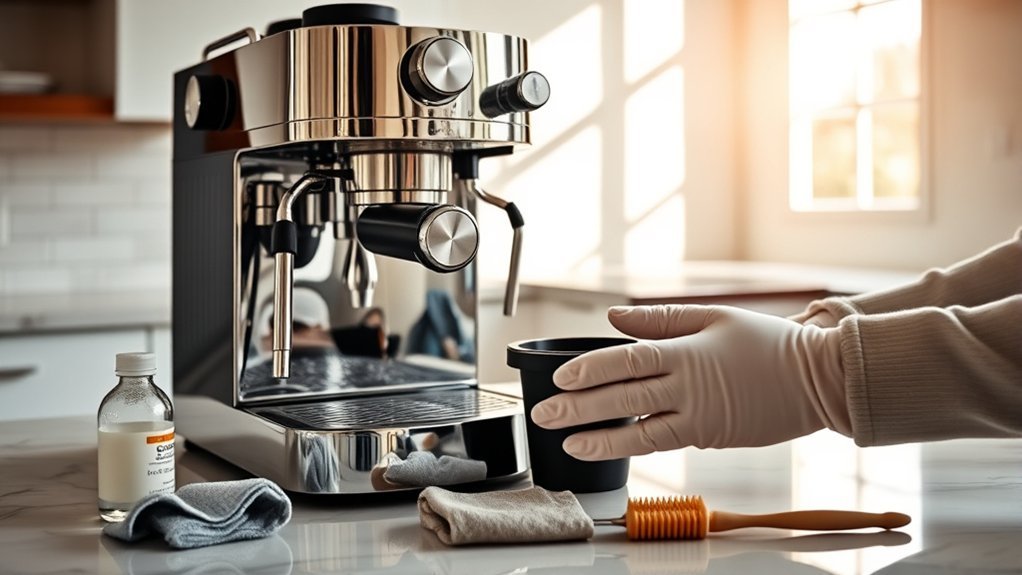
Step-By-Step Guide to Cleaning Your Coffee Maker Before Storage
Cleaning before storage prevents old coffee oils, grounds, milk residue, and standing water from producing stale odors or supporting mold growth. Complete the following steps in order, adjusting the process to match your manual.
1. Unplug and Cool the Machine
Turn the machine off, unplug it from the wall, and let hot plates, boilers, steam wands, and internal water cool. Do not begin disassembly while the appliance is hot or connected to power.
2. Remove Coffee, Water, and Consumables
- Discard used grounds, paper filters, capsules, and pods.
- Empty the water reservoir and carafe.
- Empty the drip tray, used-capsule bin, knock box, and grounds container.
- Remove beans from the hopper and clear loose grounds from the chute.
- Remove milk from any milk reservoir, tube, jug, or frothing attachment.
- Remove a replaceable water-filter cartridge if the manual directs you to do so before washing or long-term storage.
Do not leave coffee grounds or beans inside the machine. Coffee oils can become stale, and grounds may absorb moisture and form hard deposits.
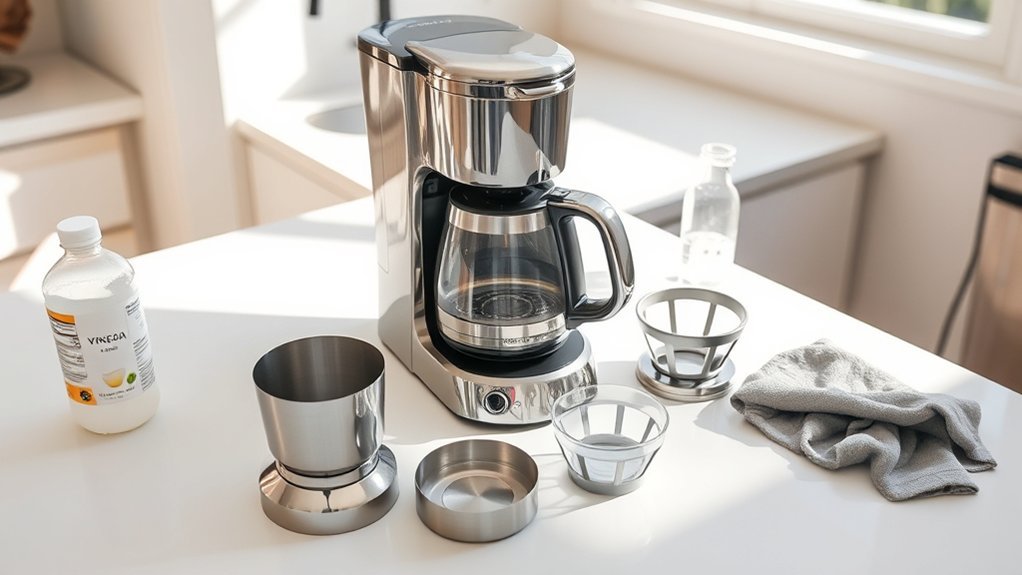
3. Wash the User-Removable Parts
Remove the carafe, filter basket, reusable filter, reservoir, reservoir lid, drip tray, pod bin, milk container, and other parts identified as removable in the manual. Wash dishwasher-safe parts as directed. Otherwise, use warm water, mild dish soap, and a nonabrasive sponge.
Rinse away all soap and inspect corners, valves, seals, and narrow channels for residue. Wipe the appliance housing with a soft, damp cloth, but do not immerse the powered base, cord, plug, or control panel.
4. Clean Milk and Grinder Components
Milk systems need extra attention because dried milk can remain inside tubes, frother heads, and steam-wand tips. Run the machine’s approved milk-rinse process before unplugging it, then detach and wash the user-removable milk parts according to the manual.
For a machine with a built-in grinder, empty the bean hopper and grounds path. Use the supplied brush or another dry, soft brush around the burr area. Do not pour water into the grinder, burr chamber, or bean hopper unless the manual specifically permits it.
5. Decide Whether Descaling Is Due
Cleaning removes coffee and food residue. Descaling removes mineral deposits. They are not the same process.
If the descale light is on, the flow has slowed, scale is visible, or the manufacturer’s schedule says descaling is due, complete the approved process before storage. Use only the cleaner and concentration allowed for your exact model.
Cuisinart’s cleaning guidance notes that household cleaning ingredients may be suitable for some coffee makers but tells owners to check their manuals. Keurig publishes model-specific descaling instructions for its brewers. These differences are why an equal-parts vinegar mixture should not be treated as a universal formula.
If descaling is not due, washing, rinsing, draining, and drying the machine may be enough. Do not leave vinegar, citric acid, or descaling solution sitting in the reservoir or internal water path during storage.
6. Complete Every Required Rinse
After a cleaning or descaling cycle, use fresh water to complete the exact number and volume of rinse cycles stated in the manual or cleaner instructions. Two cycles may be enough for one machine and insufficient for another.
7. Drain Internal Water
Empty the visible reservoir first. Then follow the machine-type guidance below to remove as much remaining water as the manufacturer allows.
- Drip coffee maker: Empty the reservoir, basket, and carafe. If the manual allows a water-only cycle, complete it before unplugging, then empty the carafe and let the machine cool.
- Pod or capsule machine: Eject the pod, empty the pod bin and drip tray, and use the model’s emptying or storage procedure when one is provided.
- Espresso machine: Empty the reservoir and drip tray. Follow the approved procedure for flushing or draining the thermoblock or boiler.
- Dual-boiler machine: Use the manual’s boiler-draining instructions or contact authorized service. Do not improvise by opening the housing.
Warning: Water trapped in a pump, tube, thermoblock, or boiler can freeze, expand, and damage the machine. Do not store a water-retaining coffee maker in freezing conditions unless its manufacturer-approved draining procedure has been completed.
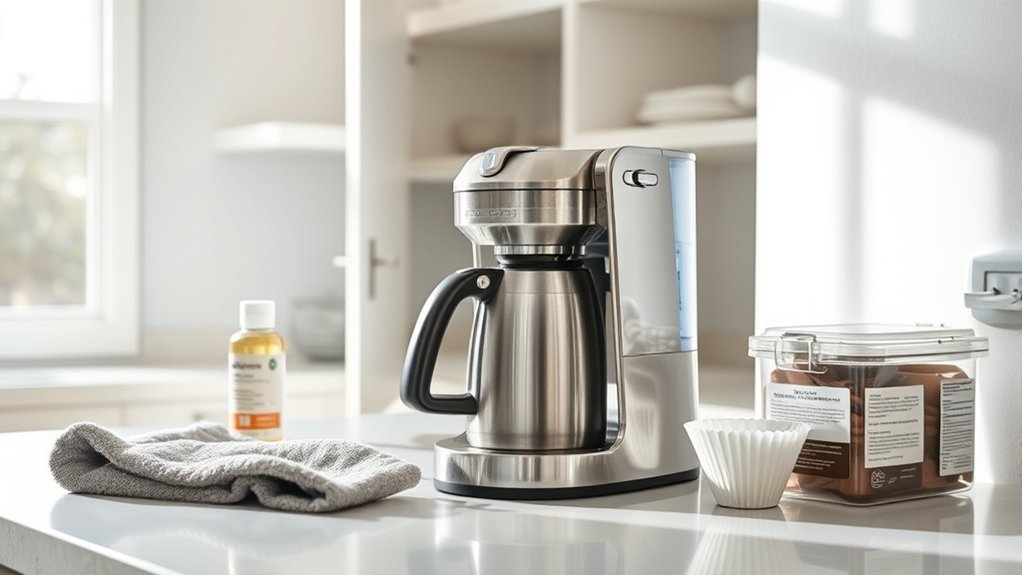
8. Air-Dry Every Part Completely
Place washed components on a clean towel and let them air-dry for at least 24 hours. Thick seals, narrow tubes, covered reservoirs, and enclosed valves may need longer.
Leave the reservoir lid, filter-basket door, capsule head, and other hinged areas open while drying when the design allows. Do not pack the machine if you can see droplets, condensation, or damp areas.
The safest storage box cannot compensate for water left inside the coffee maker. Cleaning, draining, and complete drying are the most important preparation steps.
How to Disassemble Your Coffee Maker Properly
For routine cleaning and storage, “disassembly” should mean removing user-serviceable parts—not opening the powered appliance housing. Remove only the components shown as detachable in the owner’s manual.
Gather Necessary Tools
Most coffee makers require only a few basic supplies:
- The exact model’s owner’s manual
- A soft cloth or nonabrasive sponge
- Mild dish soap
- A small dry cleaning brush, if the machine has a grinder
- Clean towels or a drying rack
- Labeled resealable bags for small accessories
- A phone or camera for recording the position of removable parts
Do not reach for a screwdriver unless the manual specifically identifies a user procedure that requires one. Screws and housing clips often protect wiring, pumps, heating elements, pressurized components, or warranty-covered parts.
Follow Manufacturer’s Instructions
Start by unplugging the machine and removing the carafe, filter basket, reservoir, drip tray, pod container, and other approved detachable parts. Pay attention to tabs, valves, and seals, and avoid pulling or twisting a component that does not release easily.
Place small parts in a labeled bag after they are completely dry. Note where each gasket, scoop, filter holder, cleaning pin, or brush belongs. Taking a few photos can make reassembly easier months later.
Pro Tip: Save a digital copy of the manual on your phone and place a note with the model number inside the storage box. You will have the correct reactivation steps even if the paper manual is misplaced.
How to Safely Wrap and Protect Your Coffee Maker Parts

Once every part is clean and completely dry, protect the machine from scratches, impacts, dust, and lost accessories.
Disassemble Detachable Parts Carefully
Remove the carafe, filter basket, reusable filter, reservoir, drip tray, milk container, and other parts the manual identifies as detachable. Do not force tightly fitted pieces.
Wrap a glass carafe in clean bubble wrap, foam, or a soft dish towel. Cover sharp or projecting edges so they cannot strike the machine or puncture the box. Keep clean food-contact parts in a clean bag or covered container before placing them beside packing material.
Place small accessories, filters, measuring scoops, cleaning tools, and removable seals in a labeled resealable bag. Store that bag inside the main box so the parts stay with the appliance.
Use Protective Wrapping Materials
Wrap the appliance in a clean cloth, foam sleeve, or bubble wrap without blocking or pressing hard against buttons, hinges, displays, or steam controls. Coil the power cord loosely and secure it with a reusable strap. Do not bend the cord sharply or wrap it tightly around the appliance.
If the plug has exposed metal prongs, position it where it cannot scratch the machine or strike the glass carafe. Never pull, lift, or carry the coffee maker by its power cord.
Choose the Right Storage Container for Your Coffee Maker
The original manufacturer box with its fitted inserts is often the best choice. If it is unavailable, use a sturdy corrugated box or rigid plastic bin large enough to hold the machine upright with padding on every side.
- Add a layer of clean cushioning to the bottom.
- Place the wrapped coffee maker upright in the center.
- Position the protected carafe and accessories so they cannot shift into the machine.
- Fill empty spaces with packing paper, foam, or clean towels.
- Avoid placing heavy parts on the reservoir lid, warming plate, display, brew head, or control panel.
- Close the box only after confirming that every component is completely dry.
- Label it “Coffee Maker — Fragile — Keep Upright” and add the packing date.
An intact silica-gel packet may provide secondary moisture protection in a closed container, but it cannot dry a wet machine or correct a humid storage area. Keep packets separate from food-contact surfaces, and discard any packet that is torn or leaking.
Ideal Storage Conditions for Long-Term Protection
Choose an indoor location that stays clean, dry, and reasonably stable throughout the year. The EPA’s mold and moisture guidance recommends keeping indoor relative humidity below 60%, with 30%–50% preferred when practical.
- Keep it dry: Avoid damp basements, areas beneath plumbing, and spaces where condensation forms.
- Avoid freezing: Do not place a machine that may retain water in an unheated shed, vehicle, attic, or garage during freezing weather.
- Limit heat: Keep the box away from heaters, furnaces, hot pipes, and extreme attic temperatures.
- Block sunlight: Direct sun may fade or age plastic and rubber parts over time.
- Control dust: Close the box or bin after the machine is fully dry.
- Prevent pests: Do not leave grounds, pods, beans, sugar, milk residue, or flavored drink residue in the appliance.
- Keep it upright: Do not store the machine upside down or on its side unless the manufacturer specifically allows it.
- Avoid crushing: Do not stack heavy boxes or furniture on top of the coffee maker.
A garage is suitable only when it remains dry, clean, pest-free, and protected from freezing and major temperature swings. A climate-controlled closet or utility room is usually safer than an unconditioned garage, shed, or attic.
Storage Guidance by Coffee Maker Type
| Machine Type | Before Storage | Special Concern |
|---|---|---|
| Drip coffee maker | Empty the reservoir and carafe; wash the basket, reusable filter, lid, and removable reservoir. | Water may remain beneath a nonremovable reservoir or inside valves. |
| Pod or capsule brewer | Eject the pod, empty the bin and drip tray, clean the puncture area as directed, and run the approved emptying mode. | Internal tanks and tubing may hold water after the visible reservoir is empty. |
| Espresso machine | Clean the portafilter, baskets, group area, steam wand, milk parts, drip tray, and reservoir. | Thermoblocks and boilers may need a specific draining procedure. |
| Machine with grinder | Remove beans and loose grounds; clean the hopper and burr area only as the manual allows. | Moisture in the grinder can cause grounds to cake or clog the burr chamber. |
| Machine with milk system | Complete the approved milk rinse, then wash and dry every removable milk-contact part. | Milk residue can remain inside tubes, connectors, valves, and frother heads. |
Essential Items for Your Coffee Machine Storage Checklist
Use this checklist before sealing the container:
- The appliance is unplugged and completely cool.
- No pod, capsule, paper filter, coffee grounds, or beans remain.
- The water reservoir, carafe, drip tray, pod bin, and milk system are empty.
- All manufacturer-approved cleaning and rinse cycles are complete.
- The internal water system has been emptied as the model manual directs.
- Every removable component is clean and completely dry.
- The water filter has been removed, stored, or discarded as instructed.
- The glass carafe and fragile accessories are separately cushioned.
- The power cord is loosely coiled and secured.
- Small accessories are in a labeled bag.
- The machine is packed upright with padding on all sides.
- The box is labeled with the contents, model number, orientation, and packing date.
- The storage location is dry, stable, pest-free, and protected from freezing.
Tips for Maintaining Coffee Equipment During Storage
A properly prepared machine should not need regular operation while stored. Plugging it in for occasional test cycles can add moisture and create an electrical risk without providing a storage benefit.
If the machine is stored in an unconditioned or humidity-prone area, inspect the box every two or three months. Look for:
- Water leaks or damp cardboard
- Condensation inside a plastic bin
- Musty odors
- Pest activity
- Crushed or shifting boxes
- Rust, corrosion, or damaged packing material
If the storage space is clean and climate-controlled, a check before reactivation may be sufficient. Do not open and handle the appliance repeatedly unless there is a reason to inspect it.
Reactivating Your Coffee Maker After Long-Term Storage
Do not plug the machine in as soon as it comes out of the box. Unpack it in a well-lit area and complete a full inspection first.
Inspect All Components Thoroughly
- Check the cord and plug for cuts, crushed areas, exposed wire, bent prongs, or heat damage.
- Inspect the housing, reservoir, carafe, drip tray, filter basket, brew head, and controls for cracks.
- Look at gaskets and seals for splitting, stiffness, deformation, or missing pieces.
- Check internal areas you can safely see for dust, insects, webs, corrosion, residue, or mold.
- Smell the reservoir, brew basket, pod area, and milk components for musty or stale odors.
- Confirm that every removed component is present and installed correctly.
Do not use the machine if the cord is damaged, water has entered the powered base, the housing is cracked near electrical parts, or a leak appears during testing. Contact the manufacturer or a qualified appliance technician.
Clean and Prime the System
Wash removable parts again if they collected dust during storage. Install a fresh water-filter cartridge when the manufacturer requires one after a long period of non-use.
Fill the reservoir with fresh potable water and complete the manufacturer’s first-use or post-storage rinse procedure. Use a manufacturer-approved descaler only when descaling is due or mineral buildup is present. Do not automatically run citric acid or vinegar through every machine.
| Reactivation Step | Purpose |
|---|---|
| Wash removable parts | Removes storage dust and allows a second inspection. |
| Install the required fresh filter | Replaces a filter that dried out, expired, or was discarded before storage. |
| Run the manual’s water-only rinse | Primes the water path and flushes harmless storage dust or stale water residue. |
| Check flow, heat, sound, and leaks | Identifies a blockage, damaged seal, pump problem, or storage-related leak. |
| Discard the first prepared beverage | Provides an extra flush and lets you confirm there is no unusual odor or taste. |
Common Mistakes to Avoid When Storing Coffee Machines
- Packing the machine while damp: Trapped moisture can lead to odor, corrosion, and mold.
- Assuming the empty reservoir means the machine is drained: Pod and espresso machines may retain water internally.
- Using a universal vinegar formula: Cleaner type, strength, cycle length, and rinsing differ by model.
- Mixing cleaning products: Combining acids, bleach, ammonia, disinfectants, or descalers can release dangerous vapors or damage the appliance.
- Opening the powered housing: Routine storage does not justify exposing electrical or pressurized parts.
- Leaving beans, grounds, pods, milk, or a used filter inside: Organic residue causes odor and attracts pests.
- Storing in freezing conditions: Trapped water may expand and damage internal components.
- Wrapping the cord tightly: Sharp bends can weaken the cord near the plug or appliance body.
- Using an airtight bin too soon: A sealed container traps moisture if the appliance is not fully dry.
- Stacking weight on the box: Pressure can crack the reservoir, carafe, hinges, display, or housing.
- Plugging it in during storage: A stored machine should remain off and disconnected from power.
- Skipping the inspection before reuse: Damage, pests, mold, or leaks may not be obvious until the machine is unpacked.
Useful Maintenance and Storage Supplies
You do not need a large collection of specialty products. Choose supplies that match the owner’s manual and avoid abrasive or strongly scented cleaners.
- Manufacturer-approved descaler: Use it only at the recommended dilution and interval.
- Mild dish soap: Suitable for many removable food-contact parts when the manual permits hand washing.
- Soft cloths and nonabrasive sponges: Clean surfaces without scratching plastic, glass, or metal.
- Small dry brush: Useful for loose grounds in approved grinder and brew-head areas.
- Replacement water filter: Install a fresh cartridge during reactivation when required.
- Clean packing material: Foam, bubble wrap, packing paper, or towels protect the machine and carafe.
- Resealable accessory bags: Keep scoops, filters, cleaning tools, and seals organized.
- Humidity meter: Helpful when you are unsure whether a basement, garage, or storage room stays dry enough.
Avoid steel wool, harsh scouring powder, unknown solvents, heavily fragranced chemicals, and any cleaner the manufacturer prohibits.
Troubleshooting After Long-Term Storage
The Machine Has a Musty Odor
Unplug it and inspect every removable part. Wash washable hard components with mild detergent, rinse them, and dry them completely. EPA guidance emphasizes cleaning mold from hard surfaces and correcting the source of moisture.
If the odor comes from tubing, a sealed boiler, the powered base, or another inaccessible area, stop using the appliance and contact the manufacturer. Repeatedly brewing acidic cleaner through inaccessible mold is not a reliable substitute for full removal.
Water Flow Is Slow
Check that the reservoir and filter are seated correctly and that no packing material remains. Prime the machine according to the manual. If scale is suspected, complete the approved descaling process. Persistent low flow may indicate an air lock, blocked valve, pump problem, or internal damage.
The Machine Leaks
Turn it off and unplug it. Reseat the reservoir, drip tray, carafe, portafilter, and user-removable seals. Do not continue operating a machine that leaks into the powered base or around electrical controls.
Coffee Tastes Stale or Like Cleaner
Discard the beverage and run the additional fresh-water rinses allowed by the manual. Rewash the carafe, basket, reservoir, pod holder, and milk parts. Do not brew coffee until the cleaner smell and taste are gone.
The Machine Will Not Turn On
Confirm that the outlet works with another safe appliance and that the coffee maker is fully assembled. Inspect the cord and plug. If the controls remain dead, do not open the housing; contact the manufacturer or an appliance technician.
Frequently Asked Questions
Can I store my coffee maker in a garage?
You can use a garage only if it stays dry, clean, pest-free, and protected from freezing and extreme heat. An unconditioned garage with humidity, condensation, or winter freezes can damage electrical parts, seals, tubing, boilers, and plastic components.
How often should I check my coffee maker during storage?
Check it every two or three months when it is stored in a basement, garage, or other area where humidity, temperature, or pests may change. In a clean, climate-controlled closet, an inspection before reactivation is usually enough.
Should a coffee maker remain plugged in while it is stored?
No. Turn it off, unplug it, and keep it disconnected for the entire storage period. There is no need to power the machine until it has been unpacked, inspected, reassembled, and prepared for a supervised test.
What should I do if I find mold inside my coffee maker?
Unplug the machine. Wash mold from removable hard parts with a manufacturer-approved detergent or cleaning process, rinse thoroughly, and dry completely. If mold or a musty odor remains inside inaccessible tubing, a boiler, or the powered base, stop using the machine and contact the manufacturer or replace it.
Can I store coffee grounds or beans in the machine?
No. Remove grounds, pods, capsules, and beans before storage. Coffee oils become stale, grounds absorb moisture, and food residue may attract insects or rodents. Store unused coffee separately in an appropriate airtight container.
Should I descale the coffee maker before storing it?
Descale it if the maintenance indicator is on, flow has slowed, scale is visible, or the manufacturer’s schedule says the process is due. Otherwise, routine washing, rinsing, draining, and drying may be sufficient. Never leave descaling solution in the machine during storage.
Can I use vinegar to prepare every coffee maker for storage?
No. Vinegar is permitted for some machines but discouraged or replaced by an approved descaling product for others. Check the exact model manual for the correct cleaner, concentration, cycle, and rinse procedure.
How long should coffee maker parts dry before packing?
Allow at least 24 hours in a clean, ventilated area. Give reservoirs, valves, tubes, seals, and covered parts more time when droplets or damp areas remain. Pack the machine only when every part is visibly and completely dry.
Conclusion
Long-term coffee maker storage is safest when you clean away coffee and milk residue, remove as much internal water as the manufacturer allows, and give every part enough time to dry. Pack the appliance upright with its accessories protected, then keep it in a dry location away from freezing temperatures and heavy objects. Before brewing again, inspect the cord, seals, water path, and removable parts, run the approved rinse process, and stop if you find a leak, persistent mold, or electrical damage.
Sources
- Cuisinart: How to Clean Your Coffee Maker — cleaning methods, manual checks, and rinse guidance
- Keurig: Coffee Maker Descaling Instructions — model-specific descaling procedures
- Nespresso Vertuo Machine Assistance — emptying the system before non-use or frost exposure
- Breville Oracle Instruction Manual — boiler draining for extended storage and freeze protection
- U.S. Environmental Protection Agency: Mold and Moisture Guide — moisture control, indoor humidity, and hard-surface mold cleanup
- Centers for Disease Control and Prevention: Cleaning Safely With Bleach — warning against mixing cleaning products


