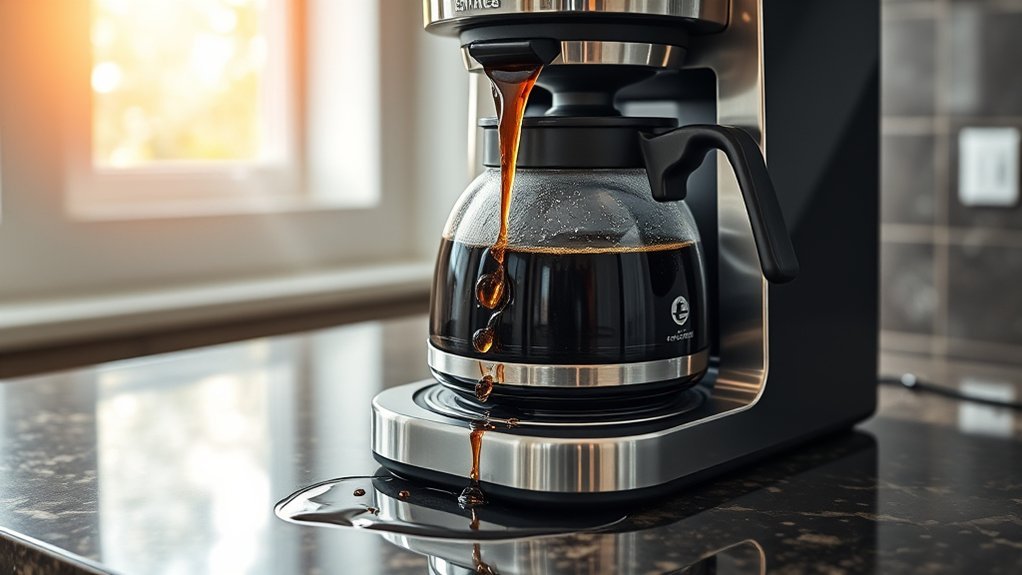
If your coffee maker is overflowing or sending water back toward the reservoir, stop the brew cycle before trying another cup. The most likely cause depends on where the water appears. Drip machines commonly overflow at the filter basket, while single-serve brewers may back up because of a clogged user-serviceable needle or holder, an interrupted brew cycle, excess water, an incorrectly installed component, or an internal flow problem.
Begin with the simple checks: unplug the brewer, let it cool, confirm the reservoir is not overfilled, clean the removable brewing parts, and verify that the filter, pod holder, carafe, and coffee grounds match the manufacturer’s instructions. Do not open the housing or probe an internal passage unless the manual provides a specific user procedure.
Quick Answer
A coffee maker usually overflows because water cannot leave the brewing area as fast as it enters. Unplug and cool the machine, then check the coffee dose, grind, filter, carafe position, pod holder, removable outlets, reservoir seating, and cleaning status. Persistent backflow during a water-only test may require manufacturer service.
Key Takeaways
- First identify whether water is overflowing from a drip basket, backing up during a pod brew, leaking from the reservoir, or appearing underneath the machine.
- Unplug the brewer and let hot water and wet grounds cool before removing the basket, pod holder, needle assembly, or reservoir.
- Too many grounds, coffee ground too finely, a folded filter, or a carafe that does not engage the drip-stop can make a drip basket overflow.
- Single-serve problems can involve a clogged user-serviceable needle, an incorrectly installed holder, too much water, or water left inside after an interrupted cycle.
- A water-only test helps separate coffee-and-filter problems from a restriction or fault in the brewer itself.
- Descaling procedures and intervals vary by model. Follow the cleaner, quantity, button sequence, soak time, and rinse procedure stated for your brewer.
- Persistent backflow, electrical symptoms, or water leaking from inside the housing requires manufacturer support or qualified service.
At a Glance
| Time Required | About 15–45 minutes for basic diagnosis and cleaning; model-specific descaling can take longer |
| Difficulty | Easy for removable-part cleaning; professional service for internal valves, pumps, wiring, heaters, or leaks |
| Tools Needed | Warm water, mild dish soap, soft brush or cloth, a large mug or carafe, and only the needle tool or descaler approved for your model |
| Cost | Usually no additional cost for basic cleaning; otherwise the cost of an approved descaler, compatible filter, replacement removable part, or service visit |
Warning: Overflowing coffee and water may be hot enough to cause burns. Unplug the machine and let it cool before removing a full basket or handling a pod holder. Piercing needles can be sharp. Stop using the brewer if the cord, plug, controls, base, or internal electrical area becomes wet.
Common Causes of Coffee Maker Overflow
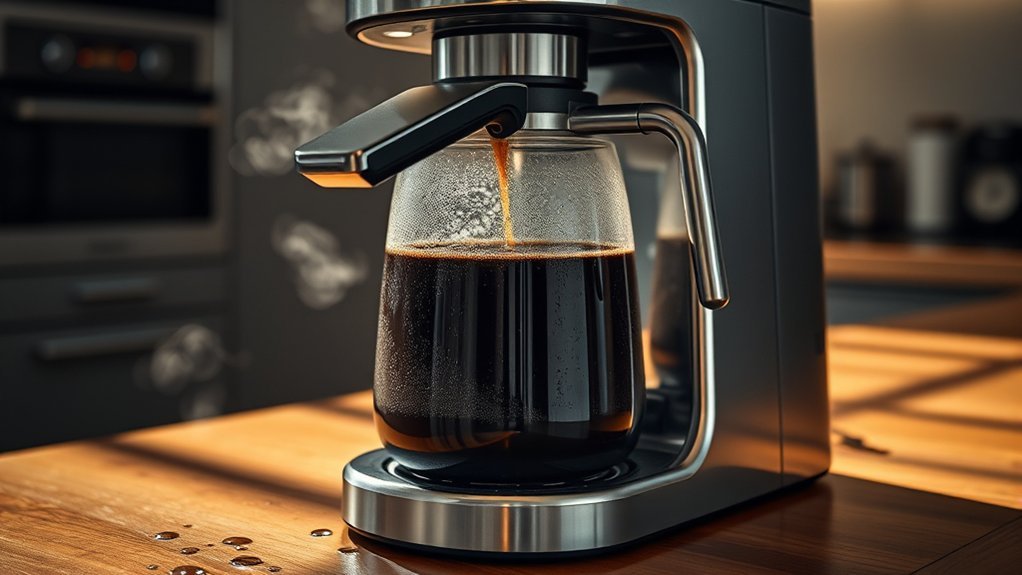
The correct diagnosis starts with the location of the water. A drip brewer that fills the basket faster than coffee can drain has a different problem from a single-serve machine that leaves water trapped after an interrupted cycle or repeatedly sends water in the wrong direction.
| Where You See Water | Likely Causes | First Check |
|---|---|---|
| Above or around a drip filter basket | Too many grounds, overly fine coffee, folded or incorrect filter, clogged basket outlet, incorrect sprayhead setup on applicable models, or a carafe that is not opening the basket valve | Filter fit, coffee dose, grind size, carafe position, drip-stop, and basket cleanliness |
| Around the top of a pod or single-serve holder | Clogged user-serviceable piercing needle, damaged pod, reusable pod packed too tightly, holder installed incorrectly, or too much water | Pod, holder, removable funnel, fill limit, and official needle-cleaning instructions |
| Back toward or into the removable reservoir during brewing | Water left from an interrupted cycle on certain brewers, incorrectly seated components, a user-serviceable outlet restriction, or an internal flow-control, valve, tubing, or pump problem | Reservoir seating, water level, removable brewing components, model-specific purge instructions, and a supervised water-only cycle |
| From a reservoir seam or connection before brewing begins | Cracked reservoir, damaged outlet seal, debris around the tank valve, overfilling, or improper installation | Remove, inspect, clean, refill over a sink, and reinstall the reservoir |

Power your essentials anywhere with a 999Wh pure sine wave power station delivering up to 1000W continuous with 2000W surge. It supports fast charging via USB-C PD 60W and USB-A QC 18W, plus simultaneous output for multiple devices through AC, USB, wireless, and car/DC ports. Recharge using AC, car, or solar with a built-in MPPT controller and dual cooling fans, while the upgraded battery management system protects against surges, short circuits, and overheating.
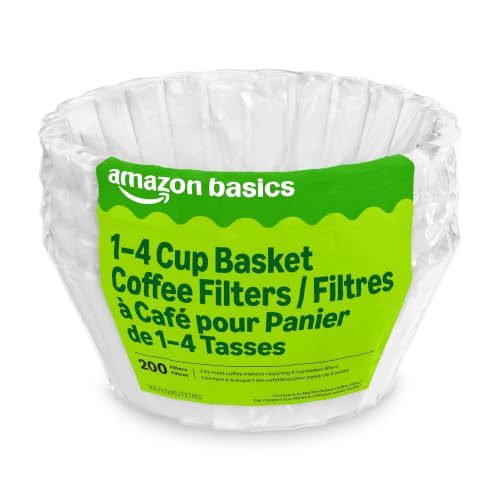
WIDE COMPATIBILITY: Contains 200 white 1-4 cup basket style coffee filters designed to fit most coffee makers requiring 4 cup basket filters

【Products】This Coffee Machine Brewing Basket Bottom spring loaded stopper kits are designed to fit for Black+Decker Coffee Makers Brew Basket. Kits Includes: spring, silicone pad and stopper.
Clogged Basket, Filter, or Outlet
Coffee oils, loose grounds, paper fibers, and mineral deposits can reduce drainage through accessible brewing parts. Water then rises faster than it can leave the basket or holder. Wash removable parts and inspect every visible opening identified in the manual without forcing a tool into hidden tubing.
Too Much or Too-Fine Coffee
Overpacking the filter reduces the space available for water to move through the coffee bed. Coffee ground finer than the machine recommends can also slow drainage. Manufacturer troubleshooting guidance commonly lists excessive grounds and overly fine coffee among the main causes of drip-basket overflow.
Decaffeinated and flavored coffees can also behave differently in some machines. Follow the brewer’s recommended dose and grind rather than assuming that one setting works for every coffee. For a standard automatic drip brewer, use the grind specified by the manufacturer instead of espresso-fine coffee.
Incorrect Filter Size or Placement
A filter that is too small can collapse, while an oversized or incorrectly shaped filter can fold or interfere with drainage. Either problem may allow grounds to escape or restrict brewed coffee as it leaves the basket. Open paper filters fully and center them before adding coffee.
Do not automatically combine a reusable mesh filter with a paper filter. Some brewers permit one or the other, while using both may restrict flow. Follow the filter configuration listed for your exact model.
Carafe or Pause Valve Not Positioned Correctly
Many drip makers have a spring-loaded pause-and-serve or drip-stop mechanism under the basket. The correct carafe and lid must sit in the proper position to open it. If the carafe is missing, off-center, fitted with the wrong lid, or removed for too long, brewed coffee may stop draining while hot water continues entering the basket.
Some manufacturers specify a maximum amount of time the carafe may remain removed during brewing. Replace it promptly instead of relying on the pause feature for an extended period.
Scale or Internal Flow Restriction
Mineral scale can slow water passages, sprayheads, pumps, heaters, or outlets depending on the brewer’s design. Descaling may restore normal flow when mineral deposits are the cause, but it will not repair a cracked hose, damaged seal, failed pump, electrical problem, or faulty internal valve.
The fastest diagnostic clue is not simply that the brewer overflowed—it is where the water appeared and whether the problem still occurs when you test the machine without coffee.
Recognizing Overflow Symptoms in Your Coffee Maker
Overflow does not always look like water pouring over the top. Once the machine is safely reassembled, a supervised water-only cycle can help you identify the failure without wasting coffee.
- Water moves back toward the reservoir: An interrupted-cycle condition or flow problem may be involved, depending on the brewer. Repeated active-brew backflow deserves model-specific troubleshooting.
- The filter basket fills to the rim: Check the coffee dose, grind size, filter, basket outlet, carafe lid, and drip-stop or pause valve.
- Grounds enter the carafe: The paper filter may have folded or collapsed, the basket may be overfilled, or the coffee may be too finely ground for the brewer.
- Water leaks before the pump starts: Inspect the removable reservoir, fill level, tank valve, outlet seal, and seating rather than assuming the brew basket is responsible.
- A pod brewer sputters but dispenses little coffee: A pod outlet, removable holder, or manufacturer-designated needle may be clogged.
- The next serving overflows after a canceled brew: Some single-serve models retain water when a cycle is stopped early and require a model-specific drain or purge procedure.
- Water appears under the housing: Stop using the machine because an internal hose, seal, heater, pump, or reservoir connection may be leaking.
Note: A small drip around a removable reservoir valve when the tank is removed or reinstalled can occur on some designs. That is different from a steady stream visibly moving backward during an active brew. Repeated backflow, failure to dispense, or water entering the housing should be treated as a fault until your model’s manual says otherwise.
Why Is Water Going Back Into the Coffee Maker Reservoir?
If your main symptom is water moving back toward the reservoir instead of reaching the cup or carafe, first determine exactly when it happens. “Backflow” can describe several different problems, and they do not all have the same fix.
Backflow or Overflow After an Interrupted Brew
Some single-serve machines can retain water when a brew cycle is canceled. On certain Hamilton Beach FlexBrew models, for example, the manufacturer warns that water left after an interrupted cycle must be drained before another serving or the next cup can overflow.
If the problem began immediately after you stopped a cycle early, do not simply add more water and restart the machine. Follow the exact drain or purge procedure in the manual.
Water Goes Backward During Every Brew Cycle
If water repeatedly moves toward the reservoir on every cycle, remove coffee and test the brewer only after cleaning and reinstalling every user-removable part correctly. A problem that continues during a plain-water cycle is less likely to be caused only by coffee dose, grind, or filter paper.
Check the reservoir seating, pod holder, funnel, removable needle holder, sprayhead, or other components your manual identifies as user-serviceable. If those parts are clean and correctly installed but the machine still cannot send water through its normal outlet, an internal valve, pump, tube, heater passage, or flow-control component may require service.
Reservoir Leaks Before Brewing
Water leaking from the tank while the machine is off points to a different problem. Remove the reservoir and inspect it over a sink for a crack, damaged seal, debris around the outlet valve, or an overfilled tank. Reinstall it squarely and do not exceed its maximum line.
If the reservoir itself holds water correctly when removed but leaks after installation, the connection between the tank and machine may need inspection by the manufacturer or a qualified service provider.
Coffee-Only vs. Water-Only Overflow
If the brewer works normally with plain water but overflows after coffee is added, concentrate on the coffee dose, grind, filter, reusable pod, basket outlet, and drip-stop. If it overflows or sends water backward even without coffee, concentrate on removable water passages, reservoir installation, an interrupted-cycle condition, scale, or an internal flow problem.
How to Fix Coffee Maker Overflow: Quick DIY Solutions
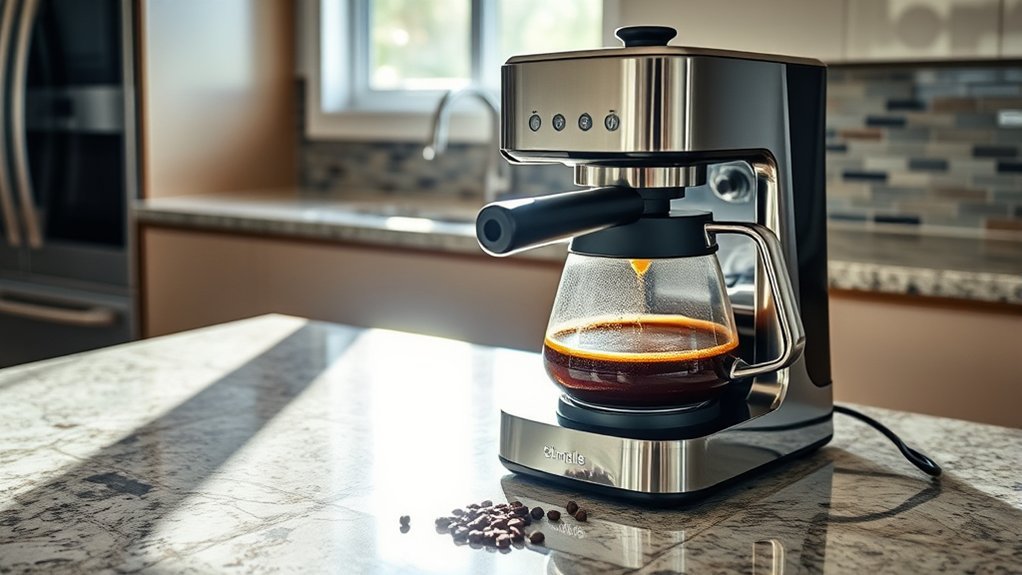
Use the following order so you address the most common and least invasive causes first.
-
Stop the brew cycle, unplug the machine, and let it cool. Do not immediately pull out a basket that is full of hot water and grounds. Place towels around the base if needed, but do not tilt an electrical appliance that still contains hot liquid.
-
Remove excess water safely. Empty the carafe, drip tray, and removable reservoir when appropriate. If a single-serve cycle was canceled, consult the manual for its drain or purge procedure before starting another brew.
-
Identify the overflow path. Determine whether the water came from the filter basket, pod holder, reservoir connection, top vent, or underside of the housing.
-
Wash removable brewing parts. Clean the basket, filter holder, funnel, pod holder, reservoir, carafe lid, and drip tray with warm water and mild dish soap when the manual permits it. Rinse away loose grounds and coffee oils.
-
Correct the coffee and filter setup. Use the specified filter shape and size. Keep coffee below the maximum line, distribute the grounds normally without tamping them, and avoid a grind finer than the manufacturer recommends.
-
Check the carafe and basket valve. Confirm that the correct carafe lid is attached and that the carafe is centered beneath the basket. With the machine cool and unplugged, inspect the user-accessible drip-stop or basket valve for sticky coffee residue.
-
Inspect a single-serve holder carefully. Reinstall the funnel, pod holder, brew basket, seals, and removable needle holder exactly as shown in the manual. Inspect the pod for swelling, damage, or an obstructed exit.
-
Clean needles only as the manufacturer directs. Keurig provides an official K-Cup brewer needle-cleaning guide. Other brands use different removable parts and procedures. Do not blindly push wire or another object into hidden tubing.
-
Run a water-only test. Reassemble the brewer, add only the permitted amount of fresh water, place an oversized mug or empty carafe underneath, and run one cycle without coffee. Stop immediately if water enters the base or electrical housing.
-
Descale if flow remains slow and the manual calls for it. Follow the exact instructions rather than assuming vinegar, a 50/50 mixture, a particular descaling product, or a generic button sequence is suitable for every model.
Pro Tip: Change one thing at a time, then test with plain water. This makes it much easier to tell whether the coffee dose, grind, filter, carafe position, holder cleaning, purge procedure, or descaling step actually solved the problem.
Properly Clean Your Coffee Maker
Cleaning prevents coffee residue and mineral scale from narrowing the intended water path. Routine washing and descaling are different tasks: washing removes grounds and oils from accessible components, while descaling targets mineral deposits in the internal water passages the manufacturer approves for descaling.
Use the Correct Descaling Routine
Do not apply one vinegar recipe or one button combination to every coffee maker. Keurig’s current guidance is model-specific, and many Keurig use-and-care guides recommend descaling about every 3–6 months, with more frequent maintenance possible when mineral buildup occurs sooner. Follow your exact brewer’s Descale Mode, cleaning solution, soak, and rinse instructions.
For comparison, Cuisinart’s current cleaning guidance says many models with a Clean button use three parts water to one part vinegar. The same general resource discusses other vinegar methods for different situations, which is another reason to verify the procedure in your model’s manual instead of treating one ratio as universal.
Some Hamilton Beach manuals specify plain white vinegar, while other brands or models specify another mixture or a dedicated descaling solution. Use the approved cleaner and quantity, remove any water filter if instructed, complete every required rinse cycle, and do not interrupt a programmed Descale Mode unless the manual tells you to do so.
Clean the Brew Basket Frequently
Discard wet grounds after each use. Wash a removable basket with mild dish soap and warm water when permitted, then inspect its visible outlet and drip-stop mechanism. A soft brush can remove coffee oils without forcing or enlarging an opening.
Reusable mesh filters need thorough rinsing because fine particles and coffee oils can remain in the screen. Let washed parts dry before reinstalling them to reduce odor and residue buildup.
Inspect the Sprayhead, Outlet, and Pod Holder
With the machine unplugged and cool, inspect only the components the manual identifies as removable or user-serviceable. A drip brewer may have a detachable sprayhead, while a pod brewer may have a removable holder, funnel, or needle assembly.
BUNN’s Speed Brew support guidance says incorrect filters, a missing sprayhead, fine or decaffeinated coffee, and certain water conditions can contribute to funnel overflow on compatible BUNN brewers. Those directions apply to the specified BUNN systems and should not automatically be transferred to another brand.
Never use compressed air, drill bits, sewing needles, or excessive force on the machine. A straightened paper clip is appropriate only when the manufacturer specifically instructs you to use one on a designated removable or accessible opening.
Maintenance Tips to Prevent Future Overflow Issues
- Rinse removable parts after brewing: Clear grounds before they dry inside a basket, funnel, reusable pod, screen, or valve.
- Wash the basket and carafe lid regularly: Sticky residue can prevent a pause-and-serve or drip-stop mechanism from moving freely.
- Stay below fill limits: Do not exceed the reservoir’s maximum water line or pack coffee above the basket’s marked limit.
- Use the recommended grind: Coffee ground too finely for the brewer can drain slowly and increase the chance of overflow.
- Use the specified filter: Match the basket or cone shape, filter number, diameter, and wall height stated for the machine.
- Do not leave a cycle unfinished without following instructions: If you stop a single-serve brew early, use the model’s drain or purge procedure when one is specified.
- Descale on the manufacturer’s schedule: Water hardness, brewing frequency, sensors, and model design can change the required interval.
- Use permitted water: Water with lower mineral hardness may reduce scale, while filtration can improve taste depending on the filter. Follow any restrictions concerning distilled, softened, reverse-osmosis, filtered, or bottled water in the manual.
- Inspect removable seals: Replace a cracked reservoir, distorted removable gasket, damaged holder, or worn carafe lid with a compatible part.
- Keep the manual accessible: Save the model-specific cleaning, Descale Mode, drain, purge, filter, and troubleshooting instructions.
The Importance of Using the Right Filters for Your Coffee Maker
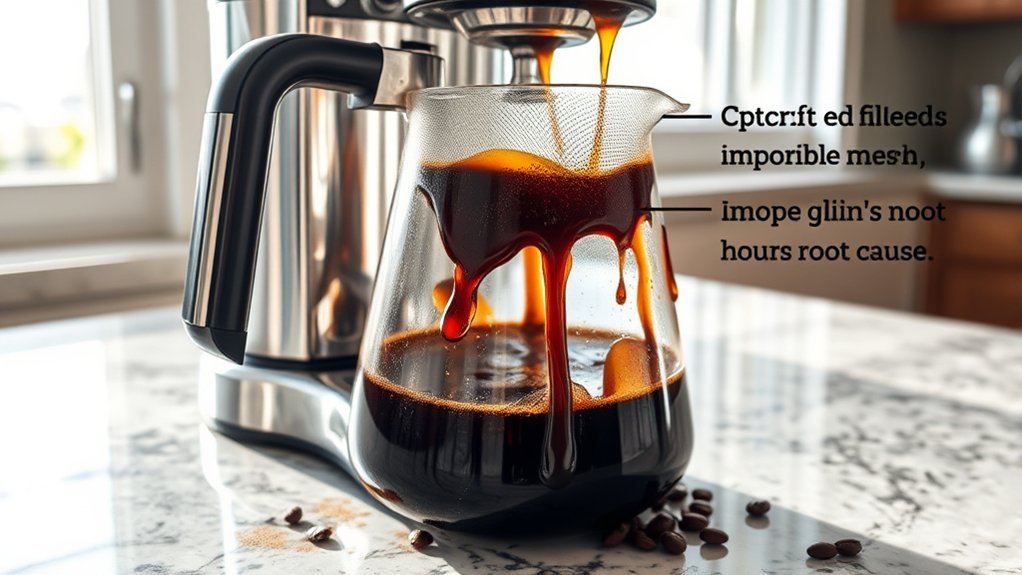
A filter must fit the basket without blocking its outlet, collapsing into the grounds, or folding where it interferes with the lid or spray pattern. Descriptions such as “basket,” “cone,” “number 2,” and “number 4” identify different designs and are not interchangeable in every coffee maker.
Filter Size Matters
A small filter may collapse when saturated. An oversized filter can fold over itself, interfere with the lid, or disrupt the intended water flow. Either condition can slow drainage or let grounds escape into the carafe.
Some fast-flow brewers use unusually tall filters. BUNN, for example, specifies taller paper filters for compatible BUNN funnels to help contain grounds during rapid brewing. That does not establish compatibility with unrelated brands.
Proper Filter Placement
Open a paper filter fully and center it before adding grounds. Some manufacturers recommend wetting or rinsing the basket or filter to help it stay in position, but follow your brewer’s instructions if they specify a different preparation method.
Also check that you have not accidentally installed two paper filters or combined paper and reusable filters in a way the brewer does not permit. Extra filtration can slow the flow enough to contribute to an overflow.
| Filter Type | Compatibility | Overflow-Prevention Check |
|---|---|---|
| Basket-style paper filter | Flat-bottom baskets in the size stated by the brewer manufacturer | Open it fully, center it, and keep the wall from folding into the outlet or spray area |
| Cone paper filter | Cone baskets using the specified filter number | Match the filter number and seat the filter so its seam or folds do not collapse |
| Reusable mesh filter | Only models that list the filter as compatible | Remove fine particles and coffee oils from the mesh and keep grounds below the maximum line |
| BUNN paper filter | Compatible BUNN home-brewer funnels | Use the filter and sprayhead configuration specified for that BUNN model |
| Reusable single-serve pod | Only pod brewers and holder assemblies approved for that accessory | Do not tamp grounds or exceed the fill line; clean the mesh, lid opening, and other approved removable passages |
How to Choose a Replacement Filter
- Find the brewer’s model number on the base, rear label, reservoir area, product label, or owner’s manual.
- Check the manual for the filter shape, number, dimensions, or compatible part number.
- Choose food-contact paper or a reusable filter intended for that exact basket.
- Avoid assuming that two filters are interchangeable simply because both packages use a capacity description such as “12-cup.”
- Replace torn, warped, damaged, or permanently clogged reusable filters.
How to Troubleshoot Specific Coffee Maker Models
The machine’s model number matters more than the brand name alone. Two coffee makers from the same manufacturer may use different needle holders, Descale Mode button combinations, filters, reservoirs, valves, maximum water volumes, and purge procedures.
Keurig and Other K-Cup Brewers
For a Keurig brewer, first remove the pod and follow the needle or pod-holder maintenance process provided for that exact model. Confirm that all removable holder components are seated correctly and that the reservoir is installed properly against its connection.
Keurig’s available use-and-care guides commonly recommend descaling every 3–6 months, although mineral content and the brewer’s own descale indicator can change the timing. Use the current support instructions for your model rather than assuming an older K40, K55, K70, K-Mini, K-Classic, K-Supreme, K-Elite, or K-Duo uses the same Descale Mode sequence.
BUNN Speed Brew and Heat N’ Brew
For a compatible BUNN home brewer, check that the brew funnel is fully inserted, the correct filter is being used, and the required sprayhead is installed. BUNN Speed Brew support says an incorrect filter or missing sprayhead can contribute to funnel overflow, while fine or decaffeinated coffee and some water conditions may require a model-compatible flow-restrictor sprayhead.
BUNN’s Heat N’ Brew guidance separately tells owners with an overflowing brew funnel to verify that the funnel is properly inserted and to use the specified taller BUNN filters. Follow the support page for the exact BUNN product family you own.
Hamilton Beach FlexBrew and Dual Brewers
Some Hamilton Beach FlexBrew manuals warn that stopping a single-serve cycle early can leave water inside the unit and cause the next serving to overflow. Use the drain or purge sequence stated in your model’s instructions before adding another full serving of water.
The cited Hamilton Beach FlexBrew Use & Care guide for model 49940 also instructs users to unplug and cool the brewer after an overflow. It sets model-specific water and coffee limits, describes removable holders and needle cleaning, and specifies plain-white-vinegar cleaning procedures for its carafe and single-serve sides. Those exact quantities and procedures should not be generalized to every Hamilton Beach brewer.
Other Drip and Single-Serve Machines
Locate the official manual before removing a sprayhead, cleaning a piercing needle, resetting a descale warning, purging retained water, or ordering a replacement filter. Search using the complete model number rather than the product family name alone.
Note: Cleaning a user-removable brewing component is different from opening the appliance housing. Do not remove electrical covers, bypass interlocks, or work around a heater, pump, wiring connection, or pressurized hot-water tube unless the manufacturer specifically identifies the procedure as user service.
Alternatives to Consider If Your Coffee Maker Cannot Be Fixed
If cleaning, correct setup, a water-only test, and the official troubleshooting process do not restore normal flow, compare repair with replacement. Start by checking the warranty and contacting the manufacturer, especially if the machine is relatively new or has a replaceable reservoir, holder, carafe, seal, or other user-serviceable component.
When choosing a replacement, consider the failure you want to avoid:
- Basic automatic drip maker: Fewer pod needles and pod-holder components, but it still requires the correct coffee dose, filter, basket, and carafe placement.
- Single-serve brewer: Convenient for one cup, but its holder, pod area, and piercing system require regular cleaning.
- Manual pour-over: No internal pump, reservoir valve, or powered water path to clog, although you control the pour manually.
- French press: No paper-filter basket or powered internal water path, but it produces a different coffee texture and requires manual cleanup.
- Thermal-carafe drip brewer: Avoids a warming plate while retaining automatic batch brewing, although basket and filter maintenance still matter.
Review the new machine’s manual before purchase. Confirm that compatible filters, replacement reservoirs, carafes, cleaning tools, descaling instructions, and manufacturer support are readily available.
When to Call in the Pros for Your Coffee Maker
Stop DIY troubleshooting and contact the manufacturer or a qualified appliance technician when:
- Water leaks from beneath the housing rather than from a removable basket, carafe, drip tray, or reservoir.
- The cord, plug, control panel, or electrical base becomes wet.
- The brewer trips a breaker, smells burnt, sparks, or shuts off repeatedly.
- Backflow continues after removable components are cleaned, reinstalled correctly, and the manufacturer-approved descaling process is complete.
- The pump runs loudly but little or no water reaches the normal outlet.
- A reservoir connector, internal hose, heater, pump, or internal valve appears damaged.
- A water-only cycle still sends water in the wrong direction after every permitted user-maintenance step is complete.
- The appliance is under warranty and opening it could affect coverage or expose non-user-serviceable electrical parts.
Repair prices vary by machine, part availability, labor rates, shipping, and location. Request a written estimate when practical and compare it with the replacement price, expected remaining lifespan, warranty coverage, and features of a suitable new brewer.
Frequently Asked Questions
Can using the wrong coffee grind size cause overflow?
Yes. Coffee ground too finely for the brewer can restrict drainage and make water rise inside a filter basket or reusable single-serve pod. Use the grind stated in the manual and keep the coffee dose below the recommended maximum.
How often should I clean my coffee maker to prevent overflow?
Rinse removable brewing parts after use and wash them regularly according to the manual. Descale according to the manufacturer’s schedule, descale indicator, brewing frequency, and water mineral content. Do not assume that one monthly, three-month, or six-month interval applies to every brewer.
What type of water is best for brewing coffee?
Use clean water that meets the brewer manufacturer’s recommendations. Water with lower mineral hardness can reduce scale, while some filtration mainly improves taste. Check the manual before using distilled, softened, reverse-osmosis, or other specialty water because recommendations differ by machine.
Can old coffee grounds lead to brewing issues?
Old unused coffee mainly loses flavor and aroma, but wet grounds left inside the machine can dry into screens, outlets, filters, and valves. Discard used grounds promptly, wash the basket, and store unused coffee in a sealed container away from heat, moisture, and direct light.
Is it safe to use vinegar for cleaning my coffee maker?
Only use vinegar when the manufacturer permits it for your exact model. Concentrations, quantities, soak times, button sequences, and rinse cycles vary. Some models specify plain vinegar, some use a diluted mixture, and others direct you to a dedicated descaling solution.
Why does water go back into the reservoir instead of making coffee?
The cause depends on the machine. Water left after an interrupted cycle can create overflow on certain single-serve brewers, while repeated backflow can point to an incorrectly installed component, a clogged user-serviceable outlet, scale, or an internal valve, tube, pump, or flow-control problem. Test with plain water only after completing the approved cleaning and setup checks.
Should I keep brewing to force a clog through?
No. Repeated brewing can add more hot water to a blocked basket or holder and increase the chance of a spill. Stop the cycle, unplug the machine, let it cool, clean only approved removable parts, and test again with plain water after reassembly.
What does it mean if the coffee maker works with water but overflows with coffee?
That usually shifts attention toward the coffee dose, grind, paper filter, reusable filter or pod, basket outlet, and drip-stop rather than the machine’s basic ability to move water. Reduce the diagnosis to one variable at a time and stay within the manufacturer’s specified coffee and filter limits.
Why does the reservoir leak before I start brewing?
A pre-brew leak is more likely to involve overfilling, a cracked removable tank, debris around its outlet valve, a damaged seal, or incorrect reservoir installation. Inspect the tank over a sink and stop using it if a crack or damaged connection is visible.
Conclusion
A coffee maker that overflows or sends water back toward the reservoir is usually showing that water is not following the intended path. Start by identifying exactly where the water appears, then unplug and cool the machine before checking the reservoir level and seating, coffee dose, grind, filter, carafe position, pod holder, removable outlets, and cleaning status.
A water-only test is especially useful. If the machine works normally without coffee, focus on the coffee, filter, basket, reusable pod, and drip-stop. If it still overflows or sends water backward with plain water, follow the exact model’s cleaning, purge, and descaling procedures. When water enters the housing, electrical parts become wet, or backflow continues after approved maintenance, stop using the brewer and arrange manufacturer support or qualified service.
Sources
- Keurig: How to Descale Your Coffee Maker — model-specific descaling and maintenance guidance
- Keurig: K-Cup Brewer Needle Cleaning — official needle and pod-holder maintenance guidance
- Cuisinart: How to Clean Your Coffee Maker — cleaning, vinegar, filter-basket, and maintenance guidance
- BUNN Speed Brew Support — filter, sprayhead, grind, water-condition, and funnel-overflow troubleshooting
- Hamilton Beach FlexBrew Use & Care Guide — burn precautions, interrupted-cycle overflow, fill limits, cleaning, vinegar procedures, and needle maintenance for the cited model