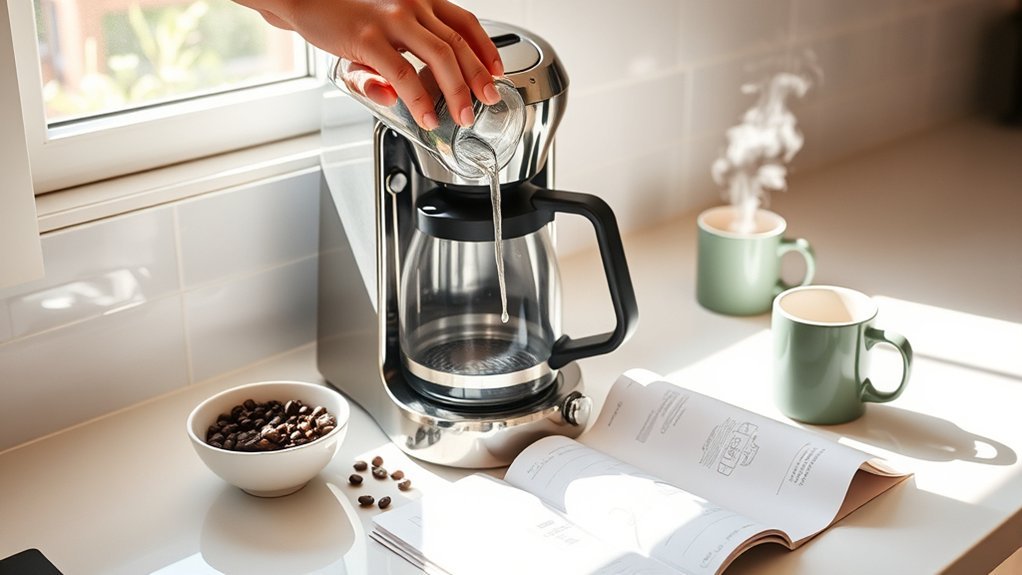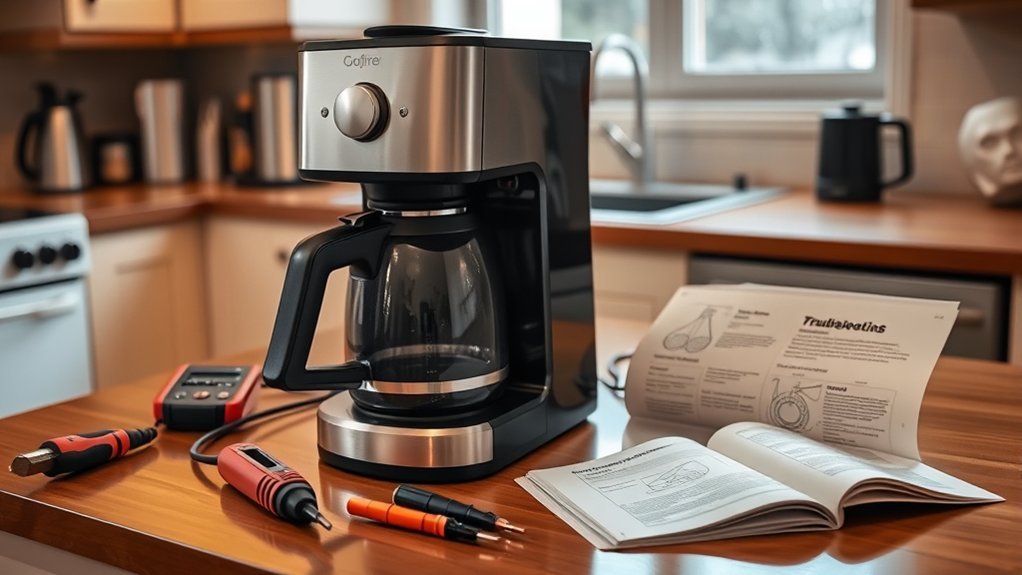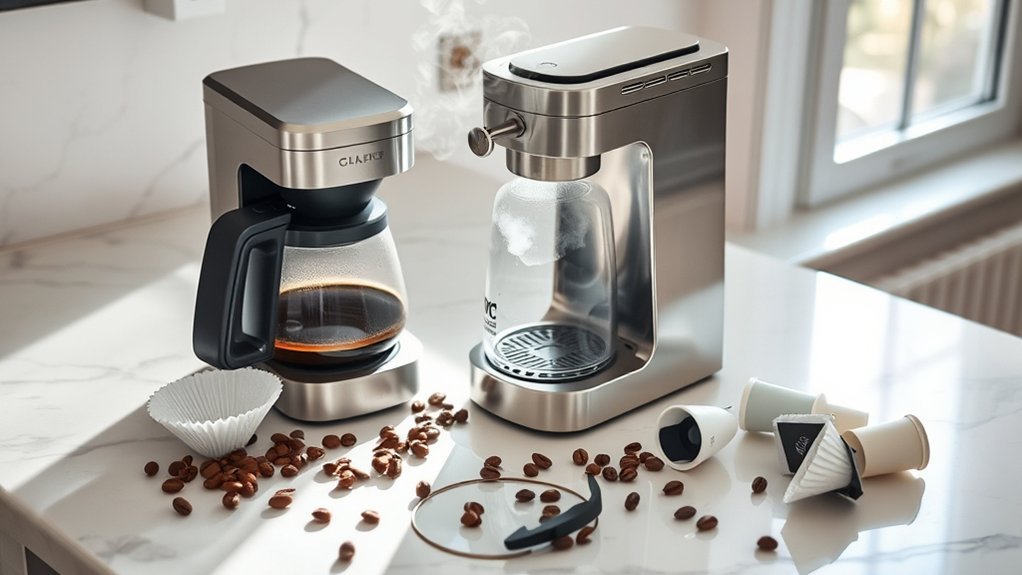
A coffee maker that stops halfway through a brew may have lost power, detected too little water, developed a clogged flow path, trapped an airlock in the intake line, or paused because of an internal thermal fault. Start with simple external checks, then clean only the removable parts approved in your owner’s manual. Do not open the housing or continue using a machine that shows signs of an electrical or burn hazard.
Quick Answer
If your coffee maker stops mid-brew, unplug it and let it cool. Check the outlet, water level, reservoir alignment, brew basket, filter, and user-cleanable needles or nozzles. Clear trapped airlocks by reseating the water tank. Descale according to your manual. Stop using the machine if it leaks into the base, smells burned, sparks, or trips a breaker.
Key Takeaways
- First determine whether the machine lost electrical power or remained powered on while water movement stalled.
- Check the reservoir valve, brew basket, filter alignment, pod holder, and anti-drip plunger before suspecting internal component failure.
- Trapped air in pump-driven lines can mimic pump failure; reseating the reservoir or cycling water can clear airlocks.
- Use the descaling product, dilution ratio, and cycle listed for your exact model; vinegar is not suitable for every machine.
- Do not open the electrical housing or attempt DIY heating element, pump, or wiring repairs unless the manufacturer explicitly classifies them as user-serviceable.
- Review warranty terms and check the U.S. Consumer Product Safety Commission recall database before paying for replacement parts.
At a Glance
| Time Required | 15–45 minutes for external checks, needle cleaning, cooling, descaling, and a test cycle |
| Difficulty | Easy to moderate; internal electrical or heating repairs require professional service |
| Tools Needed | Owner’s manual, soft cloth, mild dish soap, fresh water, paperclip or manufacturer cleaning tool, and approved descaler |
| Cost | $0–$20 for cleaning and descaling supplies; professional repair costs vary by appliance model |
Warning: Unplug the coffee maker and stop using it immediately if you see smoke or sparks, smell burning plastic or electrical wiring, find a frayed power cord, notice water leaking into the electrical base, hear popping sounds, experience tripped circuit breakers, or see uncontrolled hot water or steam escaping. Let the machine cool completely before handling any components.
Common Causes for Coffee Makers Stopping Mid-Brew

A brewing interruption does not always point to a burned-out heating element or failed water pump. Diagnosing the issue begins with observing the machine’s state when the brewing cycle halts. The digital display, indicator lights, operating sounds, and the amount of liquid dispensed help isolate the underlying cause.
| What You Notice | Possible Cause | First Safe Check |
|---|---|---|
| Display and lights turn off completely | Loose plug, switched wall outlet, tripped breaker, auto-off timer trigger, or internal thermal fuse trip | Check the plug, wall switch, and breaker; test the outlet with another small countertop appliance |
| Machine stays illuminated but water stops flowing | Low water level, unseated reservoir, clogged exit needle, mineral scale blockage, or trapped airlock | Refill and firmly reseat the water reservoir; inspect and clean user-accessible needles and nozzles |
| Water pools and backs up in the brew basket | Excess coffee grounds, grind size too fine, doubled paper filters, stuck anti-drip valve, or misaligned carafe lid | Unplug, let cool, empty basket, inspect the spring-loaded drip stop valve, and correct the grind size |
| Machine functions again only after cooling down | Temporary thermal cutoff engagement, inadequate ventilation, heavy scale on heater, or thermostat failure | Allow 20 minutes to cool, verify clear countertop clearance around vents, and run a descaling cycle |
| Brew cycle slows down progressively before stopping | Calcium/mineral scale narrowing the heating tube or a partially blocked check valve | Clean all removable components and execute a full manufacturer-recommended descaling process |

Power your essentials anywhere with a 999Wh pure sine wave power station delivering up to 1000W continuous with 2000W surge. It supports fast charging via USB-C PD 60W and USB-A QC 18W, plus simultaneous output for multiple devices through AC, USB, wireless, and car/DC ports. Recharge using AC, car, or solar with a built-in MPPT controller and dual cooling fans, while the upgraded battery management system protects against surges, short circuits, and overheating.
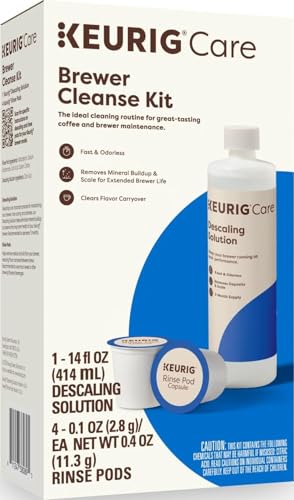
Better tasting beverages: Reduces flavor carry over between brews

RESTORE COFFEE FLAVOR & AROMA: Our universal descaling solution removes bitter mineral buildup and calcium deposits from heating elements. This ensures your Keurig cleaner process restores the original "day one" taste of your favorite pods and espresso capsules
Power Interruption or Automatic Shutoff
When the digital display turns completely dark during a cycle, verify that the power cord is fully seated in the wall receptacle. Confirm the outlet is not wired to a wall switch that was accidentally flipped. Countertop appliances can also trip a ground-fault circuit interrupter (GFCI) or standard circuit breaker if multiple appliances share the same circuit.
Modern coffee makers also feature programmable auto-off and energy-saving modes. Review your model manual to confirm whether a sleep timer or auto-off feature was inadvertently programmed to trigger early.
Restricted Water Flow and Mineral Scaling
Mineral scale, fine coffee particulate, and coffee bean oils frequently restrict internal fluid paths. Over time, calcium carbonate deposits form a hard crust inside the narrow heating elements, restricting flow until the water cannot move fast enough to prevent thermal safety shutoffs. On single-serve pod machines, fine grounds can clog the piercing needles, preventing pressurized water from penetrating the capsule.
Inspect the water distribution showerhead, pod entrance and exit needles, permanent mesh basket, and carafe brew-through lid for physical obstructions. Clean only the accessible parts identified in your machine’s user guide.
Reservoir Misalignment and Trapped Airlocks
A removable water tank may appear seated while sitting fractions of an inch above its spring-loaded base valve. When the base valve fails to depress fully, the pump starves of water and stalls. Similarly, magnetic water-level floats can stick to the bottom of the reservoir track due to mineral buildup, signaling the machine that the tank is empty even when full.
Additionally, running a brewer completely dry can pull air bubbles into the intake line, creating an airlock. The pump vibrates or hums loudly, but the air pocket prevents suction, causing the brewer to time out halfway through the brew.
Brew Basket Overflow and Anti-Drip Valve Sticking
If water accumulates in the brew basket rather than flowing into the carafe, the machine may automatically pause or overflow. Common triggers include using a grind size that is too fine (which creates an impermeable bed), using two paper filters simultaneously, or using paper filters with folded edges that block side drainage.
Drip coffee makers also incorporate a mechanical “pause-and-serve” anti-drip valve at the base of the brew basket. If coffee residue gums up the spring mechanism, or if the carafe lid is misaligned and fails to push the valve open, coffee cannot drain into the pot and backs up into the basket.
Internal Pump, Heater, or Control Fault
When thorough descaling, needle cleaning, and reseating procedures fail to correct the issue, the brewer likely has an internal electrical fault. Possible hardware failures include a worn vibration pump, a calcified one-way check valve, an open thermal fuse, a malfunctioning thermistor (temperature sensor), or a degraded logic board.
A machine that consistently stalls at the exact same point after comprehensive cleaning requires formal diagnosis, not repeated forced brew cycles.
Troubleshooting Steps to Diagnose the Issue
- Stop immediately if a hazard is present. Disconnect power if you notice smoke, sparks, melting odors, hot water leaking from the bottom casing, or repeated breaker trips.
- Record the cycle details. Note whether lights remained lit, whether an error code appeared (such as “Add Water” or “Err”), how many ounces dispensed, and whether the pump buzzed or stayed silent.
- Allow the appliance to cool. Wait 15 to 20 minutes. Never open a pod chamber or remove a brew basket that is pressurized or filled with scalding liquid.
- Verify the electrical supply. Plug the coffee maker into a dedicated, known-working outlet without extension cords, and check that the circuit breaker or GFCI outlet has not tripped.
- Reseat the reservoir and clear airlocks. Remove the tank, wipe the rubber seat valve, refill above the minimum fill line, and push down firmly into place. For pod brewers with trapped air, lift and reseat the water tank several times to dislodge trapped bubbles.
- Inspect and clean user-serviceable needles. On pod machines, use an unfolded paperclip or the manufacturer’s cleaning tool to clear grounds from the upper and lower piercing needles.
- Inspect the brew basket and anti-drip valve. Wash the basket with warm soapy water and manually press the bottom spring-loaded stopper to verify smooth up-and-down movement.
- Perform a model-specific control reset. Many modern digital brewers reset by being unplugged for 5 to 10 minutes; others require holding down specific button combinations (such as the power and brew size buttons).
- Execute an approved descaling cycle. Run the manufacturer-recommended descaling solution or citric acid mixture through the brewer to clear internal mineral crusting.
- Run a water-only test cycle. Run a full cycle using plain fresh water without coffee grounds or pods to confirm smooth, uninterrupted delivery.
Pro Tip: Snap a clear photo of the model and serial label on the bottom or back of your brewer before contacting customer support. Having the exact series number, error code, and measured output ready expedites warranty claims.
How to Clean and Maintain Your Coffee Maker
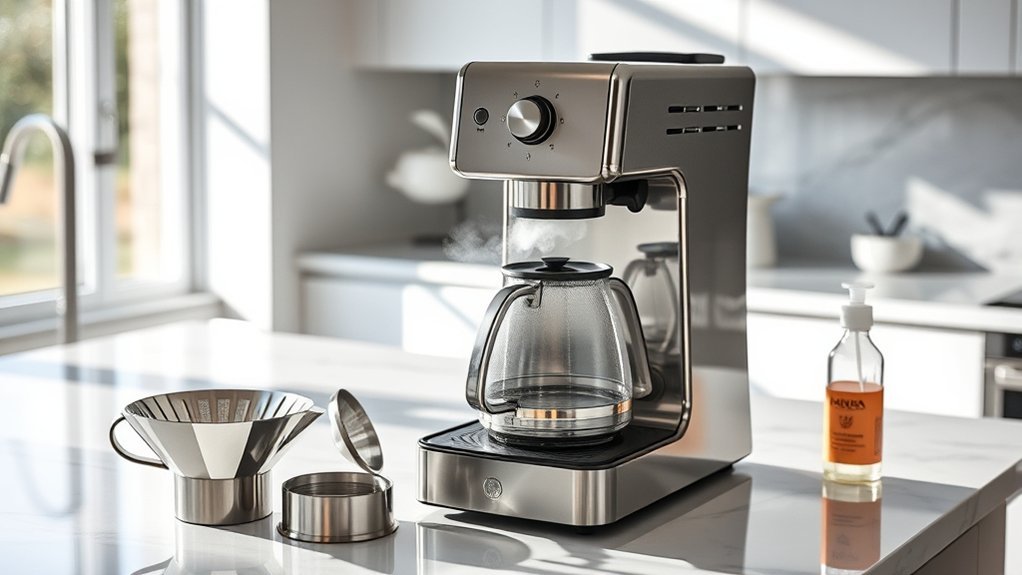
Routine washing removes coffee oils, organic residues, and loose grinds, while descaling eliminates hard mineral buildup inside the boiler tubes. Both procedures are essential for preventing mid-brew pauses and maintaining proper brewing temperature.
Clean Removable Components
- Switch off the coffee maker, disconnect the power cord, and let the unit cool.
- Remove the carafe, brew basket, permanent gold-tone filter, pod holder assembly, drip tray, and water tank.
- Discard damp grounds and spent pods immediately to prevent mold and oil accumulation.
- Wash removable parts using warm water and mild dish soap. Place parts in the dishwasher only if specifically rated dishwasher-safe in the manual.
- Wipe down the exterior casing, brew head, and warming plate using a soft, damp microfiber cloth. Never submerge the machine base, plug, or cord in water.
- Dry all components thoroughly before reassembling and reconnecting power.
Use the Correct Descaling Method
Descaling procedures differ substantially across brands. For instance, Cuisinart’s official cleaning instructions specify running a mixture of one-third white vinegar and two-thirds fresh water for self-cleaning drip models. Conversely, Keurig recommends its citric-acid-based descaling solution every three months or whenever the descale light illuminates, as vinegar can degrade internal silicone gaskets in certain pod brewers.
Note: Using improper descaling chemicals, incorrect concentrations, or failing to run thorough freshwater rinse cycles can leave chemical aftertastes, cause excess foaming that triggers false reservoir sensor shutoffs, or void your warranty. Always follow your specific user manual.
Always run two to three consecutive freshwater rinse cycles after completing a descale. If the coffee maker continues stopping halfway on pure water cycles after descaling, the fault lies in a sensor, pump, or electronic board rather than scale accumulation.
When to Replace Your Coffee Maker’s Key Components
While exterior and removable items can be easily replaced by homeowners, internal mechanical and electrical parts should only be serviced by authorized technicians or replaced outright.
| Component or Area | Possible Replacement Signs | Recommended Action |
|---|---|---|
| Permanent filter or basket | Torn mesh, warped plastic rim, clogged pores that resist washing, or grounds escaping into the pot | Replace with a genuine manufacturer-specified replacement basket or filter |
| Water reservoir valve & O-ring | Cracked rubber grommet, persistent leaking when seated, or failure to feed water into the machine | Replace the removable reservoir gasket or install a new water tank assembly |
| Brew basket anti-drip valve & carafe lid | Broken spring mechanism, cracked lid tab, or failure to release coffee during brewing | Order an exact model-compatible replacement brew basket or carafe lid |
| Vibration pump or internal solenoid | Excessive grinding noise with zero flow, repeated mid-brew stalling despite clear lines, or total silence during brew cycle | Contact manufacturer support for authorized warranty service; do not open housing |
| Heating element, thermal fuse, or PCB | Burning odors, cold water output, repeated power cuts, unresolvable error codes, or tripped breakers | Decommission appliance immediately and submit a warranty claim or replace the unit |
Consider replacing the entire coffee maker if the cost of an out-of-warranty professional repair exceeds 50% of the replacement price, if critical safety components show signs of electrical failure, or if the unit is listed in an active manufacturer recall.
Common User Issues and Solutions
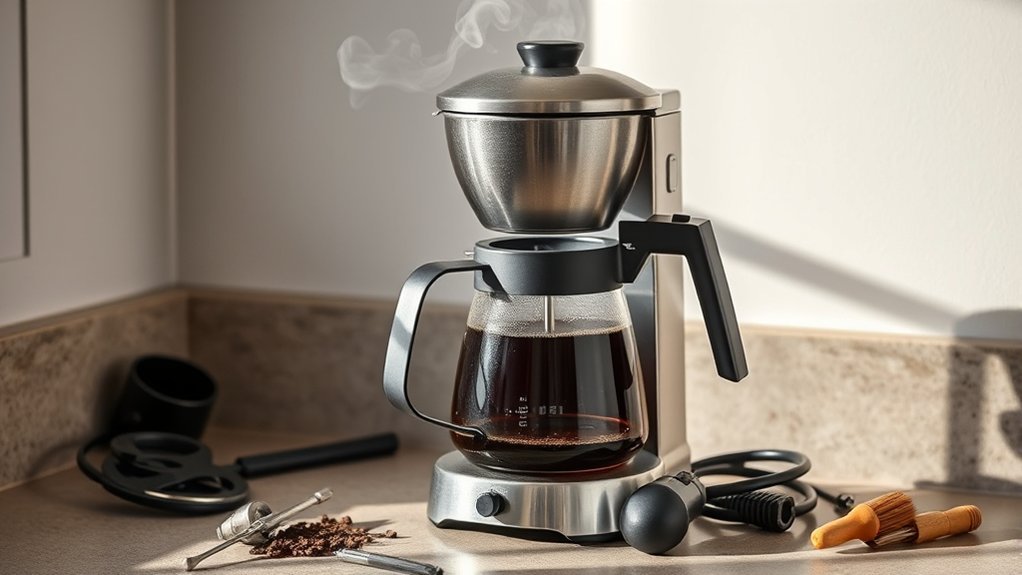
Coffee Maker Stops After a Few Ounces
If your machine dispenses 2 to 3 ounces and abruptly halts, check whether the selected brew volume exceeds the water level in the reservoir. On pod machines, grounds lodged inside the exit needle can create high backpressure that forces the pump to shut down prematurely. Clear the needle using a pin and run a water-only cycle. If the brewer dispenses the exact same short volume across all settings, an internal flow meter (flow sensor) has likely failed.
Coffee Maker Hums Loudly but Does Not Dispense
A loud buzzing or humming noise indicates the vibration pump is energized but cannot draw liquid. This is typically caused by a dry airlock in the intake line or a fully calcified boiler tube. Remove and firmly reseat the water reservoir 3 to 4 times to dislodge trapped air, verify the float moves freely, and proceed with a descaling cycle. If the pump continues to hum without drawing water, power down to avoid overheating the pump coil.
Coffee Maker Shuts Off and Restarts After Cooling
Countertop coffee makers use built-in bimetallic thermal switches that automatically cut electrical power when boiler temperatures exceed safe limits. While an occasional trip may happen during back-to-back brewing, repeated mid-cycle thermal shutoffs indicate that heavy mineral scale is insulating the heating tube, trapping heat, and tripping the sensor. If deep descaling does not stop the shutdowns, the thermal control or thermostat is defective.
Brew Basket Fills but Coffee Does Not Drain
When the brew basket fills with hot water and overflows the rim, check your grind coarseness. Espresso-fine grinds in a standard drip brewer create dense resistance that prevents gravity filtration. Ensure you are not using doubled paper filters or a paper filter inside a permanent mesh basket. Inspect the spring-loaded drip-stop valve at the bottom of the basket to verify it depresses fully when the carafe is in place.
Machine Loses All Power During Brewing
If your brewer abruptly goes pitch black mid-cycle, test the outlet with a lamp to verify whether the circuit breaker or GFCI outlet tripped. When a coffee maker trips a breaker precisely when the heating element engages, an internal heating element short or internal water leak onto live wiring is the cause. Discontinue use immediately.
Tips for Preventing Future Brewing Issues
Follow the Model’s Descaling Routine
Do not wait for your coffee maker to stall before descaling. If you live in an area with hard water, descale every 1 to 2 months; with soft or filtered water, descale every 3 months. Always adhere to the specific chemical solutions and rinse cycles recommended in your manual, such as those detailed in the Hamilton Beach FlexBrew Care Guidance.
Clean Removable Components Regularly
Oils from roasted coffee beans oxidize and turn into sticky varnishes that clog small valves and needles. Wash the brew basket, reusable filter, carafe lid, and pod chamber weekly in warm soapy water. Promptly discard wet grounds after brewing to prevent moisture from traveling up into the showerhead.
Monitor Changes in Sound and Brew Time
Pay attention to subtle performance shifts. If your coffee maker begins sputtering, releasing excessive steam, brewing noticeably slower, or making louder pumping noises, scale is starting to restrict the heating path. Treating the issue early prevents mid-brew shutoffs.
Use the Correct Filter, Grind, and Dose
Always match grind size to your brewing method: medium grind for standard drip coffee makers, medium-coarse for pour-over carafes, and fine grind strictly for espresso machines. Use the appropriate filter shape (cone vs. flat-bottom) and avoid overfilling past the max grounds line.
Keep the Machine Dry and Ventilated
Operate your coffee maker on a flat, dry countertop with at least 2 to 3 inches of clearance around side and rear cooling vents. Wipe up spills immediately to prevent water from migrating underneath into base-mounted electronics.
Understanding Warranty and Repair Options
It is important to differentiate between retail return windows and manufacturer warranties. Retailers typically offer a 30-day exchange or refund window, whereas manufacturer limited warranties cover mechanical and electrical defects for 1 to 3 years. For example, Keurig provides a one-year limited warranty on its brewers, while Cuisinart offers a three-year limited warranty on many coffeemakers.
Keep your original purchase receipt or digital invoice, as manufacturers require proof of purchase date to validate claims. Record your brewer’s model and serial numbers before calling support.
A 30-day store return policy is not the same as a multi-year manufacturer warranty.
Under United States federal law and the Federal Trade Commission’s warranty regulations, manufacturers cannot void your entire warranty simply because you used third-party coffee pods, filters, or independent repair services, unless the manufacturer provides those items for free. However, a warranty claim can be denied if an unapproved third-party accessory directly caused the damage.
Before paying for repairs or discarding a malfunctioning unit, search your brand and model in the U.S. Consumer Product Safety Commission recall database. If your coffee maker has been recalled due to burn or electrical hazards, the manufacturer must provide a free replacement or repair remedy.
Frequently Asked Questions
Can I use my coffee maker while waiting for repairs?
Do not use a coffee maker that malfunctions repeatedly, leaks water into its electrical base, has a damaged power cord, emits burning odors, sparks, smokes, trips circuit breakers, or expels uncontrolled steam. Switch to a manual French press or pour-over brewer until the appliance is safely repaired or replaced.
What types of coffee makers are most prone to stopping mid-brew?
No single category is universally more failure-prone; each style has distinct vulnerability points. Drip coffee makers most commonly stall from mineral scale clogging heating tubes or stuck anti-drip valves. Single-serve pod brewers frequently experience needle clogs, trapped airlocks, and unseated reservoir valves. Espresso machines fail due to pump wear, scale buildup in solenoid valves, and group head clogs.
Is it safe to operate a malfunctioning coffee maker?
No. Operating an appliance with electrical faults, thermal cutoff failures, internal leaks, or damaged heating circuits carries real risks of electrical shock, countertop fires, and severe scalding. Unplug the machine, let it cool, and contact an authorized repair technician.
How often should I replace my coffee maker?
There is no mandatory replacement timeline. Replace a coffee maker when it becomes an electrical hazard, repeatedly shuts down despite deep cleaning, has unavailable replacement parts, is subject to a mandatory safety recall, or when the cost of professional repair approaches the cost of a new unit.
Can I use third-party parts for repairs?
Under U.S. warranty regulations, using third-party replacement carafes, filters, or pods does not automatically void your warranty. However, replacement parts must be food-safe, correctly sized, and mechanically compatible. Damage directly resulting from an ill-fitting third-party component will not be covered by the manufacturer.
Can descaling fix a coffee maker that stops mid-brew?
Descaling resolves mid-brew stops caused by mineral scale restricting the water heating tubes or tripping thermal overload switches. However, descaling cannot repair broken pump motors, failed electronic control boards, punctured silicone tubes, or blown thermal fuses.
Why does my coffee maker work again after I unplug it?
Unplugging the appliance resets temporary logic board errors and gives internal bimetallic thermal overload switches time to cool down and reconnect. If the machine continues shutting off after being reset, the heating element is overheating due to heavy scale, or an internal sensor is failing.
Why does the coffee maker stop after brewing the same amount each time?
A repeatable stopping point indicates a digital flow-meter failure, a magnetic reservoir float sticking at a specific level, or a needle clog creating backpressure that triggers a pressure sensor cutoff. Verify reservoir float movement, clear all needles, and test with water only before calling service.
Conclusion
When a coffee maker stops mid-brew, systematically check the simplest external factors first: electrical supply, reservoir seating, water level, trapped airlocks, needle clogs, and basket drainage. Follow the specific cleaning and descaling protocols outlined in your owner’s manual rather than applying generic vinegar ratios or forcing the machine to brew.
Immediately disconnect and stop using any brewer that exhibits electrical burning smells, sparks, base leaks, or breaker trips. If basic maintenance and water-only test cycles fail to restore operation, check your warranty coverage and CPSC recall records before scheduling professional repair or purchasing a replacement.
Sources
- Cuisinart: How to Clean Your Coffee Maker — manufacturer cleaning ratios and self-clean protocols
- Keurig: Regular Brewer Maintenance — official descaling intervals and needle care guidelines
- Hamilton Beach FlexBrew Care Guidance — flow troubleshooting, mineral clearing, and safety standards
- Federal Trade Commission: Warranties — consumer warranty rights and third-party repair protections
- U.S. Consumer Product Safety Commission Recall Database — official kitchen appliance safety recall listings