Your coffee maker needs more than one type of maintenance. Wash coffee-contact parts after each use, give the reservoir and other approved removable components regular deeper cleaning, and descale the internal water path only when your manual, cleaning indicator, water conditions, or model-specific schedule calls for it. The exact interval and cleaning solution depend on the machine, your water hardness, and how often you brew.
Quick Answer
Wash the carafe, filter basket, pod holder, and other coffee-contact parts after each use. Wipe spills and empty drip trays regularly. Deep-clean approved removable parts about monthly as a practical baseline, but descale according to your exact model’s manual or maintenance alert because intervals can range from roughly monthly to several months.
Key Takeaways
- Discard grounds and wash removable coffee-contact parts after every brew.
- Inspect and deep-clean the reservoir and other approved removable parts regularly; about monthly is a useful household baseline when the manual does not specify otherwise.
- Cleaning and descaling are different. Washing removes coffee residue; descaling dissolves mineral deposits inside the water system.
- Hard water and frequent brewing can make scale form faster, so your machine may need descaling sooner.
- Milk-contact parts need prompt cleaning, while grinder mechanisms should be cleaned only by the method approved for that machine.
- Unplug and cool the machine before hand-cleaning electrical areas, never immerse the base, and never mix bleach with vinegar, descaler, or another cleaner.
At a Glance
| Time Required | About 5 minutes for routine care; roughly 20–90 minutes for many deep-cleaning or descaling procedures, depending on the model and required rinse cycles |
| Difficulty | Easy for routine cleaning; follow the manual carefully for programmed cleaning and descaling cycles |
| Tools Needed | Mild dish soap, soft cloth, nonabrasive sponge or brush, fresh water, and the manufacturer-approved descaler or manual-approved cleaning solution |
| Cost | Routine washing often uses supplies you already have; descaling cost depends on the solution or maintenance product approved for your machine |
Why Regular Cleaning Is Essential for Your Coffee Maker
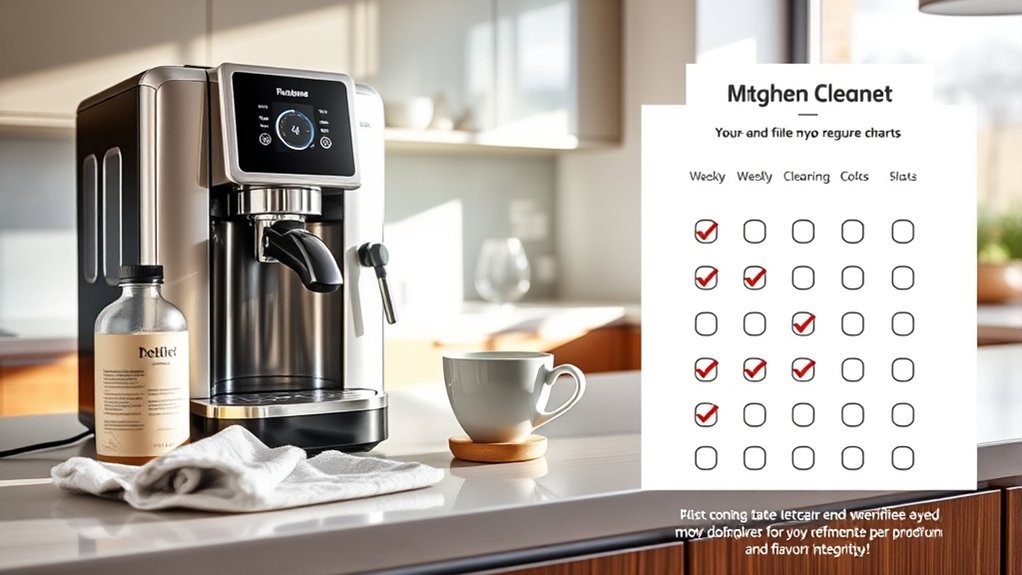
Coffee grounds, oils, water droplets, milk residue, and mineral scale collect in different parts of a coffee maker. Old coffee oils can create stale or bitter flavors, while scale can restrict water flow, increase brew time, and interfere with normal machine performance.
Moist reservoirs also deserve regular attention. In the 2011 NSF Household Germ Study, 22 volunteer households tested 30 common household items. The coffee reservoir ranked among the top five locations tested, and yeast or mold was detected on coffee reservoirs in 50% of the homes. Because the sample was small, this should not be interpreted to mean that half of all household coffee makers are contaminated.
The best coffee-maker maintenance schedule is task-based: wash coffee-contact parts often, clean removable components regularly, and descale only according to the machine’s instructions and your water conditions.

Power your essentials anywhere with a 999Wh pure sine wave power station delivering up to 1000W continuous with 2000W surge. It supports fast charging via USB-C PD 60W and USB-A QC 18W, plus simultaneous output for multiple devices through AC, USB, wireless, and car/DC ports. Recharge using AC, car, or solar with a built-in MPPT controller and dual cooling fans, while the upgraded battery management system protects against surges, short circuits, and overheating.

VERSATILE PANTRY STAPLE: Perfect for cooking, pickling, marinating, and enhancing your favorite recipes with a crisp, tangy flavor.

One 16-fluid-ounce bottle of Distilled White Vinegar
Cleaning, Deep Cleaning, Descaling, and Sanitizing Are Different
These terms are often used interchangeably, but they solve different problems:
- Routine cleaning removes grounds, coffee oils, spills, milk residue, and moisture from the carafe, basket, pod holder, drip tray, milk parts, and exterior.
- Deep cleaning washes the reservoir, lids, reusable filters, removable valves, seals, and other approved components that may not be cleaned after every brew.
- Descaling dissolves mineral deposits inside the heating and water-delivery system.
- Sanitizing or disinfecting uses a procedure intended to reduce or kill microorganisms. It is not the same as routine washing or descaling and should only be performed on coffee-maker parts when the manufacturer provides an approved method.
Running a descaler through the machine does not replace washing oily or dirty removable parts. Likewise, dish soap removes coffee residue but does not effectively dissolve scale inside the internal water path.
For ordinary household surfaces, the CDC notes that cleaning with soap and water is sufficient in many situations. Do not pour bleach or another disinfectant through a coffee maker unless the exact manufacturer instructions explicitly require that procedure.
How Often Should You Clean Your Coffee Maker?
A monthly deep cleaning is a useful starting point for many household machines, but no single interval fits every model. Use the following schedule as a baseline, then follow your owner’s manual whenever it gives different directions.
| Task | Suggested Frequency | What to Do |
|---|---|---|
| After every brew | Each use | Discard grounds or pods; rinse or wash the carafe, filter basket, reusable filter, and other coffee-contact parts. |
| Exterior and drip tray | Daily or as needed | Wipe spills and empty the drip tray before it overflows. |
| Milk-contact parts | After every milk drink or as directed | Purge and wipe steam wands and clean removable milk tubes, containers, or frother parts according to the machine’s instructions. |
| Reservoir and removable lids | Weekly to monthly, depending on the model and use | Wash only if the parts are removable and the manual permits it. Rinse and dry thoroughly. |
| Deep cleaning | About monthly as a general baseline | Clean accessible parts, inspect seals and filters, and remove residue from the spray head, pod area, or other approved locations. NSF consumer guidance summarizes 40–80 brew cycles or at least monthly as a common manufacturer recommendation, but your manual takes priority. |
| Descaling | When prompted or at the interval in the manual | Use the approved descaler and complete the required Clean or Descale program. Depending on brand, model, usage, and water hardness, intervals commonly fall somewhere between about one and six months. |
| Water filter | Manufacturer’s interval | Rinse or replace the filter cartridge as instructed. A taste-and-odor filter does not necessarily remove all hardness minerals. |
Regular Cleaning Schedule
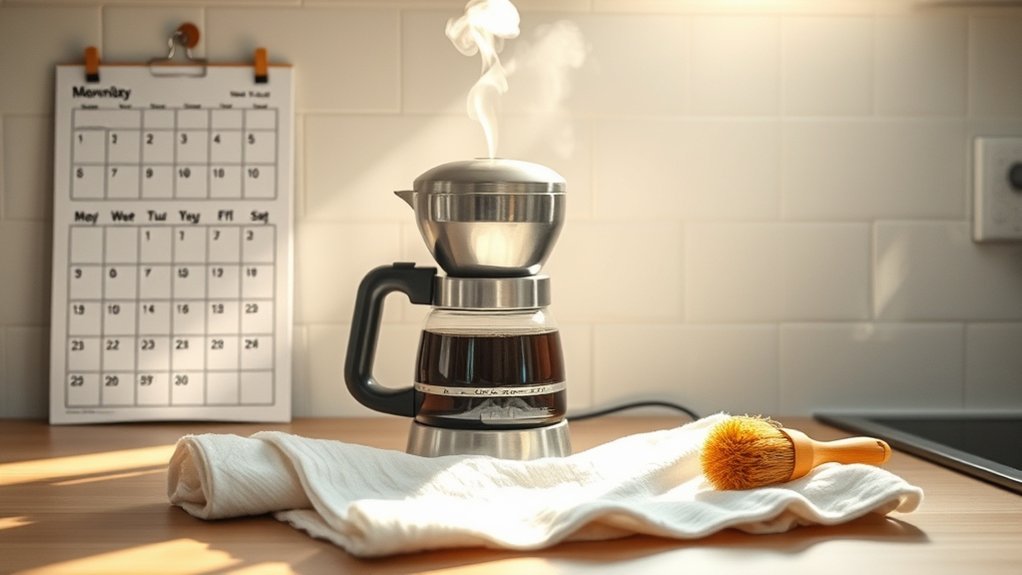
If you brew once a day, wash removable coffee-contact parts after each use and inspect the reservoir during your weekly kitchen cleaning. A deeper monthly clean is a practical baseline for removing residue from less-visible areas when the manufacturer does not specify another schedule.
NSF consumer cleaning guidance summarizes a commonly cited recommendation of every 40–80 brew cycles or at least monthly for coffee reservoirs. Treat that as general guidance rather than a rule for every appliance.
Descaling follows a separate schedule. Current Keurig support guidance is model-specific: many brewers use a three-to-six-month interval, while some newer models specify approximately every three months or when a programmed Descale alert appears. Other brands use different intervals.
Heavy Use Considerations
Clean more often if you brew several pots or pods a day, share the machine in an office, prepare oily flavored coffee, use milk systems frequently, or leave water standing in the reservoir. Heavy use does not automatically create a universal two-week schedule, but it does justify more frequent inspection and washing.
Move the maintenance date forward when you notice visible residue, musty odors, slower flow, unusual noise, a descale warning, or changes in brew volume. For descaling, stay within the manufacturer’s approved procedure rather than repeatedly running acid through the machine.
Pro Tip: Note the date whenever you descale or replace a water filter. Also record why you performed the maintenance—for example, a warning light or slow brewing. This makes it easier to distinguish overdue maintenance from a mechanical problem later.
Daily Cleaning Routine: Quick Steps for Freshness

Daily care takes only a few minutes and prevents old grounds, oils, milk residue, and standing moisture from collecting in the machine.
- Discard used grounds, paper filters, or pods after the machine has cooled.
- Wash or rinse the carafe, brew basket, reusable filter, and other approved removable coffee-contact parts.
- If the machine has a steam wand or removable milk system, clean those parts immediately after use according to the manual.
- Empty and rinse the drip tray when needed.
- Wipe coffee splashes from the warming plate and exterior with a soft, damp cloth.
- Let washed parts dry fully before reassembly.
- If the design permits, leave the empty reservoir lid or brew-basket area open until moisture has evaporated.
Discard Coffee Grounds Daily
Wet grounds hold moisture and coffee oils. Leaving them in the basket can create odors, stains, and stale flavors. Remove the grounds soon after brewing and wipe stray particles from the basket housing with a damp cloth.
Do not reach into a pod needle or puncture mechanism with your fingers. Use the cleaning tool and procedure listed in the machine’s manual.
Wipe Exterior Surfaces Regularly
Unplug the machine before cleaning the warming plate, control panel, or areas where moisture could reach electrical components. Use a soft cloth with water or a small amount of mild dish soap. Do not use steel wool, abrasive powder, oven cleaner, or soaking-wet cloths.
| Cleaning Task | Frequency | Safe Method |
|---|---|---|
| Wipe the exterior | Daily or after spills | Use a soft, lightly dampened cloth. |
| Clean the warming plate | After it cools | Unplug first; soften residue with a damp cloth rather than scraping. |
| Wash the drip tray | As needed | Hand-wash or use the dishwasher only if the manual labels it dishwasher-safe. |
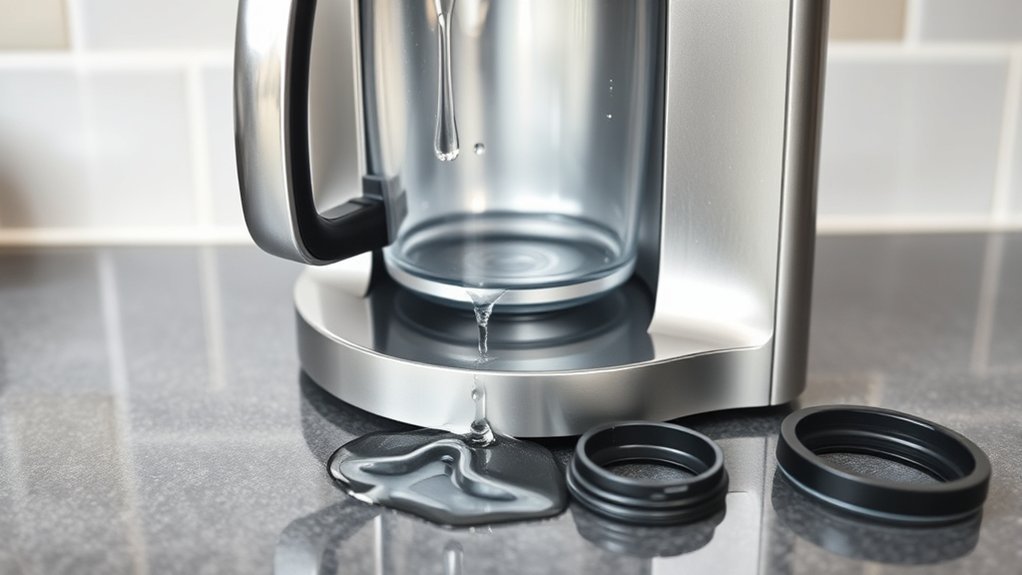
| Check for stains and leaks | Daily | Clean spills promptly and stop using the machine if water reaches electrical areas. |
Monthly Deep Cleaning and Model-Specific Descaling
A monthly deep clean focuses on washable parts and accumulated residue. Descaling is a separate maintenance task and should be performed only when required by the machine’s schedule, water conditions, or warning system.
Warning: Unplug the coffee maker and let it cool before washing removable parts or wiping electrical areas. Never immerse the base, cord, or plug. Do not pour bleach into the brewing system unless the exact manufacturer procedure explicitly requires it, and never mix vinegar, bleach, descaler, dish soap, or other cleaning chemicals.
Do not assume that equal parts vinegar and water—or any other single recipe—is correct for every coffee maker. Official procedures differ. Cuisinart publishes model-dependent cleaning and vinegar guidance, while Hamilton Beach publishes different vinegar procedures for different brewer types and models. Some machines instead require a branded or manufacturer-approved descaling product.
How to Deep-Clean and Descale a Coffee Maker Safely
- Read the manual. Confirm the approved descaler, vinegar concentration if vinegar is allowed, required amount, water-filter instructions, and cleaning-cycle sequence.
- Empty the machine. Remove coffee, grounds, pods, and any water left in the reservoir. Remove the water-filter cartridge if the instructions require it.
- Unplug and cool the appliance. Wash the carafe, brew basket, reusable filter, drip tray, reservoir, lids, milk parts, and other components only when they are removable and approved for washing.
- Add the approved descaling solution. Measure it exactly as directed. Do not combine descaler, vinegar, baking soda, bleach, dish soap, or other chemicals inside the machine.
- Run the designated cleaning program. Use the machine’s Clean or Descale mode when available. Do not interrupt an automatic cycle unless the instructions specifically tell you to pause it.
- Rinse the internal system. Empty the used solution and run the required number of fresh-water cycles. Continue until the water is clear and no cleaning odor remains.
- Dry and reassemble. Let removable parts dry, reinstall the water filter if appropriate, and wipe the exterior.
- Test the brewer. Run a plain-water cycle if the manual permits it and confirm that the flow, volume, sound, and operation appear normal before brewing coffee.
Note: Completing an ordinary brew cycle with vinegar or descaler may not reset a maintenance light. Many machines require the dedicated Clean or Descale program to run to completion, including its required fresh-water rinse stage.
Signs Your Coffee Maker Needs Cleaning

Do not rely only on the calendar. Your coffee maker may need attention sooner when its taste, appearance, sound, or brewing performance changes.
- Coffee tastes stale, bitter, weak, or different despite fresh beans and clean water.
- The machine takes longer to brew.
- Water or coffee flows unevenly, sputters, or produces a smaller serving.
- A Clean or Descale light appears.
- White or chalky deposits are visible in the reservoir or around water outlets.
- The reservoir, basket, milk system, or drip tray develops a musty odor or slippery film.
- The brewer becomes louder than usual.
- Coffee grounds collect around the spray head, pod holder, or basket housing.
Unpleasant Coffee Taste
Dirty equipment is only one possible cause of poor flavor. Before assuming the machine is contaminated, check the coffee’s roast date, grind size, coffee-to-water ratio, water quality, and how long brewed coffee has been sitting on the warming plate.
If those factors have not changed, wash the carafe and basket, inspect the reservoir, and descale if the machine is due. Coffee oils can leave a stubborn film even when a carafe looks clean.
Slow Brewing Process
Slower brewing often points to restricted water flow. Scale may be forming inside the heater or tubing, while grounds can block a spray head, reusable filter, pod holder, or puncture needle.
Descale according to the manual and clean accessible outlets with the approved tool. If the machine remains slow after a complete cleaning or descaling procedure, stop repeating chemical treatments and check the troubleshooting guide or contact the manufacturer.
How Mineral Buildup Can Affect Your Coffee
According to the U.S. Geological Survey, water hardness mainly reflects dissolved calcium and magnesium. When hard water is heated, solid calcium-carbonate deposits can form on internal surfaces.
Scale can:
- Restrict water flow: Narrower water passages can increase brewing time and reduce serving volume.
- Reduce heating efficiency: Mineral deposits on heated surfaces can make water-heating equipment less efficient.
- Change extraction: Restricted or inconsistent water flow can contribute to weak, bitter, or otherwise inconsistent coffee.
- Trigger maintenance alerts: Some machines estimate maintenance needs from brew counts, programmed intervals, or system performance.
Hard water is not automatically unsafe to drink, and mineral scale is not the same as microbial contamination. For a coffee maker, hardness is mainly a maintenance and performance issue.
How Water Hardness Changes the Schedule
If you see white deposits on faucets, kettles, or glassware, your water may be moderately hard or hard. Check your water utility’s report, use a home hardness test, or ask the coffee-maker manufacturer which water range is appropriate for the machine.
A carbon or charcoal filter may improve taste and reduce certain substances, but ordinary carbon filtration is not the same as water softening and may leave much of the calcium and magnesium in the water. Continue to descale when instructed even when you use filtered water unless the manufacturer says otherwise.
Water Hardness Reference
USGS uses the following general classifications based on milligrams per liter of calcium carbonate. These ranges help describe your water; they are not a replacement for the descaling schedule in your coffee maker’s manual.
| Hardness | Calcium Carbonate | Maintenance Meaning |
|---|---|---|
| Soft | 0–60 mg/L | Scale generally forms more slowly, but descaling may still be required. |
| Moderately hard | 61–120 mg/L | Watch for visible deposits and follow the normal manufacturer interval. |
| Hard | 121–180 mg/L | Scale can form faster, so the machine may require the shorter end of its approved interval. |
| Very hard | More than 180 mg/L | Ask the manufacturer about filtration, water treatment, and an appropriate descaling schedule. |
Cleaning Different Types of Coffee Makers
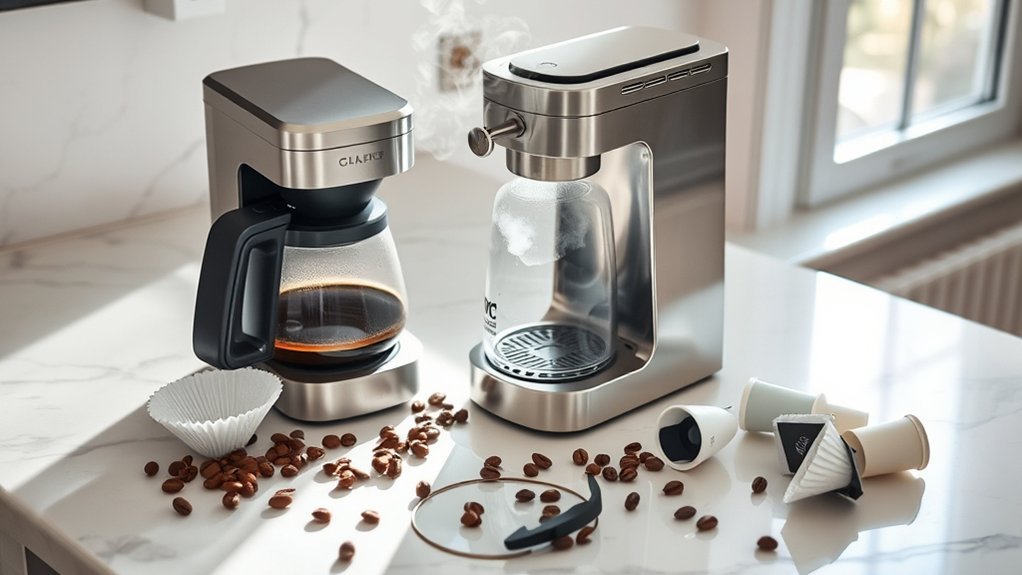
Each brewing system has different coffee-contact parts and water pathways. Use this comparison as a starting point, then confirm the procedure in the product manual.
| Coffee Maker Type | Routine Cleaning | Descaling or Deep Cleaning |
|---|---|---|
| Drip coffee maker | Wash the carafe, basket, and reusable filter after each use. Wipe the warming plate after it cools. | Deep-clean removable parts regularly; descale at the manual’s interval or when the maintenance system calls for it. |
| Single-serve or pod brewer | Empty the drip tray, rinse approved pod-holder parts, and inspect the puncture area without touching sharp needles. | Use the model’s programmed descale cycle and approved needle-cleaning procedure or tool. |
| Espresso machine | Rinse the portafilter and basket after use. Purge and wipe the steam wand immediately after every milk drink. | Backflush compatible machines, clean the group head, maintain milk systems, replace filters, and descale only on the manufacturer’s schedule. |
| Grind-and-brew machine | Clean the brew basket and carafe normally, and brush loose coffee from approved dry grinder areas. | Keep water away from burrs, motors, and grinder mechanisms unless the manual specifically identifies a removable part as washable. Descale the water system separately. |
| French press | Discard grounds and disassemble and wash the beaker, lid, plunger, and mesh after every use. | Periodically separate the filter screens to remove trapped oils and grounds. There is no heated internal water circuit to descale like an electric brewer. |
| Cold-brew maker | Wash the jar, lid, filter, spigot, and seals after every batch. | Disassemble spigots and valves regularly because coffee residue can collect inside them. |
Milk Systems and Built-In Grinders Need Extra Care
Milk residue and coffee-grinder residue require different cleaning methods. Purge steam wands after milk use and clean detachable frother tubes or milk containers as instructed. Do not let milk sit in room-temperature tubing or containers longer than the manufacturer permits.
For built-in grinders, keep the grinder chamber and burr area dry unless the manual specifically describes a washable removable component. Water inside an electric grinder can damage the mechanism and can cause grounds to clump.
Recommended Cleaning Supplies for Your Coffee Maker
Use mild, nonabrasive supplies that match the material and the manufacturer’s instructions.
- Mild dish soap: Suitable for most washable carafes, baskets, lids, drip trays, and removable milk containers.
- Soft cloth or nonabrasive sponge: Removes spills and residue without scratching finishes.
- Small soft brush: Helpful for basket corners, reusable filters, approved grinder areas, and accessible crevices.
- Manufacturer-approved descaler: The safest default choice for the machine’s internal water path.
- White vinegar: Use only when the manual permits it and follow the exact concentration, amount, and cycle instructions.
- Baking soda: Useful as a paste for some stained carafes or removable surfaces, but not a substitute for an acid descaler.
- Fresh water: Needed for thorough rinse cycles after any approved cleaning solution.
Do not put dish soap into a fixed internal reservoir unless the manual specifically instructs you to do so. Soap can foam inside the water path and may be difficult to rinse out.
Effective Strategies to Prolong Your Coffee Maker’s Lifespan
- Empty wet grounds and standing coffee promptly.
- Do not leave water in the reservoir for long periods when the machine will not be used.
- Use water that meets the manufacturer’s recommendations.
- Replace charcoal or other water filters on schedule.
- Clean milk-contact parts promptly after milk use.
- Keep grinder mechanisms dry unless a removable part is specifically washable.
- Keep vents and electrical controls dry.
- Do not force removable parts into place.
- Use the correct Clean or Descale program rather than repeatedly running ordinary brew cycles.
- Inspect seals, valves, tubing connections, and carafe lids for cracks or hardened residue.
- Stop using the appliance if the cord is damaged, the base leaks, or controls behave unpredictably.
Filtered water may slow scale formation in some homes, but its effect depends on the filter type and local water chemistry. A standard carbon filter primarily intended for taste and odor is not automatically a water softener, so filtration does not eliminate routine cleaning or manufacturer-directed descaling.
After Storage or a Long Vacation
If the coffee maker has been unused for an extended period, follow its storage and restart instructions before brewing coffee. Empty stale water, wash accessible removable parts, inspect the reservoir for odor or film, and run any fresh-water rinse or cleaning procedure specified by the manufacturer.
Some machines require additional maintenance after storage. Do not assume every brewer should be descaled merely because it sat unused; use the exact model’s instructions.
Avoid These Common Mistakes When Cleaning Your Coffee Maker
- Treating cleaning and descaling as the same task: Descaler will not remove every layer of coffee oil from a dirty carafe or basket.
- Using one vinegar recipe for every model: Concentrations, amounts, soak times, and programmed cycles differ.
- Ignoring removable parts: The basket, carafe lid, reusable filter, pod holder, milk system, and drip tray can collect more residue than the internal water line.
- Interrupting an automatic clean cycle: This may prevent the machine from completing or resetting its maintenance program.
- Using abrasive pads: They can scratch glass, coatings, warming plates, and stainless finishes.
- Putting the entire appliance in water or a dishwasher: Only approved removable parts should be washed or placed in a dishwasher.
- Mixing cleaning chemicals: Vinegar, bleach, descaler, soap, and other products should never be combined.
- Skipping rinse cycles: Remaining cleaner can affect flavor and may irritate the mouth or stomach.
- Closing damp components immediately: Allow removable parts to dry before reassembly when the design permits.
- Getting grinder mechanisms wet: Built-in burrs and motors should remain dry unless the manual specifically says a component can be washed.
- Repeating descaling when a mechanical fault is likely: Persistent leaks, heating problems, or weak pumps require troubleshooting or service.
Troubleshooting After Cleaning
The Descale Light Stays On
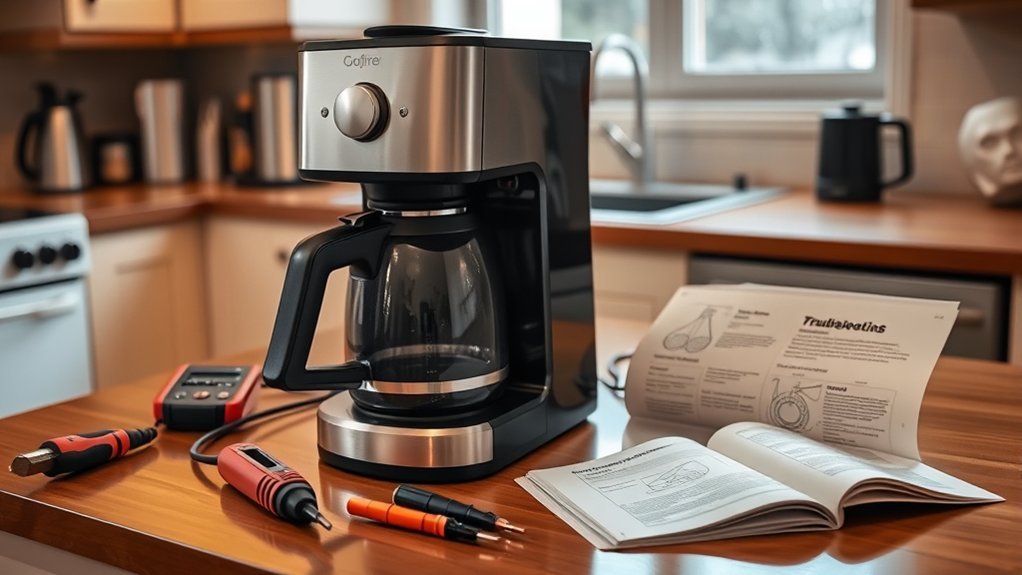
Confirm that you used the machine’s dedicated Clean or Descale setting and allowed the full program to finish. Some models require a specific button sequence, programmed Descale mode, or final rinse stage before the indicator resets.
A Vinegar or Cleaner Smell Remains
Run the additional fresh-water cycles required by the manual and wash the carafe and basket again. Do not brew coffee until the rinse water is clear and odor-free.
The Machine Still Brews Slowly
Check the spray head, pod holder, puncture needles, reusable filter, and reservoir valve using the manual’s instructions. If the flow remains weak after one complete approved descaling procedure, contact the manufacturer rather than repeatedly adding more acid.
Visible Mold or a Musty Odor Returns
Wash every accessible removable part, replace disposable filters when appropriate, and dry the reservoir fully. Do not improvise by pouring concentrated bleach or mixed cleaning chemicals into the brewer.
If visible growth or odor appears inside inaccessible tubing or returns promptly after proper cleaning, stop using the machine and ask the manufacturer whether the affected parts can be serviced or replaced.
When to Stop Using the Machine
Unplug the coffee maker and discontinue use if it leaks into the base, trips an outlet, smells like hot plastic, produces smoke, has a damaged cord, exposes electrical components to water, or fails to heat normally. Cleaning will not correct an electrical fault.
Frequently Asked Questions
Can I use another cleaning agent instead of vinegar?
Use a manufacturer-approved coffee-machine descaler whenever possible. Citric-acid products may be suitable for some machines, but only at the concentration and procedure approved for that model. Do not substitute bleach, drain cleaner, dishwasher detergent, or another household chemical.
How can I tell whether my coffee maker is clean?
The reservoir and removable parts should have no visible film, grounds, milk residue, scale, or musty odor. Fresh rinse water should flow evenly without foam or cleaning odor. Coffee should taste normal, and the machine should produce its expected serving volume.
Is it safe to put a coffee maker in the dishwasher?
Never place the complete coffee maker, electrical base, cord, grinder motor, or plug in a dishwasher. A carafe, brew basket, drip tray, reservoir, or milk container may be dishwasher-safe, but only when the manual specifically identifies that part as dishwasher-safe.
What happens if I forget to clean my coffee maker?
Coffee oils, grounds, moisture, milk residue, and mineral deposits can accumulate. You may notice stale flavors, odors, slower brewing, reduced serving volume, stains, or visible residue. Long-term scale can also restrict water pathways and place additional stress on the machine.
Can I clean my coffee maker with baking soda?
Baking soda can help scrub or deodorize some carafes and removable surfaces. It is not an effective replacement for an acid descaler, and undissolved powder can obstruct narrow water passages. Do not run it through the internal system unless the manufacturer expressly allows that method.
Can I use vinegar in a Keurig or another pod brewer?
Use only the procedure approved for your exact model. Current Keurig support directs users to brewer-specific cleaning and descaling instructions, and many Keurig models use the company’s descaling solution. Other pod-brewer brands may permit vinegar in a particular amount, but methods are not interchangeable across machines.
How often should I descale with hard water?
Start with the interval in the manual. If scale appears early, flow slows, or the descale alert activates sooner, use the shorter interval permitted by the manufacturer. Frequent scale may justify testing your water hardness or using a filtration or water-treatment method approved for the machine.
Should I leave water in the reservoir overnight?
Follow the manufacturer’s storage guidance. For many household machines, emptying stale water and allowing an approved removable reservoir to dry when the brewer will not be used can limit odors and standing moisture. Never remove or force a fixed reservoir that was not designed for removal.
Should I disinfect my coffee maker with bleach?
Do not pour bleach into a coffee maker unless the manufacturer provides an explicit procedure for that exact machine. Routine household cleaning usually focuses on soap-and-water washing of approved removable parts plus model-directed descaling. Never mix bleach with vinegar, descaler, or another cleaner.
What should I do after the coffee maker has been unused for weeks?
Follow the model’s storage or restart procedure. Empty stale water, wash accessible removable parts, inspect for odors or film, and perform any fresh-water rinse, cleaning cycle, or descaling procedure specifically required by the manufacturer before brewing coffee again.
Conclusion
Clean your coffee maker according to the part and the problem. Wash grounds, coffee oils, and milk residue frequently; deep-clean approved removable components regularly; and descale the internal water system only when your manual, water conditions, maintenance schedule, or warning light calls for it.
The safest approach is not a universal vinegar recipe or a rigid calendar. Use the cleaning solution, amount, filter procedure, and cycle designed for your exact model. Rinse thoroughly, keep electrical and grinder components dry, and stop using the appliance if you find an electrical fault, persistent leak, or contamination inside an inaccessible area. A few minutes of routine care can preserve flavor, maintain steady water flow, and reduce avoidable wear.
Sources
- NSF — 2011 Household Germ Study Executive Summary — 22-home study sample and coffee-reservoir yeast/mold findings
- NSF — Clean the Germiest Home Items — coffee-reservoir ranking and common cleaning-frequency guidance
- Keurig — Current Descaling Support — brewer-specific cleaning and descaling intervals and procedures
- Cuisinart — How to Clean a Coffee Maker — removable-part care, model variation, vinegar guidance, and descaling frequency
- U.S. Geological Survey — Hardness of Water — calcium, magnesium, hardness classifications, and mineral-scale formation
- CDC — Cleaning and Disinfecting With Bleach — cleaning-versus-disinfecting guidance and chemical-mixing safety