Building a baby food freezer stash can make busy mealtimes easier, but safe storage matters just as much as flavor. The best system uses developmentally appropriate foods, small portions, clear labels, conservative freezer times, and safe thawing. Organic ingredients are optional; fresh or frozen foods without added salt or sugar can both work well.
Quick Answer
To build a baby food freezer stash, cook foods until safely tender, mash or puree them to match your baby’s skills, cool them promptly, and freeze them in small airtight portions. Label every portion with its ingredients and date. For conservative storage, use homemade frozen baby food within one to two months.
Key Takeaways
- Most babies begin complementary foods at about 6 months when they show developmental readiness.
- Include iron-rich foods such as meat, beans, lentils, eggs, tofu, and iron-fortified infant cereal.
- Freeze food in small portions and label it with the ingredients, allergen information, and preparation date.
- Use homemade frozen baby food within one to two months for a conservative food-safety routine.
- Thaw portions in the refrigerator when possible and discard food that has been contaminated by a used spoon.
- Do not give honey before 12 months, and prepare all foods in a shape and texture that reduces choking risk.
At a Glance
| Time Required | About 60–90 minutes for a small mixed batch |
| Difficulty | Easy, with careful food handling |
| Tools Needed | Saucepan or steamer, knife, cutting board, masher or blender, freezer tray, airtight containers, and labels |
| Cost | Varies by ingredients; reusable trays and containers lower the cost of later batches |
Note: This guide provides general food-preparation information. Ask your child’s pediatrician for individual advice if your baby was born prematurely, has poor growth, swallowing problems, severe eczema, a known food allergy, or a previous reaction to food.
Why Homemade Baby Food Is Worth the Effort
Homemade baby food gives you control over the ingredients, texture, portion size, and flavor combinations. It can also help you use foods that your household already buys instead of purchasing a separate pouch or jar for every meal.
You do not need to buy only organic ingredients. Fresh, frozen, and properly stored foods can all be useful. Choose plain products without added salt, sugar, honey, or sauces, and wash fresh produce under running water before preparing it.
A freezer stash is most useful when it contains more than fruit and vegetable purees. Once your baby is ready for solids, include age-appropriate sources of iron, protein, healthy fats, and varied textures. The CDC recommends offering iron-rich foods beginning around 6 months.
A useful freezer stash is not simply a collection of sweet purees. It should include iron-rich foods, vegetables, fruits, grains, proteins, and textures that match your baby’s feeding skills.

Power your essentials anywhere with a 999Wh pure sine wave power station delivering up to 1000W continuous with 2000W surge. It supports fast charging via USB-C PD 60W and USB-A QC 18W, plus simultaneous output for multiple devices through AC, USB, wireless, and car/DC ports. Recharge using AC, car, or solar with a built-in MPPT controller and dual cooling fans, while the upgraded battery management system protects against surges, short circuits, and overheating.

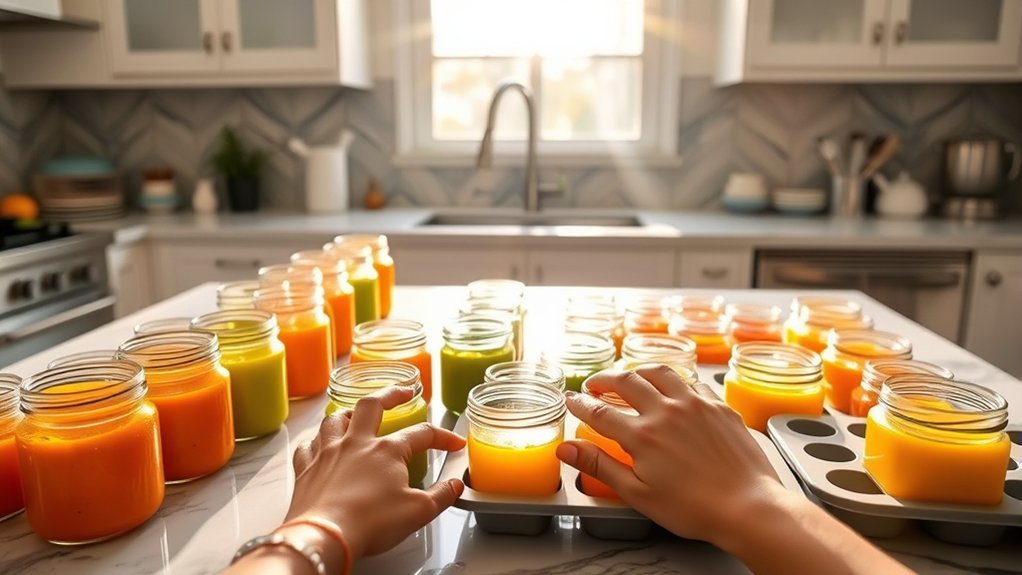
Effortless Meal Preparation: Streamline your baby's nutrition with our 3 Pack Silicone Freezer Tray. Batch prepare baby food, purees, breastmilk, and more for efficient and convenient meal planning.

2oz x 10 Baby Food Storage Cubes - Prepare, apportion and freeze exact food portions for your baby in advance. To use, simply pop the frozen food cube out from the KeaBabies Prep Silicone Baby Food Freezer Tray in seconds.
When Your Baby Is Ready for Solid Foods
The CDC recommends introducing foods other than breast milk or infant formula at about 6 months. Starting before 4 months is not recommended.
Developmental readiness matters as much as age. Common signs include:
- Sitting upright alone or with support
- Controlling the head and neck
- Opening the mouth when food is offered
- Swallowing food instead of pushing it back out
- Bringing objects toward the mouth
- Moving food from the front of the tongue toward the back to swallow
Breast milk or infant formula remains the main source of nutrition from 6 to 12 months. Solid foods gradually become a larger part of the diet rather than replacing milk feeds immediately.
Warning: Never give honey to a child younger than 12 months because it can cause infant botulism. Avoid whole nuts, hard raw produce, thick spoonfuls of nut butter, whole grapes, popcorn, and other choking hazards. Prepare food in a shape, size, and texture suited to your baby’s development.
How to Prepare Homemade Baby Food Step by Step
1. Plan a Balanced Small Batch
Begin with two or three foods instead of filling the freezer with a large amount of one recipe. A balanced starter batch might include:
- An iron-rich food, such as lentils, beef, chicken, egg, tofu, or iron-fortified infant cereal
- A vegetable, such as sweet potato, peas, broccoli, squash, or carrots
- A fruit, such as pear, peach, mango, berries, or banana
- A healthy-fat food, such as avocado or plain full-fat yogurt
If you use infant cereal, offer different fortified grains such as oat, barley, and multigrain rather than relying only on rice cereal.
2. Wash Hands and Separate Raw Foods
Wash your hands with soap and water before handling food. Clean the counter, cutting board, utensils, blender, trays, and storage containers.
Keep raw meat, poultry, seafood, and eggs separate from ready-to-eat fruit and vegetables. Use a clean cutting board and utensils after handling raw animal foods. Cook meat, fish, poultry, and eggs thoroughly before blending or serving them.
3. Cook Until Safely Tender
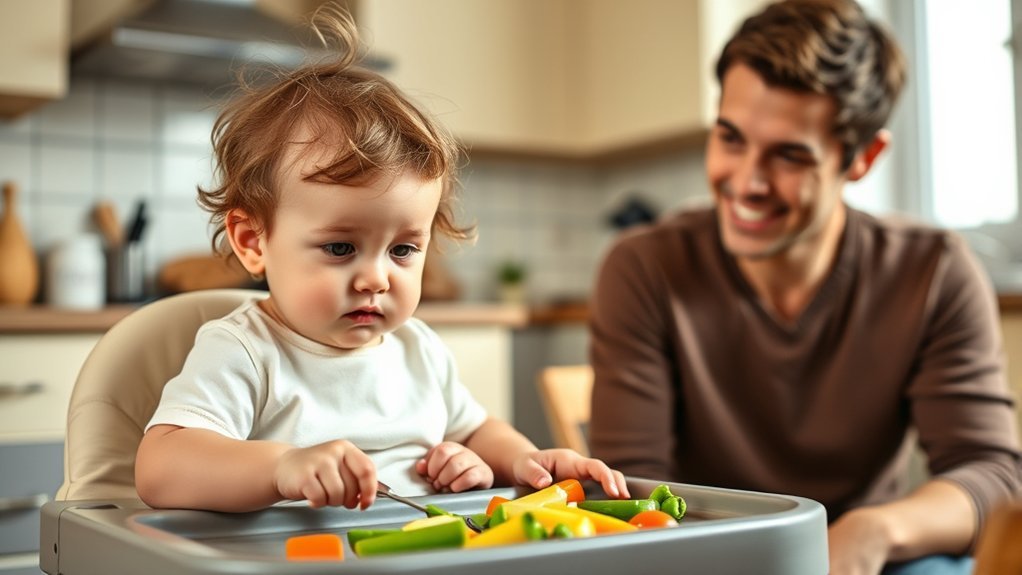
Steam, roast, simmer, or pressure-cook produce until it is soft enough to mash easily. Steaming often works well because it softens food without requiring much added water, but it is not the only acceptable method.
Some soft foods, including ripe banana, avocado, peach, and pear, may not need cooking when they are washed, peeled when appropriate, and mashed immediately with clean equipment.
4. Match the Texture to Your Baby
Mash, mince, or puree the cooked food to match your baby’s current feeding skills. Add a small amount of safe drinking water when a thinner texture is needed. You can also adjust the consistency after thawing instead of adding extra liquid before freezing.
Very smooth purees may be easier at first. As your baby develops, move toward thicker mashed foods, soft lumps, and developmentally appropriate finger foods. The CDC recommends changing textures as eating skills develop.
5. Cool, Portion, and Freeze
- Transfer the prepared food to clean, shallow containers so it cools more quickly.
- Refrigerate or freeze perishable food within two hours of preparation, or within one hour when the surrounding temperature is above 90°F.
- Spoon the cooled food into small freezer-tray compartments or containers.
- Cover the tray before freezing.
- Once the portions are solid, transfer them to an airtight freezer container or freezer bag when needed.
- Label the container with the food, ingredients, common allergens, and preparation date.
- Place newer portions behind older ones so the oldest food is used first.
Pro Tip: Freeze ingredients separately during the first few batches. Separate cubes let you create different combinations at serving time and make it easier to identify which food may have caused a reaction.
How to Store and Freeze Homemade Baby Food
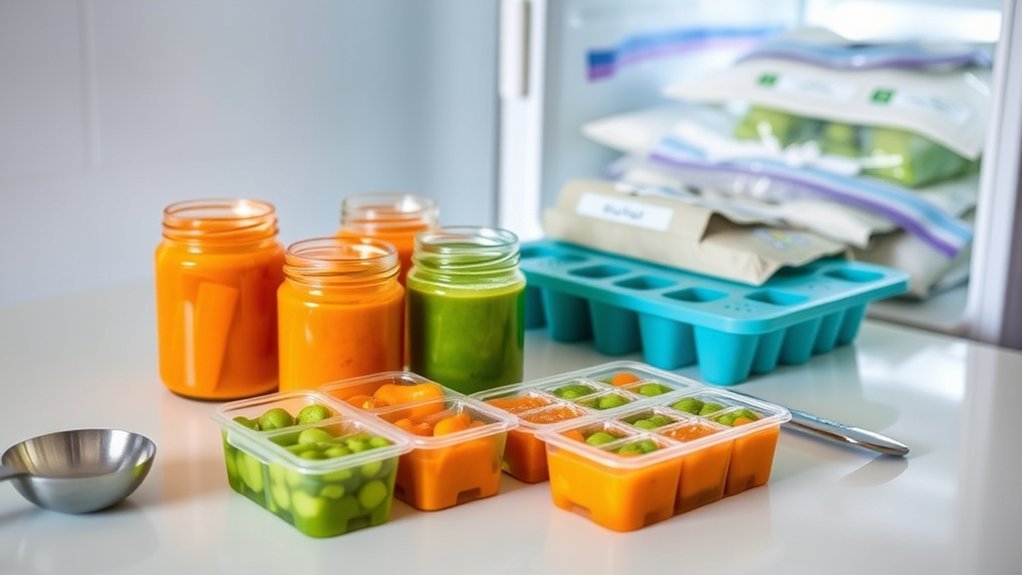
Keep your refrigerator at 40°F or below and your freezer at 0°F or below. Use containers intended for food storage, leave a little expansion space in rigid containers, and make sure every lid closes securely.
FoodSafety.gov lists homemade baby food for one to two days in the refrigerator and one to two months in the freezer. This conservative timeline is easier to apply consistently than the conflicting longer limits found in some older parent resources.
| Food or Situation | Recommended Handling |
|---|---|
| Freshly made homemade baby food | Refrigerate for 1–2 days or freeze for 1–2 months |
| Homemade meat or egg puree | Use refrigerated portions within 1 day; freeze for no more than 1–2 months |
| Food left at room temperature | Discard after 2 hours, or after 1 hour above 90°F |
| Food touched by a used feeding spoon | Discard after the meal rather than returning it to storage |
| Thawed serving | Keep refrigerated until needed, use promptly, and do not repeatedly warm and cool it |
To prevent saliva from contaminating the main container, move only the amount you expect your baby to eat into a separate bowl. Use a clean spoon to remove more food when needed.
Flavor Ideas for a Balanced Freezer Stash
You can freeze many ingredients separately and combine them after thawing. This keeps the stash flexible and helps you adjust portions and textures.
- Iron-fortified oat cereal and pear: Prepare the cereal according to its directions and combine it with mashed or pureed pear at serving time.
- Beef and sweet potato: Cook the beef thoroughly, blend it to a safe texture, and mix it with soft sweet potato.
- Lentils, carrots, and tomato: Cook until very soft and blend or mash to match your baby’s skills.
- Egg and avocado: Use thoroughly cooked egg and ripe avocado in a soft mashed texture.
- Chicken, peas, and potato: Cook all ingredients fully before mashing or blending.
- Plain full-fat yogurt and peach: Introduce pasteurized, unsweetened yogurt in an age-appropriate consistency.
- Salmon, peas, and sweet potato: Cook the fish thoroughly and check carefully for bones before mashing.
- Thinned smooth peanut butter or peanut powder: Mix a small amount into a familiar puree or cereal so it is thin enough to swallow safely.
Introducing Common Food Allergens
Do not routinely delay eggs, peanut products, dairy foods, wheat, soy, fish, or other common allergens once your baby is developmentally ready for complementary foods. Offer each new allergen in a baby-safe form while your baby is healthy and you can watch for a reaction.
Whole nuts are choking hazards, and thick spoonfuls of nut butter are difficult to swallow. Thin smooth nut butter with warm water or mix it into a familiar puree or cereal.
Talk with your pediatrician before introducing peanut if your baby has severe eczema, egg allergy, or a previous immediate food reaction. Medical testing or supervised introduction may be recommended.
Warning: Stop feeding the food and seek medical advice if your baby develops hives, repeated vomiting, facial swelling, coughing, or worsening rash. Call emergency services immediately for trouble breathing, wheezing, collapse, severe swelling, or another rapidly worsening reaction.
Thawing and Serving Frozen Baby Food Safely

Preferred Thawing Methods
The safest and most convenient method is to move the portion from the freezer to the refrigerator and let it thaw in a covered container. For faster thawing, place a sealed container in warm water and replace the water as it cools.
Do not leave frozen baby food on the counter to thaw. Perishable food warms into the temperature range where bacteria multiply quickly.
Warming Baby Food
Baby food does not need to be served hot. Room-temperature or gently warmed food is acceptable when it has been stored safely.
For stovetop warming, place the portion in a small saucepan and heat it gently while stirring. For a warm-water bath, keep the food in a sealed heat-safe container.
If you microwave a fruit, vegetable, grain, or mixed puree:
- Transfer it to a microwave-safe dish.
- Heat it for a short period.
- Stir thoroughly, including around the edges.
- Let it stand briefly so the heat can spread.
- Test a small amount before feeding.
Do not microwave baby-food meats, meat sticks, or eggs. Use a stovetop or warm-water method instead.
Adjusting Consistency After Thawing
Some foods separate or thicken during freezing. Stir the portion first. If it remains too thick, add a small amount of safe drinking water, prepared infant formula, or another appropriate liquid and stir again.
Do not place an ice cube in the serving bowl. Let hot food cool naturally, place the bowl in cool water, or stir in a small amount of cool liquid.
Handling Leftovers
Serve a small amount and add more with a clean spoon when needed. Discard food remaining in the feeding bowl after the meal because saliva can introduce bacteria.
Do not return a warmed portion to the freezer. Repeated thawing, warming, cooling, and refreezing reduces quality and makes safe handling harder to track.
Portion Sizes and Texture Progression
At first, your baby may eat only one or two tablespoons. Appetite varies from day to day, so freeze modest portions and follow your baby’s hunger and fullness cues rather than trying to empty every container.
A practical freezer system may use one-tablespoon portions for early feeding and larger portions later. Two smaller cubes are more flexible than one oversized block.
Do not keep every meal perfectly smooth for months. As your baby’s oral skills develop, offer thicker mashed food, soft lumps, minced foods, and safe finger foods. Texture variety helps your baby practice chewing and moving food through the mouth.
Essential Tools for Building Your Baby Food Freezer Stash
You do not need a dedicated baby food machine. A few clean kitchen tools are enough for most batches.
| Tool | Purpose | What to Look For |
|---|---|---|
| Freezer tray | Creates small portions | Food-safe material and a secure cover |
| Blender, food processor, or masher | Adjusts the food’s texture | Removable parts that can be cleaned thoroughly |
| Airtight containers or freezer bags | Protects frozen portions | Freezer-safe material and a reliable seal |
| Steamer basket or saucepan | Softens food for mashing or blending | A size that handles small batches without overcrowding |
| Permanent marker and labels | Tracks ingredients and dates | Labels that remain readable in the freezer |
| Food thermometer | Checks safely cooked meat, poultry, fish, and egg dishes | A clean digital model with a thin probe |
How to Organize the Freezer Stash
Divide your freezer into simple groups so you can build meals quickly:
- Iron and protein: Meat, poultry, fish, lentils, beans, tofu, and egg mixtures
- Vegetables: Sweet potato, squash, peas, carrots, broccoli, and green beans
- Fruit: Pear, peach, mango, berries, and cooked apple
- Grains: Cooked oats, quinoa, and other soft grains
- Combination meals: Clearly labeled blends that your baby has already tolerated
Keep a written or digital freezer list with the food, date, and number of portions. Cross off each portion as it is used. This prevents forgotten food from collecting at the back of the freezer.
Storing Baby Food for Travel
Traveling with homemade baby food requires a reliable cold chain. Pack refrigerated or thawed food in an insulated cooler with enough frozen gel packs to keep it at 40°F or below.
- Use leak-resistant, food-safe containers.
- Pack only the amount you expect to need.
- Keep the cooler closed and out of direct sunlight.
- Carry a clean spoon and a separate feeding bowl.
- Discard perishable food left above refrigeration temperature for more than two hours, or one hour in temperatures above 90°F.
- Do not rely on a cool car interior as refrigeration.
Reusable food pouches can be convenient for smooth purees, but they must be disassembled and cleaned thoroughly. A pouch should not be used for foods that are too thick to flow easily or for textures your baby should practice chewing.
Troubleshooting Common Freezer-Stash Problems
The Puree Separated
Water and solids often separate during freezing. Stir the thawed portion thoroughly before deciding whether it needs more liquid.
The Food Turned Brown
Banana, avocado, apple, and pear can darken after exposure to air. Mild browning is usually a quality issue rather than proof of spoilage. Discard the food if it has an unusual odor, visible mold, damaged packaging, or uncertain storage history.
The Puree Has Freezer Burn
Freezer burn can make food dry or change its flavor. Prevent it by using airtight packaging, removing excess air from freezer bags, and using portions within the recommended period.
The Texture Is Too Watery
Stir first. Then thicken the food with an appropriate mashed ingredient or prepared iron-fortified infant cereal. Add small amounts so the mixture does not become sticky or difficult to swallow.
Your Baby Rejects a Food
Do not force the feeding. Offer a small amount again on another day, either alone or beside a familiar food. Babies often need repeated, pressure-free exposure before accepting a new flavor or texture.
Frequently Asked Questions
How long can homemade baby food stay in the freezer?
For a conservative routine, use homemade frozen baby food within one to two months. Keep the freezer at 0°F or below, use airtight packaging, and label every batch with its preparation date.
Can I mix different fruits and vegetables in one puree?
Yes. Mixing foods is fine after your baby has tolerated the ingredients. Keeping foods separate at first can make reactions easier to identify and lets you create more combinations from the same freezer stash.
Which foods should not be given to a baby?
Do not give honey before 12 months. Avoid unpasteurized foods, added sugar, very salty foods, and choking hazards such as whole nuts, popcorn, hard raw vegetables, whole grapes, and thick spoonfuls of nut butter. Common allergens do not need to be routinely delayed, but they must be offered in baby-safe forms.
What equipment do I need to make baby food?
Useful tools include a saucepan or steamer, clean knife and cutting board, potato masher or blender, freezer tray with a cover, airtight freezer containers, labels, and a food thermometer for animal foods.
How do I know whether my baby is ready for solid food?
Most babies are ready at about 6 months when they can control their head and neck, sit upright alone or with support, open their mouth for food, and swallow instead of pushing food out. Starting before 4 months is not recommended.
Can I use frozen fruit and vegetables to make baby food?
Yes. Plain frozen fruit and vegetables can be practical and nutritious. Choose products without added salt, sugar, sauces, or seasoning, cook them when needed, and follow the same hygiene and storage rules used for fresh ingredients.
Can thawed baby food be refrozen?
It is best not to refreeze a portion prepared for your baby. Freeze small amounts, thaw only what you need, keep thawed food refrigerated, and discard any serving touched by a used spoon.
Can I thaw baby food in the microwave?
Refrigerator thawing is preferred. Fruit, vegetable, grain, and mixed purees may be warmed briefly in a microwave-safe dish, but they must be stirred, allowed to stand, and tested before feeding. Do not microwave baby-food meats or eggs.
Conclusion
A practical baby food freezer stash starts with small batches, balanced ingredients, clean preparation, and simple labels. Include iron-rich foods alongside vegetables, fruit, grains, and healthy fats. Freeze modest portions, use them within one to two months, and thaw only what you need.
As your baby develops, move beyond thin purees toward thicker, lumpier, and soft finger-food textures. Safe storage is important, but the larger goal is to help your baby experience a varied diet while breast milk or infant formula continues to provide most nutrition during the first year.
Sources
- CDC — When, What, and How to Introduce Solid Foods — developmental readiness, timing, food groups, and cereal variety
- CDC — Foods and Drinks to Avoid or Limit — honey, added sugar, and infant feeding restrictions
- CDC — Choking Hazards — developmentally appropriate food shapes and textures
- FoodSafety.gov — Children Under Five — baby-food storage periods and microwave precautions
- FDA — Once Baby Arrives — safe handling, warming, stirring, and temperature testing
- NIAID — Peanut Allergy Prevention Guidelines — early peanut introduction and guidance for high-risk infants