Cleaning your baby food blender after each use keeps dried puree out of the blade area, seals, threads, and storage parts. The safest method is to unplug the appliance, follow its model-specific care instructions, wash each removable food-contact part with mild dish soap, rinse well, and let everything air-dry completely before reassembly.
Quick Answer
Unplug the baby food blender, remove only the parts your manual identifies as detachable, and wash them with warm water, mild dish soap, and a soft brush. Handle the blade by its hub, never immerse the motor base, and check the manual before using a dishwasher, vinegar, sanitizer, or self-clean cycle.
Key Takeaways
- Unplug the appliance before removing the jar, blade assembly, lid, basket, or other accessories.
- Check the manual for each component because dishwasher, gasket, sanitizing, and soaking instructions vary by model.
- Wash sharp blades with a long-handled brush and keep your fingers away from the cutting edges.
- Wipe the motor base with a slightly damp cloth; never immerse, rinse, spray, or place it in a dishwasher.
- Let all food-contact parts air-dry completely before reassembling or storing them.
- Replace a damaged or worn blade assembly instead of trying to sharpen or repair it.
At a Glance
| Time Required | 10–15 minutes, plus air-drying time |
| Difficulty | Easy, with careful blade handling |
| Tools Needed | Mild dish soap, soft sponge, long-handled brush, clean basin, and a clean air-drying surface |
| Cost | Usually less than $5 with supplies already at home |
Gather Your Cleaning Supplies
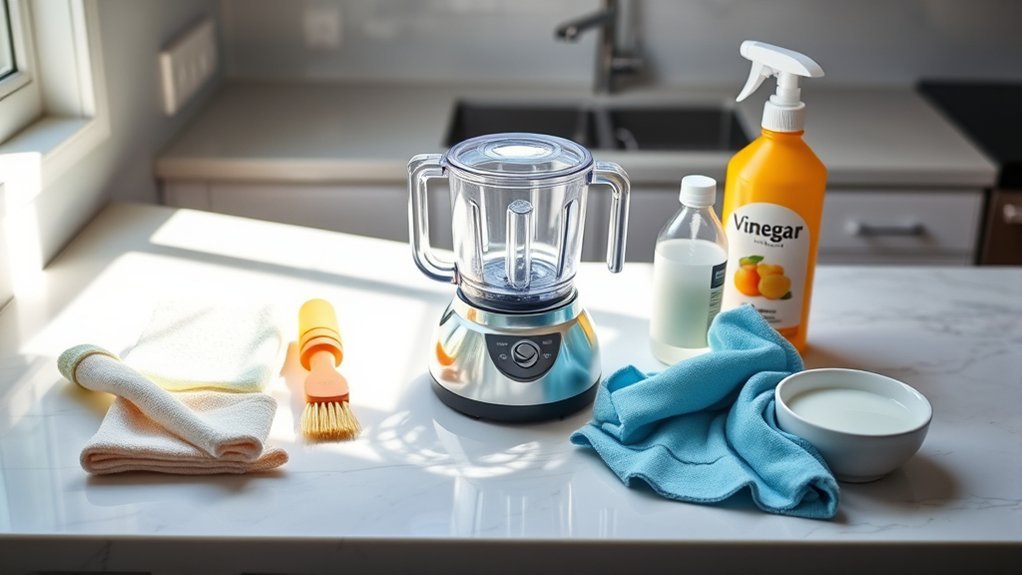
Gather everything before you take the blender apart so that you do not need to handle cabinets, faucets, or containers while holding a sharp blade assembly.
- Mild, unscented dish soap
- Warm running water
- A soft sponge or non-abrasive cloth
- A long-handled dish or bottle brush
- A small clean basin or bowl for washing removable parts
- A closed dishwasher basket for small dishwasher-safe pieces
- A clean, unused towel or paper towel to use as an air-drying surface
- Your blender’s user manual or official care instructions
Avoid steel wool, abrasive powders, harsh scouring pads, and strong cleaners unless the appliance manufacturer specifically approves them. These products can scratch plastic, damage printed markings, cloud a jar, or affect a seal.
Pro Tip: Rinse removable parts soon after serving the food. Fresh puree is much easier to remove than food that has dried inside threads, under a lid, or around a blade hub.

Power your essentials anywhere with a 999Wh pure sine wave power station delivering up to 1000W continuous with 2000W surge. It supports fast charging via USB-C PD 60W and USB-A QC 18W, plus simultaneous output for multiple devices through AC, USB, wireless, and car/DC ports. Recharge using AC, car, or solar with a built-in MPPT controller and dual cooling fans, while the upgraded battery management system protects against surges, short circuits, and overheating.

Make fresh, delicious food with wholesome ingredients. You control exactly what goes in - no hidden stabilizers, preservatives, or flavor enhancers necessary.

Infant&Baby-Grade Safety Design: Plodon baby food maker is crafted from high borosilicate glass and 316 stainless steel, the built-in lid safety lock and automatic shut-off feature that ensure maximum safety. All components are BPA-free for your baby's safety. Your little one's health is our top priority. This is a super great item for a Mommy To Be & Baby Shower Gifts!
Unplug and Disassemble the Blender Safely
Turn the blender off and unplug it before touching the jar, blade, gasket, drive coupling, or underside of the container. Remove each part only as directed in the manual. Some jars lift straight off, while others twist or unlock in a specific direction.
Warning: Blender blades can cause deep cuts even when the appliance is unplugged. Hold a removable blade assembly by its plastic hub or designated grip, keep your fingers away from the cutting edges, and use a long-handled brush instead of reaching between the blades.
| Step | Action |
|---|---|
| 1. Disconnect power | Turn the blender off and unplug it from the outlet. |
| 2. Remove the container | Lift, twist, or unlock the jar only as the manual directs. |
| 3. Detach approved parts | Remove the lid, basket, blade assembly, cap, or other parts identified as user-removable. |
| 4. Check the gasket | Remove it only if the manufacturer says it is removable. Leave factory-sealed gaskets in place. |
| 5. Inspect the parts | Look for cracks, loose blades, torn seals, damaged locking tabs, leaks, or trapped food. |
Note: Gasket instructions vary. BÉABA describes a removable gasket on certain Babycook blade assemblies, while NutriBullet states that some blade gaskets are factory-sealed and should not be removed. Follow the instructions for your exact model.
Clean Each Blender Component Correctly
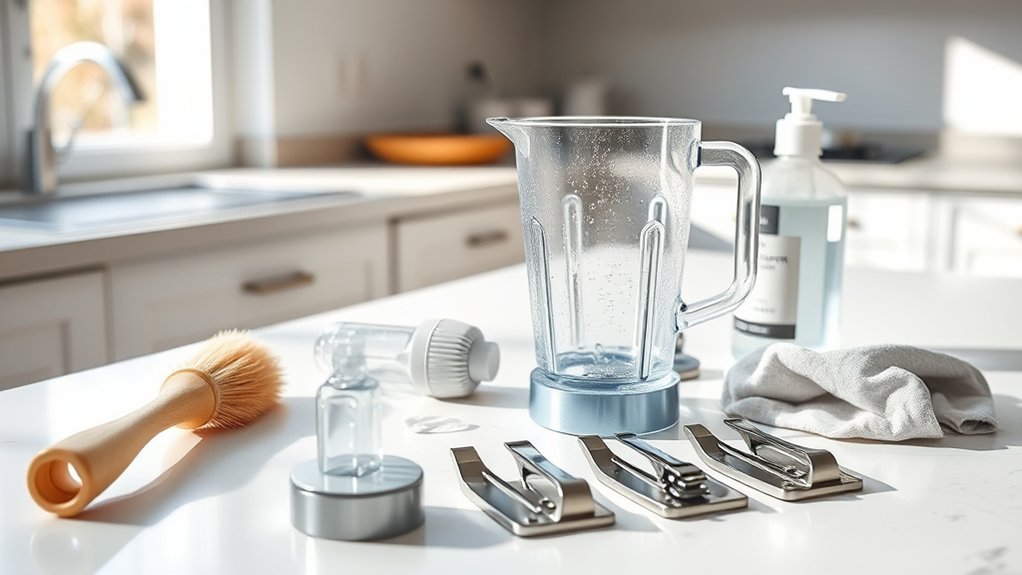
Wash the Jar, Lid, and Accessories by Hand
- Scrape leftover food into the trash or compost instead of washing thick puree down the drain.
- Rinse the removable parts under warm running water.
- Place them in a clean basin with warm water and a small amount of mild dish soap.
- Scrub the jar, lid, threads, spout, storage cups, basket, and corners with a soft sponge or clean brush.
- Rinse every surface until no food or soap remains.
A clean basin can help keep infant food-contact parts away from residue that may be present in a kitchen sink. The CDC’s infant feeding-item guidance also recommends separating parts, washing with soap and water, rinsing thoroughly, and allowing them to air-dry.
Clean the Blade Assembly
Hold a removable blade assembly by its plastic center or outer housing. Use a long-handled brush to scrub around the blade hub, underside, threads, and exposed seal without placing your fingers between the blades.
Do not pry apart a sealed blade housing, remove a fixed gasket, or leave a sealed bearing assembly soaking unless the manufacturer expressly permits it. For example, current NutriBullet Baby cleaning instructions recommend hand-washing the extractor blade with warm, soapy water to help protect its gasket.
Use the Dishwasher Only When Approved
Check the care instructions for the jar, lid, blade, gasket, basket, cups, and accessories separately. Do not assume that every removable part is dishwasher-safe simply because the jar is.
- Use the top rack when the manufacturer specifies top-rack placement.
- Secure small pieces in a closed basket so they cannot fall into the dishwasher filter.
- Remove a blade assembly from its container before loading it if the manual requires separation.
- Avoid high-heat or sanitizing cycles when the manual warns that heat may warp plastic or damage a gasket.
- Never place the motor base, cord, or plug in a dishwasher.
Remove Dried Food, Stains, and Odors
For dried puree, fill the removable jar with warm soapy water and let it stand for 5–10 minutes. Loosen residue with a soft bottle brush, paying attention to threads, corners, and the underside of the lid.
For lingering odors, wash the jar again with fresh dish soap and rinse it thoroughly. If the odor remains, use diluted white vinegar only when the manual approves vinegar for that specific part. Some manufacturers allow a diluted vinegar rinse for certain blades or use vinegar to descale a steam reservoir, but those directions should not be applied to every component.
Warning: Never mix bleach with vinegar, ammonia, dish soap, or another cleaner. Mixing bleach with acidic or incompatible products can release dangerous vapors. Rinse away one product completely before considering another manufacturer-approved method.
Wipe the Motor Base
Keep the appliance unplugged. Wipe the exterior of the base and control area with a slightly damp cloth, then wipe away remaining moisture. Use a barely damp cotton swab around a crevice only when you can do so without pushing liquid into the housing.
Never immerse the motor base, hold it under a faucet, spray cleaner directly onto it, pour water into the drive area, or clean it while it is connected to power.
Use a Quick Self-Clean Method Only When the Manual Allows It
Some blender jars can be given a quick preliminary wash by blending water and dish soap. This method is useful for loose puree, but it does not replace disassembly and inspection of the lid, threads, seal area, or removable blade.
- Confirm that the manufacturer permits a self-clean or soapy-water cycle.
- Add warm—not boiling—water to the level specified in the manual.
- Add one or two drops of mild dish soap.
- Secure the blade and lid exactly as required for normal operation.
- Run the approved clean program or pulse briefly at low speed.
- Turn off and unplug the appliance before opening it.
- Empty the jar, disassemble approved parts, inspect hidden surfaces, rinse thoroughly, and air-dry.
Do not run the appliance with a loose blade, damaged jar, unsecured lid, or leaking seal. Skip this method entirely if the manual does not authorize it.
Air-Dry and Reassemble the Blender
Place the clean parts on a clean, unused dish towel, paper towel, or well-maintained drying rack in an area protected from splashes, dust, and raw-food preparation. Let each part air-dry completely.
Do not rub or pat the food-contact surfaces dry with a kitchen towel. Even a towel that looks clean can transfer moisture, lint, or germs. Current CDC guidance recommends thorough air-drying before storage.
Once the parts are dry:
- Wash and dry your hands.
- Reattach only manufacturer-approved removable gaskets and seals.
- Confirm that each seal lies flat and is not twisted, pinched, torn, or loose.
- Lock the blade assembly, lid, and jar into their correct positions.
- Check for gaps, cross-threading, or movement before the next use.
- Store the blender in a clean, dry location with the cord protected from water and heat.
Pro Tip: When the design allows it, store the clean jar with its lid slightly open until you are certain no moisture remains. Close it fully before placing it in a cabinet where dust or pests could enter.
Know When Cleaning or Sanitizing Is Appropriate
Cleaning and sanitizing are different. Washing with soap, water, and scrubbing removes food and most germs. Sanitizing is an additional germ-reduction step used in specific situations.
For routine use, careful washing after every batch is normally the starting point. Consider additional sanitizing when the manufacturer recommends it, when a compatible part has been exposed to contamination, or when a child’s healthcare team has advised extra hygiene precautions.
The CDC notes that daily sanitizing of infant feeding items may be useful for babies who are younger than two months, were born prematurely, or have a weakened immune system. A baby food blender is not identical to a bottle or nipple, so use that guidance as a hygiene reference while following the blender manufacturer’s material and heat restrictions.
Possible methods for compatible removable parts include:
- A dishwasher using hot water and heated drying
- Boiling or steaming parts that are specifically approved for that treatment
- A properly prepared sanitizing solution used according to the product label and appliance manual
Do not boil, steam, bleach, or heat a blade housing, gasket, plastic jar, or electronic part unless its instructions specifically allow that treatment. Review the CDC’s bleach safety guidance before using a bleach-based product.
Maintain and Inspect Your Baby Food Blender

Regular cleaning protects more than the visible jar. Puree can collect under lids, in threads, around locking tabs, beneath removable seals, and near the drive coupling.
- Clean removable food-contact parts after every use.
- Wipe spills from the motor base as soon as the appliance is unplugged.
- Inspect the blade assembly for movement, cracks, bending, chips, corrosion, or a damaged seal.
- Check plastic jars and lids for cracks, deep scratches, clouding, or damaged locking tabs.
- Replace torn, loose, or warped removable gaskets with the correct part.
- Replace a sealed blade assembly when its fixed gasket, bearing, or blade is worn.
- Use only parts made or approved for the exact blender model.
- Keep the air vents and drive area free of dried food without pushing water into the base.
A blender is not ready to reassemble or store until every food-contact part is clean, inspected, and completely air-dried.
Troubleshooting Common Cleaning Problems
| Problem | What to Do |
|---|---|
| Dried puree will not come off | Soak the removable jar or lid in warm soapy water, then use a soft bottle brush. Do not soak a sealed blade unit unless approved. |
| Odor remains after washing | Wash again with fresh soap and water. Use diluted vinegar only if the manufacturer permits it, then rinse fully. |
| Food is trapped around a gasket | Remove the gasket only if it is designed for user removal. Replace a fixed or damaged sealed assembly rather than prying it apart. |
| The jar leaks after reassembly | Stop using the blender. Check that the seal is clean, dry, flat, and correctly installed. Replace damaged parts before blending again. |
| The blade seems dull or damaged | Do not sharpen it with a file, honing rod, or power tool. Obtain the correct replacement blade assembly from the manufacturer. |
| Mold appears in a seal or blade housing | Stop using the affected part. Follow the manufacturer’s cleaning instructions and replace any sealed, porous, cracked, or inaccessible component that cannot be cleaned fully. |
Frequently Asked Questions
Can I put baby food blender parts in the dishwasher?
Only place a part in the dishwasher when the instructions for your exact model identify that part as dishwasher-safe. Check the jar, lid, blade, gasket, basket, and accessories separately. Use the top rack or a closed small-parts basket when directed, and never put the motor base, cord, or plug in the dishwasher.
How often should I clean my baby food blender?
Wash the food-contact parts after every use. Rinse them promptly so puree does not dry in the threads, under the lid, around the blade hub, or near a seal. Wipe spills from the unplugged base and inspect the blade, jar, and gaskets regularly.
Is it safe to use bleach on a baby food blender?
Routine cleaning with soap and water is often sufficient. Use a bleach-based sanitizing method only when the manufacturer permits it for the specific removable part and you can follow the bleach label and public-health directions exactly. Never mix bleach with vinegar, ammonia, dish soap, or another cleaner.
What should I do if the blender blade is dull?
Do not sharpen a household blender blade with a honing rod, file, or power tool. Stop using a blade that is loose, bent, chipped, cracked, badly worn, or leaking. Contact the manufacturer or an authorized supplier for the correct replacement blade assembly.
How can I remove odors from the blender jar?
Wash the jar again with warm water, fresh dish soap, and a soft brush, then rinse and air-dry it completely. If an odor remains, use a diluted vinegar rinse only when the manufacturer allows it for that material. Never combine vinegar with bleach.
Should I remove the gasket before washing the blade?
Remove a gasket only when the user manual identifies it as a removable, user-serviceable part. Some blender gaskets are factory-sealed into the blade housing and should never be pried out. Replace the complete assembly if a fixed gasket is torn, loose, moldy, or leaking.
Can I leave blender parts soaking overnight?
Do not leave parts soaking overnight unless the manufacturer specifically recommends it. Long soaking can affect some plastics, metal finishes, seals, or blade bearings. A short warm-soapy-water soak is usually enough for a removable jar or lid with dried food.
What should I do if mold appears in the blender?
Stop using the affected part. Clean and sanitize it only by a method approved for that component. Replace any cracked, porous, sealed, or inaccessible part that cannot be cleaned completely, including a contaminated blade housing or damaged gasket.
Conclusion
To clean a baby food blender safely, unplug it first, remove only the approved detachable parts, and wash each food-contact surface with mild dish soap and warm water. Treat the blade as a sharp tool, keep the motor base dry, and follow the manual before using a dishwasher, vinegar, heat, or sanitizer.
Allow every part to air-dry completely, then inspect the jar, blade, locking tabs, and seals before reassembly. Prompt cleaning and timely replacement of damaged components help keep the blender reliable and ready for the next batch of baby food.
Sources
- CDC: How to Clean, Sanitize, and Store Infant Feeding Items — supports washing, dishwasher, air-drying, sanitizing, and protected-storage guidance.
- CDC: Cleaning and Disinfecting With Bleach — supports the distinction between cleaning and disinfecting and the warning against mixing bleach with other cleaners.
- NutriBullet Baby Blender Care Information — supports model-specific dishwasher, blade hand-washing, motor-base, and immersion precautions.
- NutriBullet Frequently Asked Questions — supports fixed-gasket and blade-replacement guidance.
- BÉABA Babycook Cleaning Guidance — supports top-rack compatibility for specified accessories, sharp-blade precautions, gasket installation, and safe base cleaning.